Big bikes and big mountains can give you big wins and serious thrills, but they take the stakes way higher than you’re used to. How do you stack the odd s in your favour so you can play the game without cashing your chips in for good?
Big 6in-plus bikes are amazing to ride. They turn the most evil trails into tarmac and transform you into a riding god overnight.
At least, that’s how they feel until you’re going too fast, out of your skill depth and into the world of serious injury. Hopefully you’ll wake up. Hopefully you’ll be riding again or going back to work with no permanent damage. So how about you learn how to ride that big bike properly now? Before it’s too late…
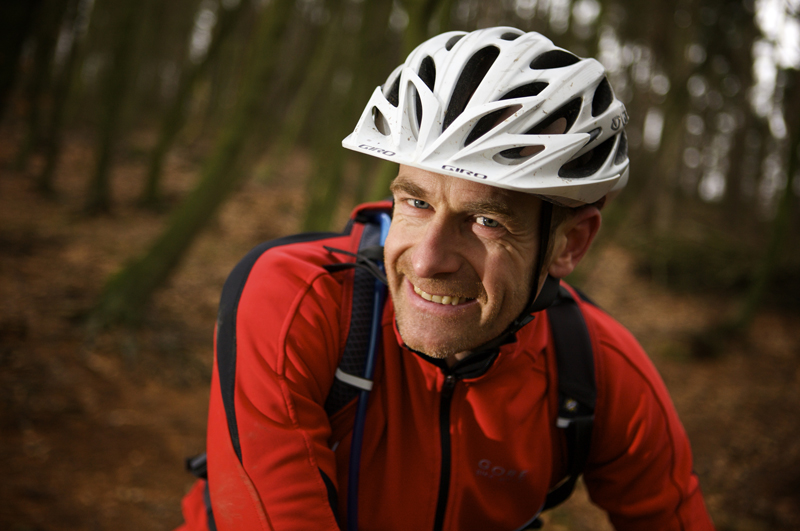
This was going to be written pretty much third person, cos I can ride a big bike fine can’t I? But three days ago I had just the huge 20ft flight, one bounce, slam into drainage ditch disaster that this feature is trying to teach you to avoid. Luckily my Dainese and full face kept me alive with just some serious bruising and giblets that feel like paté.
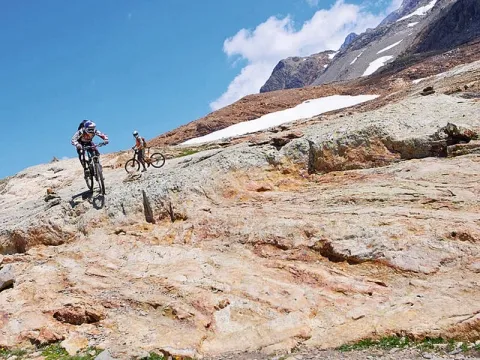
But next thing I knew I was standing at the lip of a drop on the Mega Avalanche qualifier course. The smash has knocked my confidence and all I’m thinking is, “Don’t orphan the kids”.
Luckily for me I had one of the Worlds best fast-safe riders alongside me, five times Mega Avalanche winner Rene Wildhaber and it’s time to learn from the master.
Defence Mechanism 1
Scope and survive
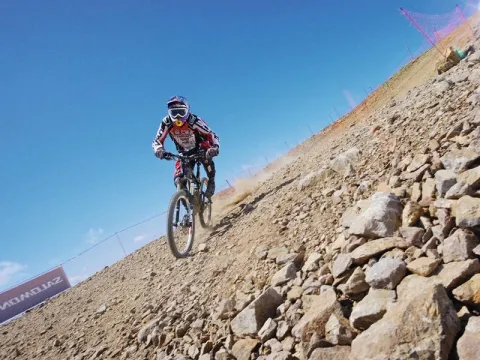
I ate it in the Alps by hitting a situation too fast to react to it. By the time I realised how big the rocks and ruts were, it was too late to plan an escape.
You should always look as far ahead as possible – it gives you more time to react, break, change lines or change your body position. Don’t let your concentration be dragged towards your front wheel.
Your brain has already logged the next bit and your reactions will cope fine. You need to be looking forwards to the next potential danger and the one after that so that you flow continuously not panic from one problem to another.
If you can’t see what happens next slow down. You can always ride it faster next time – but not if you’re in a hospital bed. Don’t just assume you’ll survive if you follow the guy in front.
In rocky situations, look for the clean through lines not at the rocks themselves. If there are rocks everywhere got for the biggest, flattest ones. They’re easier to roll over smoothly and less likely to move unpredictably.
Around corners, spot the apex as soon as you can, then look as far down the trail past the exit as possible. Apex, exit, apex, exit. You’ll be amazed how well you can slide loose turns or whip round switchbacks once you stop staring at the big drop on the outside edge.
Defence Mechanism 2
Do the maths – work out the risk and minimise it

It’s OK to be scared – it’s lethal not to be – but panicking will put you straight into the local A&E ward.
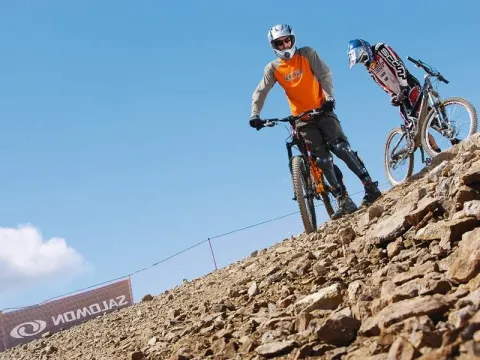
Stay relaxed, breathe slowly and deeply and analyse the risk. You know what you can do on a bike, but you also know there’s a fair safety/fear margin built into that. Top riders like Rene look fearless, but they’ll never attempt something they’re not confident of cleaning. After all, their careers and race wins depend on finishing the course.
Call me a coward, but after my crash it took me a good half hour of staring at that drop on the qualifier before I convinced myself the smooth roll out would be less dangerous than the chaos of the snowbowl at race time.
Once you’ve decided you’re going to do it, don’t let any negative thoughts back in. Look at the obstacle, look at the run out and look at where you need to go. Then it’s deep breath, steady run in, look for the exit line, swear like a squaddie as you go off the edge and then jump around and squeal like a cheerleader when you roll out safe at the bottom. You see, you can do it!
Defence Mechanism 3
Taking the fight to the hill
Once you’ve calmed your fears and plotted good lines, it’s time to take the fight to the hill. Start by attack braking. Don’t just drag your brakes limply, attack clearer sections off the anchors and then brake hard when you need to. Pedal out of the exit, let it fly and then brake hard again. Now your interaction with the bike is positive and it will feel great.
Next, start moving yourself and the bike around, creating positive input rather than just defensive response. The longer you keep going straight the harder it is mentally to snap into a turn. Changing lines, or just pulling silly shapes (off the side, off the back, stood tall) on the bike all helps your confidence and gets you used to the bike being mobile underneath you.
One of the best ways to learn to push the bike out of shape in a controlled way is by deliberately sliding it through corners. Even a bit of a slip and catch feels like you’re seven and doing skids again. More importantly you’ll know what to do when you suddenly need to turn tighter than you’ve got traction for, rather than freezing and going straight off the outside edge.
Five Golden Rules
- Look as far ahead as possible, and lock onto the solutions not the problems
- Stay relaxed and loose
- Become a positive rider
- Work with the trail not against it
- Make sure you’re always having fun
Defence Mechanism 4
Work the terrain
You’re looking ahead, you’re staying relaxed and you’re taking the attack to the trail. Now combine all three to really work the trail – rather than waiting for it to work you over – to gain speed from the sickest sections instead of just trying to survive.
The trick is to change your view of the trail. That big rock slab on the outside of the turn isn’t something that restricts you to a narrow entry line. It’s a perfect face to flick onto and dive your bike down off, so you’re facing out of the corner before most riders would even be turning. That lip isn’t something trying to throw you into the air and break you, it’s something to hop over, land on the backslope of and use to surf down the trail on. These things are the difference between braking for a berm and accelerating through it.
The best way to learn is by watching an expert. Look at those lines they take into sections – they look mad until you realise it gives them a perfect exit line. Look at the way their bikes are off the air before a jump, so they’re back on the ground for grip before that corner, and at the counter steer flick that jackknifes their bike into a berm far faster than just turning the bars.
Now, practice. Keep thinking how each part of the trail can help you not hinder you. Soon you’ll be flowing through sections that you used to fight.