


In a simpler age, before full suspension and modern bikes that can be hammered hard on any terrain, a mountain bike was a mountain bike. If you were lucky, you had some kind of suspension up front, and probably some bar ends too – but other than that they were all similar. Riding skills were honed in the car park at races, at which most riders would be entering trials, cross-country, uphill and even downhill on the same bike.
With the segregation of the sport into categories, it’s easy to miss out on essential skills when developing your riding – and rely on an efficient bike to cover up a lack of skills.
So don’t leave the skids for kids. Practising tricks really can vastly improve your balance, coordination and riding skill out on the trail, and it’s a great laugh.
Here we show you how to master trackstands, bunnyhops and skid turns.
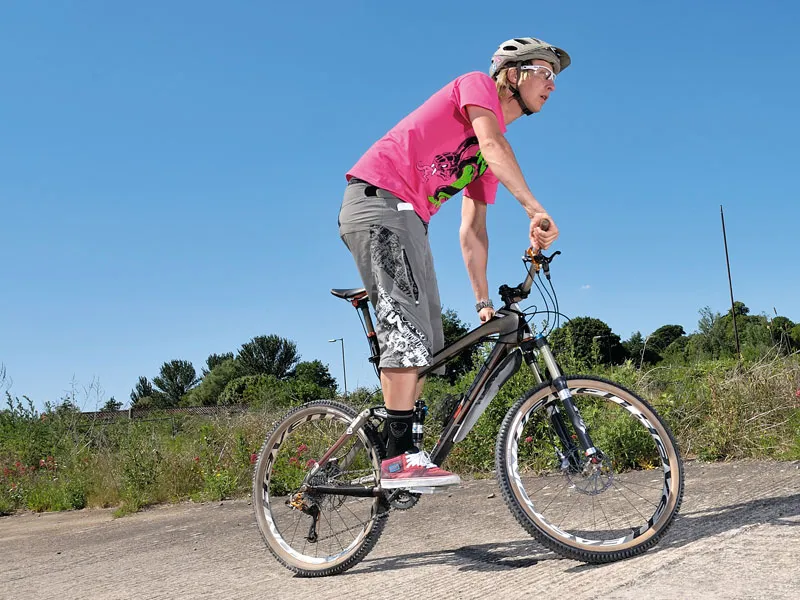
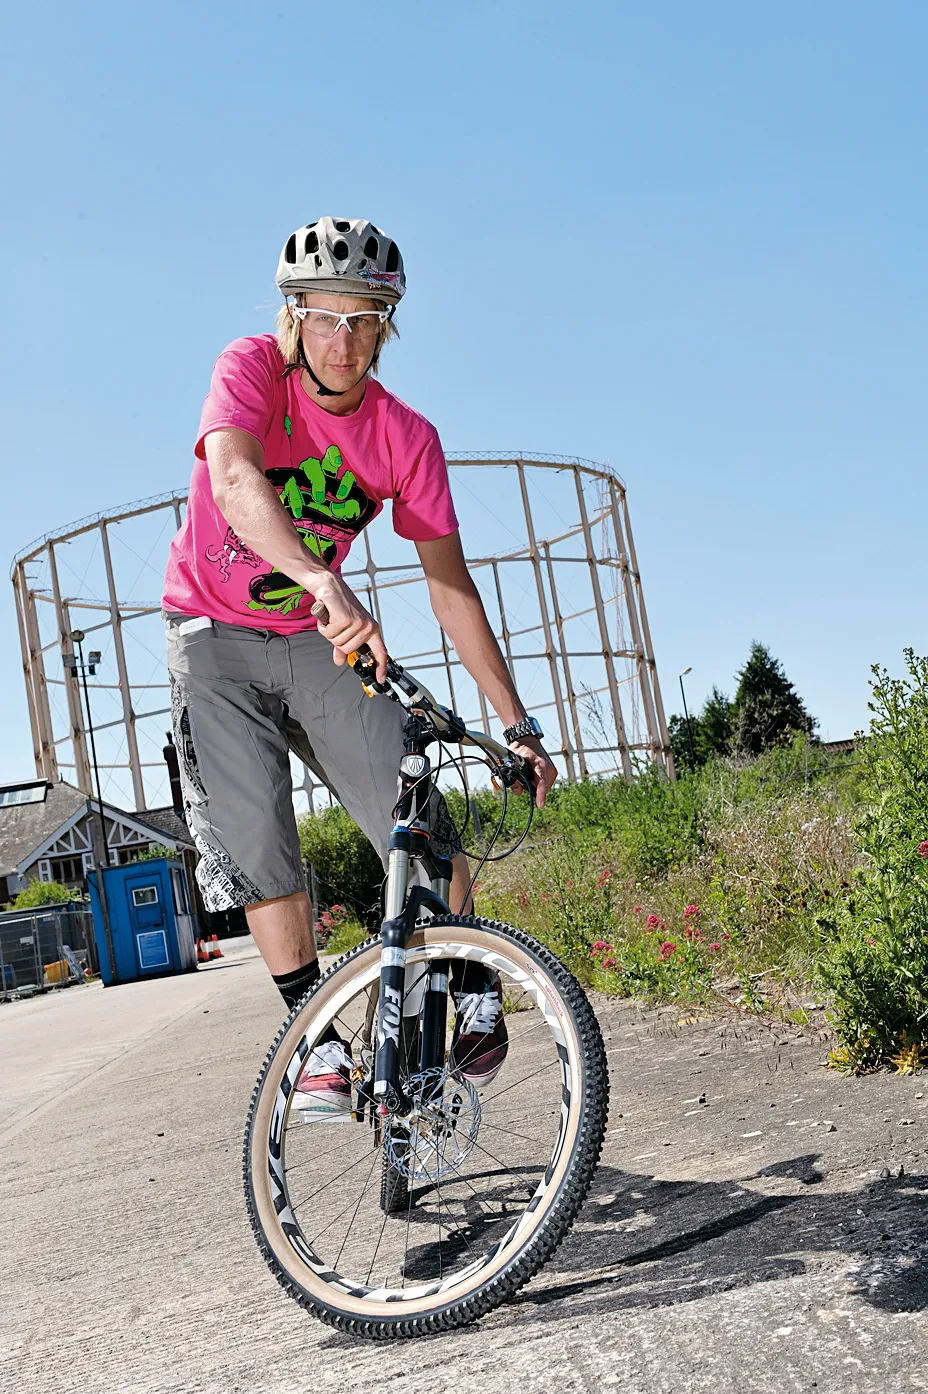
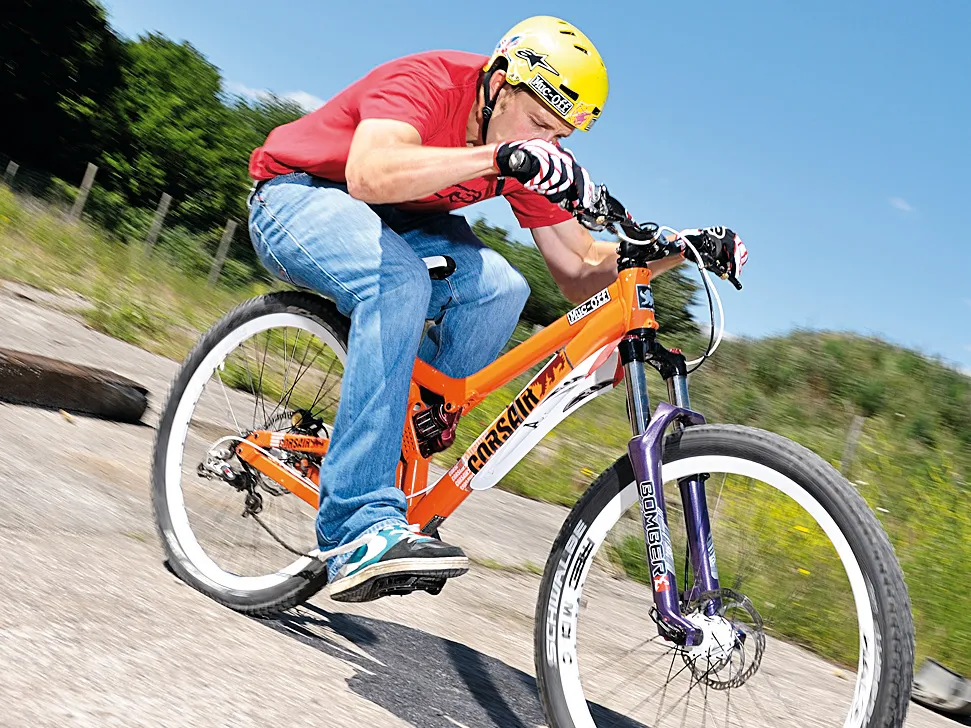
The Trackstand
It takes its name from riders balancing stationary on velodrome tracks with feet on the pedals before races so they could get a speedy start. But the trackstand is a great technique for mountain bikers to learn too, whether it’s for balancing at traffic lights, on the start line of an XC race for a clean getaway or just for increasing your balance and control on a technical part of the trail.
Step-by-step
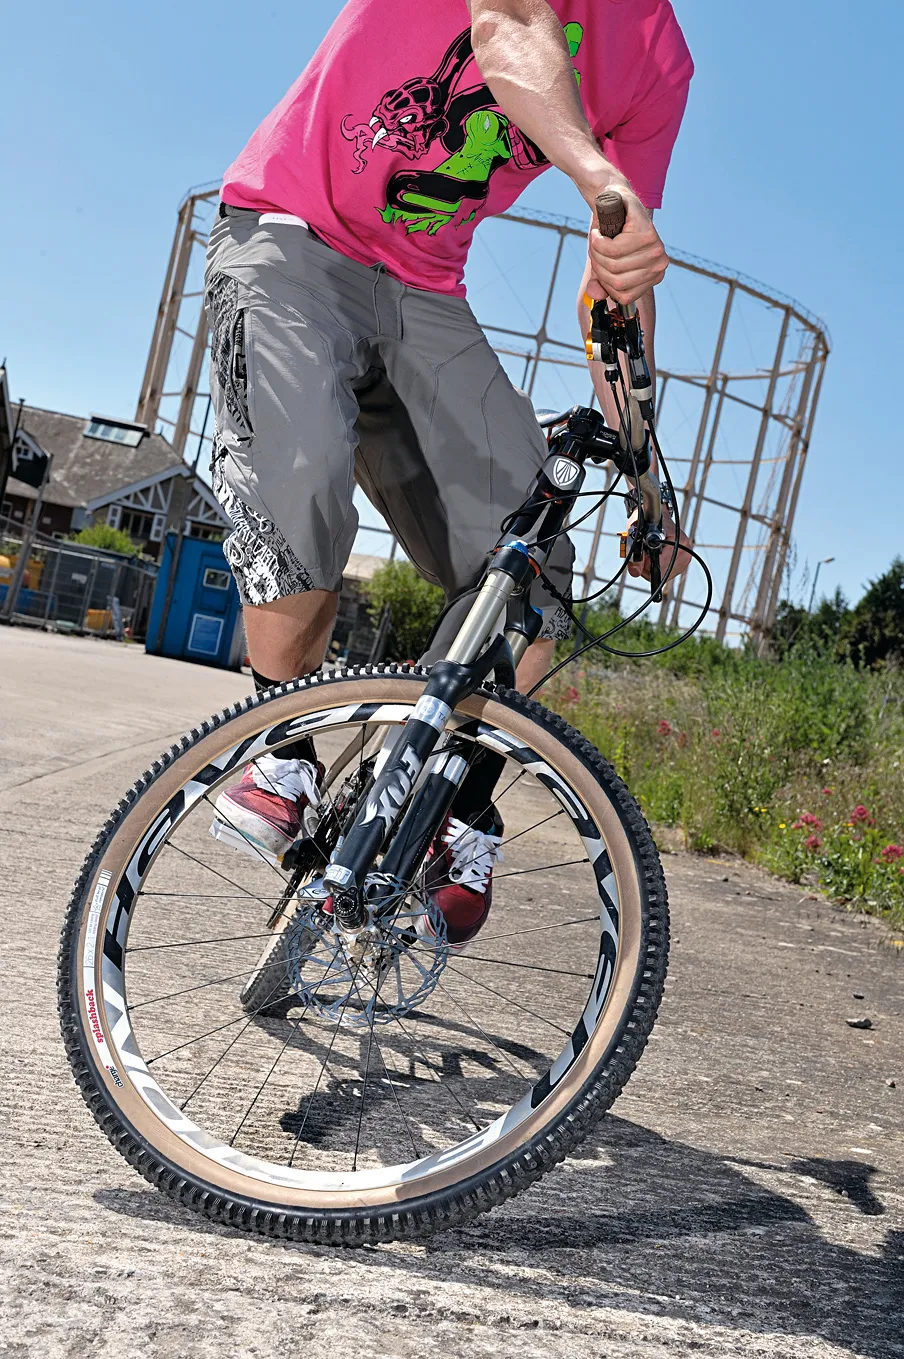
The perfect location: Try to find a slight uphill bank that you can use to balance on without using your brakes at first, just use your body weight to put the cranks under tension, just enough not to put the bike in a forward motion. Once you’ve got the hang of it you can move on to fl at ground and start using your brakes to control the movement.
Feet: Before you enter the Trackstand, you need to know which is your ‘good’ foot to have forward. There’s no rule – it’s whichever feels most natural in that position. Enter the Trackstand with pedals level, turn your bars into the slope – about 45 degrees will catch your balance point, and load the pedals slightly, enough to hold you at that balance point. It’s now a case of using this pedal tension, and the bank’s resistance, to allow you to roll back and forth minutely – just at either side of the balance point. Staying balanced stationary is impossible, but a gentle rocking is easy to maintain.
Body position: Keep your bodyweight central, slightly biased towards the front end. With handlebars angled approx 45 degrees to your top tube, you need to keep your shoulders and hips in line with your handlebars for best balance. Take your weight on your legs, and try to keep your arms free for control – weighting your legs will make the rocking motion easier.
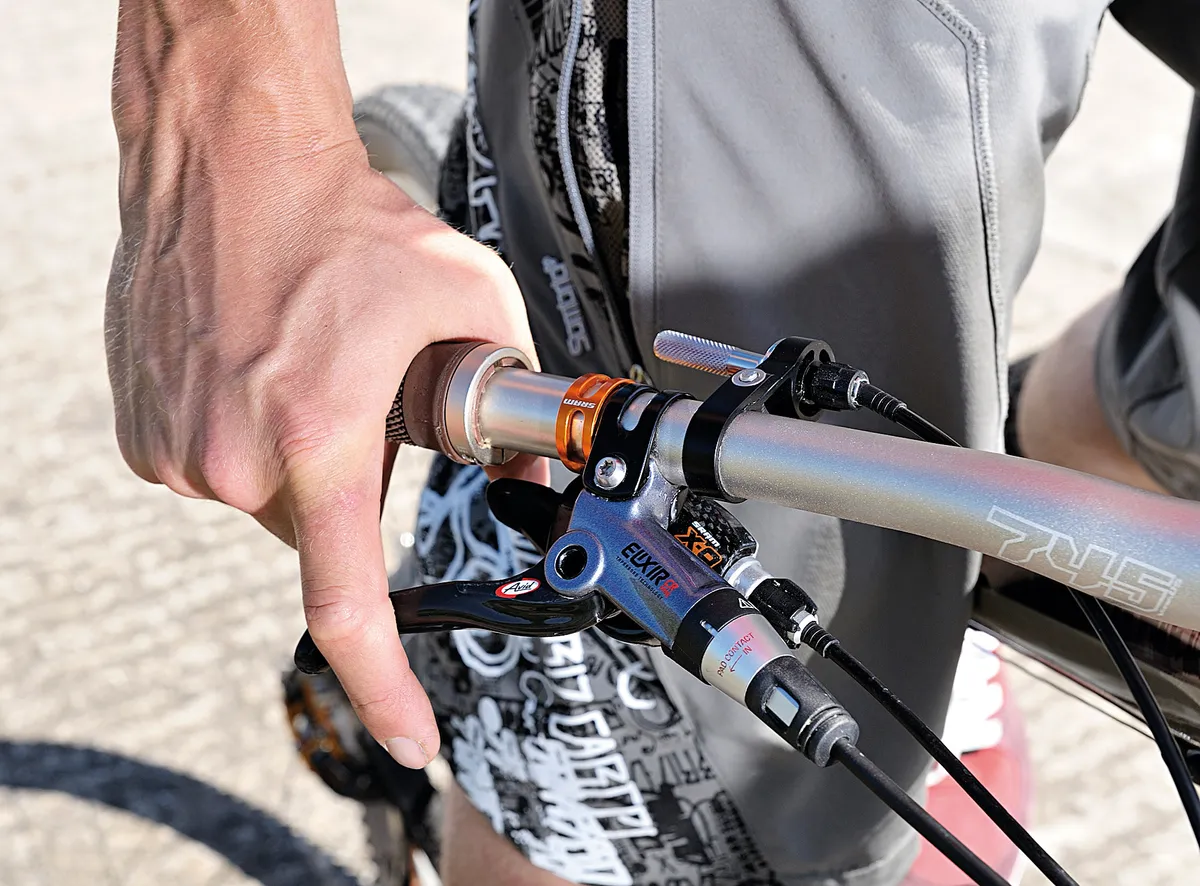
Hands: If you're practising this technique on flat ground, you'll need to use your brakes – doing so will have the same effect as practising on a bank with no brakes. Try using just your front brake and pedal tension to control the back and forth rocking motion. Avoid using the rear brake, because it will seriously affect the bike’s ability to move those essential few centimetres to stay either side of the balance point.
Eyes: When first practising this technique, you will probably look down at your bike to keep an eye on your crank position, looking at your front tyre and the angle of your handlebars in relation to your top tube. This does help you balance, but once perfected you should try learning the technique with your head up – as if you’re ready to ride off.
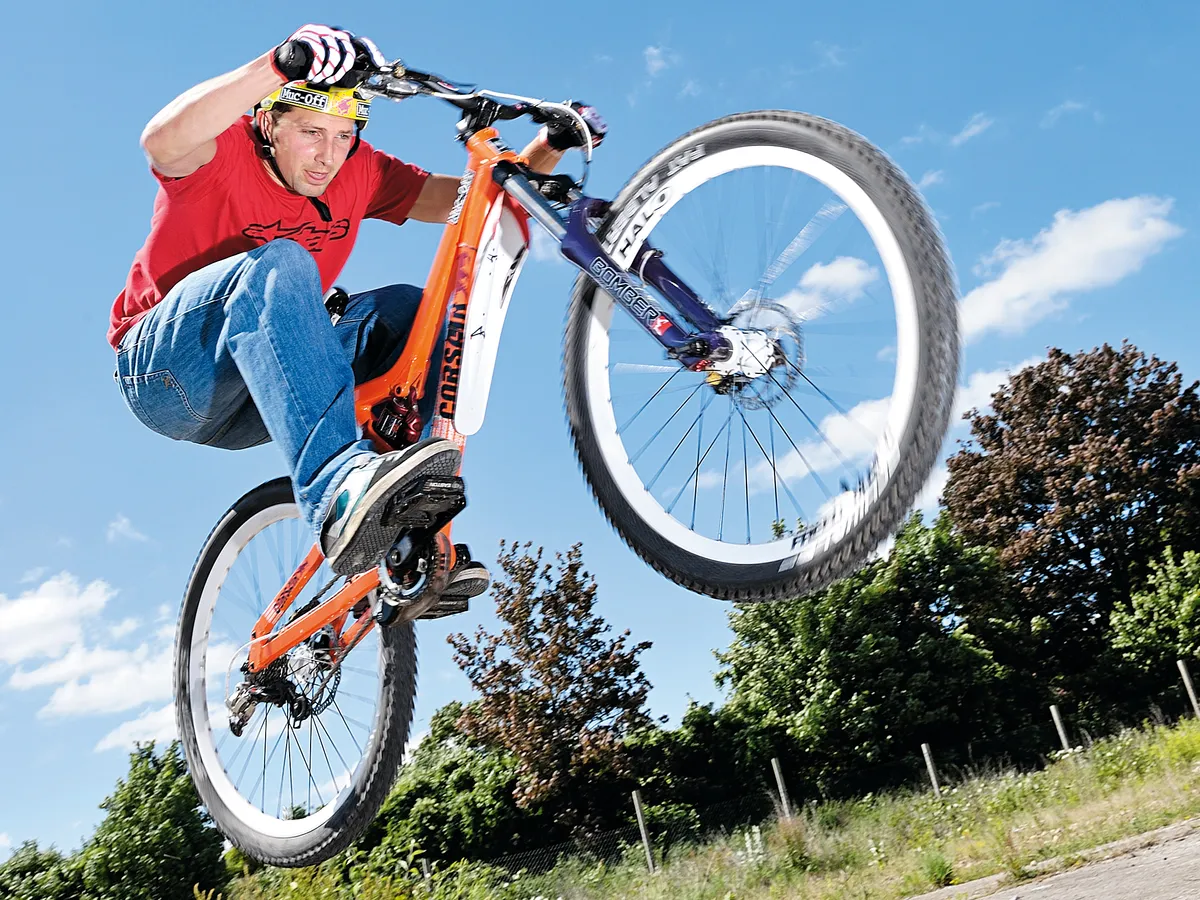
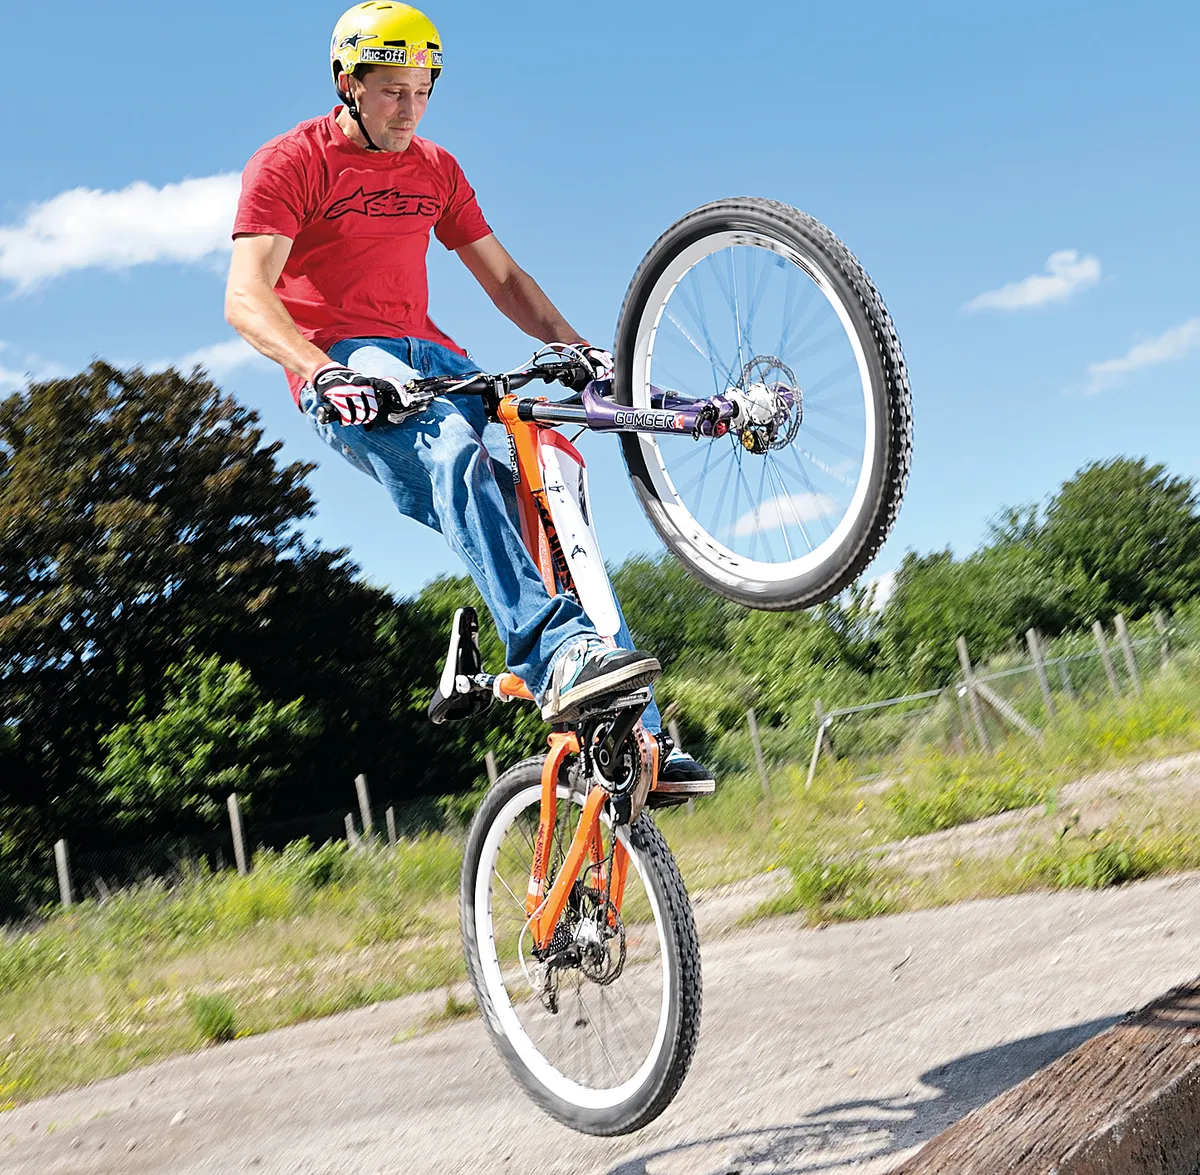
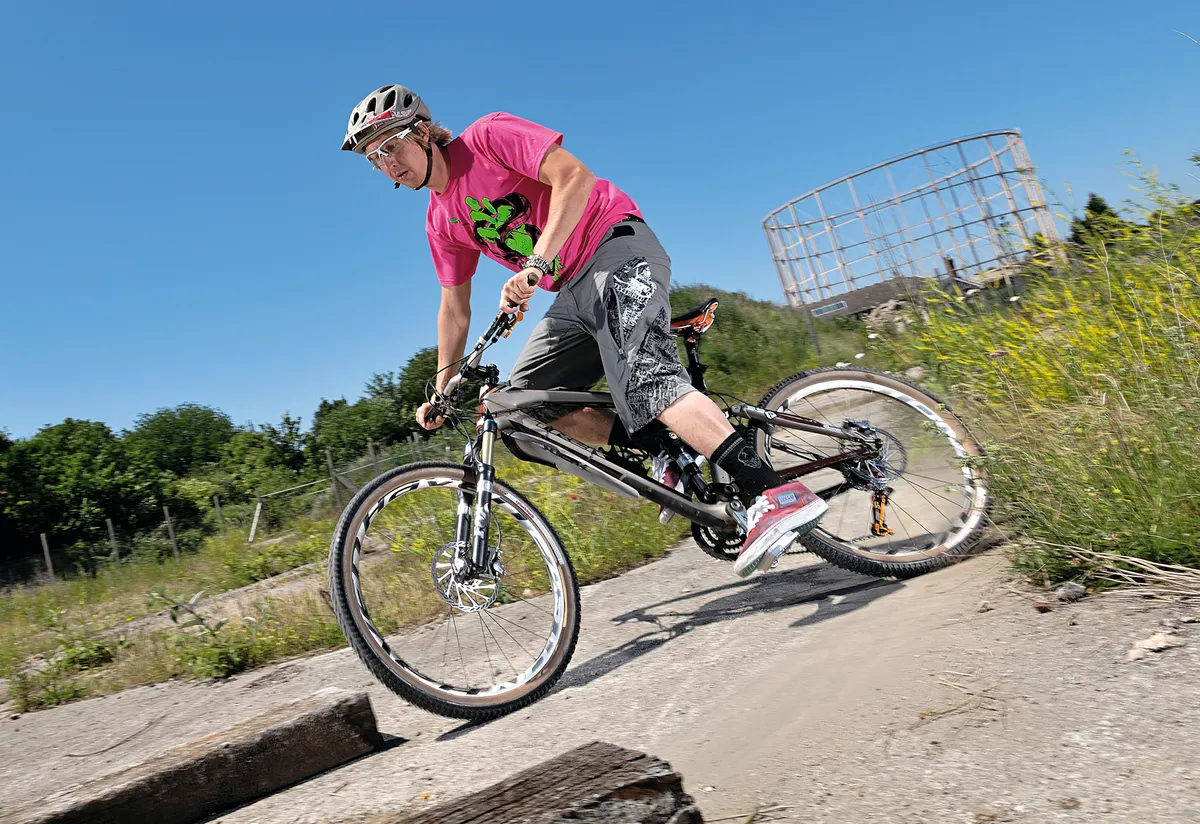
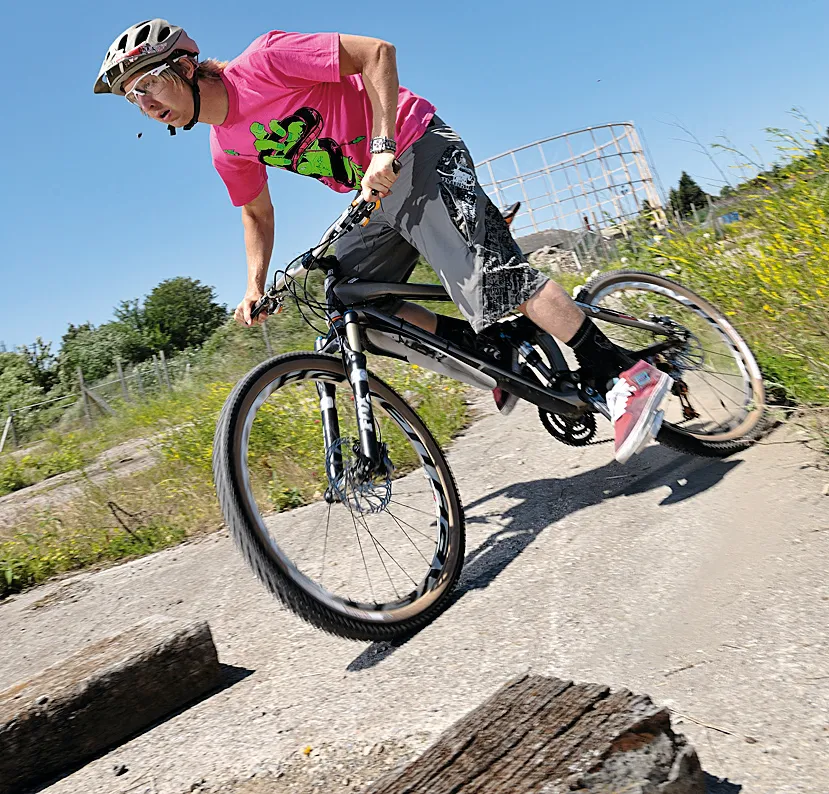
The Bunnyhop
Named after the way rabbits bound around, the Bunnyhop is an essential technique to have in your skills, be it for hopping over a log on the trail or hopping up curbs around town. It’s best mastered on flat pedals first because clipless pedals can get you into bad habits. It’s a lot easier to do when you’re attached to your bike, but you should use technique to lift it off the ground instead. The Bunnyhop can also be used sideways as well as forwards – for hopping up things at an angle, like a rut on the trail, or up on to a curb to avoid a puddle or some debris like broken glass in the gutter.
Step-by-step
The perfect location: Start by finding a white line or something similar to perfect your timing on – something that won’t damage your wheels if you mess up. Only progress to bigger or solid obstacles once you’re mastered the technique, and you’ve learned the timing to clear the obstacle at different speeds. If the obstacle is higher or you’re riding faster, you’ll need to pull up earlier to clear it. A good rule of thumb would be that a 1ft high obstacle needs to be hopped from approx 1ft away at a sensible rolling pace.
Set up: Approach the hop at a brisk walking pace. You need to have you pedals level, with your good foot forwards. Cover both brakes and focus on your launch point where you intend to pull up. Just before you pull up, compress into the hop by bending your arms and legs and pre-loading your suspension if you have it. Imagine yourself as a big spring about to uncoil – visualise the hop in your head.
Pull up: Use the stored energy from the pre-load to explode into the air. As you pull up on the bars lean back with your arms straight and extend your legs, unweighting the bike. This helps push the front end higher, so you’ll naturally come up with the bike as it rises.
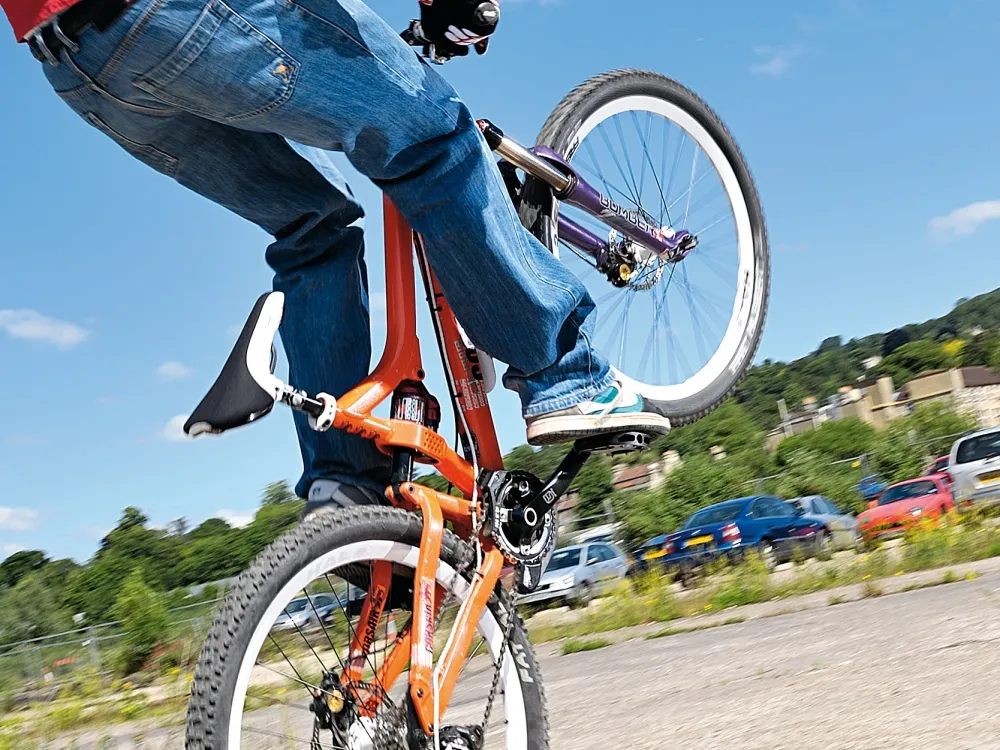
Scoop feet: With the front end up and your weight also coming up you need to scoop the rear wheel up with a flick of your toes. As the rear wheel starts lifting allow it to come up under you, and continue the scooping motion on the pedals.
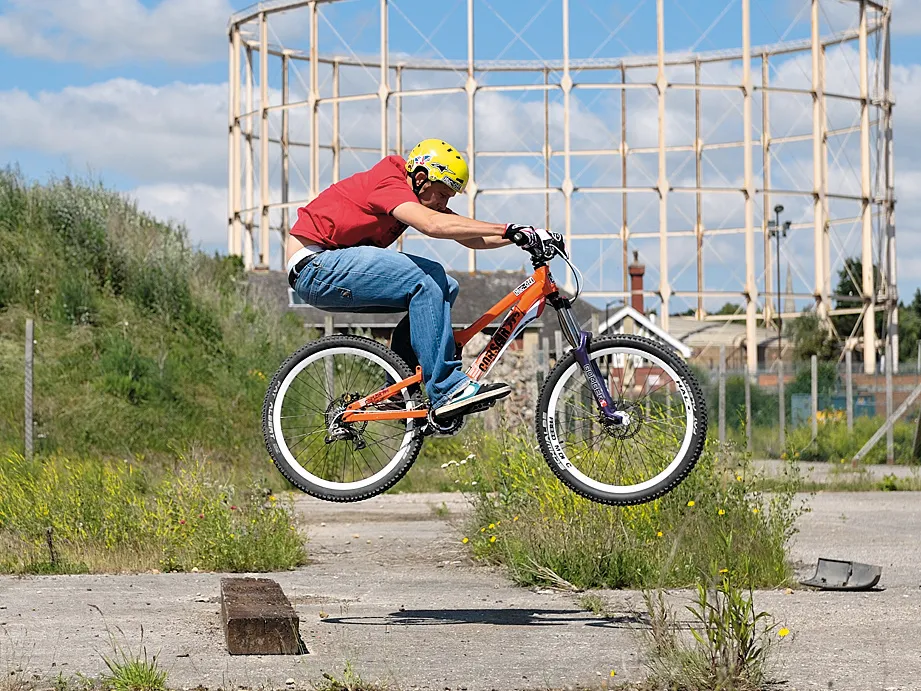
Tuck: At the peak of the hop for extra height you need to really tuck the bike up under you. Extend your arms and pull your knees towards your chest – if you’re really extended you’ll nearly have your head on your knees. With a high tuck, it’s possible to hop very high obstacles, although for everyday obstacles such as logs, you won’t need to be so exaggerated.
Absorb landing: As you return from your peak of the hop start thinking about landing – you want to land as softly as possible. Try to put the bike in a position that matches what you are landing on – touching down both wheels together if possible and use your whole body to absorb the shock. Try to keep your head up to make sure you ride away safely.
The Skid turn
It’s a common misconception that skids are just for kids – and yes, they’re a great laugh but they’re also useful to set up for turns, drifts and they’re a great way of laying the bike down in an emergency situation. They can be used to change direction quickly on the trail too, and despite people thinking skids tear the ground up, the damage is actually minimal if executed correctly. Your weight is on the front end, which allows the rear to slide with minimal friction.
Step-by-step
The perfect location: Skids can annoy people and attract unwanted attention – so think carefully about where you practice them. They also wear out your tyres in high friction environments, like concrete or tarmac, so keep them to a minimum. Find a corner somewhere that is too tight to ride at speed normally, but has the potential to be ridden at speed by manipulating your bike’s trajectory. Tight turns on the trails can be likened to any sharp turns that you find on the streets.
Hand control: To initiate the skid turn grab a handful of rear brake while your weight is over the front wheel. As the rear wheel locks, focus on your line and release the brake once the bike is nearly in line with the intended direction to take. Release the brake when you have around 10 degrees to straighten up and it will grip bang on queue. In wet conditions this will be a lot earlier because the lack of friction will take longer for your rear wheel to regain grip. You have to experiment until you know the limits of your tyres on different surfaces.
Body position: Keep your weight off the rear wheel and more towards the front of your bike. Remember that the front wheel is doing the steering, and the rear wheel is just sliding – if your weight is on the back end it will grip. As your weight will be up front you’ll need to remember that your steering has to be done with more emphasis on body weight, as opposed to turning the bars.
Tools for the job
Any bike will be fi ne for practising, but lowering your saddle will help until you’ve mastered the techniques, and using fl at pedals offers a bigger margin for error, as well as allowing you to learn the correct technique.
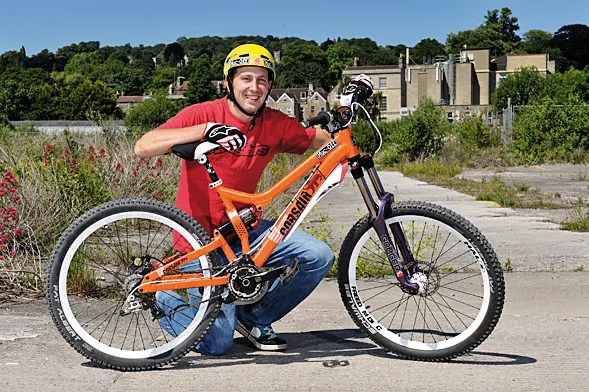
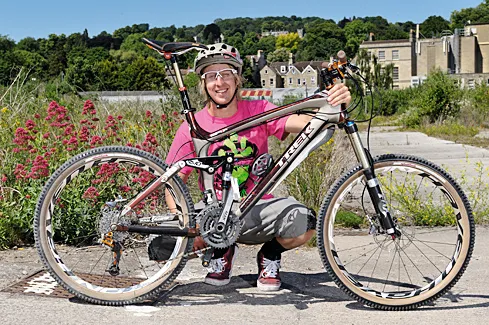
For this shoot, Doddy used his Trek Remedy all mountain bike, just lowering the saddle and using flat pedals. Chris Smith used his 5in travel slopestyle/freeride bike.