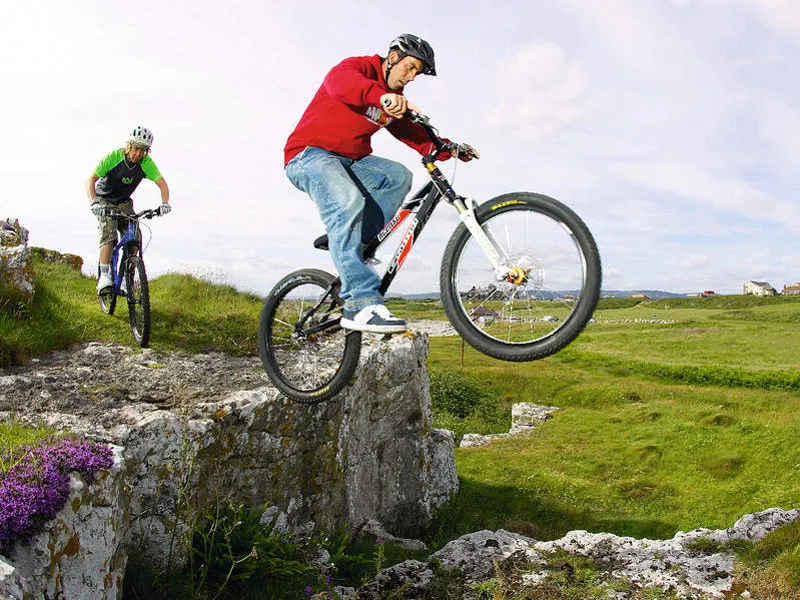

Trials skills can get you out of almost any situation, but most people think they don’t apply to their riding. Here we take a look at the skills you need for everyday trail riding …
Thundering down the local singletrack like a bobsleigh, you rail your favourite right-hander faster than ever, but have to skid to a stop for a fallen tree. It’s a familiar scenario. No one likes to ruin the flow and if you were confident at bunny-hopping, you could have hopped the log on the fly. Failing that, with a few basic skills under your belt, you could have hit the brakes, pulled a trackstand and inspected the size of the log before using an endo turn to change direction and go back for a run-up…
A hardtail bike is the key ingredient for this technique feature, as it’s important for you to be able to feel what the bike is doing. Anything you learn on a hardtail can be taken onto full suspension later down the line. If your first bike is a full sus, however, you won’t have the chance to develop your skill and technique, because the bike will simply let you get away with it.
The basics
Trials techniques can be extremely useful for overcoming obstacles on the trails, so here are the essential skills you need to handle everything a route throws at you.
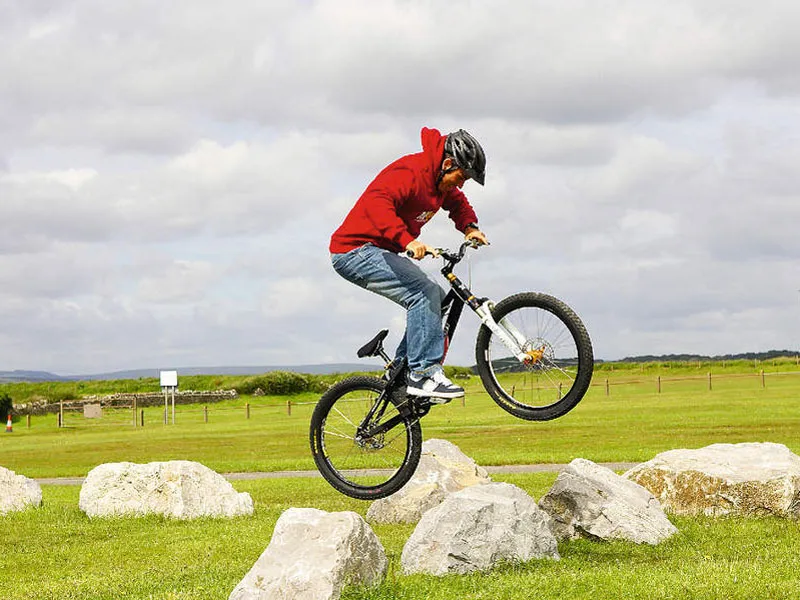
Bunnyhops
The bunnyhop is often scorned by those who haven’t mastered it, but to put it frankly, it is a trail skill as essential as losing your stabilisers.
Many people think the hopping motion comes from the feet, but it’s actually the arms that give the lift – your feet just aid the height of the rear wheel.
Pulling up on the handlebars will get the front wheel off the ground. To get the rear wheel airborne, pull up and jump up at the same time, without pulling your feet off the pedals. With practice you’ll get the rear wheel off the ground.
Now you can grasp how the weight on the bike works, push the bars forward as the rear wheel comes up – this makes it follow in an arc. Don’t worry about the landing too much until you’ve nailed the take off, but you should land both wheels together.
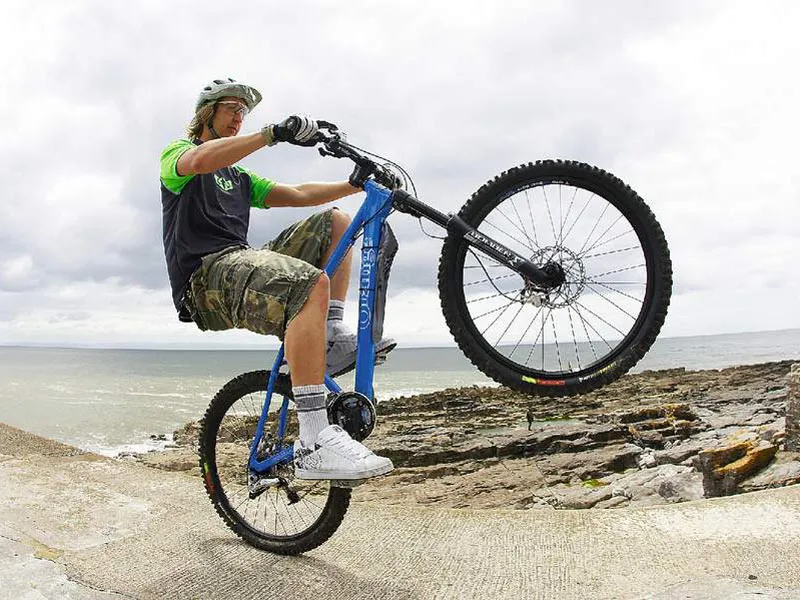
Wheelies
It’s not just a technique for having bets with mates – the wheelie can be used to loft the front wheel clear of puddles and other trail obstacles.
With the chain on the largest sprocket and middle chainring, pull up firmly on the handlebars while pedalling briskly. The low gear should help you bring the front wheel up, but be ready to jump off the back if you go past the balance point. Practice going past the balance point a few times to learn where it is, then, before looping out, grab the rear brake to bring the front wheel down.
Repeat until you know either side of the balance point; it’s just down to practice. Maintaining that point is a fine art.
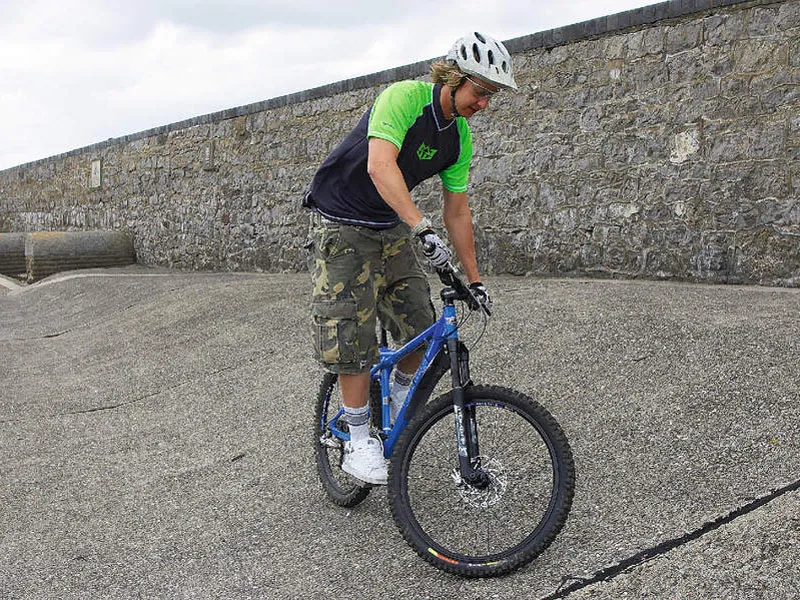
Trackstands
The art of balancing with both feet on the pedals is as helpful at traffic lights as it is on the trail; giving way to walkers, fellow riders and so on.
Find an area with a slight gradient, get your bike perpendicular to the gradient and come to a halt. Lean the front wheel into the gradient and use slight pressure on your leading pedal to find the balance point. Use your weight with the bike and rock very slightly back and forth. The front brake should only be used to tame your balance point. You should master it both to your right and left. If there’s no bank or gradient, use the front brake at both ends of the rocking movement to simulate a gradient.
Intermediate
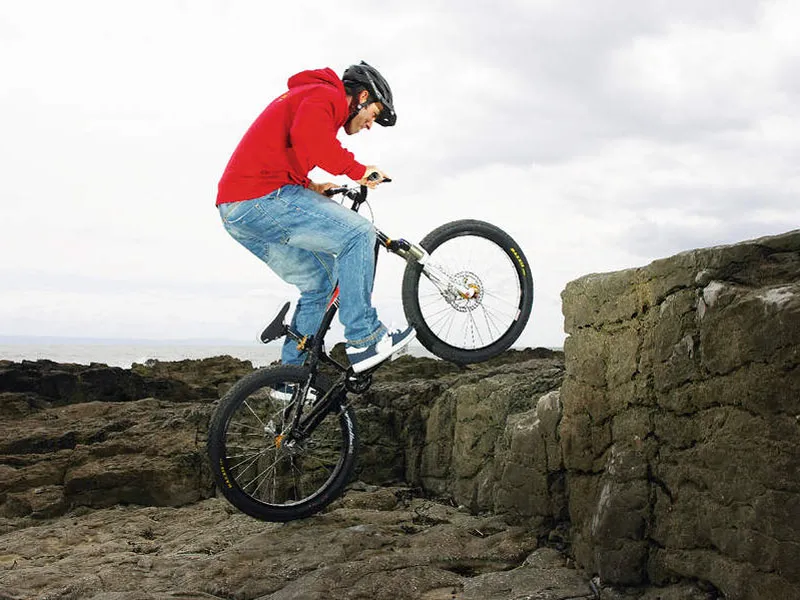
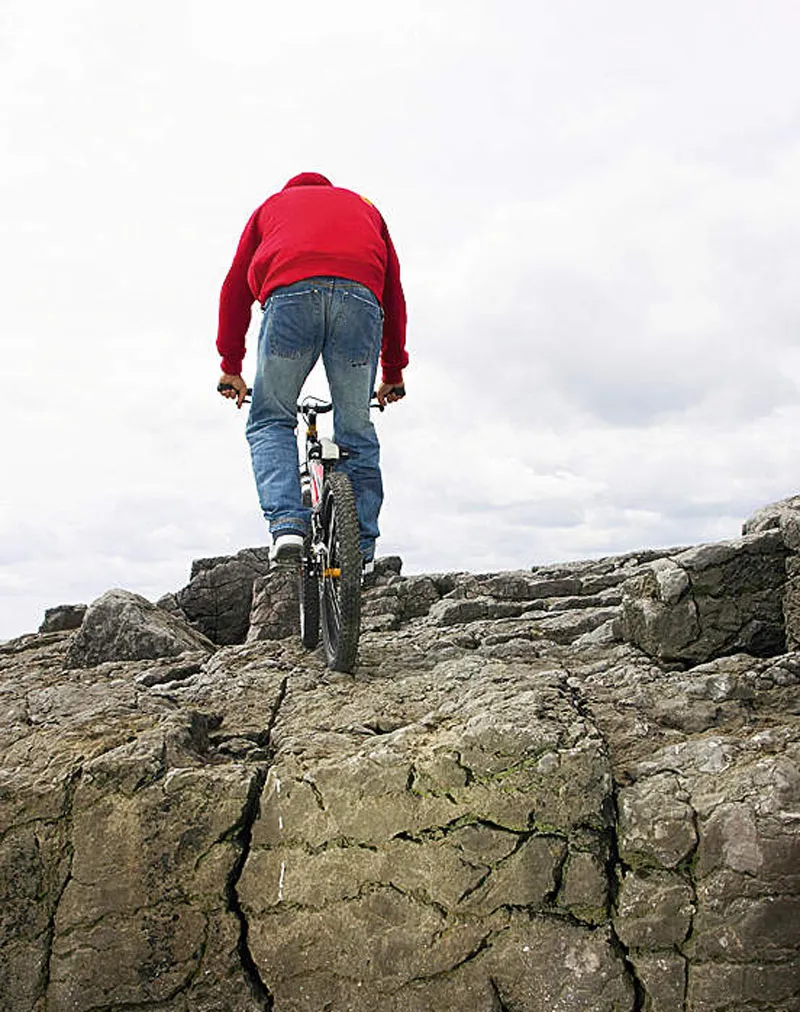
Climbing ledges
This is essentially the same technique as riding up a curb, but you can use it when you’re going too slowly to bunnyhop, or if the obstacle is too high.
Approach
Approach the step at a rolling pace and, anticipating the distance you need, lean back and pull up to get the front wheel on to the step. Use the same technique as you would to start a bunnyhop – the only real difference is that you use the contact of the front wheel on the step to help raise the rear wheel.
Pull up
As the front wheel contacts the step, move your weight forward on the bike at the same time as lifting your rear wheel off the ground.
It can aid you to lift the rear by grabbing a bit of front brake to aid in the lifting of the rear wheel – although make sure when the wheel is just about at its peak height you release it to allow you to continue moving forward.
Touch down
Before you start pedalling away, make sure that your front wheel is up and on the step – if it’s not you may have to dab a foot.
Bear in mind that momentum is your friend, so long as you don’t lose too much speed when you hit the front brake, you should be able to roll on forward. It’s a good idea to practice this technique on the highest obstacles you can, so when out on the trail you can assess the obstacles as they come…
Advanced
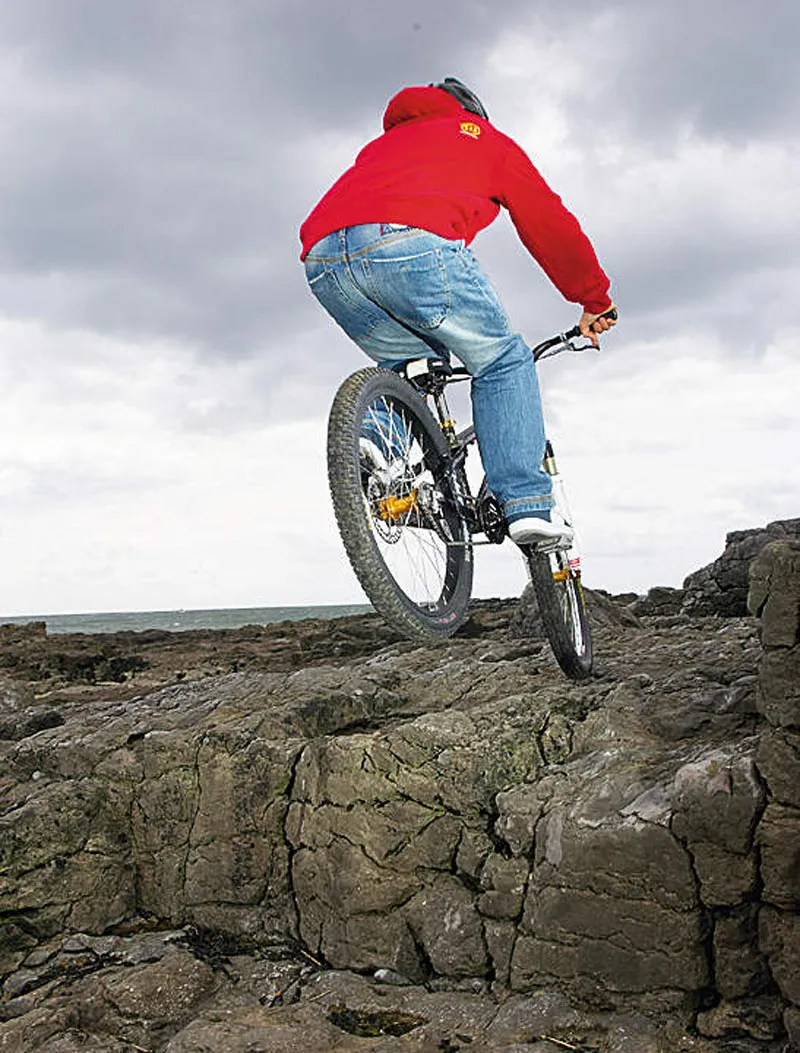
Wheelie drop
The wheelie drop is a simple technique, although it can be intimidating to learn as you’re relying on being able to loft the front wheel by pedalling. This technique comes in handy on slow single-tracks where you may find a small rock drop that’s too high to roll off, and you’re going a little too slow to pull up and jump.
Despite the reference to 'wheelie', you don’t actually sit down for this technique. You only use the pedalling and pulling up motion to get the front wheel airborne – if you were sitting down you’d be in the wrong position for absorbing a landing. A good place to start learning the wheelie drop is off curbs, then you can progress to anything as high as you dare. It’s one of the most valuable trials skills there are as it’s the basis for many other skills.