


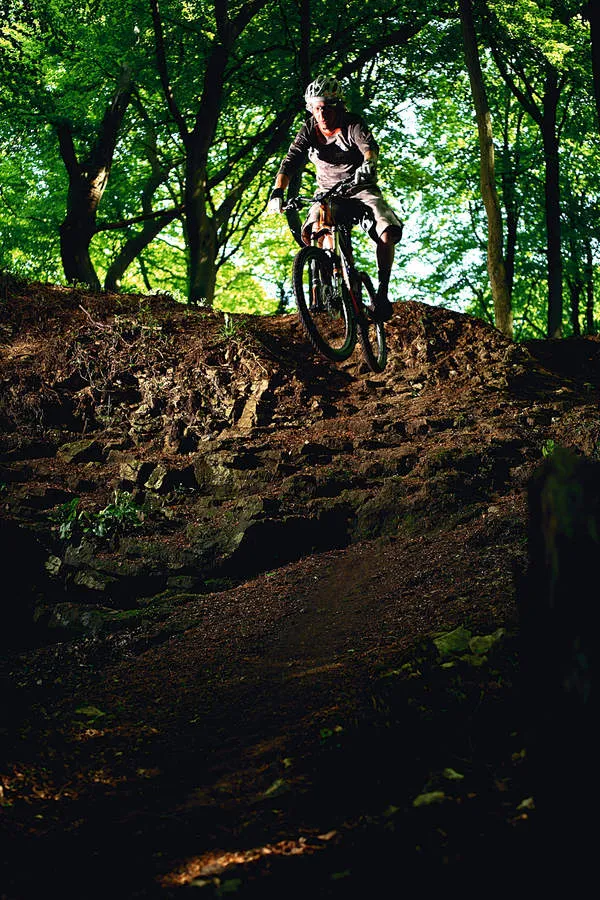

Big or small, drops always seem more extreme than they actually are. Here are several ways to negotiate them and some vital tips to help you succeed.
How to tackle basic drops
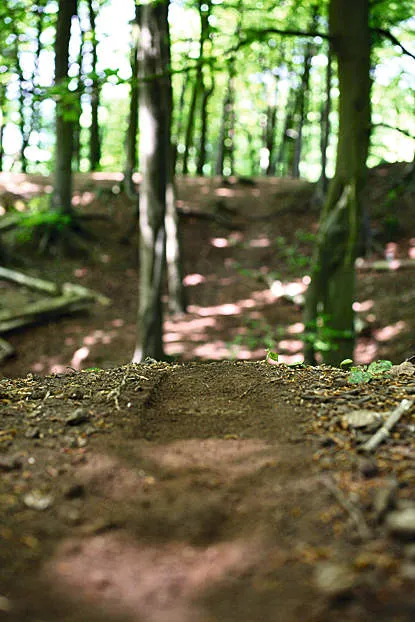
Small drops are normally around 2-3ft high, landing on a slope, and more common than not.
The best way to tackle these is by dropping them, which involves pulling up just enough to get the front wheel airborne. As you’re landing on a transition, aim to land both wheels together for the smoothest touch down. Avoid steep rear wheel landings because you could loop out.
When landing on a transition, bear in mind that you’ll rapidly pick up speed, so either make sure you’ll be ready for some controlled braking straight away after landing, or that the run-out is safe enough to roll out of at speed. As with any landing, use your arms and legs to absorb the impact.
How to tackle steep roll-ins
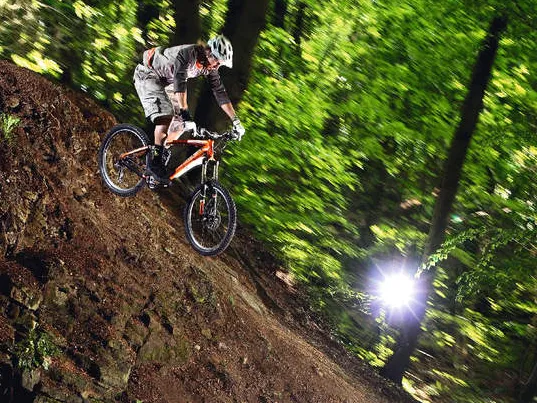
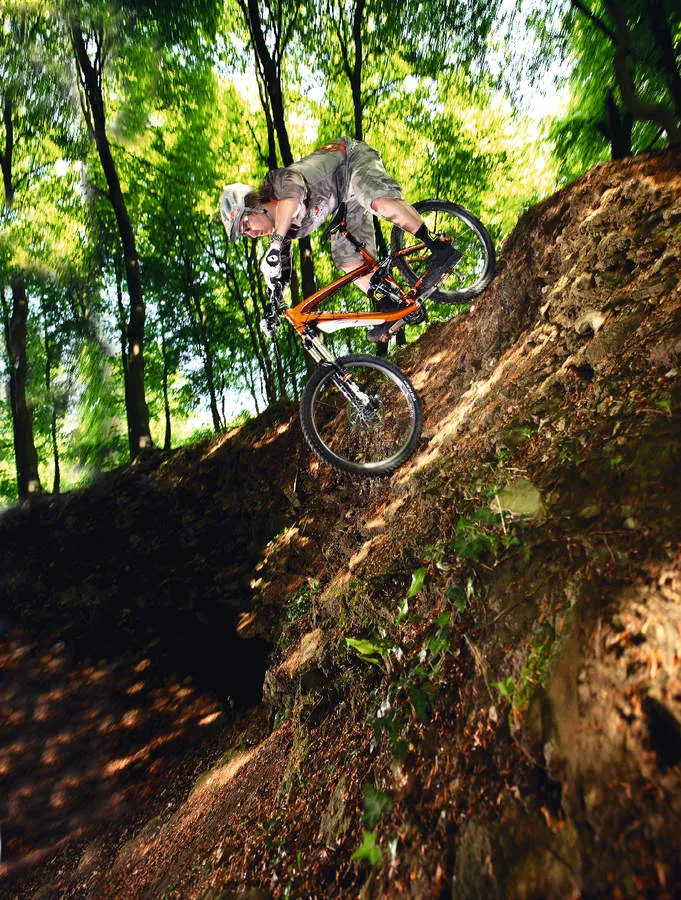
Despite what you may think, it’s possible to roll over near-vertical faces if the roll-in and roll-out are suitable.
1 Check over your bike. Before tackling anything steep, you must make sure your bike is in sound mechanical form. When you’re on dangerous terrain there’s no room for error.
2 Check for obstacles. Make sure that on the run-up there are no obstacles that are likely to make you take a wrong line off the drop, and take note of the correct line in and out of the drop. Inspect the landing for hidden rocks and roots that may buck you off line or damage your bike.
3 Allow for compression. Bear in mind that even when you’re rolling out of something like this, the suspension will become compressed and the ‘G-out’ you get pushes the bike into the ground, effectively removing the suspension’s action.
4 Use the force. Unlike steep terrain – where you need to control the traction of the bike – near-vertical drops like this don’t need such drastic action. You’re falling with the bike and are using the transition to pull you out of the freefall, so going with the flow, rather than against it, is the key.
5 Control your braking right up to the edge. If you go too fast you’ll become airborne, or worse, you could get kicked over the bars. As you roll over the edge you may need to scrub your brakes lightly in order to spot your run out, but other than that, stay off the brakes.
6 Stay focused on the run out. The bike will roll over most things when it’s freefalling, but make sure you’re ready for the ‘G-out’, which happens the moment when the transition of the slope levels out – this can be quite a vicious effect.
How to pull off wheelie drops
For slow speed, technical drops, the wheelie can often be best.
1 Drop down before you drop. When you anticipate a drop, get in a fairly easy gear – the low ratio will make light work of lofting the front wheel.
2 Crank up the front end. You can aid the pulling-up motion by pedalling, but you may only need to do a half crank to get sufficient lift to propel you off the edge and raise the front wheel. At first you may find it easiest to be rolling, but with time, you’ll be able to go from a stationary position, which can get you out of a surprising amount trouble.
3 Practice makes perfect. The wheelie drop is all about timing, so learning it on something small like a curb will allow you to grasp the perfect timing. Then you can use this technique on drops of virtually any size.
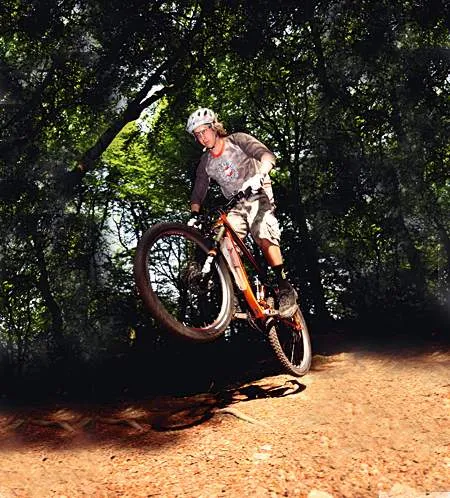
How to prepare for pre-jumping roll-ins
A steep bank or drop that’s enough to slow you right down, but that can be ridden fairly easily, should be OK to pre-jump. This is effectively a bunnyhop before the edge of the transition, allowing you to land in the transition as if it were a landing ramp.
First master this technique on something basic. Place a stick on the floor, and ride at it at a brisk walking pace. Try to bunnyhop it, but land front wheel, then with the back wheel on the stick. Go faster and faster until you can judge the distance at which you need to pull up in order to get ‘in’ to a transition at most speeds.
Then take it to the trails. Try it on a small, shallow drop first and then build up. Until you have the technique dialled, you’ll occasionally hang the back wheel up – it won’t make the transition – which can lead to crashing.
How to approach step-down jumps
Although not a drop by name, step-down jumps can be approached in a similar way as a drop, but one that has a gap to clear before you reach your landing.
Some step-downs are more like drops – such as the example we’re using here, which has a drop of around 3ft. This can be dropped to flat without much of a problem, but given the natural landing transition that follows the flat area, hitting the drop at speed and using it as a step-down jump is an option that’s smoother and faster – and more fun.
With step-downs, it’s more about the speed than anything else – if you don’t make it to the transition, the landing will be harsh, so speed is your friend. Check your run-in and run-out areas for hidden dangers, and then try a few run-ins.
With a jump like this, you can always drop it to flat first to get an idea of how much faster you’ll need to go to make the transition.
Once you’re happy, get some speed up, but don’t pedal right up to the take-off area. Give yourself some time to set up, then pull up and keep the bike level in the air by shifting your bodyweight fore and aft as necessary.
As you come in to the landing, extend your arms and legs to absorb as much of the impact of the landing as possible.
Step-down technique summarised
1 Get in position for take-off. By now your eyes should be focussed on the take-off point
2. Pull up... enough to keep the bike nice and level. Keep your eyes on the landing zone
3. Prepare to land. Keep an eye on the run-out and extend arms and legs ready to absorb the impact
4. Absorb as much of the landing as possible using your arms and legs, which lessens the impact to your bike
Top tips for dropping off with style
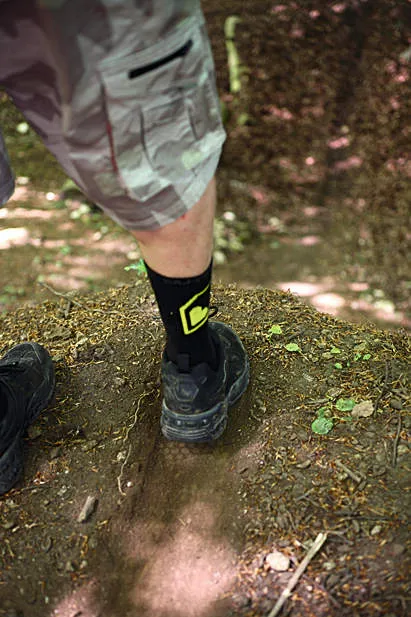
1 Put your wrong foot first
Knowing which foot to put forwards is important for landing drops and for take-off. When using a wheelie to loft the bike from a drop, you may only be using half a crank – so to land in the right position, you must take off with your wrong foot forwards.
2 Master the bunnyhop
The fundamental skill to many trail techniques – keep practising all the time. Test your depth perception by riding along trails and trying to bunnyhop and land on small sticks and transitions. The better you get at this, the better you’ll be when it comes to pre-jumping into intimidating drop-ins.
3 Learn to do standing wheelies
For the classic wheelie you stay seated, closest to the balance point. To raise the front wheel off drops, you’ll need to learn standing wheelies. They’re harder because your bodyweight is further away from the bike. Practice off curbs or other small drops.
4 Mark your take off
Marking the ground by your take-off point is a great way of making sure you’re properly lined up and avoiding dodgy landings… We’ve seen people use sticks, rocks and all sorts, but we find a simple shoe mark on the ground is often enough.
5 Mark your landing site
When riding a drop, it’s more than likely that the run-out will involve having to avoid a tree or a few stumps, so it’s well worth using distant trees or other landmarks to line up. That way, when you drop in you’ll be facing the safest direction for riding away.
6 Inspect the roll-out
The old saying’s never been more true: look before you leap. It won’t be nice landing on rocks, roots and other hidden nasties, so inspect the landing and move anything dangerous. Don’t be afraid to toss away the odd rock, and sweep leaves out the way if there’s a lot as they can camouflage hazards.
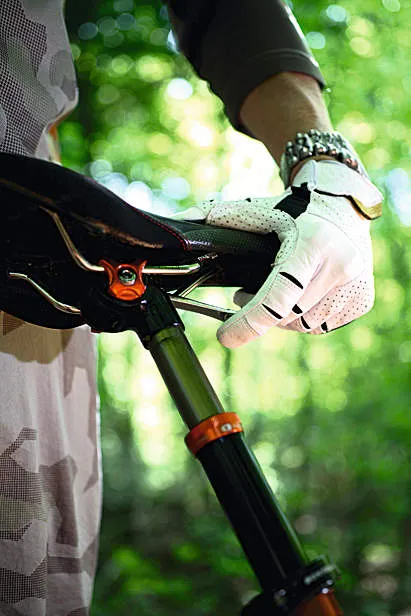
7 Lower your saddle
Obviously you don’t want a saddle in the way on landing – the more you can move to absorb the shock, the better. Height adjustable seatposts like this Crank Brothers Joplin are ideal on all-mountain and freeride bikes because they allow three inches of rapid adjustment without you having to stop riding.
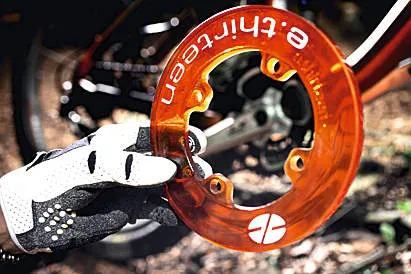
8 Use bash protection
When fully bottomed out, your bike comes frighteningly close to the ground – in particular your chainrings. If you ride somewhere rocky, or you suffer from smashing up your chainrings, you should look into the many chainring protection options out there…
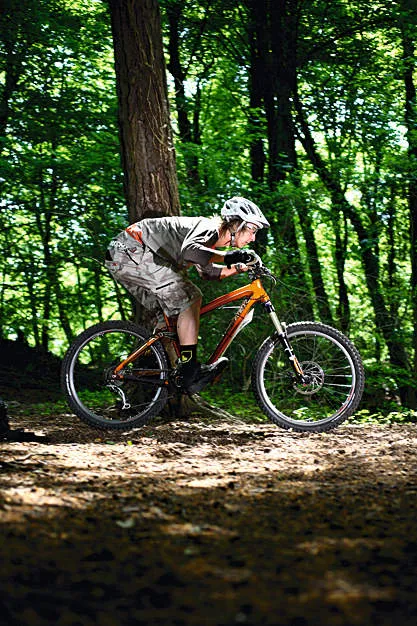
9 Be the machine
Before bikes had their own suspension, we had to make do with the world’s best suspension system – and we can still use it! With speed sensitive high and low speed compression and rebound damping, your arms and legs are far more sophisticated than any man-made system.
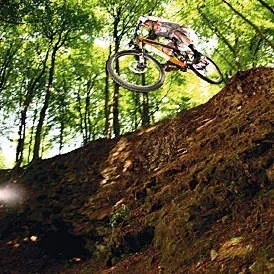
And if that all goes well... here's how to tackle big drops
1 Approach. Stay calm, focus on your take-off point and keep your speed controlled.
2 Freefall. With weight over the middle of the bike, freefall while preparing to land.
3 Landing. Extend your arms and legs to absorb as much of the landing as possible.
Check the run-in and ensure your line up is safe, then move down to inspect the landing area, and make sure it’s obviously clear. Then give your bike the once over to make sure it’s in sound condition. Dialling on a little extra rebound damping on your suspension is a good idea if you’re riding a drop for the first time, in order to help avoid being kicked off the bike.
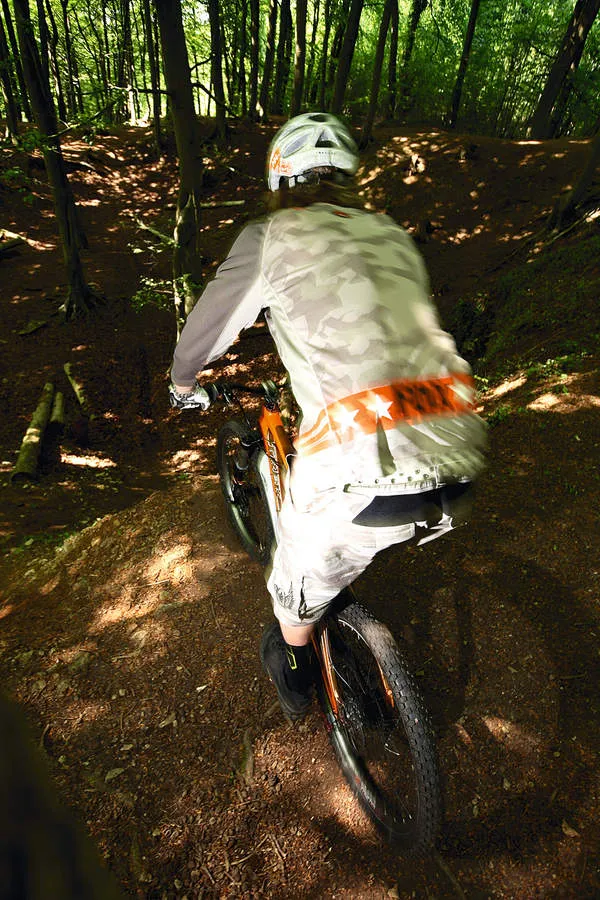
In this case, the bike drops more than it travels forward in distance, so I’m only travelling at a slow speed. With pedals in my favoured position I spot my run-out then prepare for take off.
I pull on the bars as the front wheel leaves the edge and keep my weight back to control how the front end drops. As the back wheel leaves the edge I centre myself on the bike and extend my arms and legs to absorb as much as possible of the landing – and, keeping my head up, ride away chuckling like a buffoon…
Tackling big drops isn’t for everyone – it can damage you and your bike, and it’s intimidating to say the least. But when done properly it’s a real buzz and will up your freeride ante to the max.