


Jumping is one of the most exhilarating things you can do on a bike, and an essential skill to learn if you want to be a better freerider... Here we look at the common types of jumps that you’re likely to find out on the trails.
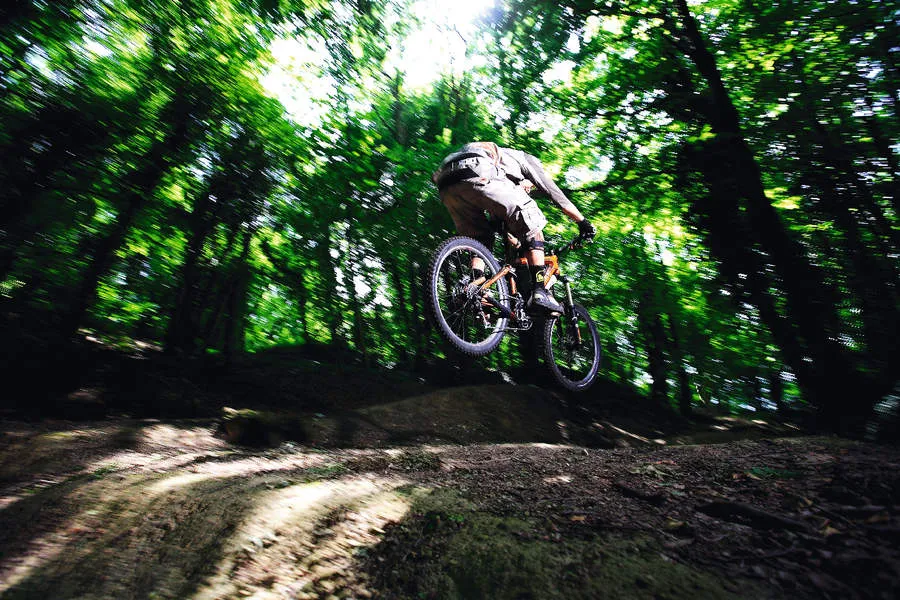
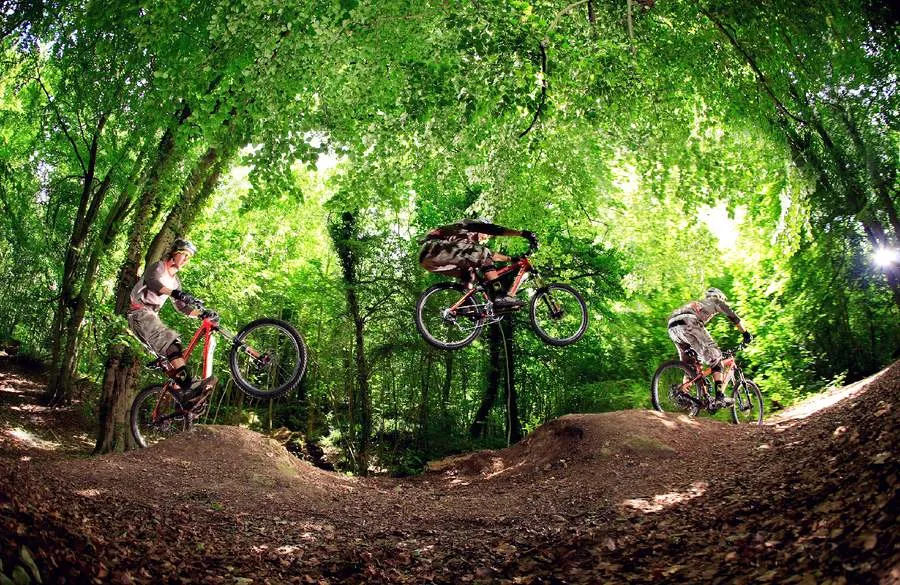
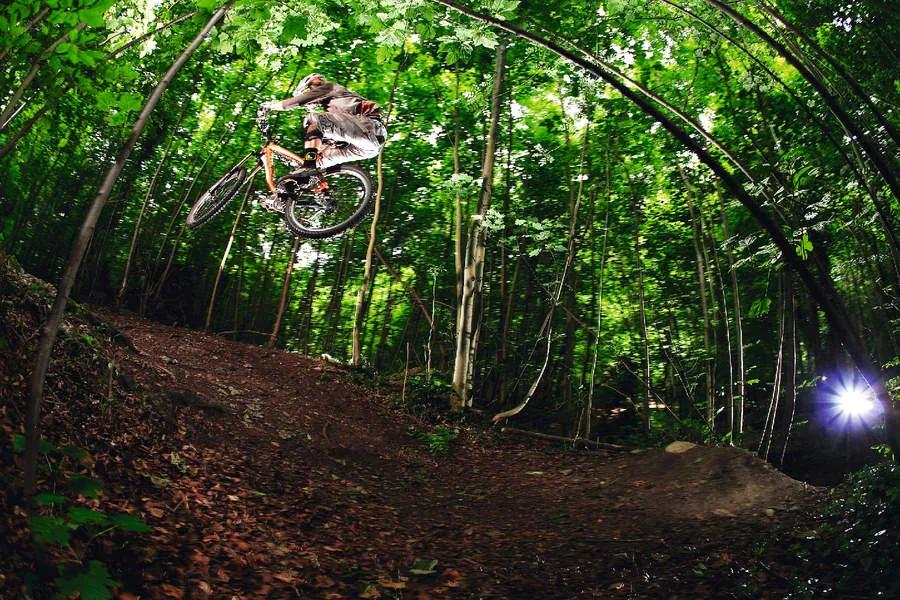
Freeride used to be about drops, but now that riding is as much about flow as it is being ballsy, and the need to conquer all forms of jumping is high. It’s rare these days that you can ride at a freeride park or even just a trail without encountering a gap jump of some kind.
How to tackle jumping to flat
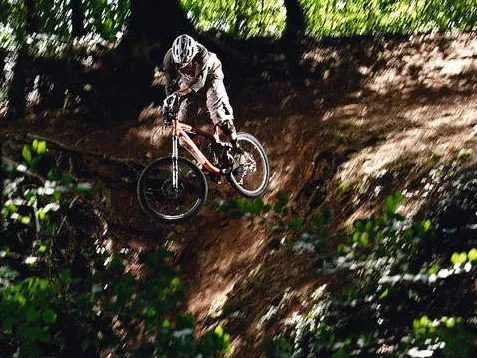
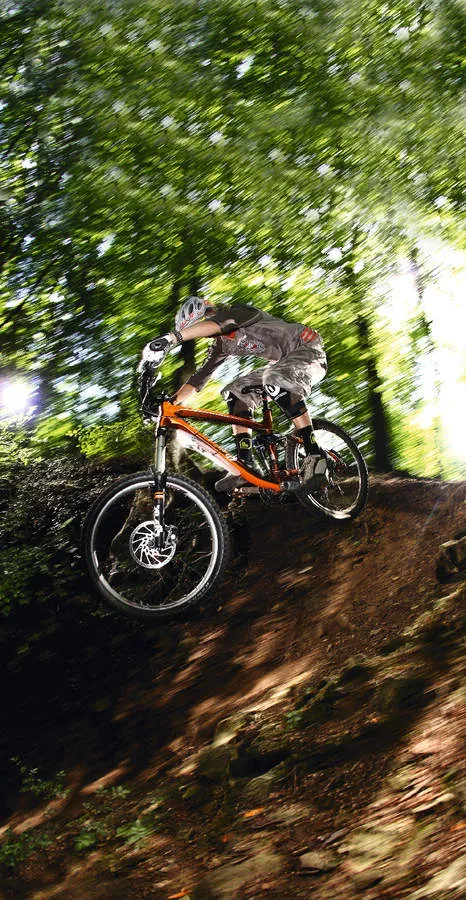
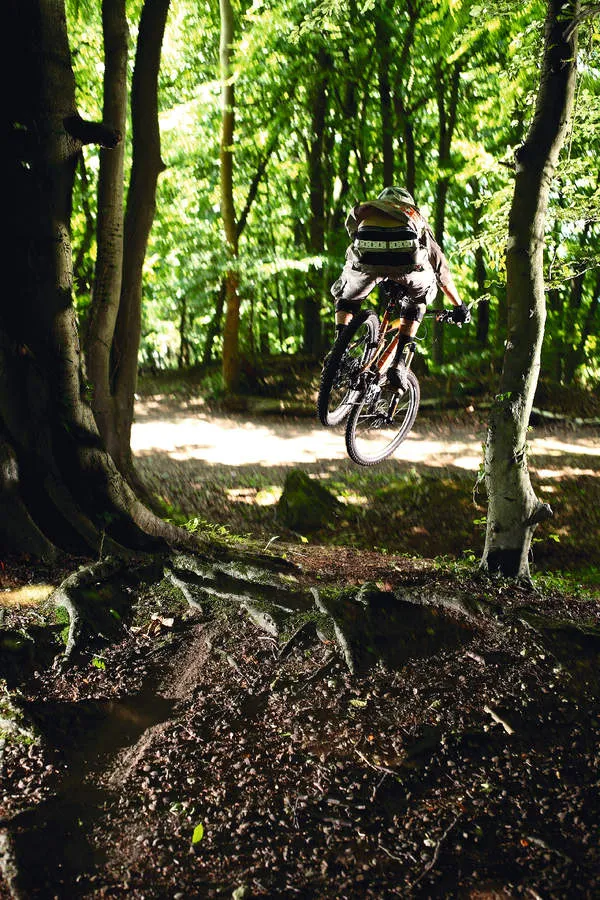
Before you learn to tackle jumps with lips that boost you in to the air, you need to understand and control what the bike wants to do once airborne. The best way to do this is to jump out of a bombhole where you jump up and out to flat – this is also known as a fly-off jump.
The three things you need to look at before tackling a jump like this are your run-in, the take-off area and the landing area.
1. The run-in should ideally be as straight as possible and allow you plenty of time to set the bike up. You need enough room to get your footing right, body position poised for take-off and be ready to spot the landing as you’re taking off.
2. The take-off itself shouldn’t be that steep, otherwise it will do too much of the work – the idea with fly-outs is that you can gradually build up, using skill to get you higher, rather than the kick of the take-off.
3. The landing should be fairly flat and as free from roots, rocks and debris as possible. If there’s any sort of downhill or transition to land ‘in’, use it, because it will lessen the impact to your bike.
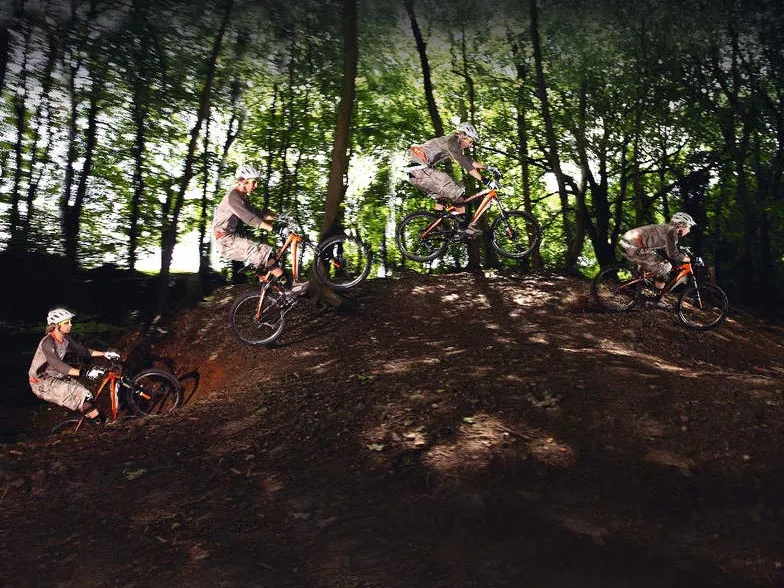
The key to jumping to flat is remembering that a simple transition will push you off the ground when hit at speed. It’s up to you to control your weight – by moving forwards and back – to balance the flight of the bike. As you get better you’ll be able to bunnyhop on take-off to get extra height.
- Get ready to spring, focus on the take-off and be ready to shift your weight
- Pulling up on the bars to aid lift, spring up with the bike as it comes off the lip
- Be ready to move your weight forward to counter the looping movement pulling up on the front end
- Move forwards on the bike, and pull it up towards you so your weight is balanced between the wheels
- Use your arms and legs to absorb landing. Keep your head up and eyes forward, looking at the run-out
How to pull off fade jumps
Once you’ve learned the basics of how your body weight affects your bikes position in the air, you can move on to some fun fade jumps, which are a bit easier to do on a bike.
Most people will have nearby woodland with some big old bombholes – these are great fun for launching into because it means you have a transition to land in.
- First of all, ensure the slope is long enough that you won’t land to flat at the bottom.
- Then check the run-out is safe and there are no hazards such as trees, rocks or holes to hit.
- For the bunnyhop technique, simply pull a bunnyhop at the top of the slope and freefall in to the bombhole – how far you go is up to you!
- While you’re in the air you should be using your body weight to control your bike.
- You shouldn’t nosedive heavily into a bombhole – the ideal way to do it is to land with both wheels together.
- Keep your body weight fairly central on the bike to ensure a safe flight and smooth landing
Get plenty of practice on tabletops
Aptly named because of their trademark flat top, tabletop jumps are what you need to learn the basics of jumps with landing transitions. The safety margin of having the flat top means you can roll tabletops first and build up your speed until you feel you have enough to get airborne.
When you’re learning you may ‘hang’ the back wheel up, which means it won’t make the transition and will feel quite harsh, but again, the flat top of the jump lets you get away with it – on a double jump you could damage your rear wheel, or even crash.
Break it down in to three parts – approach, airtime and landing.
- On approach, you should be preparing to take-off as you would to flat
- When you get airborne, keep your weight further forward to allow the bike to meet with the transition.
- For the landing, your front wheel should land slightly before the rear wheel – this will feel really smooth.
How to psych up for double jumps
The double jump is just like jumping a tabletop, but it plays a little mind game with you because you’re forced to land on the landing ramp – not making it is not an option.
You’d be surprised by how many people get psyched out by double jumps, even if they’re happy riding much bigger tabletop jumps.
The best preparation for your first double is having tabletop jumps completely mastered. When you do, you’ll be able to estimate your take-off speed and should be able to tackle the jump without problems.
1. Take off: Pulling up, let the rear wheel rise, then raise yourself up on the bike, ready to push the front end down
2. Airborne: Spot the landing, push the front wheel in to meet the transition near the top. Your rear wheel should follow and land in the same place
3. Landing: Land smoothly and absorb as much of the landing as possible with your arms and legs
- If the double is too big to visualise how fast you need to go, then you need to try a smaller double first.
- Make sure you get into the landing as smoothly as possible – this is the key to double jumps.
- When airborne you allow the rear wheel to rise up between your legs, and push the front end down and into the landing.
How to tackle step-up jumps
Like a double jump, the step-up has a gap, but instead of having to nosedive down into a landing, you’re jumping up onto a landing.
Making sure you have enough speed to jump up on to the landing is the key.
In this example, the landing area is long enough to go as fast and high as you dare, so hitting it with lots of speed isn’t a problem, but be aware of other jumps where the landing area isn’t as long if the take-off is steep you could get bucked up pretty high and could lose control of the bike.
Like jumping to flat, step-up jumps often have flat landings, so correcting the bike in the air is important. Looping out isn’t pleasant and steep front-wheel landings are equally dangerous.
Hit the take-off with plenty of speed, and shift your body weight to adjust the bike in the air. Try to land both wheels together if the landing is flat.
How to negotiate bump jumping
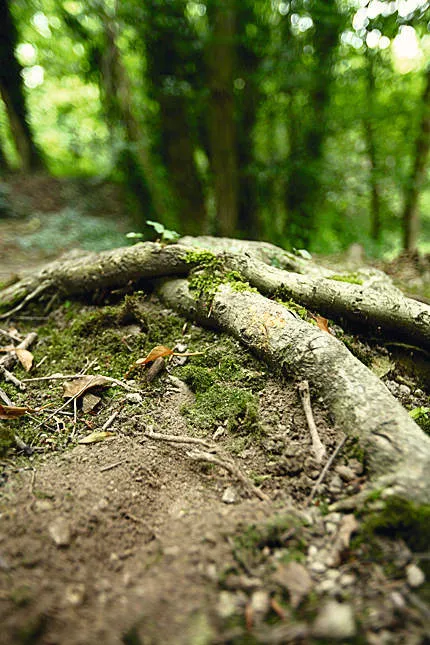
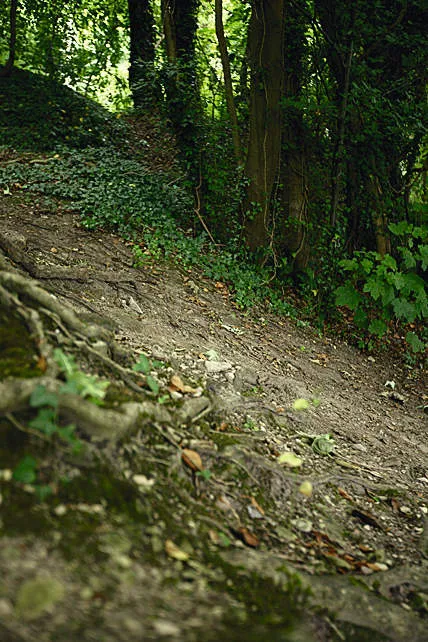
This technique doesn’t really have an official name, but many refer to it as bump jumping because you’re using an obstacle – usually a bump – on the trail to get airborne. Roots, rocks and even ‘natural’ transitions are order of the day here.
The idea behind bump jumping is that you’ve spotted a transition to land in, but there are obstacles before it. Almost certainly there will be a rock or something that you can hit and pop off to clear the obstacles and meet with the transition. A natural double jump, if you like.
Finding something to practice this on isn’t easy, but once you’ve ridden your first bump jump, you’ll suddenly find yourself able to see them everywhere.
In this example, the transition I’m landing in is on the backside of a load of roots. Normally I’d have to slow down to ride this, but by bumping off the first root I’m not only able to keep my speed, but also to get a bit of air at the same time.
As you approach the take-off, keep your eyes fixed on the run-out area and prepare to nose into the landing.
Basic tips for successful jumping
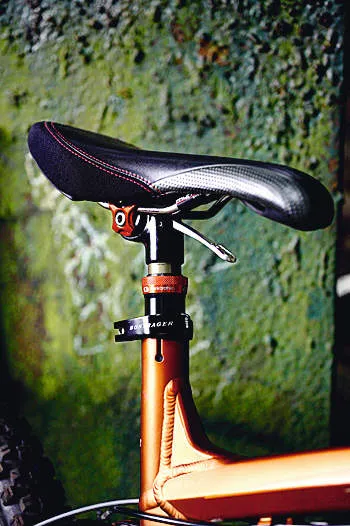
Lower your saddle
There are two advantages to lowering your saddle when jumping. Primarily, you can use your whole body to absorb the shock, not just of landing, but also on take-off. Secondly, your saddle won’t kick you up the arse, which can buck you over the handlebars.
Use protection!
Do we really need to tell you that occasionally you’re going to have a crash and you should pad up appropriately? Well, we’ll keep saying it cos it’s true. The most common contact areas with the ground are your knees, elbows and hands. You know what to do…
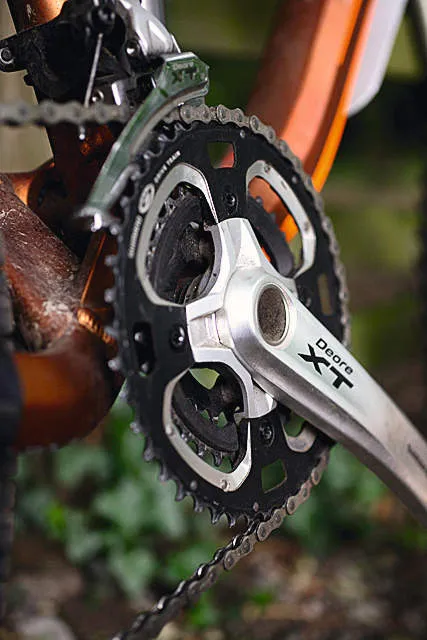
Stay on the big chainring
Unless you’re running a chainguide, keep your bike in the biggest chainring – this will help things stay smooth because it takes up the slack in your chain and will help silence things.
Intermediate tips for stylish jumping
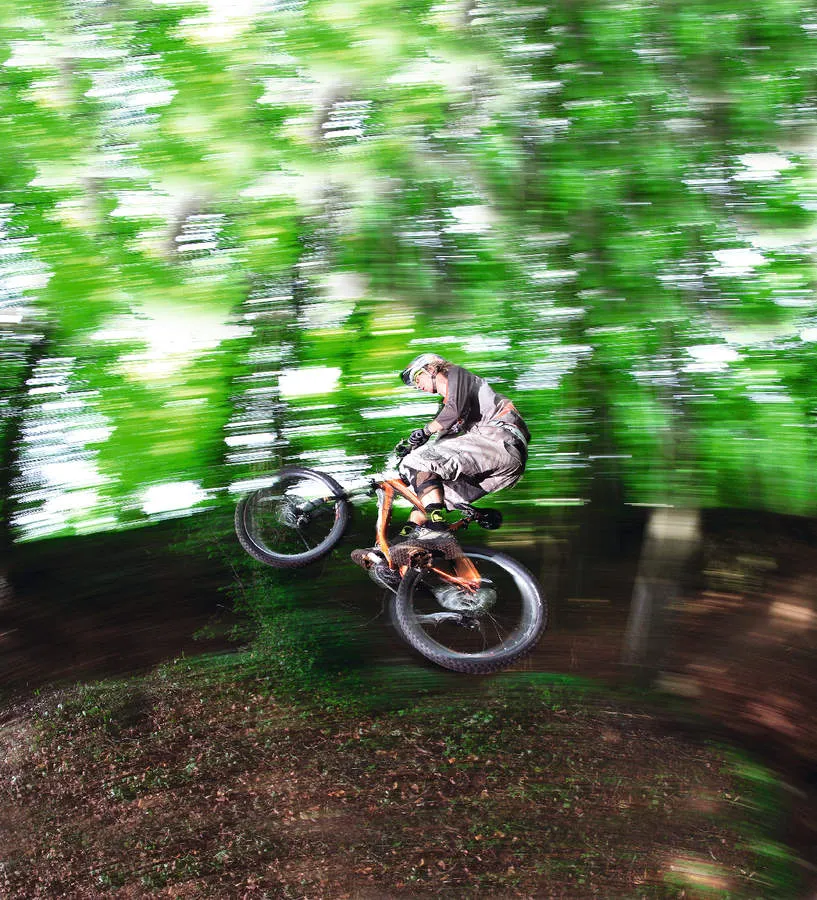
Master the bunnyhop
The bunnyhop is a useful technique to help get extra height when tackling jumps. By using less speed on take-off, you can pop off the lip using the bunnyhop for greater height and distance.
Try to pop-off roots
Even if there’s no landing, hitting roots and rocks as little take-offs can help you learn what the bike wants to do when airborne. When out blasting trails, take the time to practise your jumping like this – you’ll really benefit from it.
Utilise hidden dips
Spotting even a slight dip in the terrain will allow you to push in to it like a landing ramp, so using a bunnyhop here and there is a good way of using the ground to your benefit for practising jumps.
Look hip when you hip jump
This is where you approach the take-off in one direction, and turn while on the take-off and in the air to land at an angle up to 90 degrees from your take-off direction.
Your preferred way of ‘hipping’ usually depends on which foot forwards you normally ride. If you ride right foot forwards, you’ll normally prefer to hip to the left, so the trailing foot can be used to ‘scoop’ the rear end up and round for the direction change.
- Before trying a big hip jump, you need to be confident at changing direction in the air. Practise this on a jump to flat, where you can carve a turn on the take-off and land having already fulfilled it.
- The next stage is to find a jump that you can take in a straight line, but that you’re also able to hip. One great example of this is the hip near the bottom of the Mynyyd Mojo DH track at Cwm Carn in Wales.
- As you pull up off the take-off, you should be looking in the direction you want to turn and should drop your inside shoulder slightly.
- As you get off the ground, lean the bike over and push your outside knee on the top tube. At the same time as doing this, scoop the rear end round with your feet, through your hips. This will swing the rear end round, but make sure you don’t turn too far or you’ll high-side on landing.
Basically, the more you want to hip, the more you can, and eventually you’ll be able to build up to a hip where you turn a full 90 degrees in the air – but only practice will make perfect.
1. Drop your inside shoulder as you take off to initiate the turn
2. Get your knee on the top tube to further force the bike over, and scoop with your feet to continue the motion
3. Use your body weight to level out the bike and stop the motion of the turn, and absorb the landing as much as possible
Advanced tips for fearless jumping
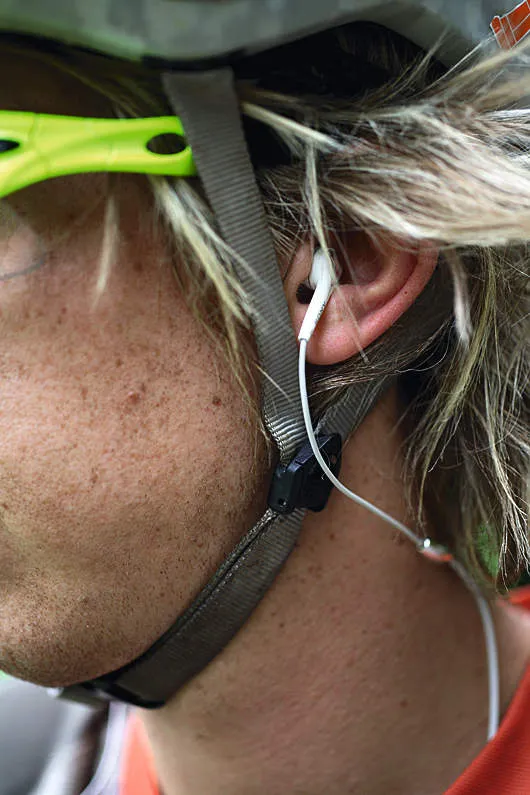
Psyche yourself up
Listening to tunes can help you focus if you’re trying something big.
A lot of the top jumpers get in the mood by plugging in, although if riding with tunes on the go, we recommend using just one headphone so you can still hear what the bike is doing.
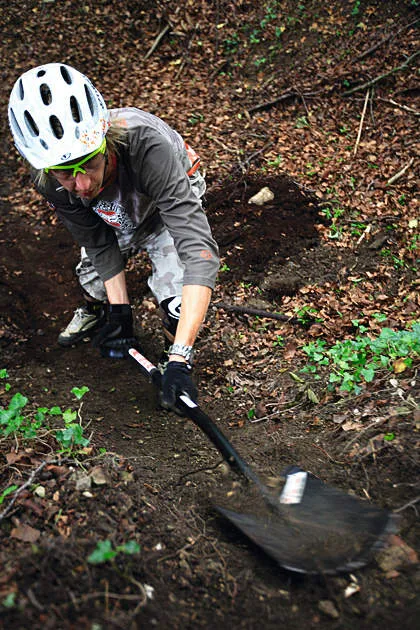
Consider some grooming
If there are any promising jump options out on the trails near you, go and give them a quick nip and tuck. You’ll be surprised how easy it is to shape up a quick hip jump.
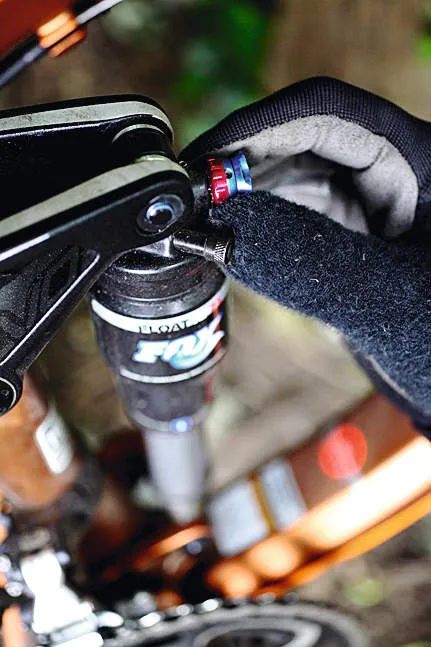
Pump up your shocks
For big jumps, running your suspension a little harder is a good option. You should also add a bit more rebound damping to avoid getting kicked by the jumps
By now you’d have to be getting pretty good at jumping – and you'll need every type of jumping if you are getting ready to enter a downhill race. You need to be able to squash jumps, boost off them, hip jump, gap jump… and in the world of freeride it’s much the same.