
You've had a crack at the basics and you're back for more. Next we’ll go through some more advanced techniques, before finally unleashing you as a confident and assured downhiller.
How to master advanced techniques
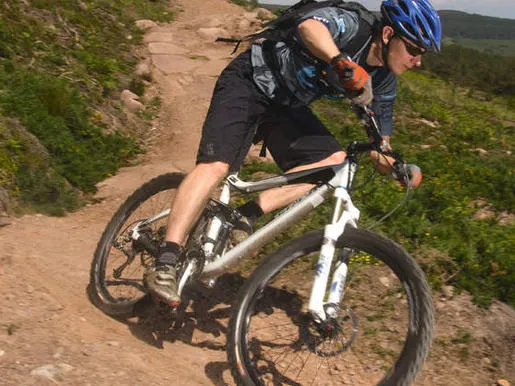
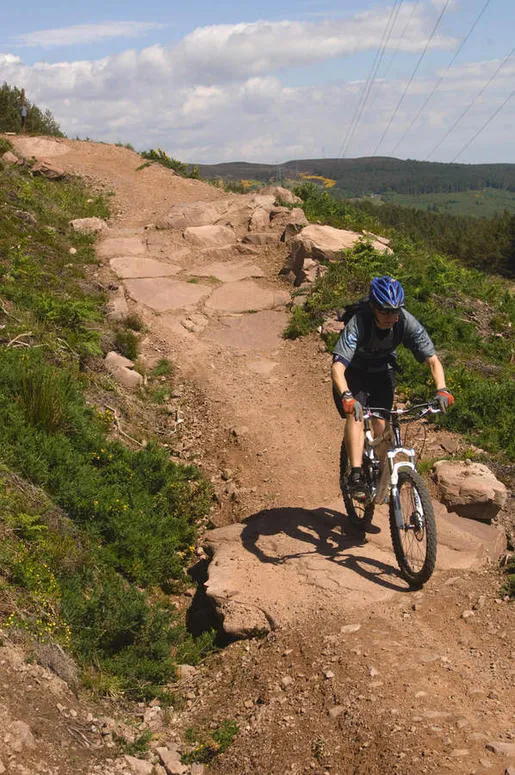
Having mastered smoother downhill sections, you can start to look at more technically demanding portions of trail which feature obstacles and require more advanced cornering techniques.
The section of trail featured in this next sequence has a tight right-handed berm with a rock drop-off on its exit. Sections such as these require faultless line choice and technique to ensure you carry through the section with maximum momentum, and to leave you in good shape for whatever the trail has in store for you next.
Step 1. Approach with a brisk jog’s worth of momentum. Keep looking ahead to spot the initial obstacle (in this case the berm) and, if possible, get a sneaky look at what comes after that (the drop-off).
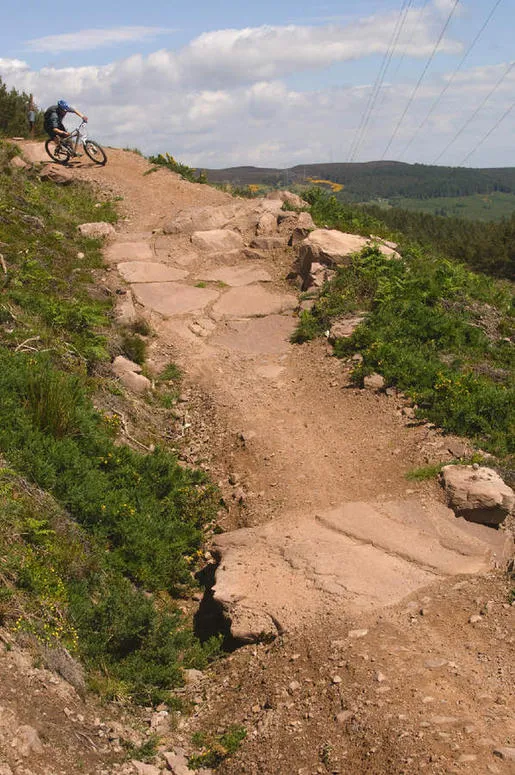
Step 2. Deal with the berm first, thereby ensuring you're in best shape to tackle the drop-off. Rail the berm as normal and immediately upon exit, spot the drop-off and aim for your line over it (preferably one that sets you up best for future obstacles).
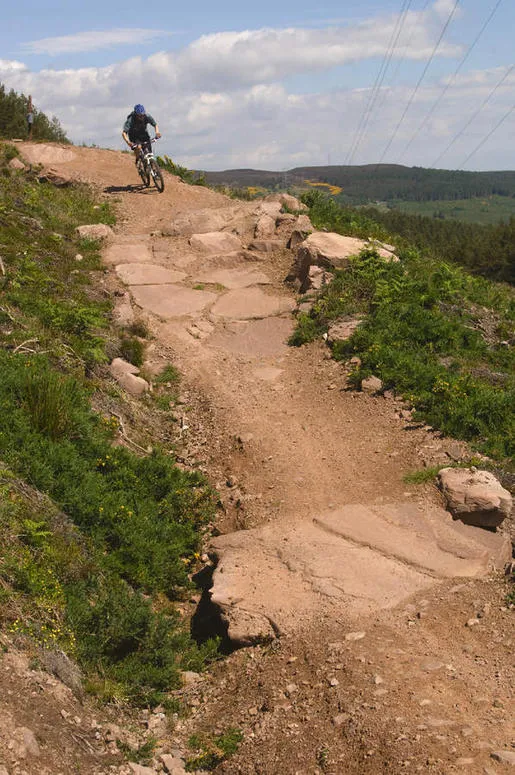
Step 3. Spot the landing and aim to cosset the bike into the floor with both wheels together, extending your body to meet the trail initially before absorbing the shock with your arms and legs.
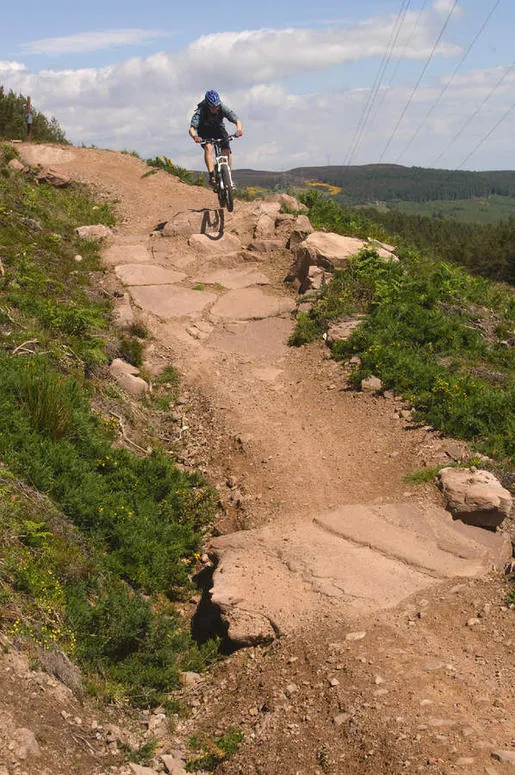
Step 4. Finally, having landed smoothly and in control, immediately look up as far ahead as you can or to the next obstacle to make sure there are no surprises!
- Top tips: Use a quarter-crank turn from the ‘attack’ position to inject some speed if you’ve misjudged your entry momentum. This allows you to snatch a burst of extra pace while coming out of your optimally balanced position only for a split second.
The next step - negotiating NorthShore ladders
This section is an exploration of another skill that requires the mountain bike rider to bring together multiple core riding skills in order to maximise success.
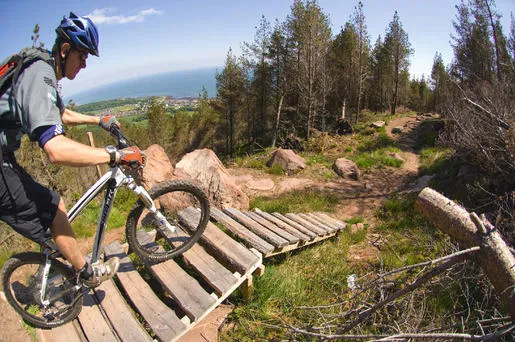
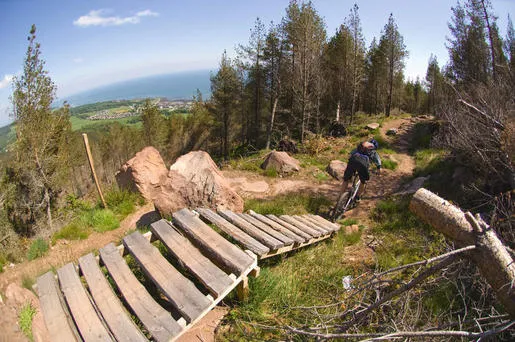
Man-made ‘NorthShore’ obstacles are increasingly popular because they enable trails to forge on regardless of boggy terrain underneath. Canny trail builders such as Pete Laing have used them at Golspie to maintain the flow of the trail and link up otherwise unrideable boulders to form a more challenging downhill line.
Step 1. Spot the obstacle early and adopt the ‘attack’ position. Adjust your momentum to ensure you have no less than a brisk jog’s worth of pace, setting the bike up on the best line that will keep you on the woodwork.
Step 2. Focus on the start of the timber section and unweight the front end of the bike and then the rear wheels as you enter the trail to maintain that minimum momentum.
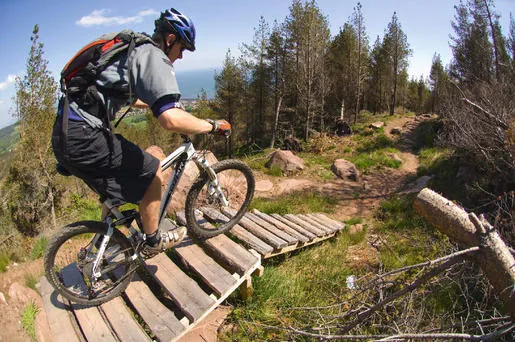
Step 3. Once smoothly on, look for the end of the timber section – or in this case, the start of the of the ladder ramp that serves as the exit.
Step 4. Ease the front wheel into the downhill sloping section of NorthShore by moving your weight off the front wheel. Similarly, look to move your weight forward slightly to unweight the rear wheel and stop it hooking up.
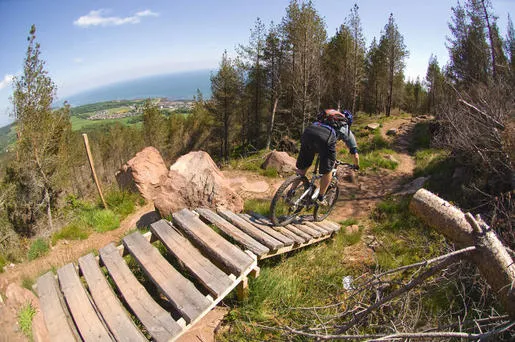
Step 5. Keep your weight central and look at the exit as you roll down. Again, aim to unweight both the front and then the rear wheels to maintain maximum momentum out of the obstacle and onto the trail.
How to recognise a top spot for going downhill
There is no better place to get to grips with descending than on Golspie’s awesome 7km downhill. This trail, to date, represents the longest continuous singletrack descent in Scotland.
Golspie’s awesome trail gives you countless opportunities to lose or maintain speed, and boost or minimise your adrenalin rush through supreme trail design which can either challenge or flatter dependent on your choice of line.
The only downside to this place is its location (200 miles north of Edinburgh), but you won’t regret making the journey to this peach of a trail.