
It’s the nearest we get to a cyclist’s rite of passage: tootling along, loving the singletrack, then psst...sssssss. A thorn or tiny shard of rock has had the audacity to bring your high-tech mountain bike to a complete halt.
The effort and rigmarole of fixing flats is almost as old as the bicycle itself, so a few years ago, several wheel and tyre companies conspired to produce the UST system (Universal System Tubeless).
This consists of a sealed rim – one where air can't escape through the spoke or valve holes – that's designed to interlock with a thicker-than-usual tyre with non-porous sidewalls. When you inflate the tyre, air pushes the tyre bead (the lower edge of the sidewall) into the corresponding hook of the rim bead, creating an airtight seal.
The benefits are, theoretically, low weight (no inner tube, although tubeless tyres are heavier than normal ones), lower pressure (which gives more grip), and the eradication of pinch punctures (also known as 'snakebites'). Add some sealant to the setup, and penetration punctures are also a thing of the past.
But what about all those riders who already have standard non-sealed, non-UST rims? Simple: you just need a conversion kit, some tubeless or tubeless-ready tyres*, and you’re ready to consign inner tubes to the dustbin of history.
Of course, you can always just add sealant to a standard, tubed setup. You don't get the weight and grip advantages – in fact you'll actually add a little weight to your wheels – but it may be worth it if you're particularly puncture-prone and don't want to shell out on new tyres and tubeless conversion kits. There's a guide to doing this at the bottom of the main article.
16-step guide to converting to tubeless
- Time: 1 hour
- Skill rating: Medium
- Cost: The price of a conversion kit (£40-£50 for both wheels)
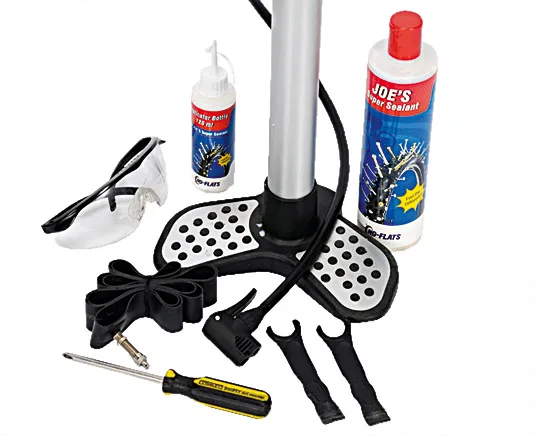
- Tools: Conversion kit (including liquid sealant and rim sealing strip – there are some recommendations below); track pump; screwdriver; goggles
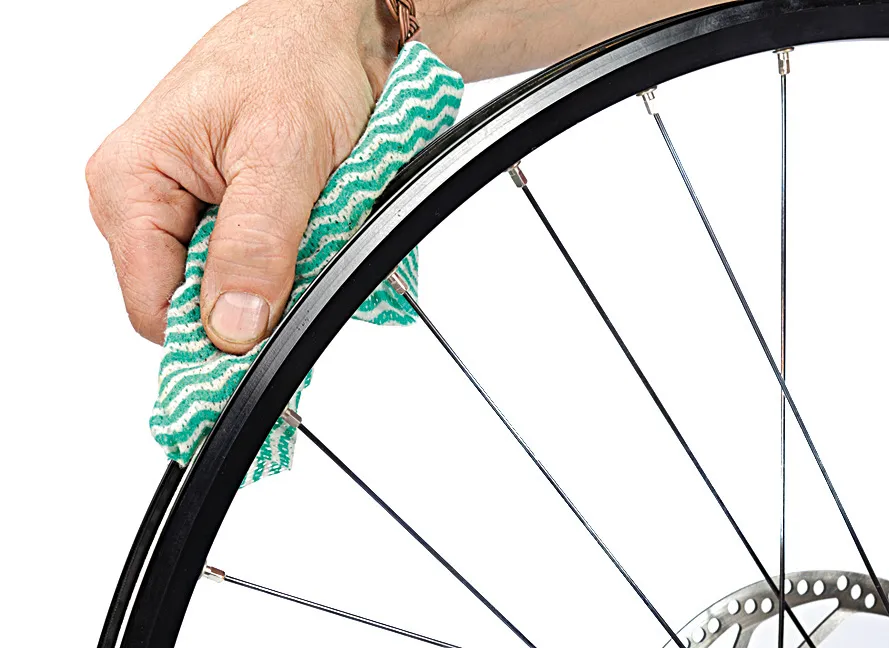
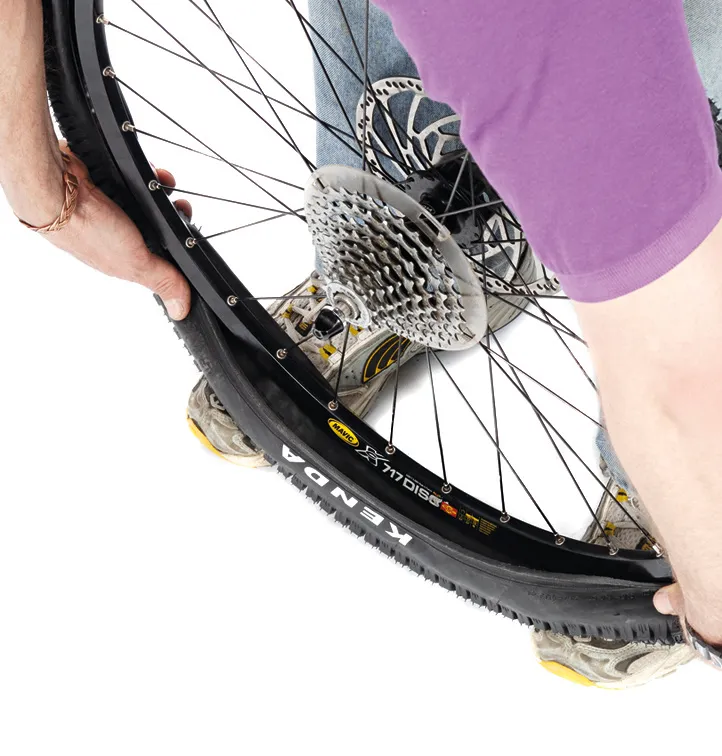
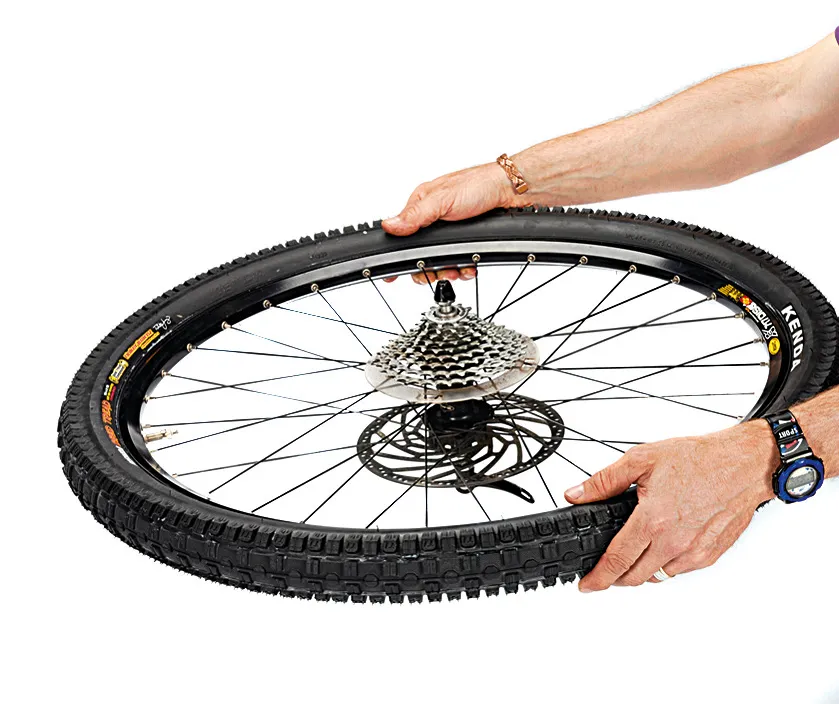
1 Strip down wheels
First, take your wheels off your bike’s frame, then strip off the existing tyres and inner tubes. If your wheels are old and a bit greasy or dirty, give them a clean either with some hot soapy water or a bit of alcohol. You need the seal between the rubber rim strip and the rim spoke bed to be clean, tight and free from any residue or debris.
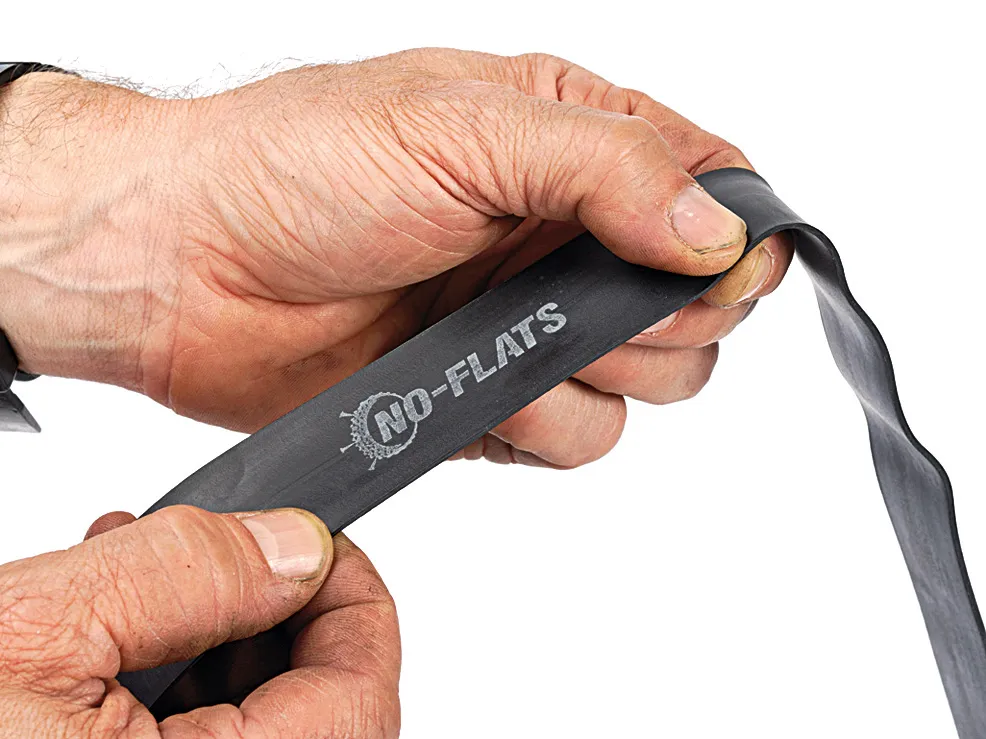
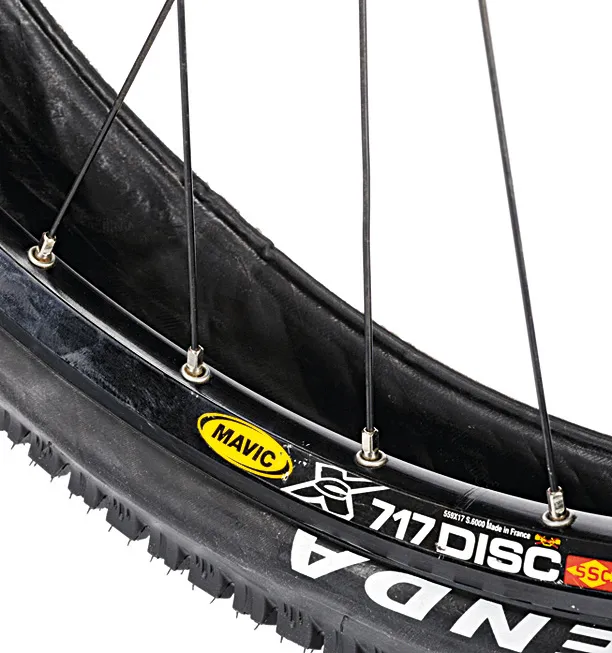
2 Check rim strip
Take the rim strip, unwrap it and turn it so the valve is on the inside face of the strip. Run your fingers around it to check that it doesn’t have any cuts, nicks, bumps or moulding imperfections that could give air a chance to leak out. Even a few psi leaking out each day can be very annoying.
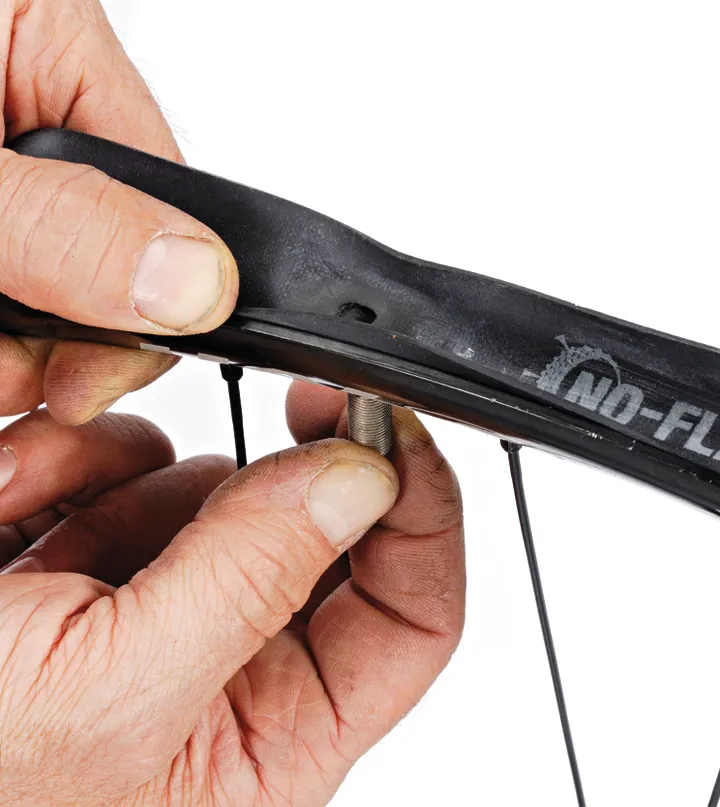
3 Insert valve
Present the section of the rim strip with the valve into the spoke bed, carefully poking the end of the valve through the valve hole and pulling this into position. The section of strip by the valve may be a bit thicker and awkward to seat, but persevere as it’s worth getting it right now to avoid having to find the source of leaks later on.
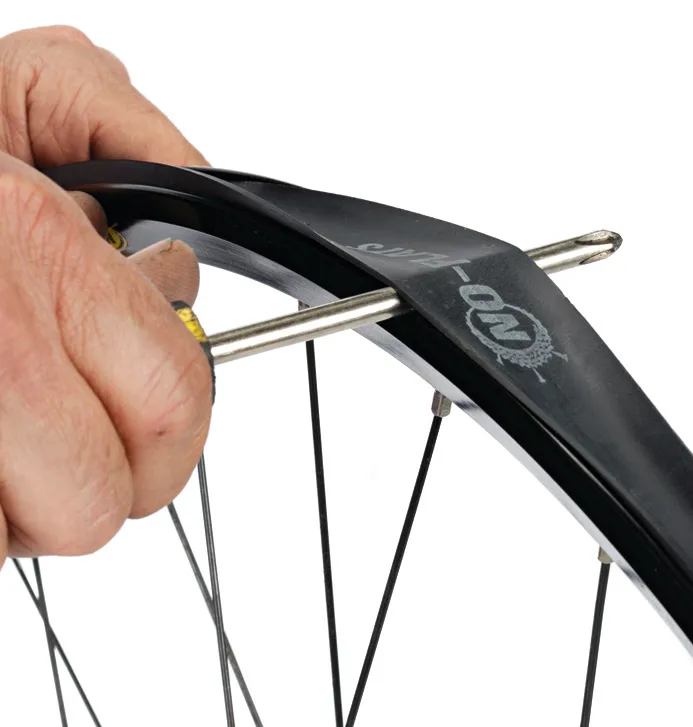
4 Seat rim strip
Next you need to seat the rest of the rubber rim strip to the spoke bed. This is easier said than done, because they’re usually quite a tight fit. One of the easiest ways is to get a screwdriver with a long, thin shaft and place the shaft between the rim and the rim strip, with the screwdriver perpendicular to the rim. Run the screwdriver shaft around the rim circumference slowly and help move the rubber strip evenly into the centre of the spoke bed.
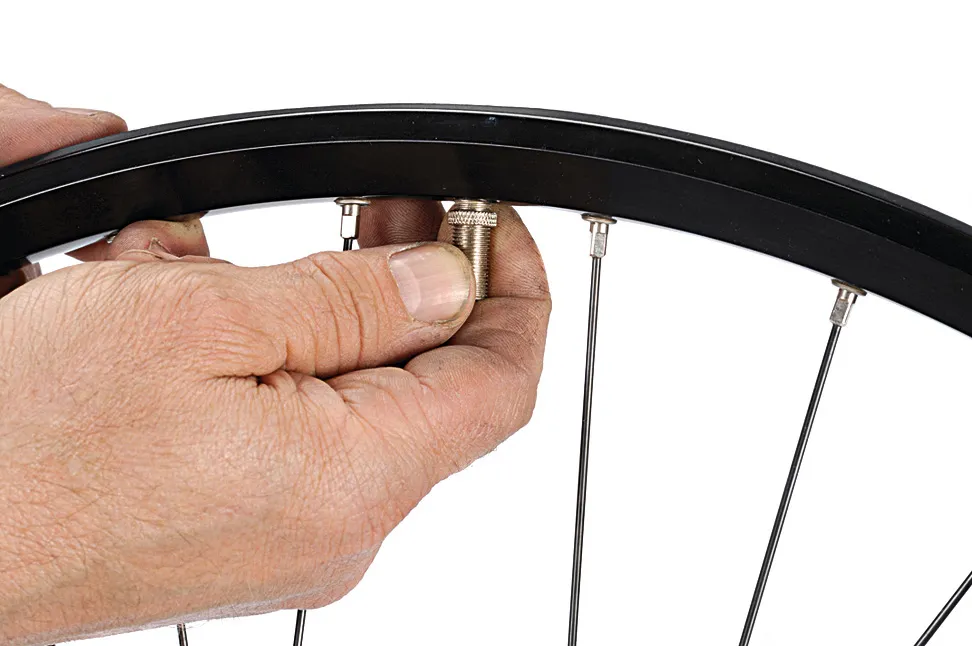
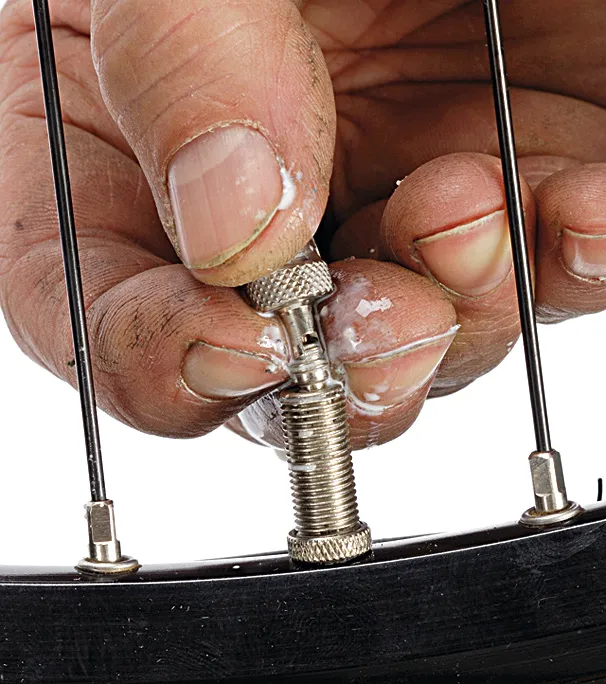
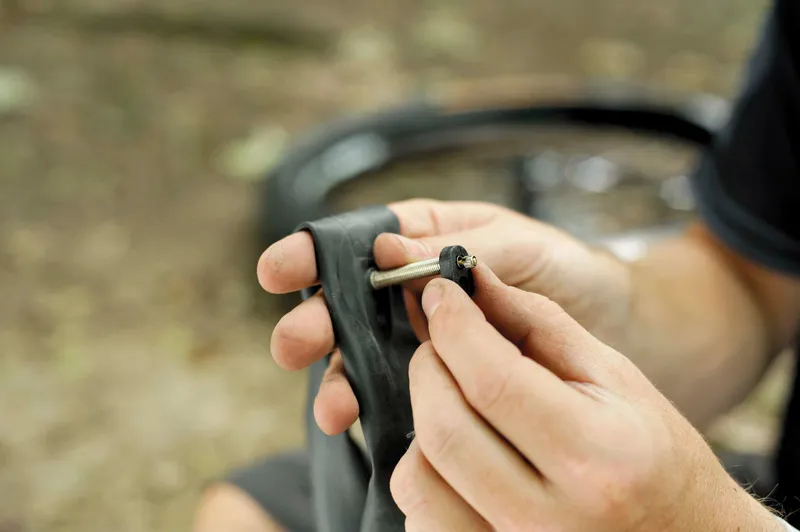
5 Make the valve airtight
You must ensure that the valve itself is airtight. Most brands supply a special threaded locking washer that screws down onto the body of the Presta valve. Normally there’s a rubber O-ring which goes over the valve before the locking washer. The act of squashing the O-ring helps form an external seal, locking the air in.
6 Check tension
The rubber rim strip is now on and it may look central, but you need to check that the strip has gone on with even tension all the way around the rim. If there are loose and tight spots in the rim strip where it has been stretched, it’s likely that air may be able to escape between the rim and the rim strip. Use the screwdriver (as before) to go around the rim, to even up the tension. It may take a few minutes.
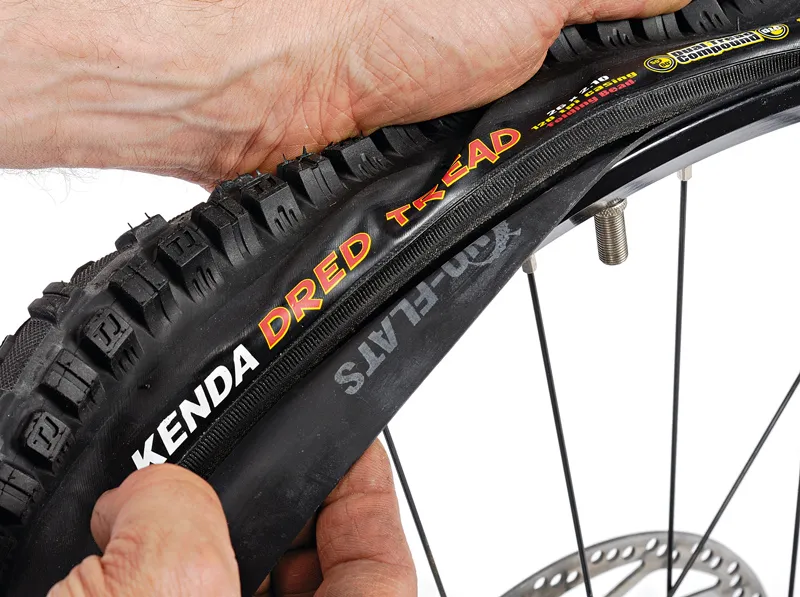
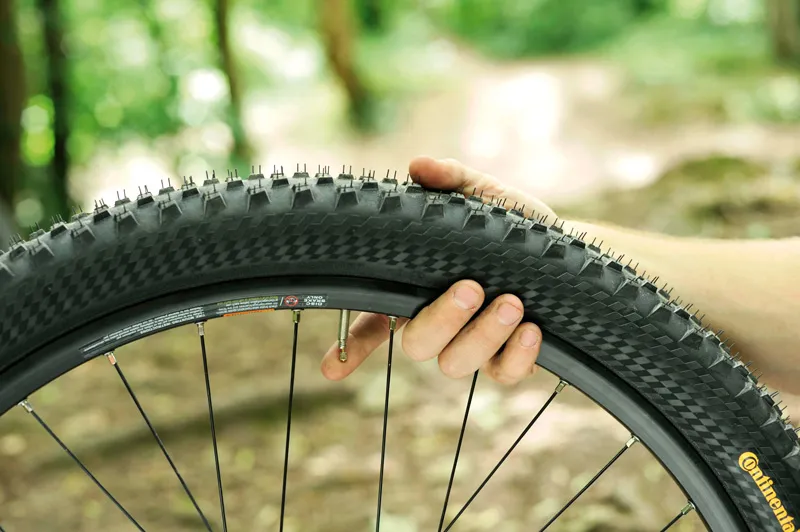
7 Fit first side of tyre
The first side of the tyre has to go on. Tyres vary in fit, quality and detail between manufacturers, and even between models from the same manufacturer. This means some will fit better than others. If yours have been folded for a while, we recommend that you fit them with tubes, pump them up hard and leave them overnight. They’ll fit and inflate more easily.
8 Fit second side of tyre
Seat the second side of the tyre. It’s important to stand the wheel at your toes with the valve at the uppermost (12 o’clock) point of the wheel. Take the bead and seat it around the valve, then work your hands around the circumference of the tyre (away from each other), easing the bead over the sidewall of the rim as you go. As you get to the bottom of the wheel, leave an 8in section unfitted.
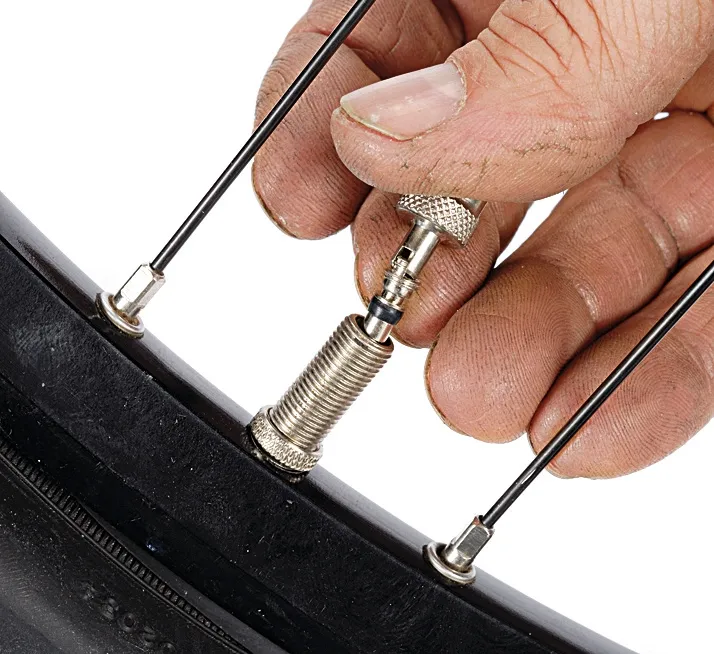
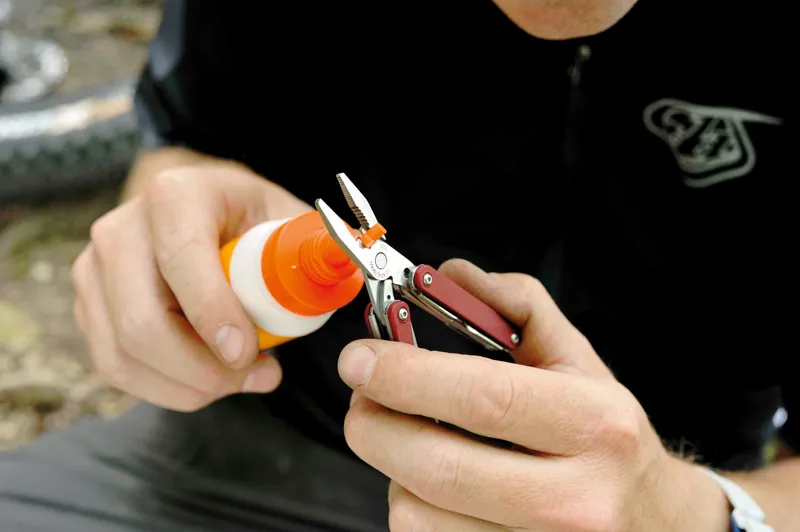
9 Remove valve core
Some sealants can be applied with the valve core – the spring-loaded gubbins that, when screwed into the valve body, lets air into the system but not back out – in place (Sludge is one), but most won’t. Some tubeless conversion kits include valves with removable cores. If your valve doesn't have a removable core, skip to step 12. If it does, unscrew the core, take it out and don’t lose it. If you’re doing this in the kitchen and lose the valve core, it’ll be under the fridge – guaranteed.
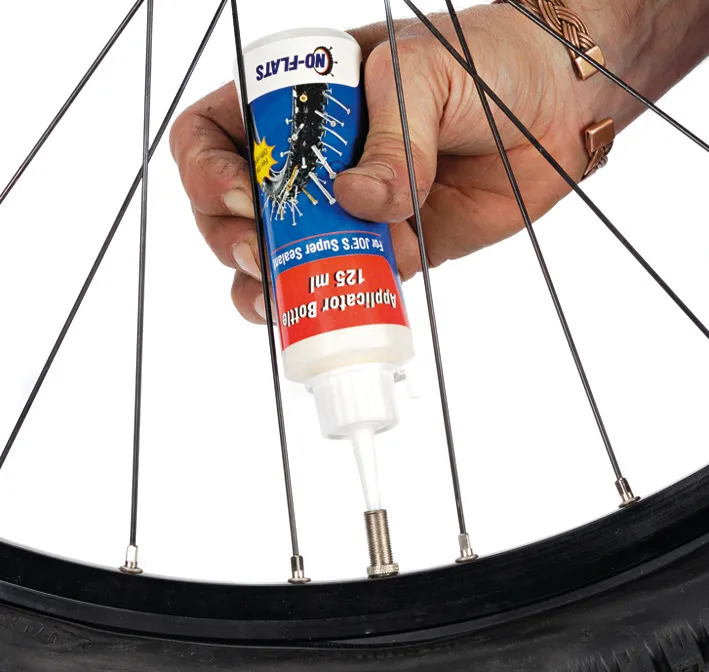
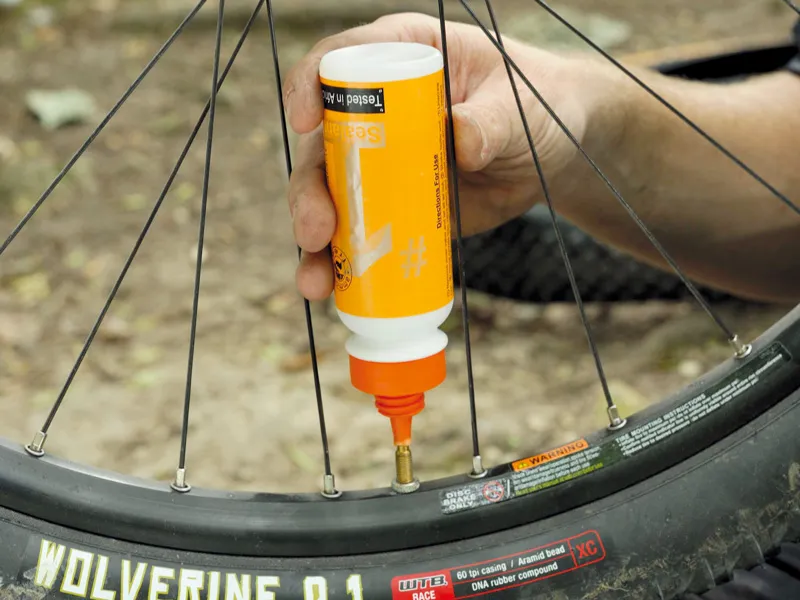
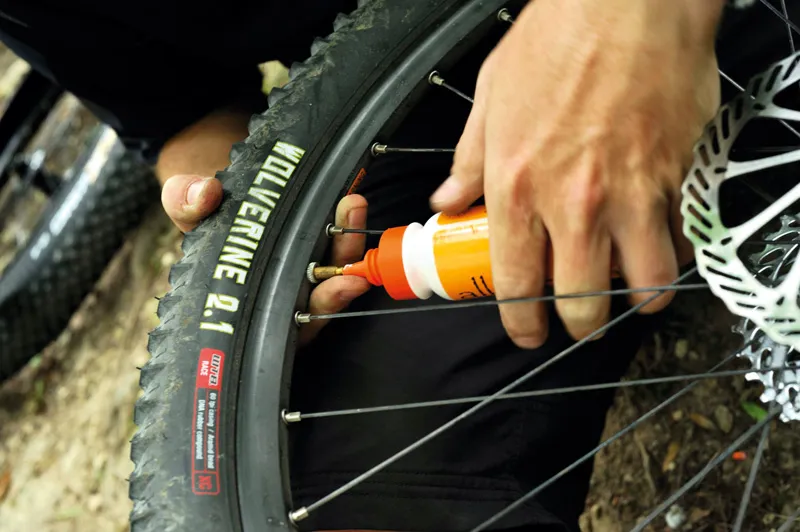
10 Inject sealant
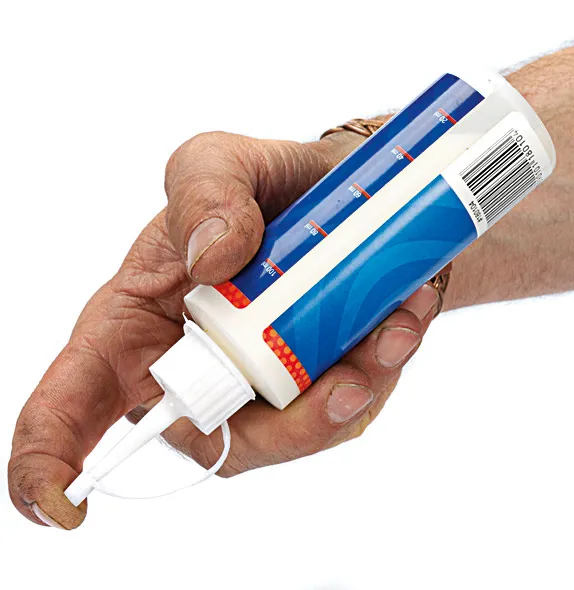
With the tyre fully fitted and the valve core removed, you can use your sealant applicator with the narrow pointed nozzle to inject the required amount of sealant directly into the tyre. Before you do this, though, give your bottle of sealant fluid a really good shake.
11 Refit valve core
With the tyre sealant successfully injected through the valve, it’s time to refit the valve core. We recommend applying a small smear of Vaseline on the threads of the valve core first, before screwing it firmly back into position. This will stop any sealant on the threads inside the valve jamming the core or impeding its action.
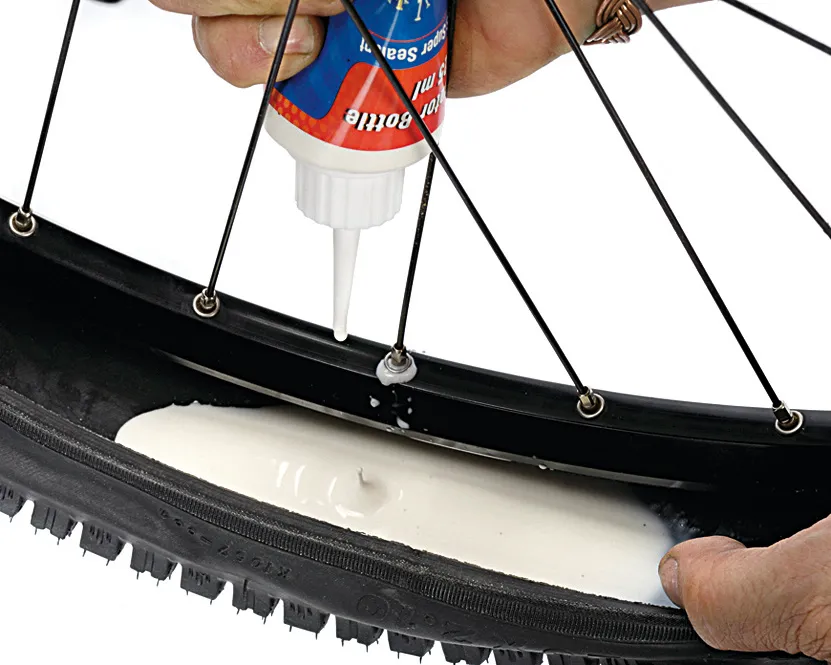
12 Alternative way to add sealant
If you’re not injecting the sealant through the valve, leave a section of tyre bead off the rim and pour the sealant in before popping the last bit of the bead on. If you’re adding sealant between the tyre and rim, use a nozzle applicator to squirt it in – latex makes a mess. When you’ve got it in, be careful not to let the fluid slop out of the unseated section of tyre. Try hanging the wheel up while you put the applicator down.
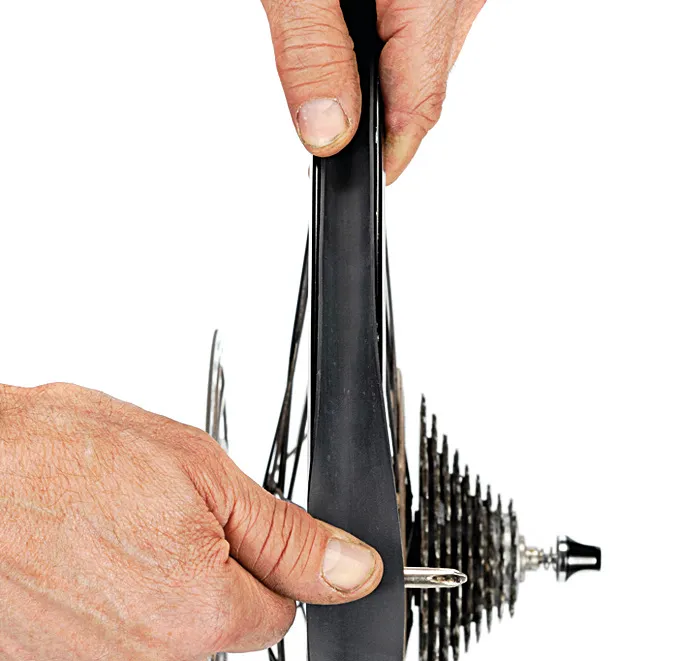
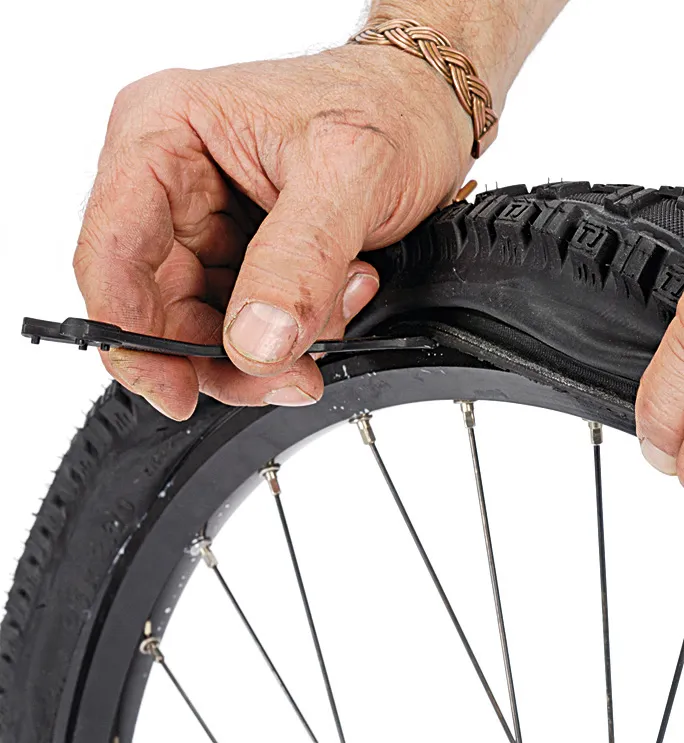
13 Fit last section of tyre
To fit the last section of the tyre, you need to carefully move the wheel so the unseated section is at the top of the wheel. As you do this, you will have to allow the liquid to make its way around to the other end of the wheel. Don’t worry if a little bit seeps out of the join between the rim and tyre. Use your thumbs to carefully yet forcefully pop the final section of tyre into position.
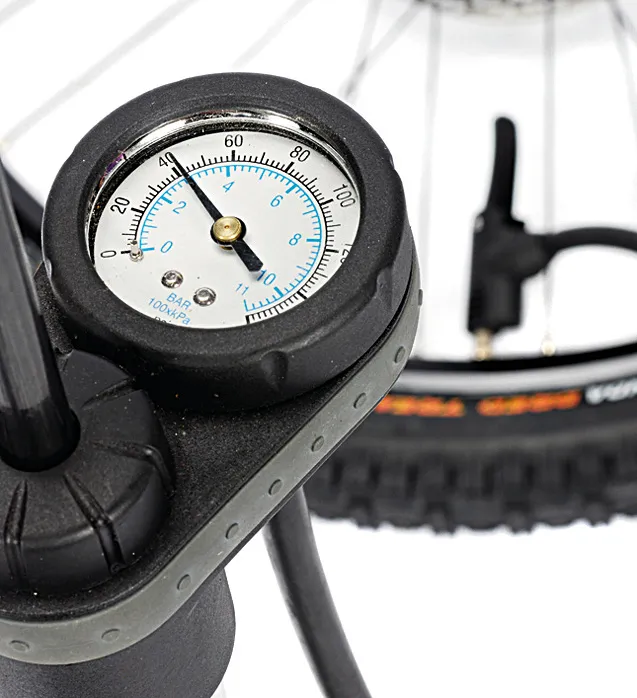
14 Pump up tyre
Attach your track pump, begin to pump and – if you’re lucky – the tyre beads will push to the rim. When you’ve got the pressure high enough (it can take 60-80psi or so to fully seat UST and tubeless-ready tyres; be careful when you're dealing with such high pressures), the tyre beads will pop into place with a welcoming ‘clack’ sound. You’re now tubeless.
15 Shake the wheel
There may still be air escaping between the rim and the tyre. Pick up the wheel, hold it by the tyre and hold it flat out in front of you like a tea tray. Shake the wheel vigorously to get sealant to the sides of the tyre, so that it can react with the air and make a thick, air-tight seal. You may find that time helps, too. Leave the wheel for 15 minutes, come back and repeat the step and you should find that the air loss has stopped.
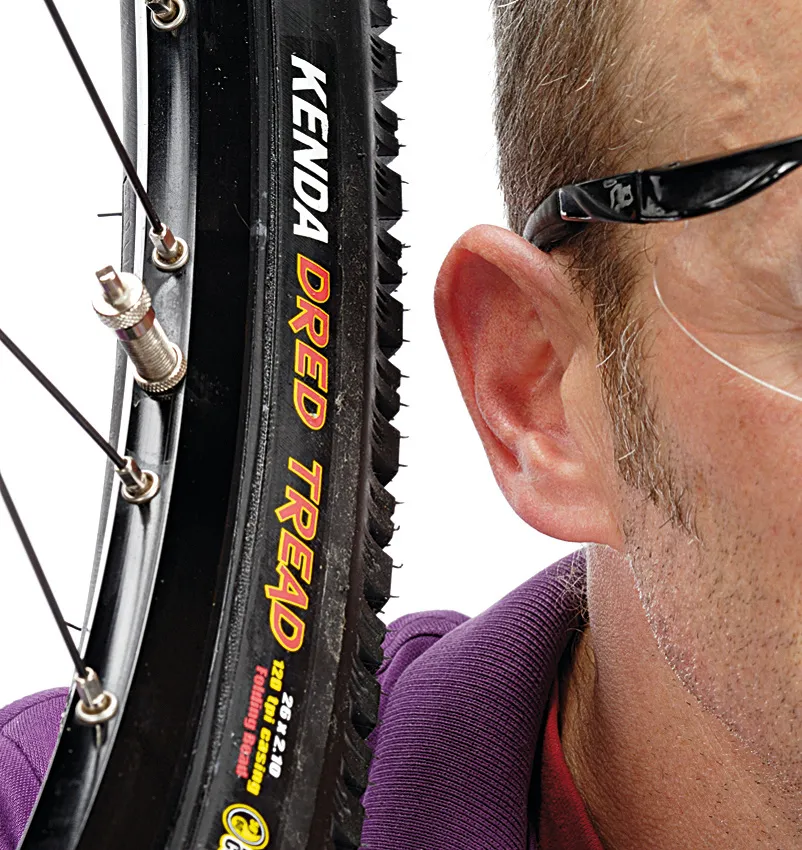
16 Listen carefully
Lifting the wheel to your ear and having a good listen should help pick up the sound of air escaping. If you detect any leakage, it should only be from pinprick-sized leaks. Repeat stage 15 and/or try adding a little more fluid. You might find that there is a critical volume of sealant required to complete the job.
* UST tyres have extra rubber treatment on the inside of the carcass to hold air. Tubeless Ready tyres are thinner walled (and therefore lighter but less airtight) but still have the interlocking bead needed for tubeless compatibility. TR tyres can only be used tubeless with a liquid tyre sealant, but we'd always recommend this with UST tyres too. With sealant, you can usually seal conventional tyres too, but this takes a little trial and error.
Top Tips
- Shake the sealant bottle really well before you use it. This will help to evenly distribute the particles which settle in the bottom – often it's these little bits which do the sealing.
- If you’re having trouble getting your tubeless tyre to inflate, try unscrewing and removing the valve core before reattaching the track pump chuck. You should find the air goes into the tyre much more quickly, providing the pressure needed to seat the tyre. Once it’s seated, remove the pump, reinsert the valve core and top up the pressure to suit your requirements.
- If you get a really stubborn tyre that just doesn’t want to seat with the air pressure from your track pump, take the wheel to your friendly local bike shop and ask if they’ll let you have a blast of air from their compressor. It should blow the beads together in a flash.
About sealant
There is, as the saying goes, more than one way to skin a cat. Similarly, there are several ways to make sure that your tubeless tyre system remains up to pressure. The easiest is to just dump the requisite amount of whatever liquid sealant comes with your conversion kit.
We have experimented with such things as liquid latex and even milk – all with at least partial success. The short answer, though, is to go with ready-made sealant, because it’s cheap and easy to get hold of and use. Here are three we can recommend:
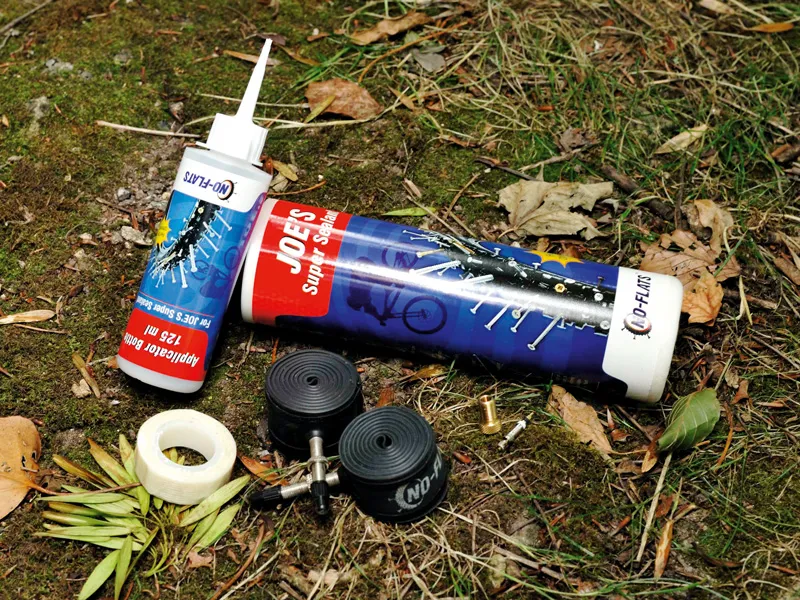
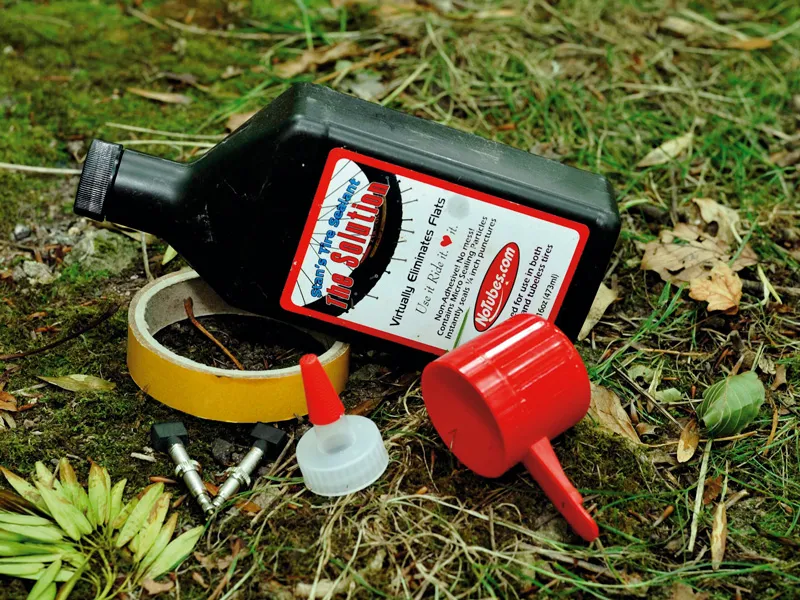
Best for budget: Joe’s No Flats, £45
- Comes in a handy injector bottle, enabling you to add it through valves with removable cores. Lasts about as long as market leader Stan’s (four to six months) before drying out.
- Available with rim strips of two different widths. Make sure you get the thinner ones if you’re using narrow cross-country rims – wide ones can make seating and sealing tyre beads tricky.
Best all-rounder: Stan’s NoTubes, £60
- This is the original conversion kit, and comes highly recommended by tubeless users. It’s comprehensive, with a scoop measure, rim strips, tape and valves. We’ve had long-term success with it.
- The latex-based fluid may dry out faster than some others and needs regular checking. It also stains and isn’t cheap.
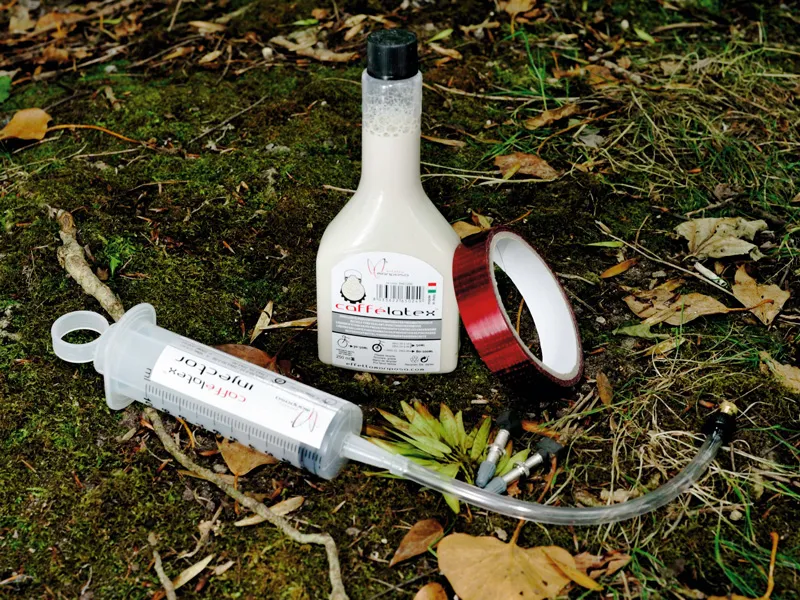
Best for long life: Effetto Caffelatex, £50
- This ammonia-free system resists drying, and the fluid’s foaming action helps cover the whole tyre. Kit includes rim sealing tape, valves and an injector.
- Sealing doesn’t always happen first time. It’s less viscous than Stan’s or Joe’s, and sealing some UST tyre rim combinations quickly can be fiddly.
8-step guide to prepping your inner tubes with sealant
If you don't want to go the full UST or 'ghetto tubeless' (using standard rims and tyres) route, you can always just add sealant to standard inner tubes. Here's how.
1 Deflate tube
Deflate the inner tube and take it out of the tyre. It’s possible to add sealant when the tube is in the tyre, but it’s easier this way. Don’t worry about it being flat, just deflate it enough to add fluid.
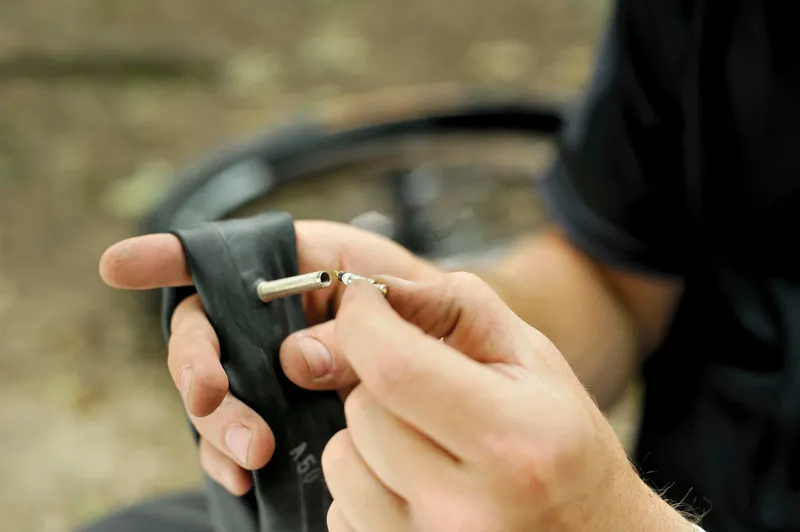
2 Undo valve core
If your valve has a removable inner core, unscrew it with a pair of small pliers or the small plastic crow’s foot tool that’s designed specifically for the job. You can probably get one for free from your local bike shop mechanic if you ask nicely.
3 Unscrew valve
Many Presta valves don’t have removable inner cores because they’re too expensive. If this is the case with your valve, just unscrew the nipple and make sure it’s operating freely.
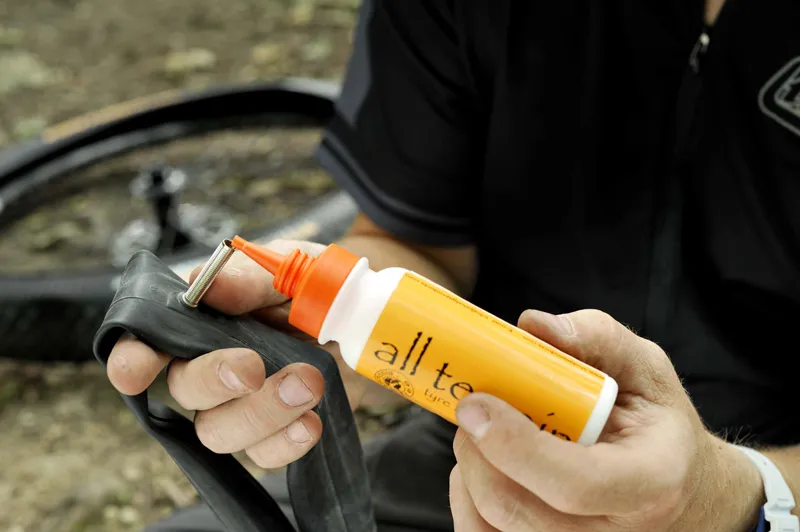
4 Insert spout
If your valve has a removable core, place the fine conical spout of the applicator bottle into the open end of the stem. Make sure the rubber tube isn’t blocking the back of the valve. If that happens then you won’t be able to get the fluid in.
5 Pour in sealant
Squeeze the bottle to inject the anti-puncture fluid. Check how much the manufacturer of your particular brand suggests using per tyre first. If you’re using one with fibres in it to block holes, you might need to shake the bottle.
6 Troubleshoot
If you notice an air lock, remove the applicator spout and allow the bottle to stand upright for a second. If you find the fluid hard to squirt in, you might find that the valve’s been temporarily blocked with fibres and needs cleaning.
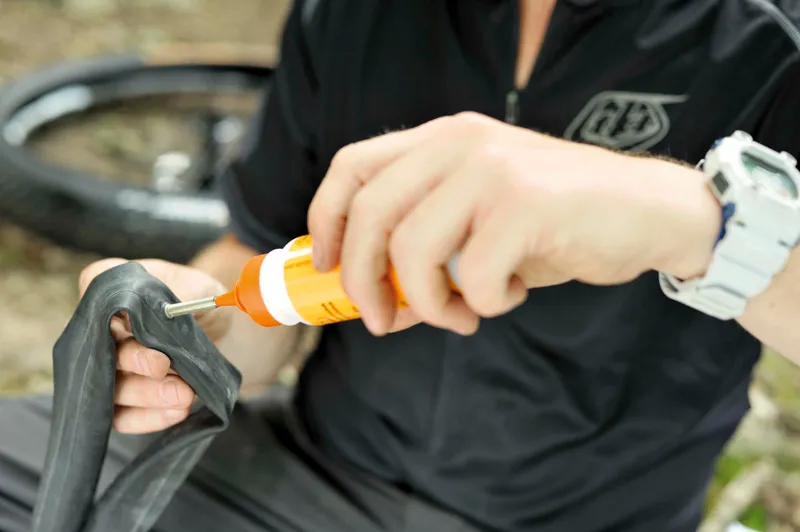
7 Match spout
For non-removable cores, snip the nose of the bottle so that it’s just under valve width. Screw the nozzle onto the valve’s threaded outer. This will form a seal and enable you to pump fluid through the valve. Sludge is the best brand for this.
8 Massage the tube
Reinsert the core or tighten the nipple and give the tube a massage to distribute the fluid and any fibres it contains through the tube. You’re now protected, and the next thorn hole should self-seal before you even know about the puncture.