

Most hydraulic brakes come fitted with correct length hoses and expertly bled for fit-and-forget performance. There are occasions, however, where it’s desirable or necessary to change or shorten a brake hose, and some new bikes come with full-length brake hoses that are a foot or so longer than they need to be.
While overlong hoses don’t inhibit the brake’s performance, they can cause accidents on the trail, with wayward loops of hose flapping about looking to catch on branches and the like. While chopping (or changing) hoses might seem like a job to be avoided, it’s actually pretty straightforward.
Most systems work in a similar way with only minor differences in the fittings and the location of bleed ports. When you understand the concepts and basic ground rules (we’ve explained them, don’t worry) the job needn’t be any more complex than servicing a pedal or greasing a hub. Do it once and you’ll wonder what all the fuss was about.
Tools
- Protective vinyl gloves
- Bleed kit, fluid and instructions (brand specific, so check if you need DOT or mineral oil for your system)
- Hose replacement kit – you can choose like-for-like plastic hoses or upgrade to a robust braided brake line
- Knife (plastic hose) or cable cutters (braided hose)
- 4 & 5mm Allen keys
- Torx T-25 driver
- 6mm or 8mm spanners
How to change a brake hose
1 Measure up
Measure the replacement hose against the old hose still on the bike, making sure that you route it exactly as you would once it’s fitted. Ensure there's enough hose for when the suspension is fully extended and compressed. Activate the suspension and check any adjustable travel or geometry settings.
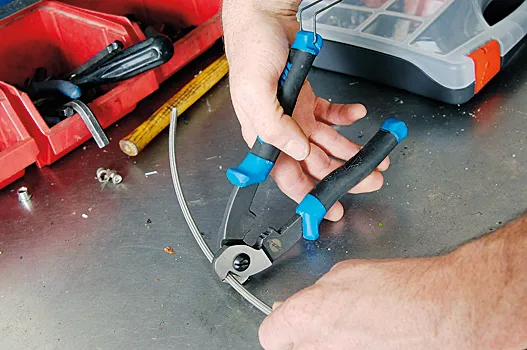
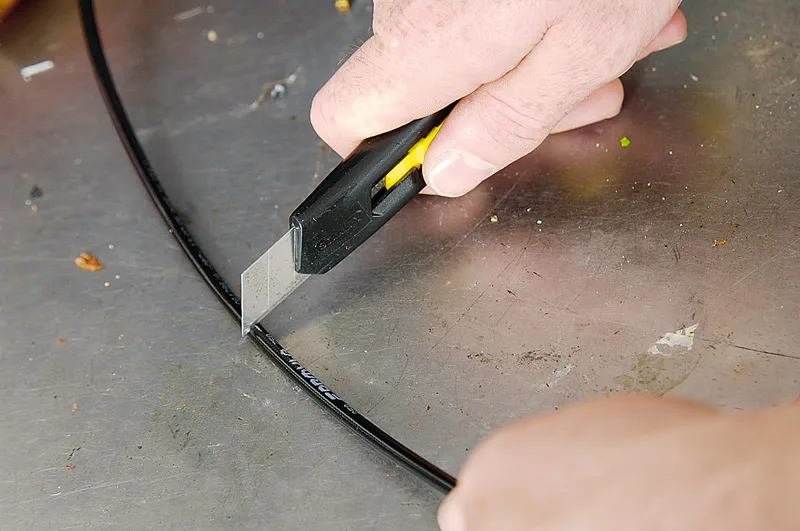
2 Cut hose to fit
Cut the hose to length using a sharp Stanley knife if you’re using a standard plastic hose replacement. If you’re using a braided hose, then use a cable cutter for a good clean cut. You can also use a pipe cutter — it makes the job much easier — which costs around £20.
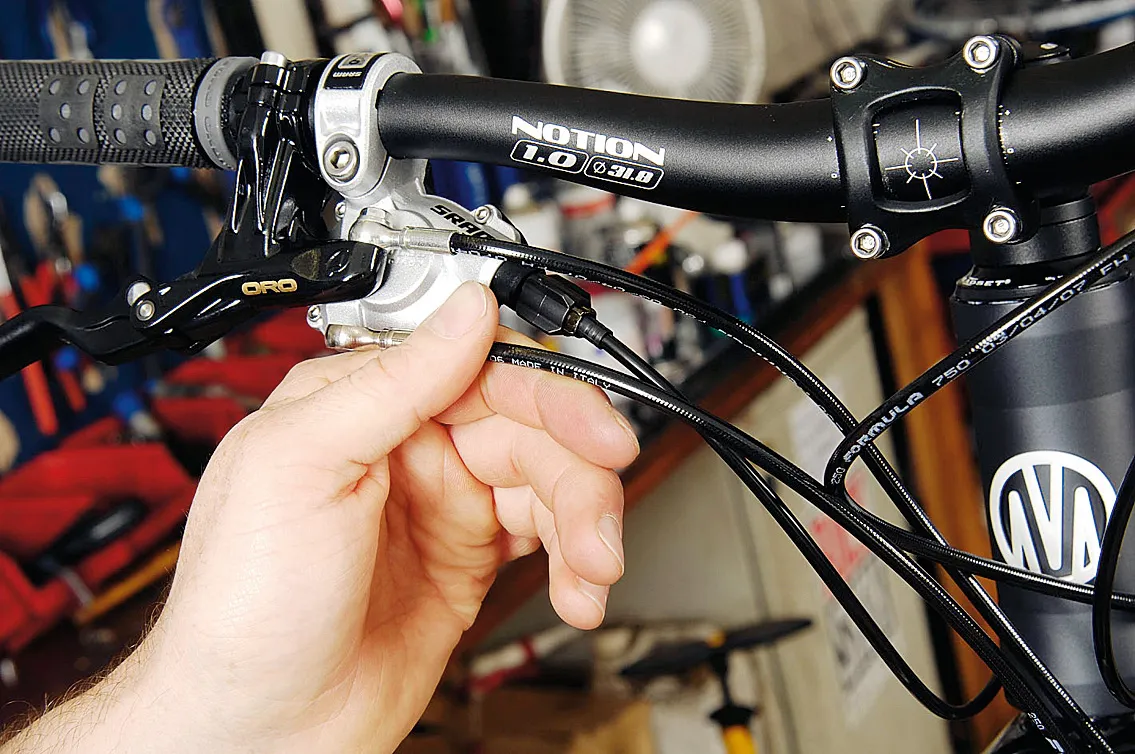
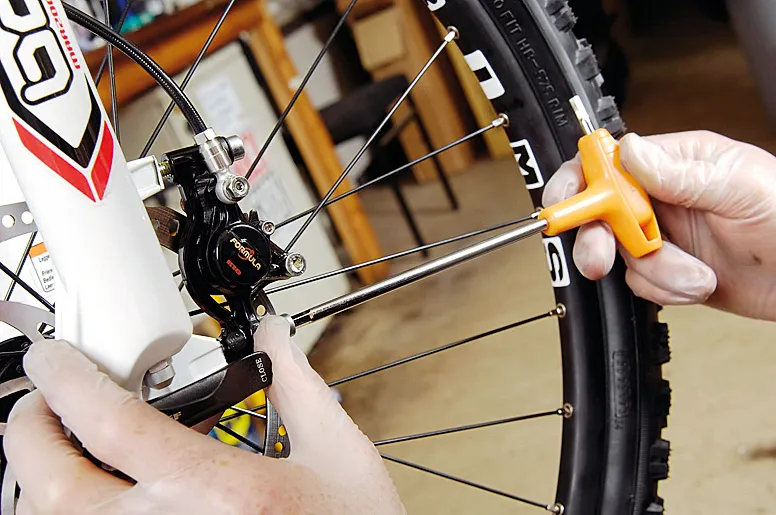
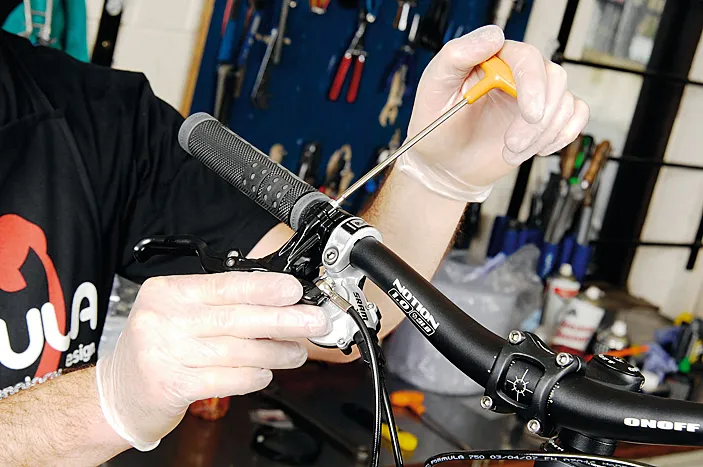
3 Remove brake
If your frame has fixed cable guides then you have to assemble and bleed the system in-situ on the bike. If not, it’s best to change your hose with the brake off the bike (to prevent any fluid leaks damaging the paint etc). To do so, remove the lever and the calliper using 4/5mm Allen keys (4mm or a Torx T-25 at the lever, and 5mm at the calliper).
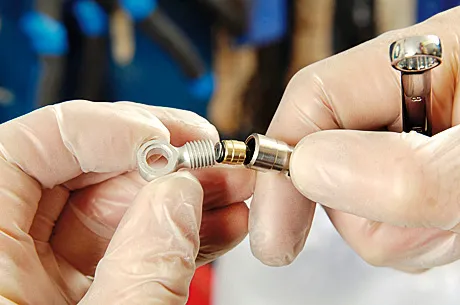
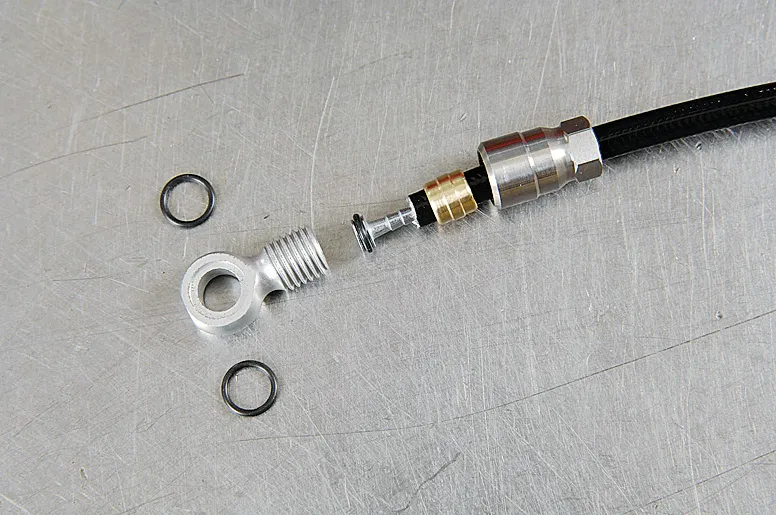
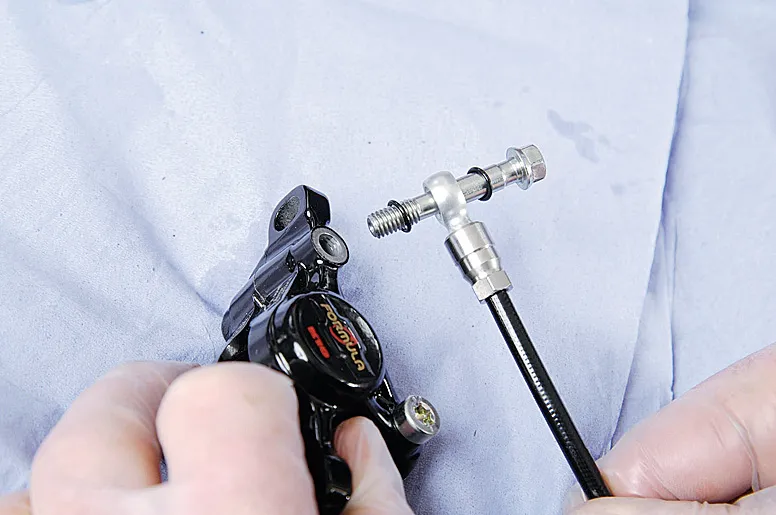
4 Assemble fittings
Take the new hose that’s been cut to length and assemble it before removing the old hose. Ensure that the fittings are assembled in the correct order – check with your brand’s manual for the proper fittings and their assembly order, because all brake brands differ. The fittings for Formula Oro brakes are shown below.
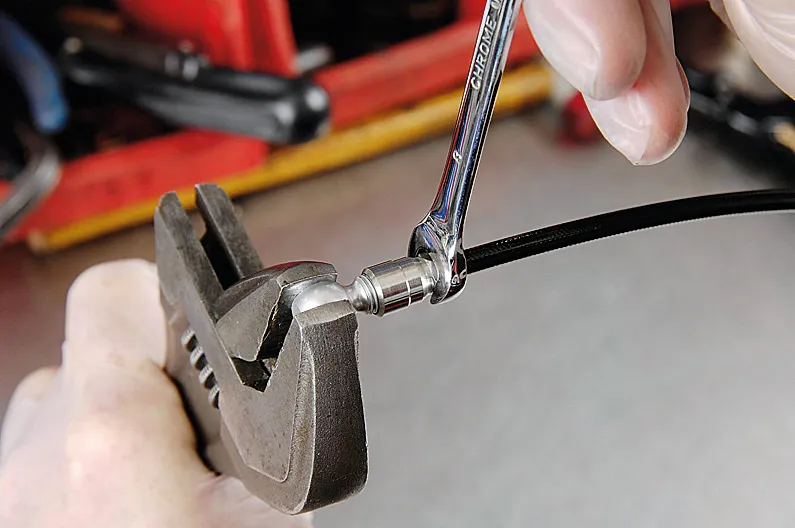
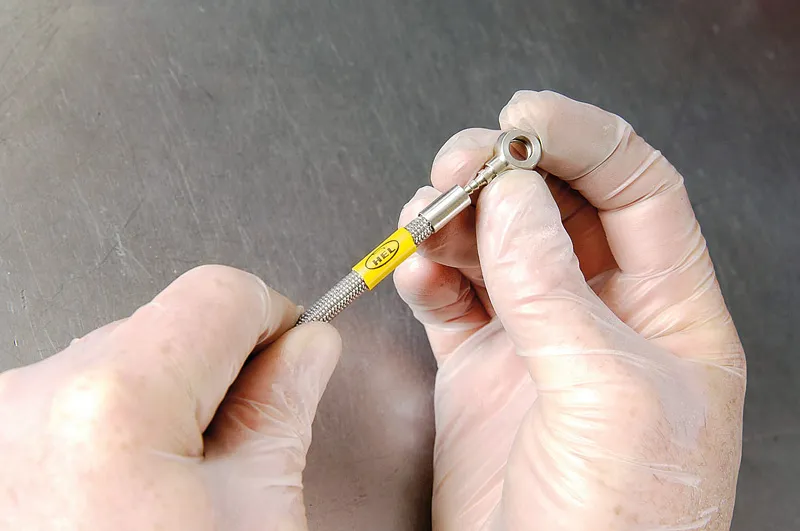
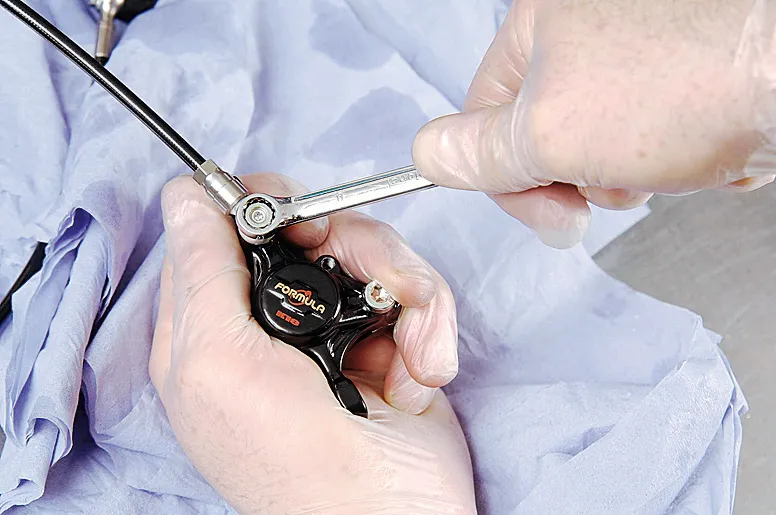
5 Tighten fittings
The way you attach the fittings to your brake hose will depend on the model of brake and type of hose used. If you have a Formula, Hope, Avid or Hayes brake, the fittings must be pressed onto the end of the hose in the correct order. Then, using an adjustable spanner, hold the fitting banjo and tighten the compression fitting. Some brands are designed to fit nice and snug (such as Formula), while others (such as Hayes) are designed to deform. Just tighten the fitting until it’s deformed.
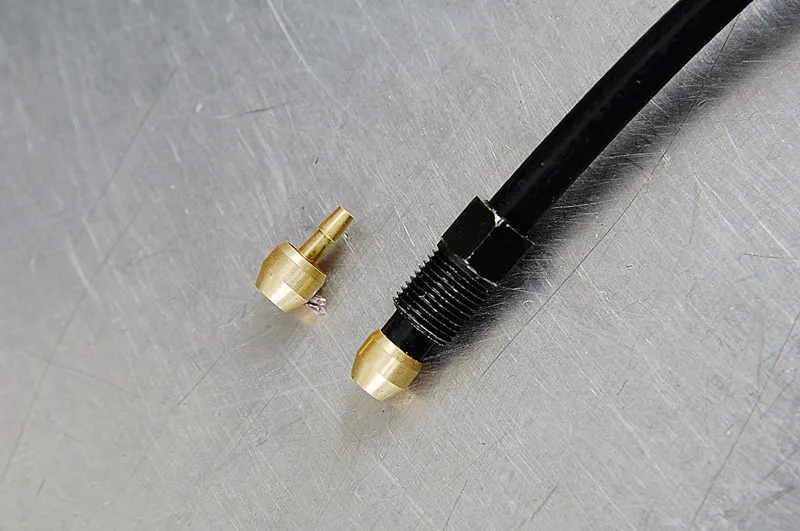
Other brands, including Shimano and Magura, use direct connectors (rather than banjo fittings) that screw into the reservoir body of the lever. Assemble the compression fittings as per the manufacturer’s instructions outlined above. Be careful not to overtighten them.
With Goodridge braided hoses (classic Goodridge size hose, not the new narrow stuff), strip back 8mm of the braided outer using a Stanley knife and put the collar (or ‘ferrule’) in place on the outer and then screw the direct connector into the collar. Make sure to leave a tiny gap of less than 1mm.
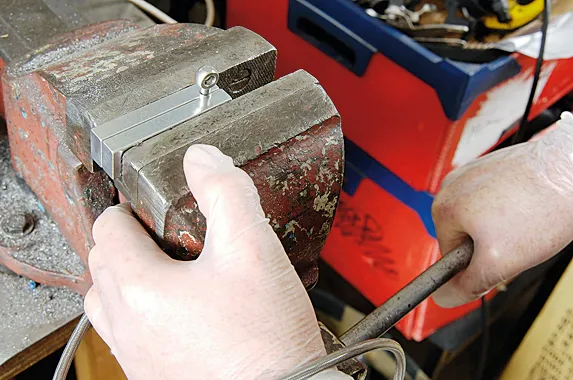
With HEL swaged or crimped type hoses, strip back 8mm of the outer braided hose and put the ferrule in place. Instead of screwing the hose into the fitting, press the barbed fitting into the hose as far as it will go. Then put the fitting into the tool in the vice and tighten it to nudge the collar onto the barbed fitting. The banjo can be rotated for easy fitting onto the brakes.
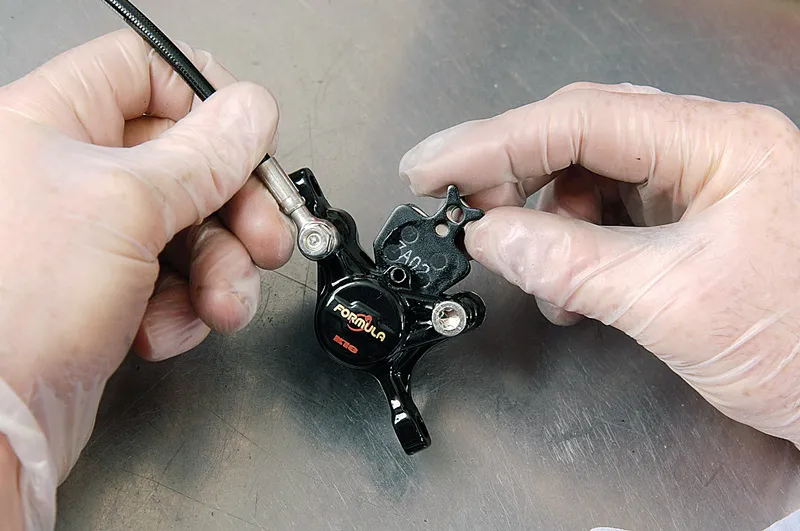
6 Protect the pads
Take the pads out of the calliper and then push the pistons back as far as they’ll go, to avoid contaminating the pads with brake fluid when you remove the hose. Then it’s time to put on your gloves and eye protection, and lay the system on a bed of paper towels.
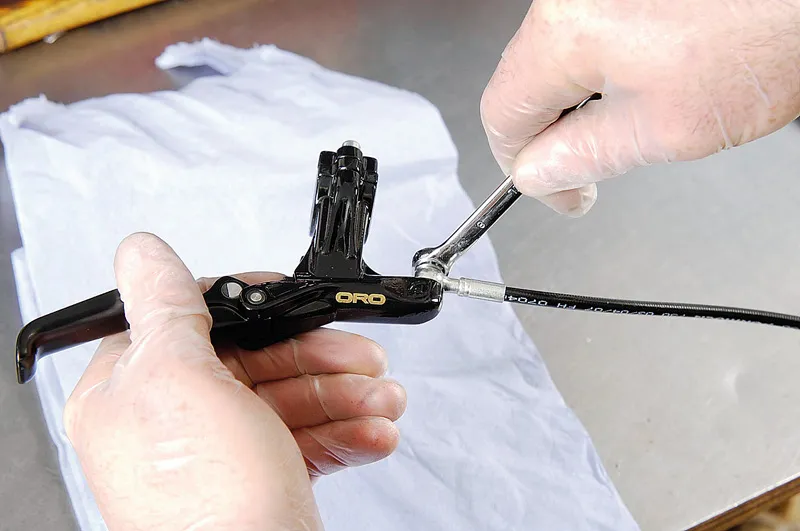
7 Disconnect old hose
For a banjo-type connector brake (Formula, Hope, Avid) take the old hose off the lever using an 8mm or 6mm spanner to undo the lever banjo: it’ll require force. Then unscrew by hand. Discard the O-rings and replace. Do similarly with the calliper connection.
For an M8 direct lever fitting (Shimano, Magura, Hayes) use an 8mm/6mm open spanner to unscrew the M8 fitting and pull the hose clear of the lever. Discard the O-rings and replace, then remove the calliper banjo fitting.
8 Replace old fittings
Now it’s time to put the new hose on. Always use fresh fittings each time you assemble a hose – be that O-rings, compression fittings, etc – as most fittings are designed for single use. If you’re not sure, it’s safer to assume it’s single use. Assemble in the correct order according to the manufacturer’s instructions. When it comes to replacing the O-rings, fit one O-ring above and one below the banjo.
9 Fit new hose
Using an 8mm spanner, tighten the fittings onto the calliper and, if you can, use a torque wrench to ensure the system is fitted to the manufacturer’s recommended torque. Repeat for the lever. Your new hose is now fitted.
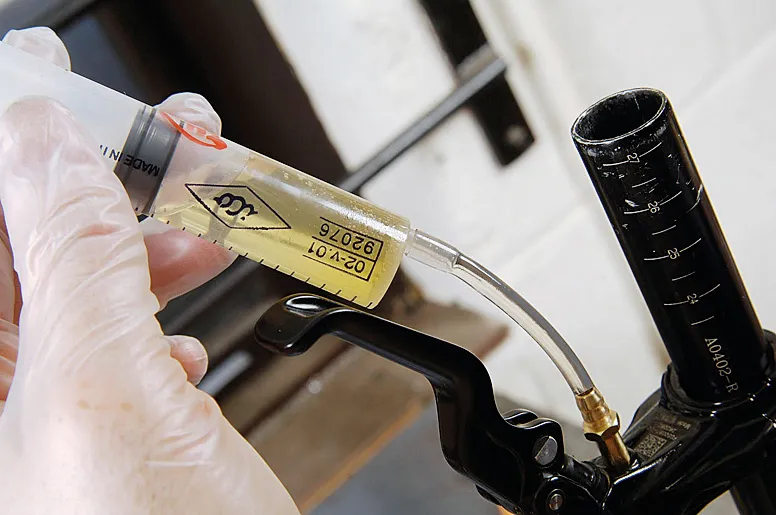
10 Feed in the fluid
Now you have to bleed the brake. Use an old handlebar clamped vertically in your vice (for Formula, as the lever bleed screw has to point upwards) and clamp the calliper on its side so its bleed port is also pointing vertically.
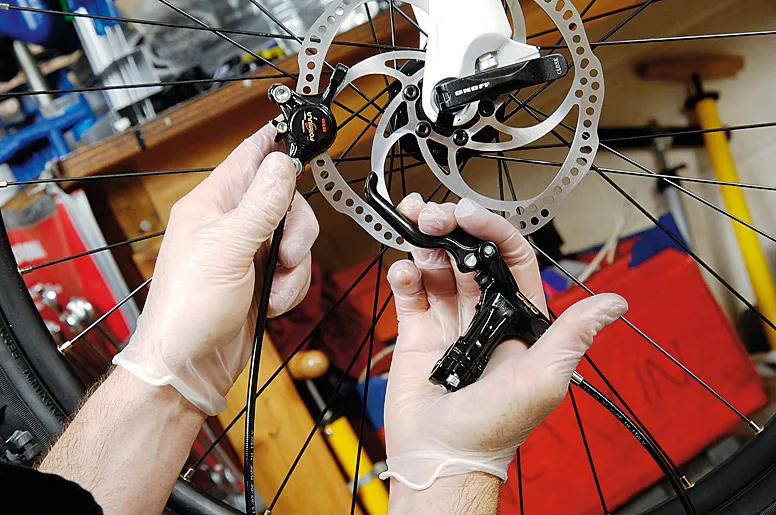
11 Test the new system
Replace the brake pads and test the brake system by placing the calliper over the disc and squeezing the lever to check that the brake is functioning properly. If the lever pulls too far to the bar, the system needs re-bleeding. If the pistons aren’t returning then the brake needs servicing, so take it to your local dealer. If all is well, continue to the next step.
12 Realign and reinstall
Reinstall the brake system to the bike using the hose guides, clips or cable ties. Check the calliper alignment over the disc, check cable routing and identify any possible snags or problems. If you wish, add protective tabs to possible wear points on the frame. And again, pump the lever and check the activation of the brake.
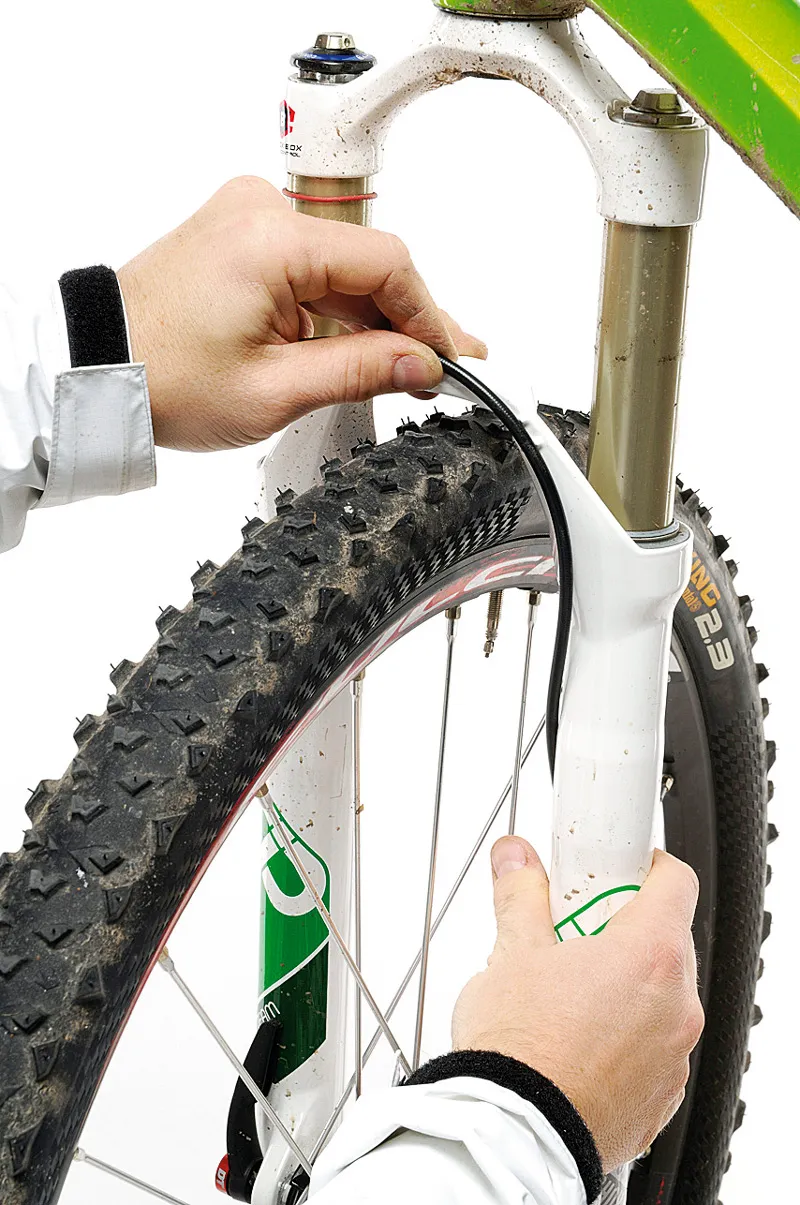
13 Route the hose
The hose mustn’t be able to touch the tyre or foul the suspension otherwise you’ll have an accident. The front brake hose is usually zip-tied to the front of the fork bridge running down the inside of the left fork leg and and into the top of the calliper. Rear hose routes vary according to frame shape — there are no rules, other than trying to make sure the rear suspension doesn’t pinch the hose.
Top tips
- Retract that: Before you begin work on your brakes, remember that occasionally you may have a brake where the pads can be retracted at the lever. If so, do it as you’ll give yourself a sliver more space – it might just be all that you need.
- Wipe ‘n’ go: Brake fluid is caustic and toxic so it’s best not to leave it on skin, paintwork or any surface you value. Water is a simple way to remove it from your bike, so when you’ve finished trimming your hose make sure you take a minute to wipe surfaces clean of any spots of fluid that escaped.
- Gently does it: Don’t swing on the spanner when doing up the bleed screws on the calliper – they don’t need much force to tighten them. We’ve known them to shear off on occasion, because people sometimes do them up like they’re tightening a wheel nut on a car.