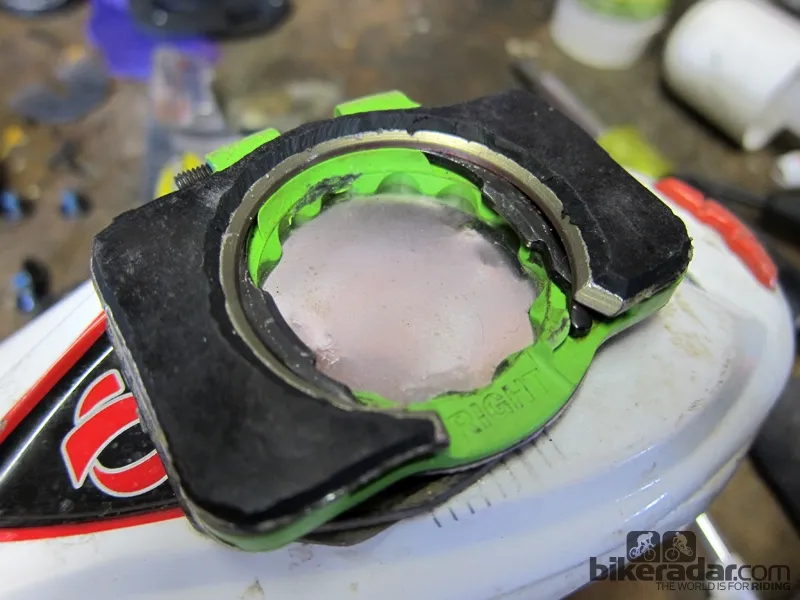
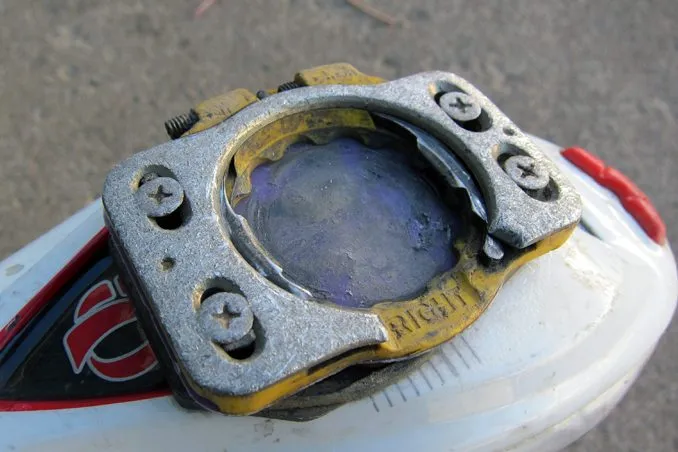

Speedplay's Zero pedals are almost universally lauded for their user-friendly two-sided design, secure retention, tunable and generous float, and lightweight yet durable construction. However, the cleats are among the most difficult of the major brands' to walk in on account of their bare aluminum surface. Thankfully you can add some much needed traction for less than US$10 using common hardware store supplies.
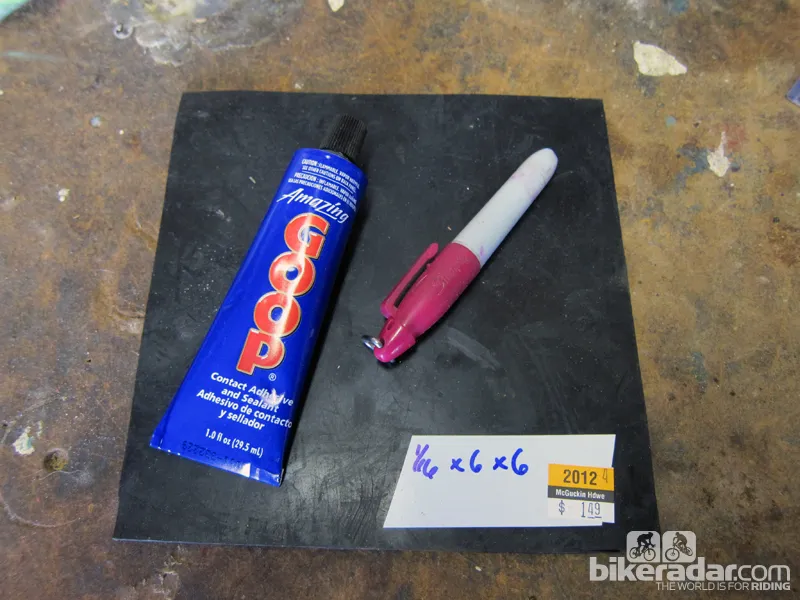
The idea here is simple: all you're basically trying to do is add a layer of grippy material to the bottom of the cleat to keep you from sliding around on slick surfaces like hardwood and laminate floors. The materials are even simpler, comprising a thin layer of dense Neoprene gasket material (commonly used in plumbing) and some strong contact cement (we used Goop here).
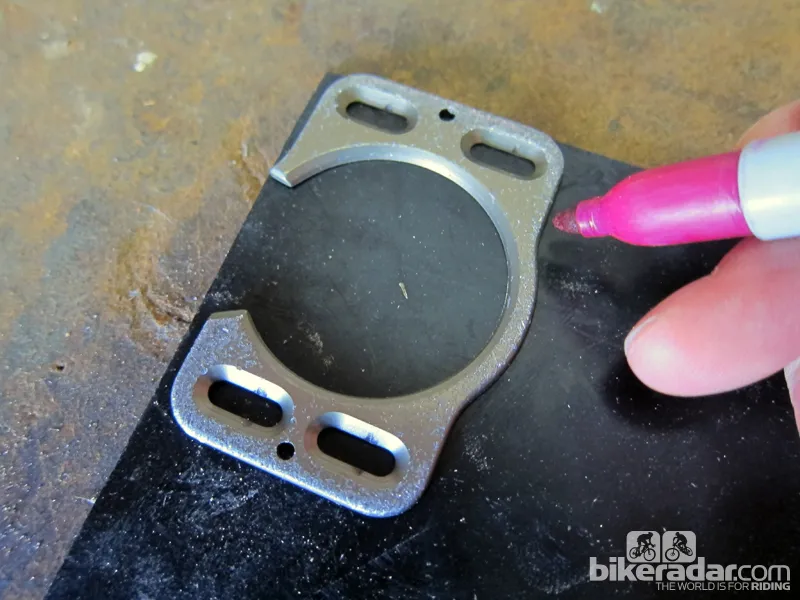
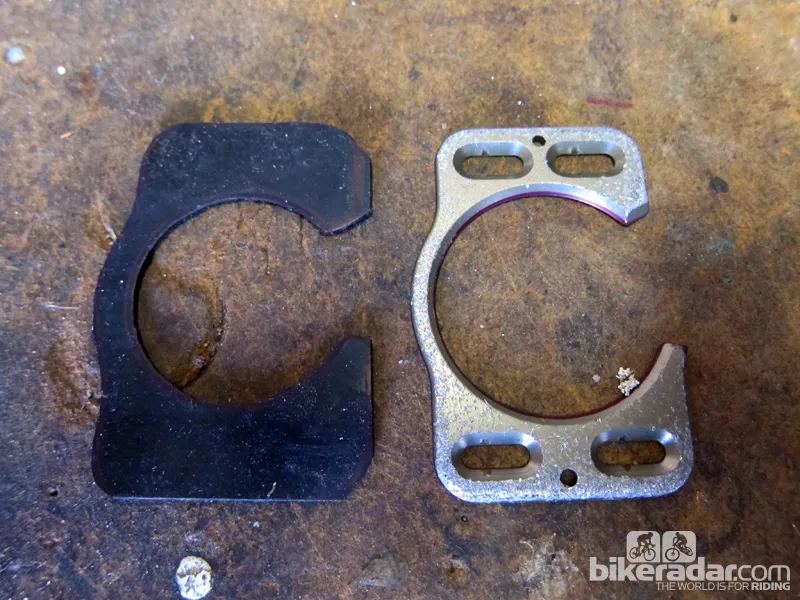
Mark your cleat position (ideally you'll have everything dialed in beforehand), remove just the aluminum plate off the bottom of your shoe, lay it down on the rubber gasket material with the shoe side down, and then trace the outline with a marker. Cut out the outline as precisely as you can with some sharp scissors and repeat the procedure with the other shoe. Don't worry too much about getting it perfect at this stage – you're going to trim it down a bit more later.
Once you have the pieces cut, reinstall the plate on to the bottom of your shoe (again, being careful to replicate the original position) and prep the surfaces to be bonded by cleaning them with rubbing alcohol. Depending on the adhesive you're using, it'll also help to rough up the aluminum plate, too. Apply the adhesive as per the manufacturer's instructions but do it sparingly – you want even coverage but you don't want a lot of excess glue making a mess everywhere. Try not to apply the glue to the bolt heads or in the cleat holes, either.
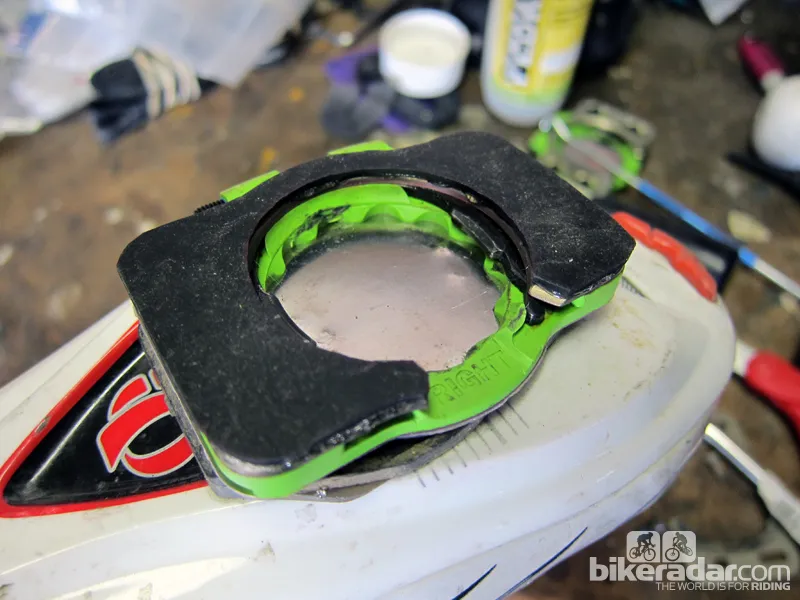
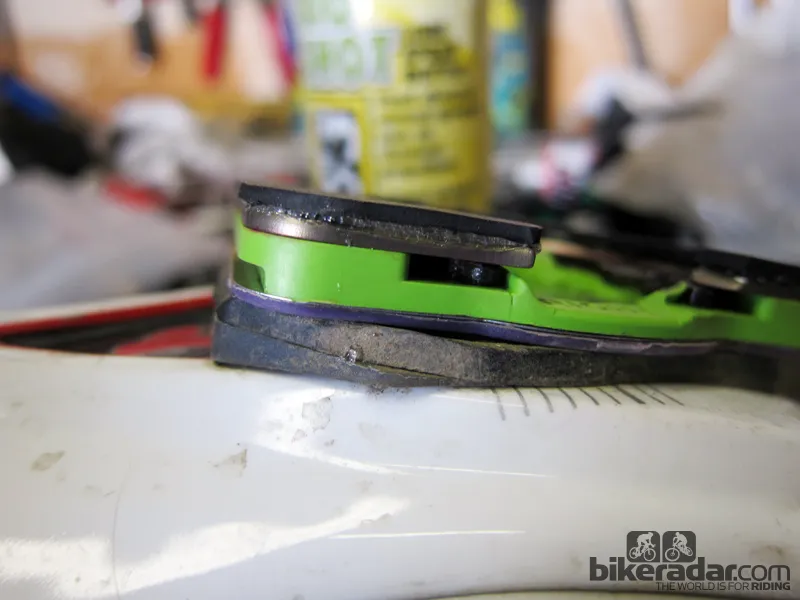
Lay the sheet of Neoprene on top of the cleat and press down firmly so as to get a nice, thin and even coat of adhesive. If you were careful about applying the glue, there shouldn't be too much squeezing out along the edges. Once that's done, set everything aside to fully cure – probably overnight depending on what type of glue you've used.
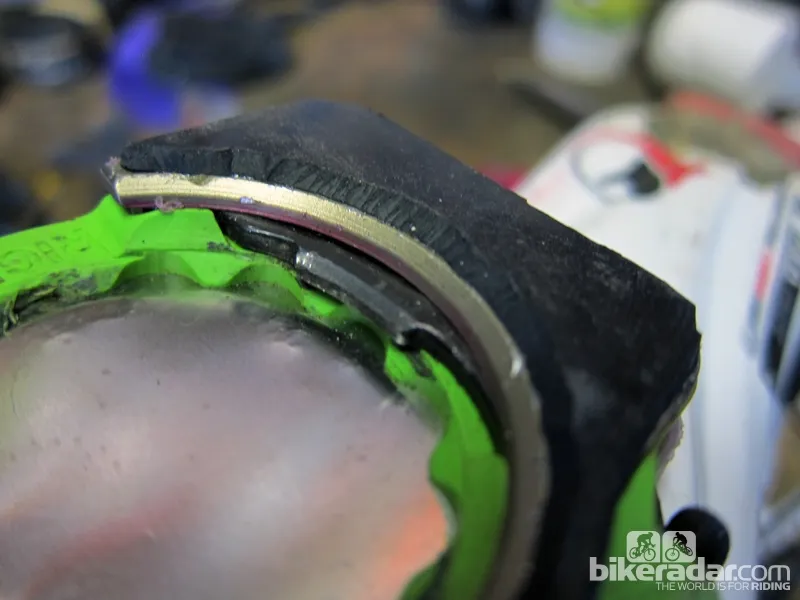
Finally, trim and chamfer the edges with a sharp razor blade. This will not only prevent the added material from interfering with the pedal operation but will also keep the edges from peeling up. Depending on the strength of your glue, you'll be able to peel the Neoprene off with a bit of effort once it eventually wears and provided you were careful with the operation, the bolt heads won't be filled with adhesive.
The longevity of this solution will depend on how much walking you do, of course, but also the quality of the traction material and adhesive you use, along with how well you've done everything. If you get it wrong, it's no big deal – just clean everything up and start over. But if you get it right, you'll no longer have to worry about falling on your face when you stop for a coffee.