

Repairing your own bike can be both highly satisfying and a money-saving exercise. However, it's worth keeping in mind that we all make mistakes – and that when it comes to maintenance these can come at the expense of your safety, damage to your precious ride (we'll leave you to fight it out over which of those is the more important) or simply limiting its functional potential
This time out on Home Wrench I'll be outlining some common repair mistakes – knowing of them should hopefully prevent you from making them.
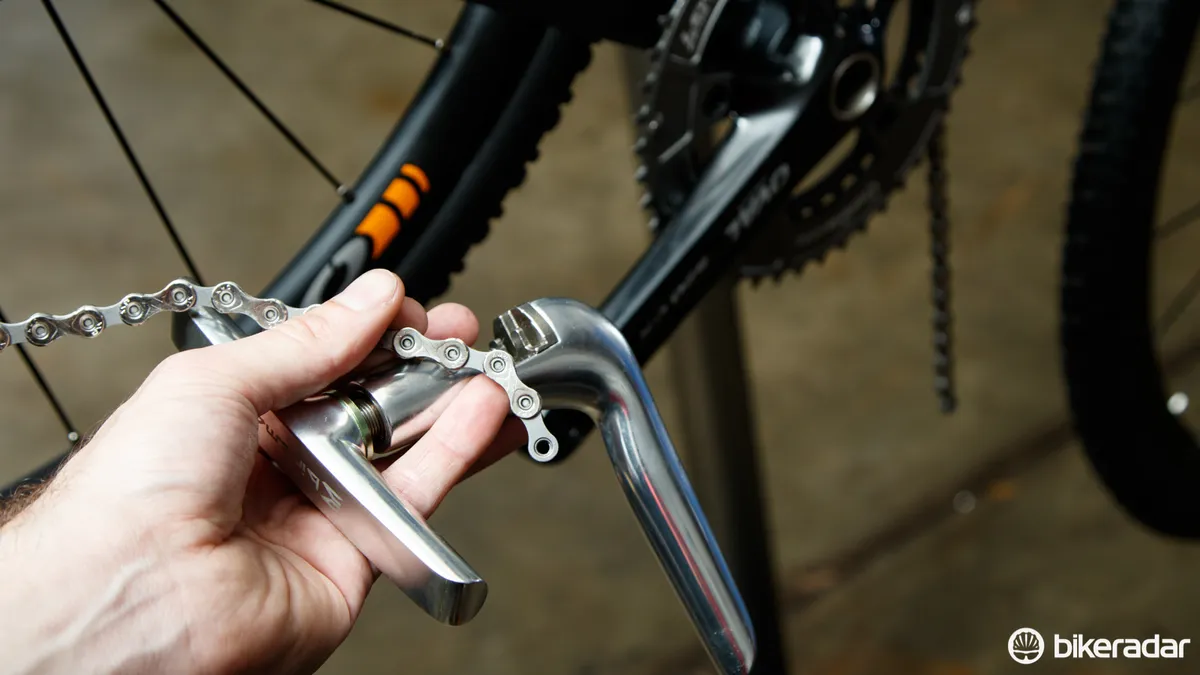
Wrong chain length
Many of us replace our own chains – but sizing is critical. Assuming the derailleur cage length is right for your chosen gear setup, you should be able to cross-chain on the big-big combo without huge issues. If you’re derailleur doesn’t allow this, your chain is too short.
If going to the opposite of small-small, the chain shouldn’t droop on the ground and the derailleur should be under at least some tension.
Of course, generally both of these gear combinations should be avoided when riding, but that’s another debate entirely. And lastly, don't forget to account for any chain growth if you're on a full-suspension mountain bike (generally only an issue on older bikes).
Cable housing too short
Seeing excessive cable housing on bikes is a pet hate of mine. It adds weight, increases friction and looks silly. As with chains though, it’s just as easy to go too short.
Key things to look for are the ability to turn the handlebars in both directions without the cables pulling – and make sure the piece of housing leading to the rear derailleur is long enough that shifting between the front gears doesn’t pull on it.
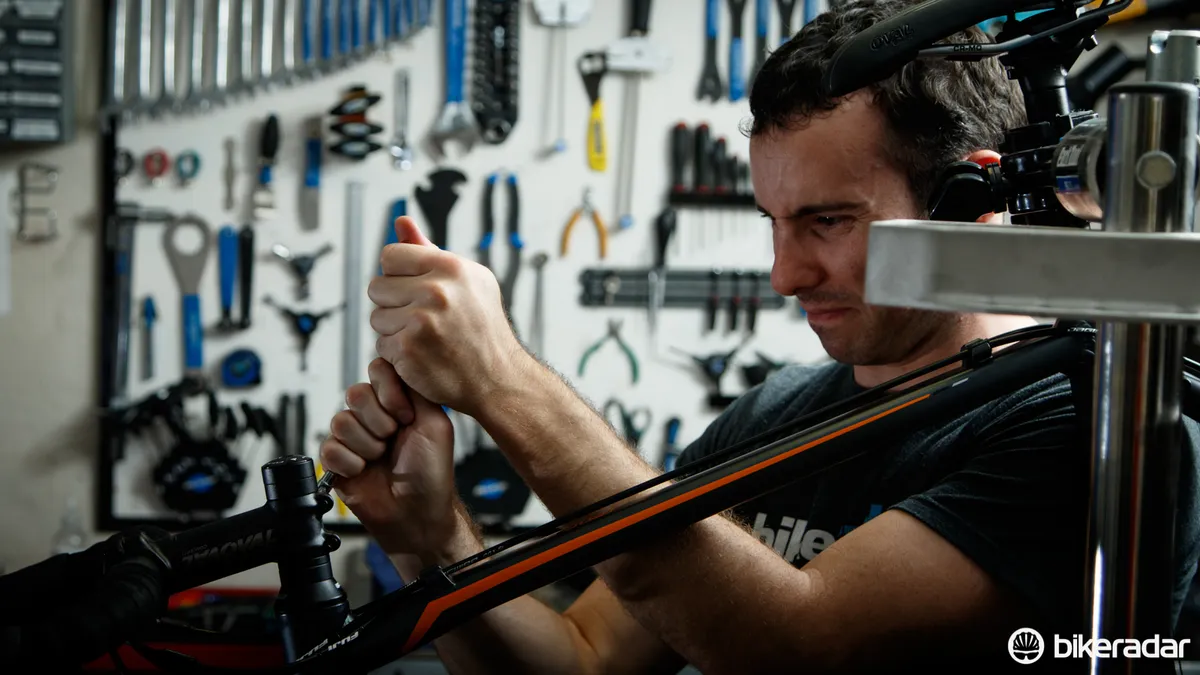
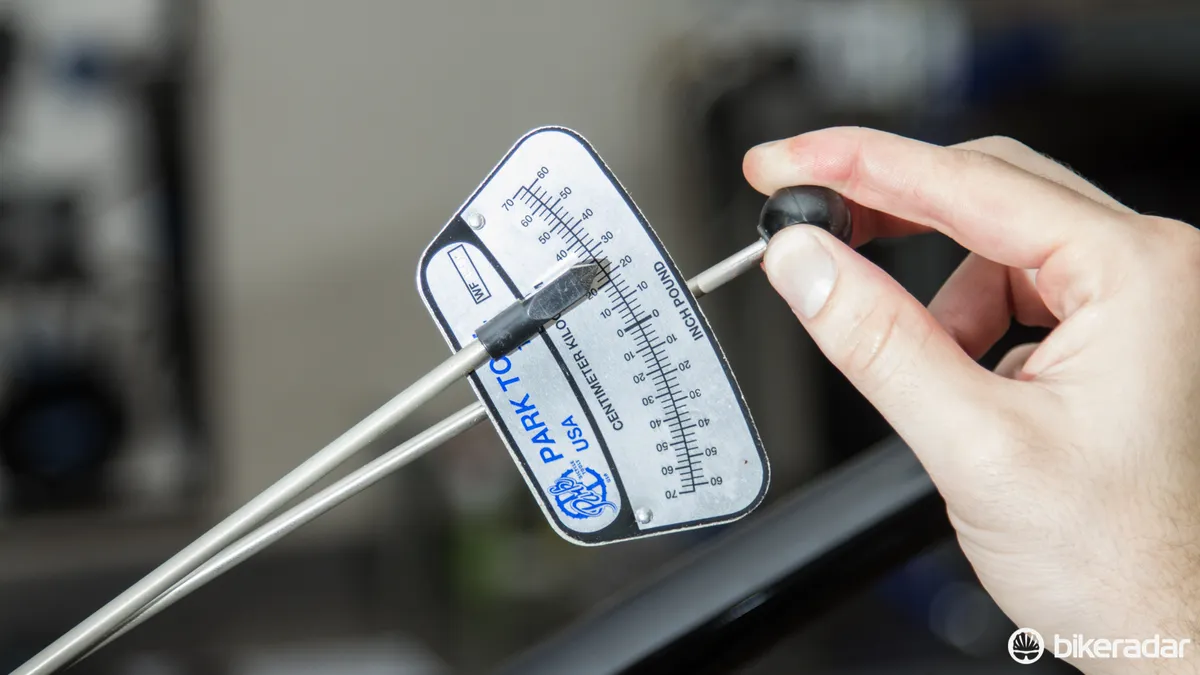
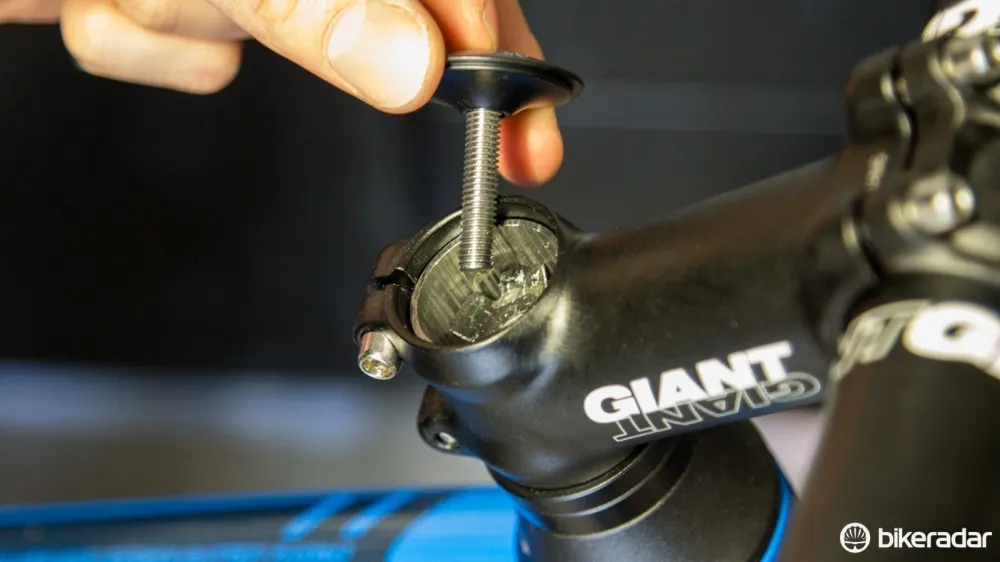
Under-torqueing bolts

Torque is crucially important and it's not just about preventing over-tightening
We often complain of over-tightening (which is also very bad), but the under tightening of bolts is even more common. Under-tightening a stem bolt can be life threatening – where safety counts, use a decent torque wrench.
Shimano’s HollowTech II cranks are one of the most common parts under tightened. The plastic cap on the end is purely there to adjust bearing preload, and shouldn’t help hold the crank in place. To install properly, alternate between the two pinch bolts until a torque of 12-15nm is reached – this is pretty tight.
Oils and disc brakes

Spray lubes and disc brakes don't mix
Far too many people use spray lubricants on bicycles without considering the overspray onto disc brakes. As I’ve mentioned previously, the best thing you can do for disc brakes is keep them clear of any oils.
If you’re planning to use lots of lubricants or oils, look to what the pro downhill race mechanics do. They ensure brakes remain free of oil by removing the wheel and wrapping the caliper in a clean plastic bag, held in place by an elastic band.
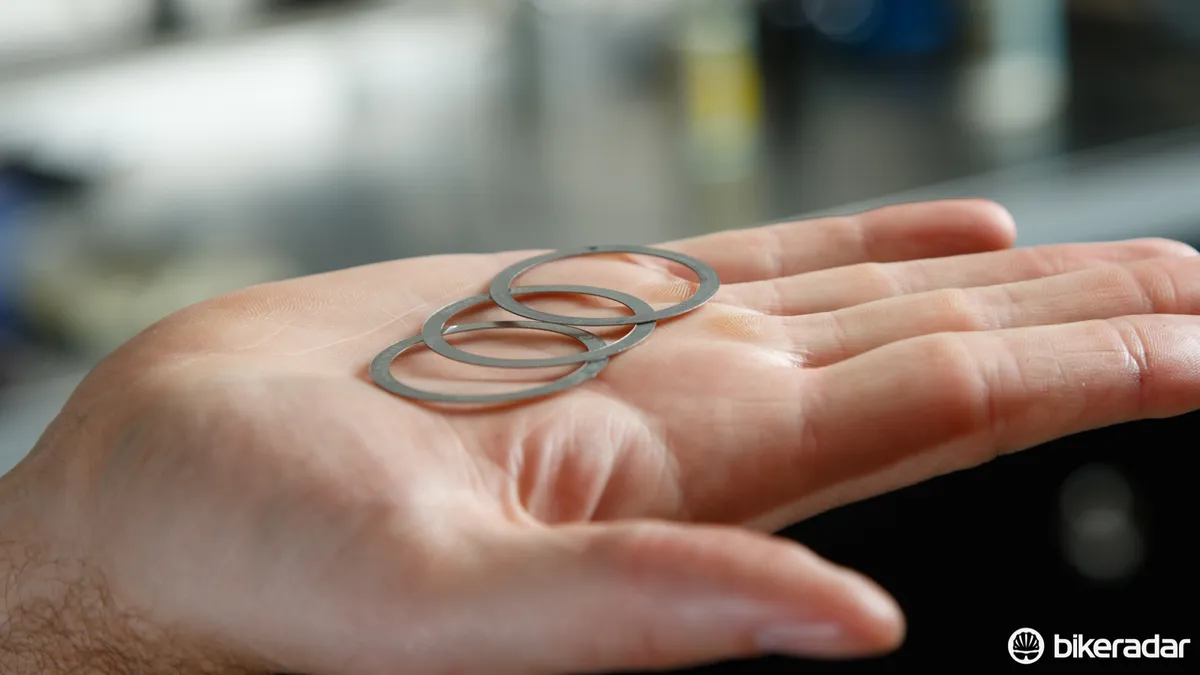
No headset gap
Is your threadless headset still feeling loose after you’ve cranked the bearing preload (assuming you've appropriately loosened the stem bolts)? There’s a good chance your headset top cap is bottoming out on the steerer before pulling it into tension. To check, remove the headset top cap – there should be a 3-5mm gap between the top of your stem and the top of the steerer tube.
Ensure there is a gap between the top of your stem/spacers and steerer tube
To fix this, find a 5mm headset spacer, put it beneath your headset top cap and try again.
Another cause to consider is whether you’re using a carbon steerer, in which case the expanding plug may be pulling through. Ensure this is tight and start again. On the topic of carbon steerer tubes, most brands recommend to not clamp the stem at the steerer edge as it can cause crushing, instead use a spacer on top to provide the 3-5mm gap (may not be possible if the steerer is cut too short for your desired fit).
And a far less common issue is the headset top cover bottoming out on the frame before it contacts the compression ring. For this, brands such as Cane Creek sell micro-shims.
Breaking a chain to clean it
Unless your chain has a reusable master link, then keep the chain on the bike. Every time you break a chain, you expand the hole for the rivet, and the chances of that becoming a weak point rises.
If you are going to break a chain and plan to put it back, ensure you have the correct installation pin to use; never re-use the pin you’ve pushed out already.
Bolt stripping
To strip or cam out a bolt isn’t all that hard with the common use of shallow heads, lightweight titanium or alloy materials or general slack tolerances. However, in most cases it can be avoided via the simple means of correct technique and quality tools.
As silly as it may sound, first ensure you’re using the right tool – that loose fitting hex key bolt may in fact be a Torx.
Always make sure the tool is fully seated inside the bolt and that there’s no dirt, rust or other contaminate preventing it doing so. A good technique is to give the tool a wiggle.
If the tool has excess play within the bolt, inspect closer for the issue. Is the bolt already showing signs of cam-out, is your tool worn (or of poor quality) or is something else causing the issue?
Lastly, apply some weight on the tool to force it into the bolt. While this last one is most crucial when working with Phillips head screws, it will often prevent a tight bolt from stripping.
Lefty, loosey…
Most threads on a bike feature a clockwise thread (right tightey, lefty loosey), but not all (such as left pedals). Before you go about putting all your weight on that wrench, look for any markings or read the instructions to confirm you’re turning it the correct way.
For an example of why not to assume, Campagnolo Ultra-Torque cranksets feature a right-hand threaded bolt in the middle of the Hirth joint; except for Super Record models, which are left-hand threaded.
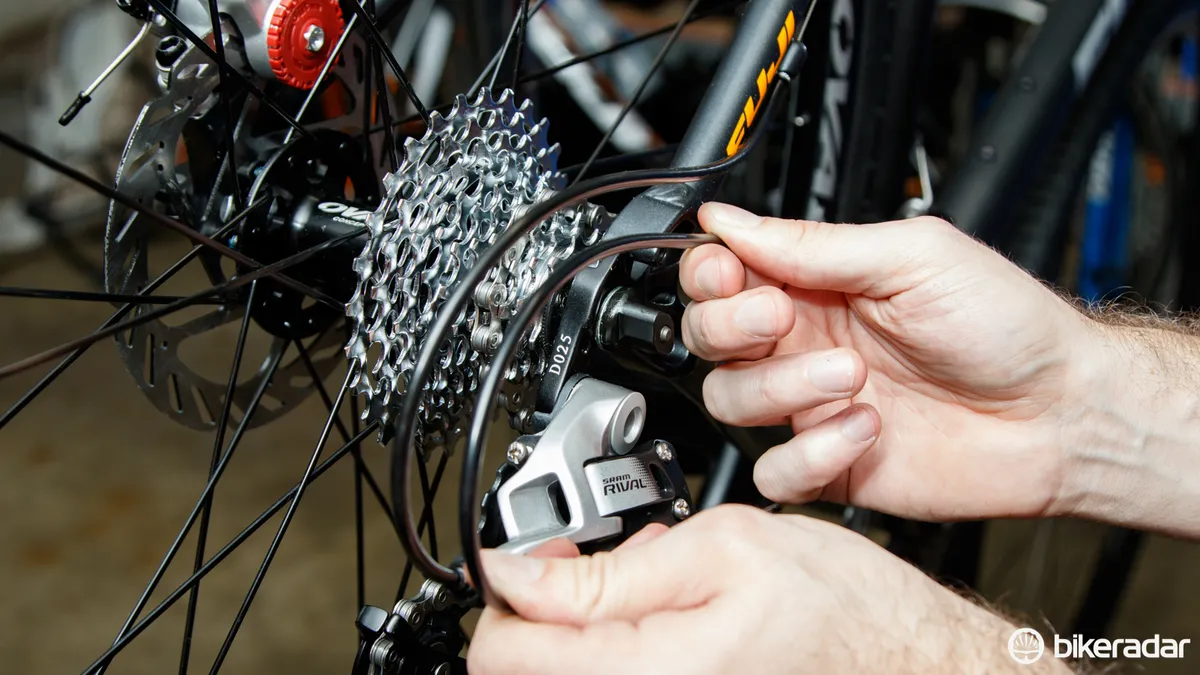
Use of cable ferrules
Ferrules are the little caps that go over the ends of cable housing. Mountain bikes need ferules at the ends of every piece of housing; however, road bikes can be a different story.
Shimano road kit needs ferrules for the gears, but generally not for either the brake calipers or brake levers. SRAM, meanwhile, needs ferrules for the brakes, but some shifter models feature a ferrule factory-installed for the gear cable. Campagnolo also doesn’t need ferrules at the brake calipers, nor on 11-speed levers (2009 onwards) – but older shifters do.
The simple rule here is to follow instructions, and if there's no guidance, then test-fit a piece of housing, if it's ultimately loose, then test fit a ferrule. If the ferrule is not an easy fit, stop pushing.
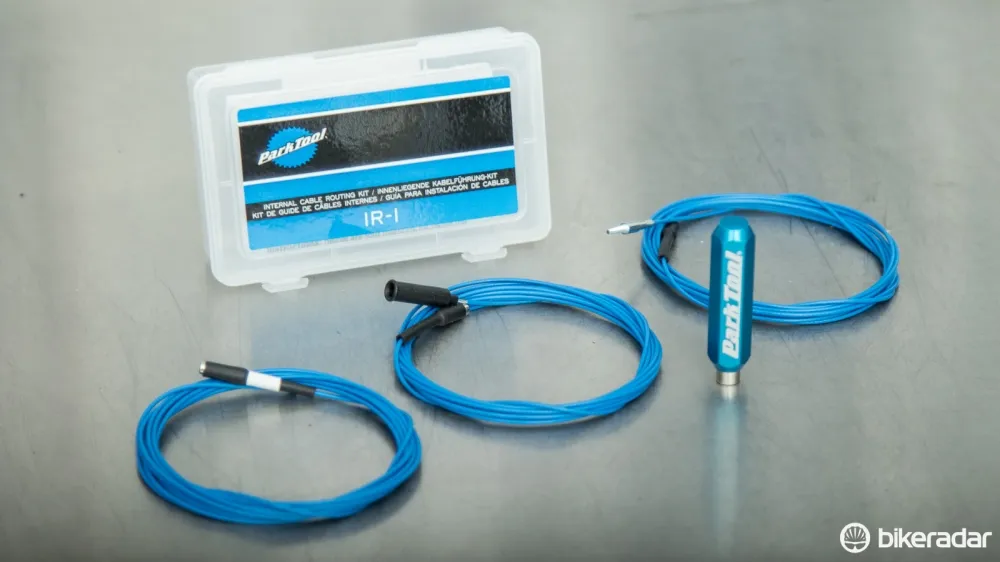
Pulling out that internally routed cable
Removing a cable from inside an internally routed frame is more a nuisance than a deal breaker, but it’s always easier if you avoid making the mistake.
Unless you know for sure your frame features internal guiding, then use a piece of thin plastic sheathing or similar to leave within the frame as you replace a cable. This was recently covered in a video.
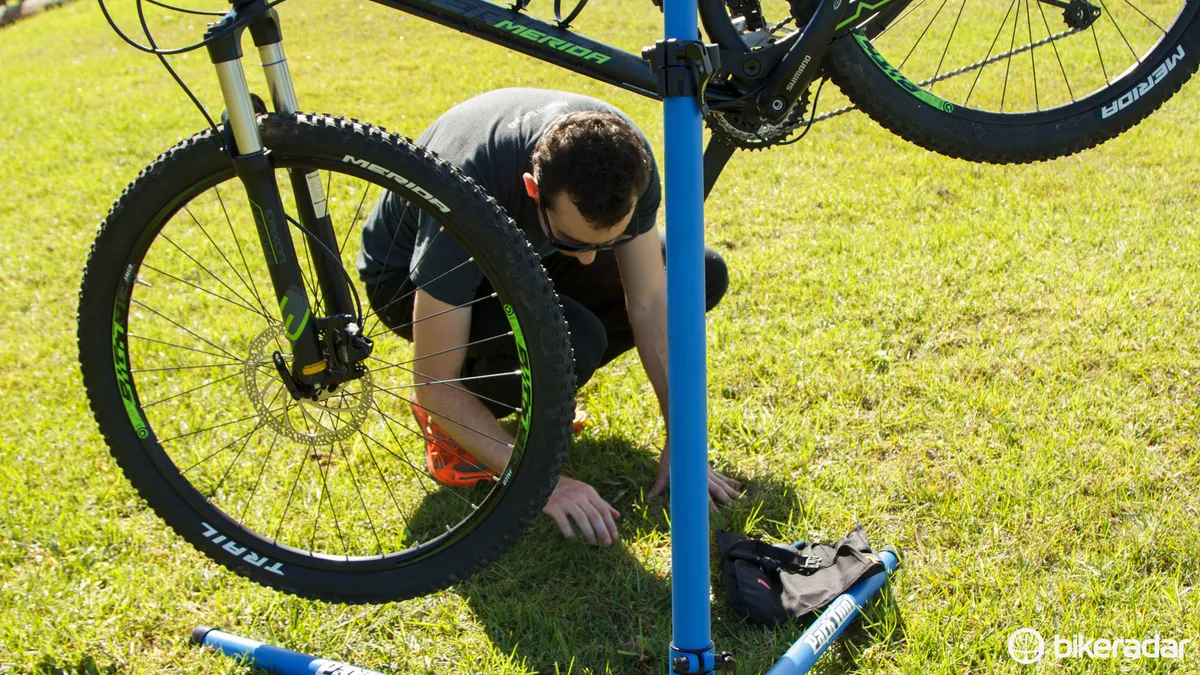
Dropping small parts

There’s no shame here, it happens to the best of us. The key is to have a clean work surface and floor that makes finding such a part easy.
Cheap camping or workout flooring is one way to create a comfortable surface where things will be easy to find. If you have lots of little gaps under shelves and benches, consider closing them off with duct tape or insulation tape – this will save you much time wondering if something slipped beneath.
And if you’re working on grass, just go inside and pour yourself a stiff drink, you’re not finding that bearing again.
Our Australian editor, Dave Rome, is a self confessed 'tool nerd' – this series exists as a small shout-out to his fellow eager garage dwellers. Before turning to the media, Dave worked in numerous shops and as tech support in wholesale. With a personal cycle-focused tool collection accumulated over more than a decade, and having found other like-minded tinkerers along the way, he's got plenty of little tricks and tips to share. You can follow Dave on Twitter at @dave_rome.