
Setting up suspension can be a black art, especially when it comes to longer travel applications such as downhill and freeride. But with the right know-how, time and patience, you can tune your fork to your taste, terrain and riding style. Starting with some theory to add flesh to the bones, we show you how...
Sag
Sag is how much your fork compresses with your static weight on the bike, with no bump forces acting upon it. It allows the fork to track the ground using negative travel (where the fork extends) and roll smoothly through troughs and dips in the terrain. But getting the 'perfect' sag on a fork is almost impossible - differences in weight distribution over the bike, due to the frame geometry or just your over-large Popeye forearms, can affect sag or the static position of a fork immensely. The correct way to make sure your fork is performing optimally is not to set the sag at all, but to get the right spring rate or air pressure for you and your riding. The sag will then be set automatically.
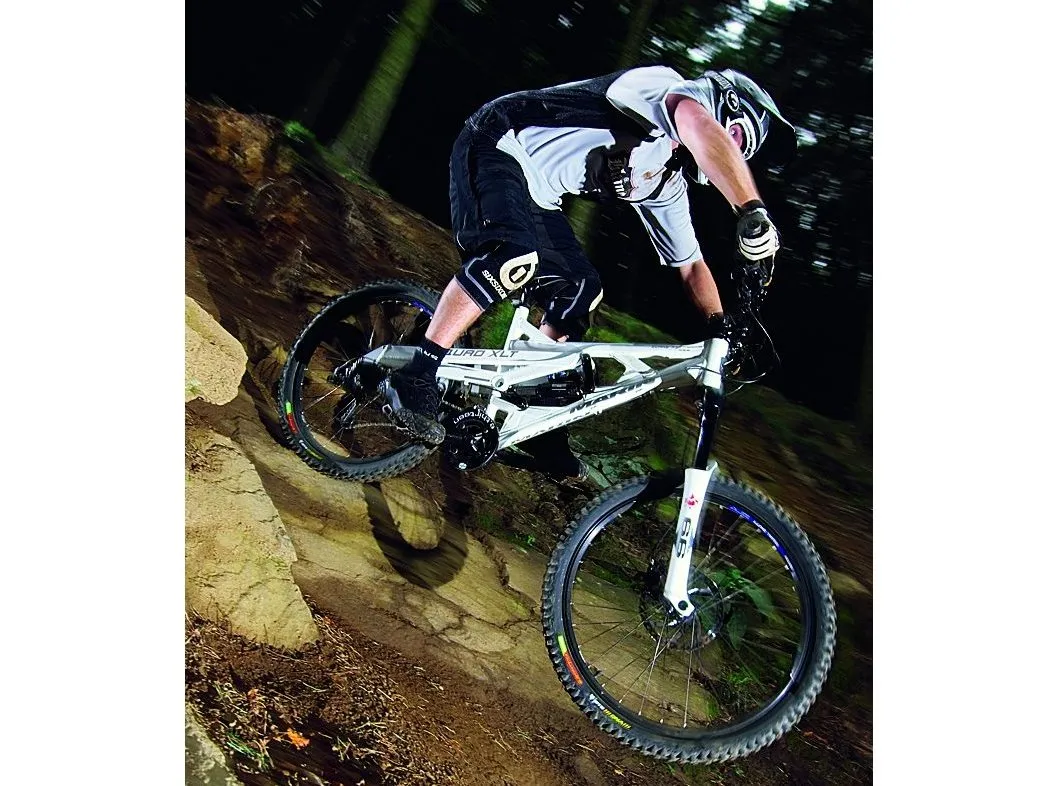
Freeriders should generally not have as much sag on their fork as XC/trail riders
For instance, freeriders should generally not have as much sag on their fork as XC/trail riders. This especially applies to those going for the extreme end of the sport: quite often, if you're dropping from a great height, you should run the hardest spring rate possible that allows your fork to get almost full travel so it doesn't bottom out harshly. This spring rate is determined by how big you're going.
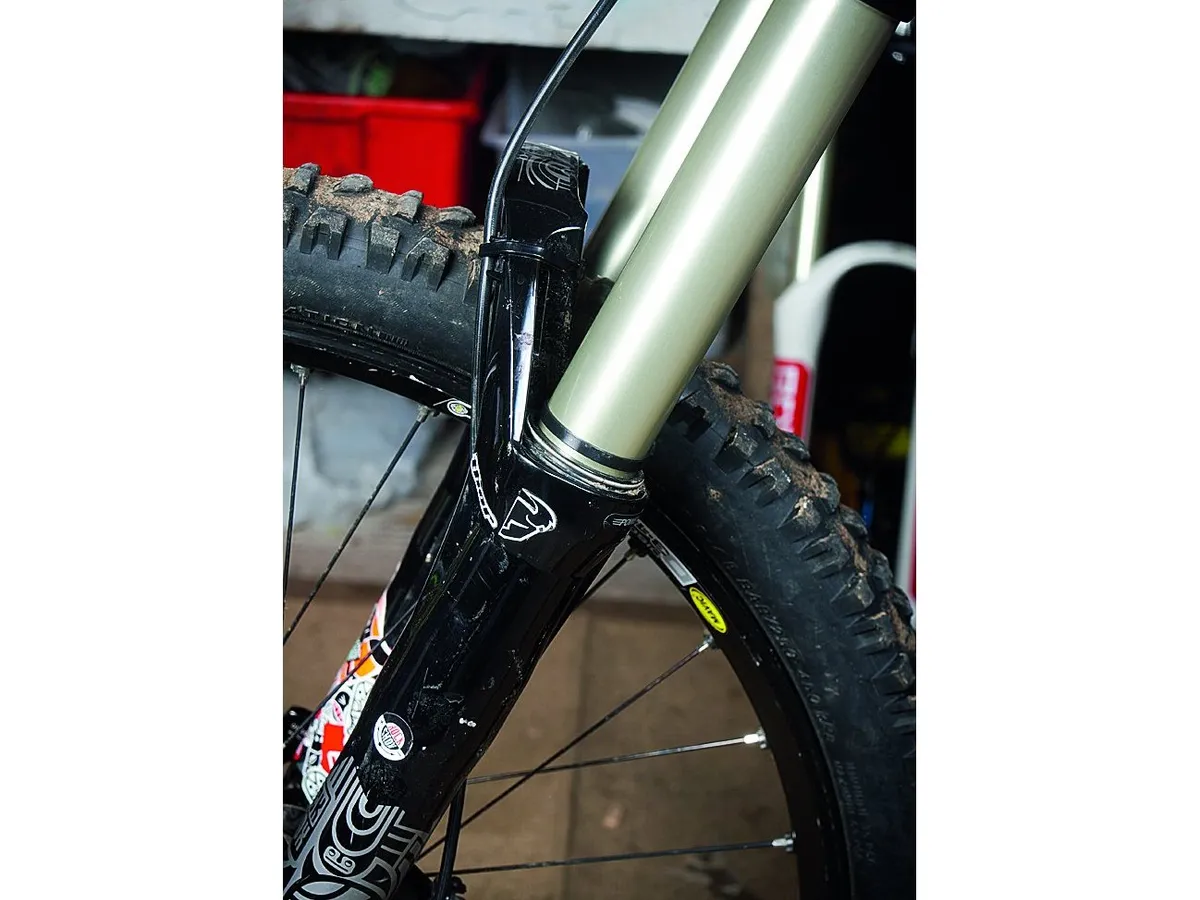
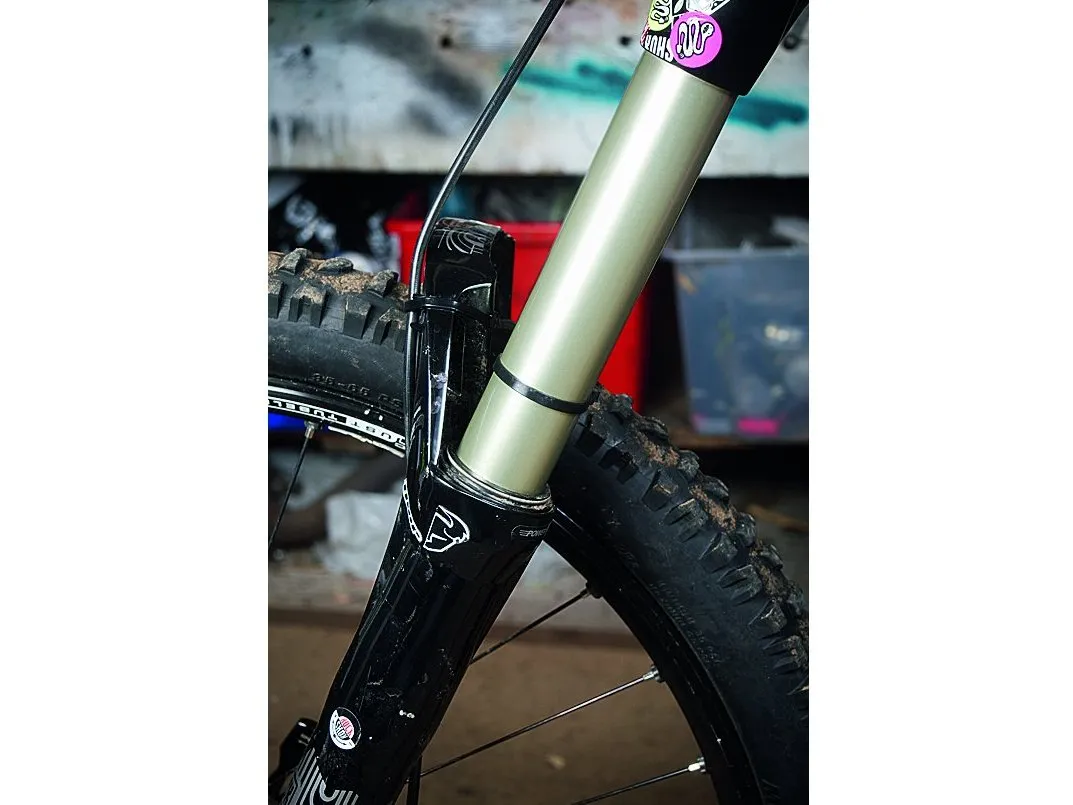
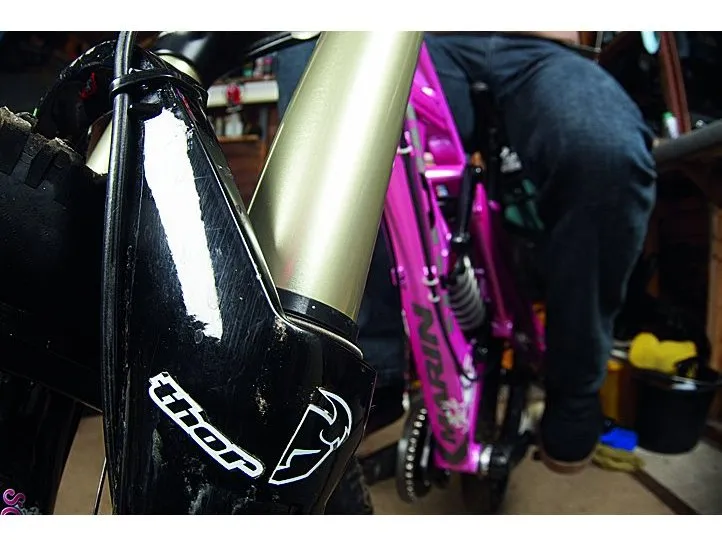
However, as a very rough guideline for downhill riding, the spring rate should yield roughly 33 per cent of the fork's total travel as sag (fork's total travel ÷ three = sag). That's when you're suited and booted in full riding gear and standing in the attack position over the bar (use someone to hold the bike upright). Use a zip tie on the fork stanchions to aid with measuring and checking the fork's sag.
Spring rate/Air pressure
How hard or soft your fork compresses is directly related to its spring rate or air pressure. The correct spring rate for your weight is critical and certain factors can affect which spring you should run, but the settings supplied by the fork distributor and manufacturer are ideal starting points.
Coil forks are usually set up with 11.5 to 13.5 stone riders in mind, so if you're outside this weight you may need to change your spring. Most forks have the facility to preload the spring but this will not help stiffen the fork - it's only there to take up any slack in the spring from compression over time.
You want your fork to reach its full travel maybe twice or three times a ride
Post-ride measures
Make a note of the travel with a tape measure after a ride until your spring rate feels right. To check the full travel, undo the top caps in the case of a fork with coil springs, or deflate the air system and gently compress the fork until bottom-out occurs. You want your fork to reach its full travel maybe twice or three times a ride. If it bottoms out harshly, it's too soft. If it feels choppy and your bike doesn't sit into its travel, it could be too hard. However, this is determined by riding style. Generally, harder riders require a harder spring rate/ higher pressure and more compression damping than 'finesse' riders.
The terrain effect
Terrain will affect the spring rate massively - the more the terrain, the harder the spring rate needs to be, and the same goes for doing big drops. But terrain with repeated small to medium hits will require a softer spring rate. You may have to compromise: consider what kind of riding you're doing the most of and set the spring rate according to that. Air forks are a great way to beat the problems associated with spring rate changes because it's very easy to put more air into your fork to make it firmer, especially for jumping.
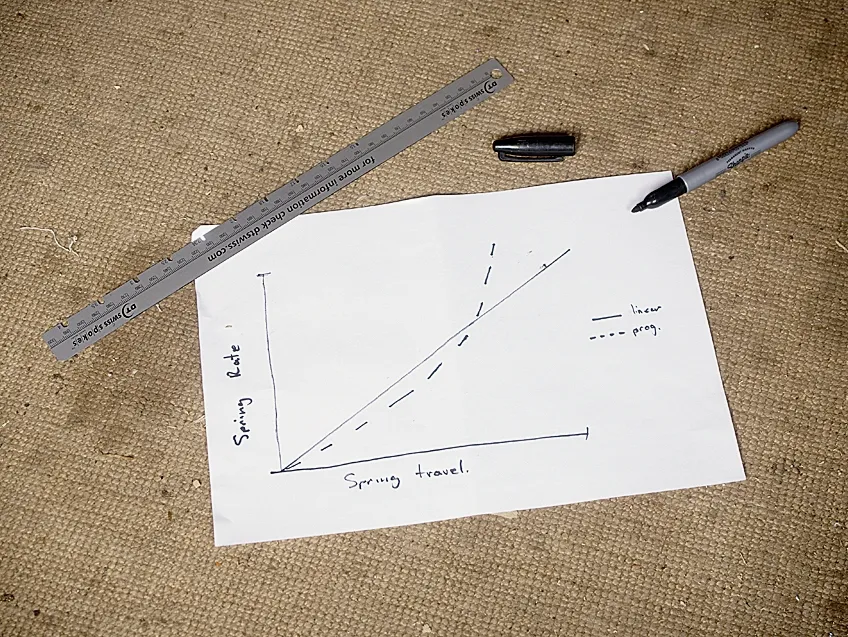
Spring feel
A progressive spring rate is one that gets stiffer as it moves through the available travel, also known as ramping up. A linear rate spring is one that has a constant rate and doesn't get firmer (or ramp up) towards the end of its travel. Quite often, this can show up as the fork blowing through its travel early or diving under braking.
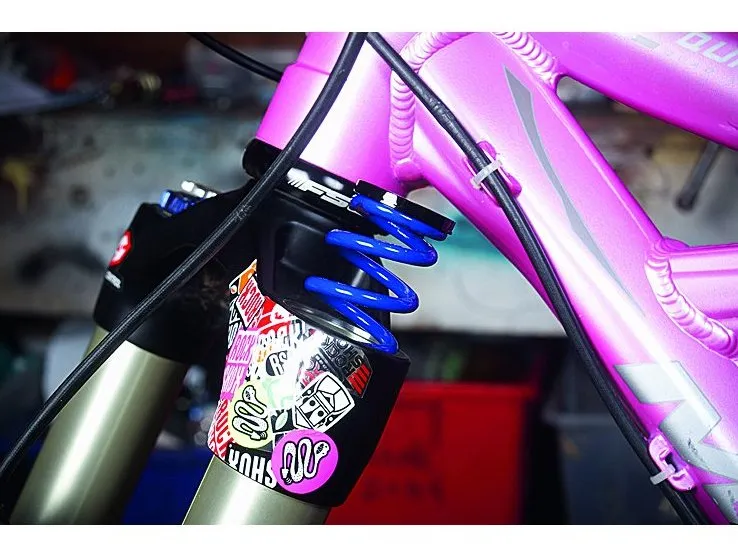
Coil vs air
Coil sprung forks are generally smoother feeling with a lively ride, whereas air sprung forks, especially longer travel ones, can feel sticky and unresponsive. The inefficiency of air forks increases as the rider weight does, and in long travel applications air doesn't perform as well as a coil spring because it can be too linear, as well as costly to maintain and keep running smoothly. Air forks come into their own under lighter riders and factory racers with full mechanical support looking to shed those vital grams and seconds.
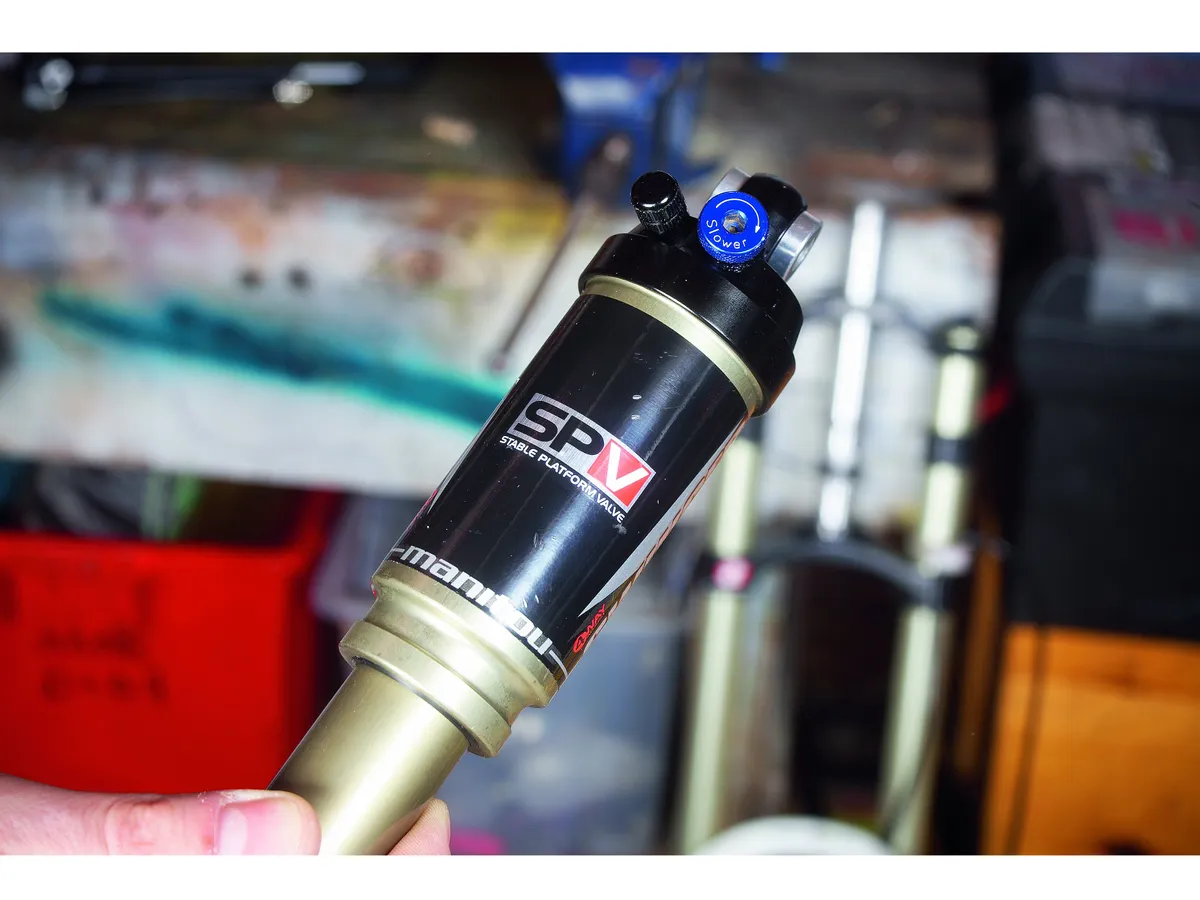
Intelligent platforms/thresholds
These are designed to lessen the effects of rider input on the suspension system, while still enabling bump absorption. The most commonly known intelligent platform system is Manitou's SPV or Stable Platform Valve. This uses air pressure to hold a small air-filled valve inside the oil damper closed. When a low frequency pedalling force (small, slow bumps), or leaning on the bar to sprint, is applied, the SPV remains closed, making the fork feel firm and inactive. As soon as the fork meets a high-frequency bump force (a fast, big hit) the SPV is pushed open, allowing oil to pass through the damper, making the fork active and allowing it to absorb the bump.
Motion control
The threshold systems found in RockShox forks are known as Motion Control or Mission Control. These systems rely on shims holding the oil back. By adjusting the amount of oil that can flow through the shims you can increase or decrease the threshold or platform, making them more or less reactive to rider input via weight shifts, specifically when pedalling.
Rebound
Rebound controls the speed at which your fork returns after being compressed by a bump. When your rebound is fast, your fork will feel overly springy, like a pogo stick. This can cause you to be bucked off your bike on landings or after big hits. When your rebound is too slow, your fork will feel sluggish and sit down in its travel. If a fork cannot recover to full extension quickly enough between bumps it will become progressively shorter in travel, which is also known as packing down.
When your rebound is fast, your fork will feel overly springy, like a pogo stick
Fluid mechanics
Rebound is controlled via the oil damper usually found in the right-hand leg. It can be controlled through port volume, where the flow of oil is restricted through a series of holes in the damper or by using a series of shims. Adjusting the amount of oil that's allowed to flow through the shims will increase or decrease the rebound damping. Flowing oil through shims is thought to be the best way to control damping in a fork.
No right or wrong
Theories on damping control vary because there's no right or wrong: actual rebound is down to rider preference. A downhiller riding a fast course with repeated high speed hits may want his fork set quite fast because this allows it to recover or extend between bumps. However, a big bump taken unawares could buck the rider. Others prefer the rebound slow - the ride is slightly tougher, but big hits are chewed up, reducing the 'buck' factor. A hucker, on the other hand, will need a much slower rebound because his fork needs to absorb one big hit and allow him to ride it out without being bucked off his machine.
Compression
Compression controls the speed at which your fork compresses or reacts to a bump. When you have too little compression damping, your fork will easily blow through its travel. Too much compression damping makes your fork feel harsh, and it won't make full travel on the fast, big bumps. This is also known as spiking.
Two stage damping
The best damping systems have two or even three stage damping control. A two stage system will handle high and low speed bumps differently. Ideally, you only want a small amount of high speed compression damping so that the fork can take large, fast hits easily. You should also have plenty of low speed compression to stop the fork diving and wallowing. Many riders make up for an incorrect spring rate by increasing the compression damping, but this leads to the fork spiking and could cause your hands to be forced off the bar.
Workshop wisdom
*Read your fork manual. We can't stress this enough; it will often include recommended spring rates and air pressures for your weight.
*Clean your bike - it'll be much easier to work with if you do.
*Putting an O-ring or zip tie around the stanchion of your fork is the ideal way to see if you're getting full travel and it will aid setting the sag.
*Set-up and guidance is similar for most forks. You'll need a good head on you and you'll learn easiest just by experimenting.
*Take your time and only adjust one thing at a time.
*Take each adjuster to the upper and lower limit stops to see how it performs.
*When using this guide, start at the top and work down, doing each step in order.
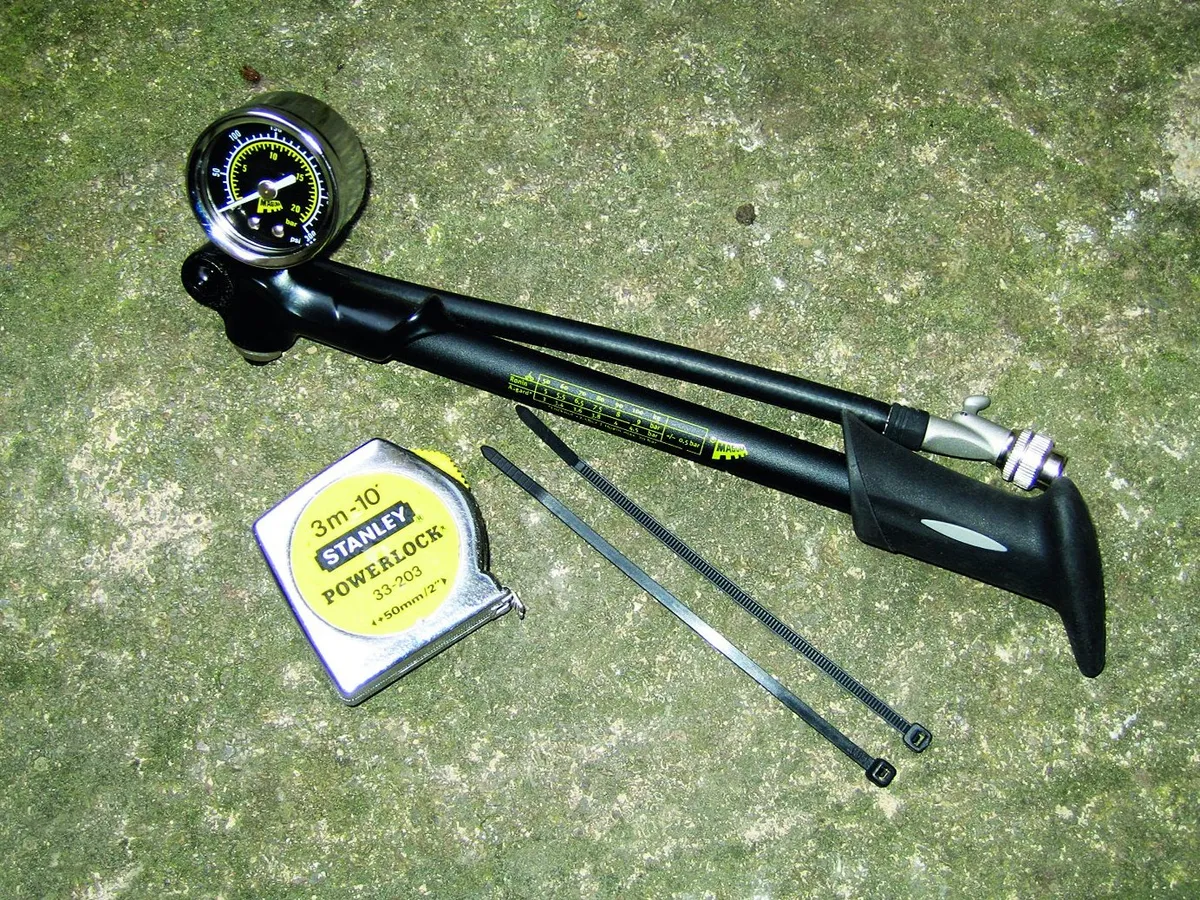
Tools for the job
1 Shock pump (for air or air assist fork)
2 Tape measure
3 Zip ties
Step by step
1 Setting up sag - preload and air pressure
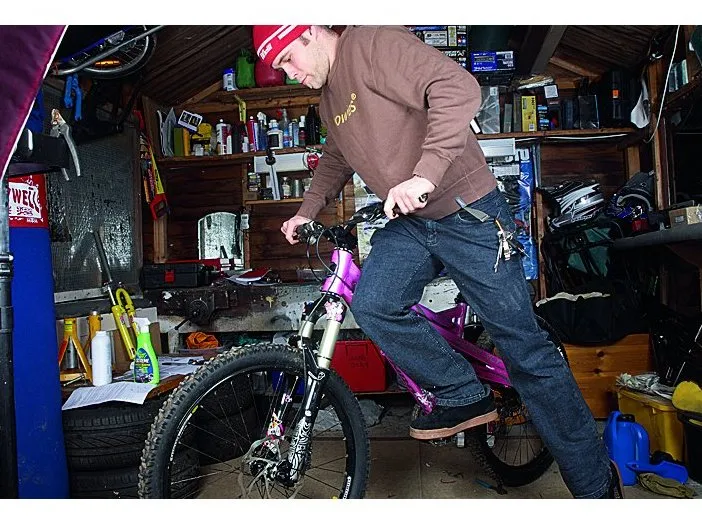
Ride gently along and push down hard on the front end - usually a little hop will give you enough force to get full travel. If you can't get this, your fork could be too hard and may need a softer spring or less air pressure. If you can easily bottom it out, an increase in spring rate or air pressure should resolve it.
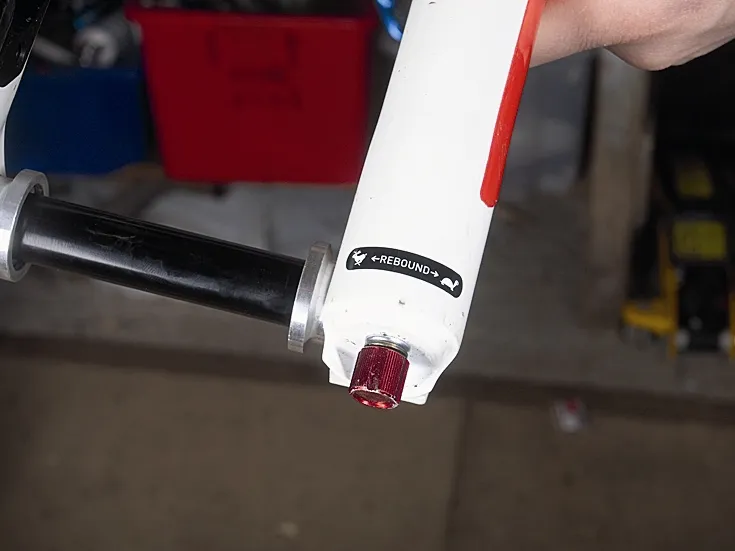
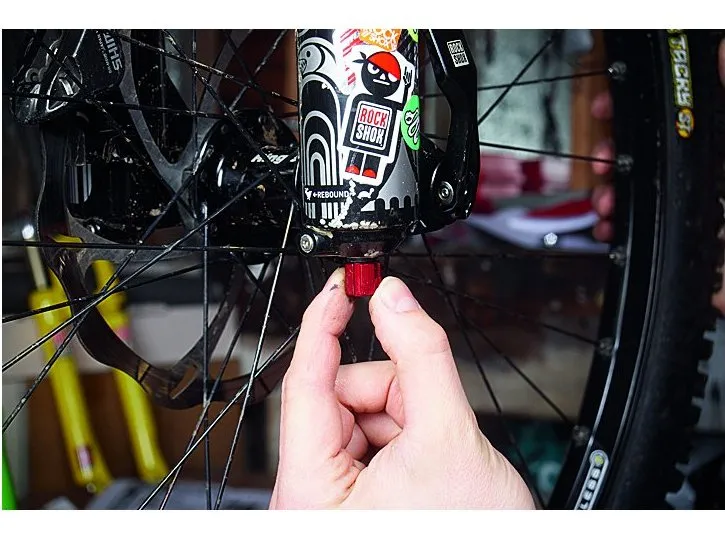
2 Setting rebound - using the adjuster knobs
2a Most modern forks have an easily accessible rebound knob. The Marzocchi 888 has it at the top of the right leg, shown with an R. It has (more rebound) and - (less rebound) marked on it. Other manufacturers choose to mount the rebound adjuster at the bottom of the right-hand leg, such as RockShox with a red dial and Manitou with a blue dial. For faster rebound, dial in less rebound damping (marked - ) and for slower rebound, dial in more rebound damping (marked ).
2b Push down on the fork with all of your weight and let it spring back. If you can lift the front wheel high off the floor before the fork extends it has too much rebound and is too slow. If you feel the fork trying to push you away and you can't lift the wheel off the floor, it's too fast. Experiment with settings in-between this until you find a happy medium between too fast and too slow. If in doubt, a little slower won't throw you on to the floor.
3a Compression
On a RockShox Boxxer fork, the compression knob is found at the top of the right leg. Again, it will be labelled with a C and have (more compression) and - (less compression) markers. Forks such as the RockShox Totem will have compression at the top of the right leg: this is a two stage system with independent high and low speed damping.
3b Adjust the dial on the Boxxer to ve. This will reduce movement under pedalling or braking, although too much compression damping can cause a fork to spike. The only way to test high speed compression damping is to hit a trail you know well and adjust the settings incrementally - you'll probably find your ideal setting a couple of clicks or half a turn from the middle setting. As always, it comes down to personal preference and often you'll need to try a few settings until it's just right.
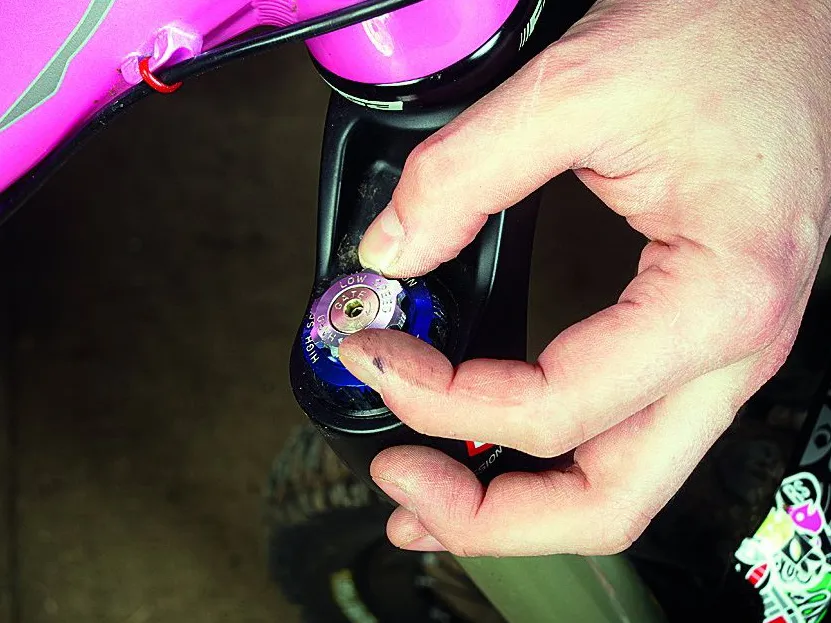
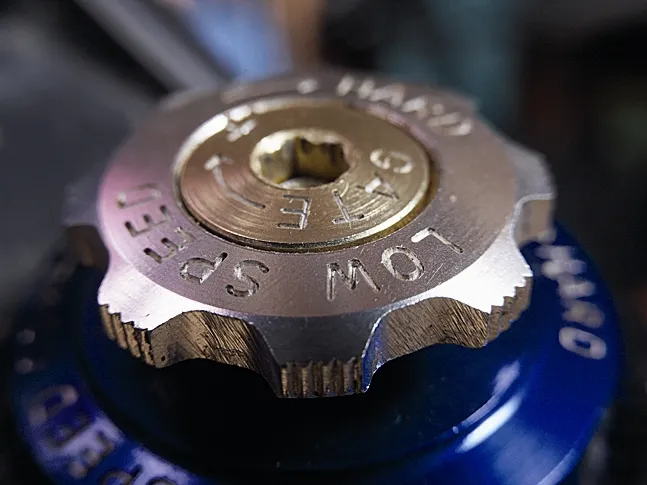
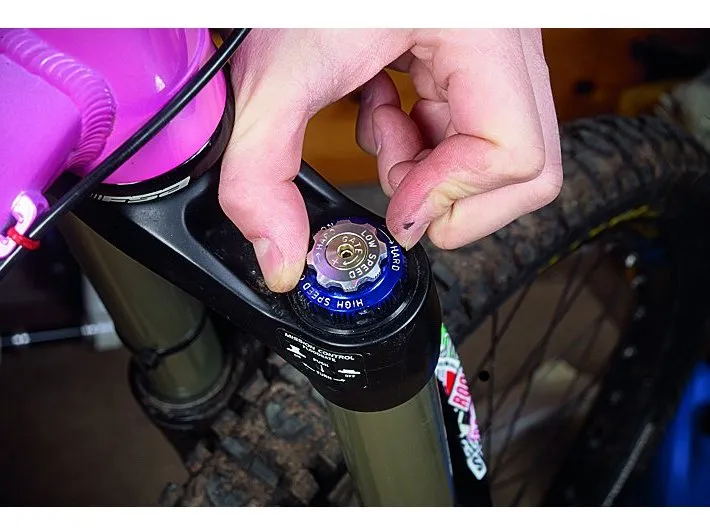
3c High/low speed compression
Adjusting the high and low speed compression on a fork such as a RockShox Totem with two stage compression can be daunting. High speed (outer blue dial) controls the fast, big hits and should be dialled in so the fork won't punch quickly through its travel, but also won't spike. The low speed circuit (inner silver dial) controls bobbing or small-bump sensitivity and you should adjust it so that it allows small bumps to be absorbed, but not too much bobbing when pedalling.
4 Platform systems
Platform systems such as Manitou's SPV should be set to preference. Use your shock pump to add air to the SPV chamber, up to between 50 and 60psi. This system works better with long travel forks on a low pressure setting of around 40psi. But if you run it with too low a pressure, you'll damage the SPV and lose your rebound and compression damping control.
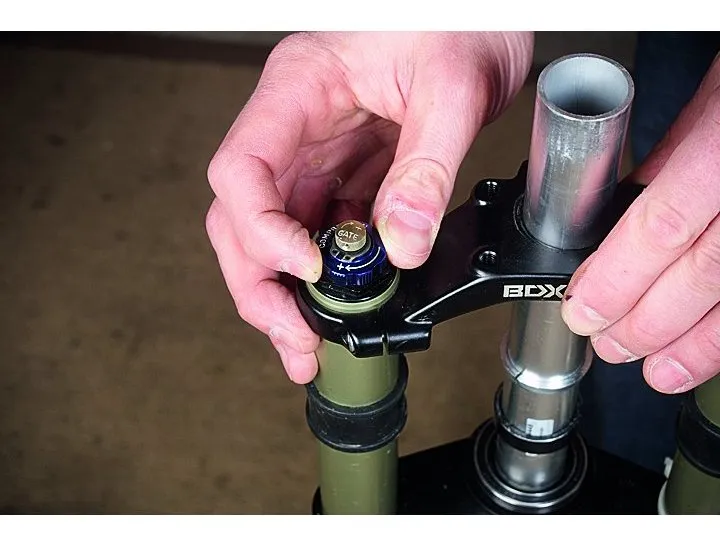
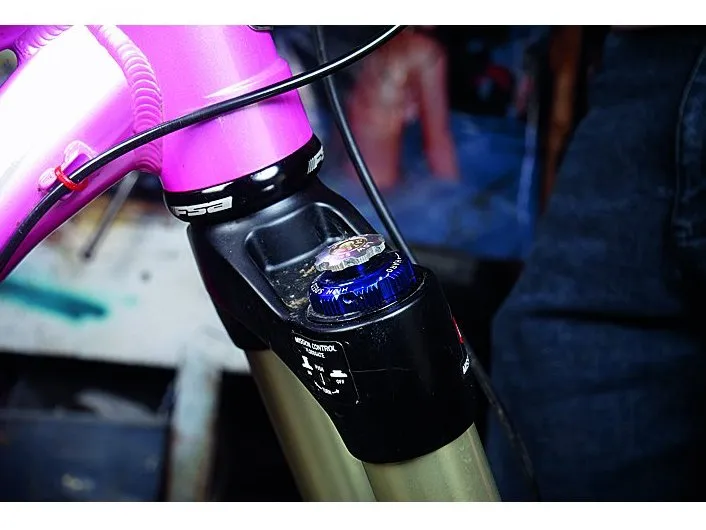
5a Threshold
The threshold on a Totem is adjusted via a 2.5mm allen key in the top cap. First you'll need to engage the platform of the fork by pressing down on the silver high speed adjuster and turning it 90 degrees to the right (clockwise) until it pops up.
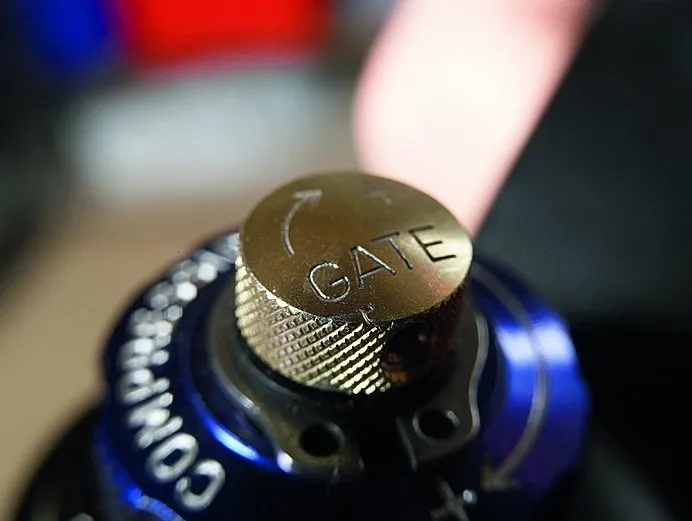
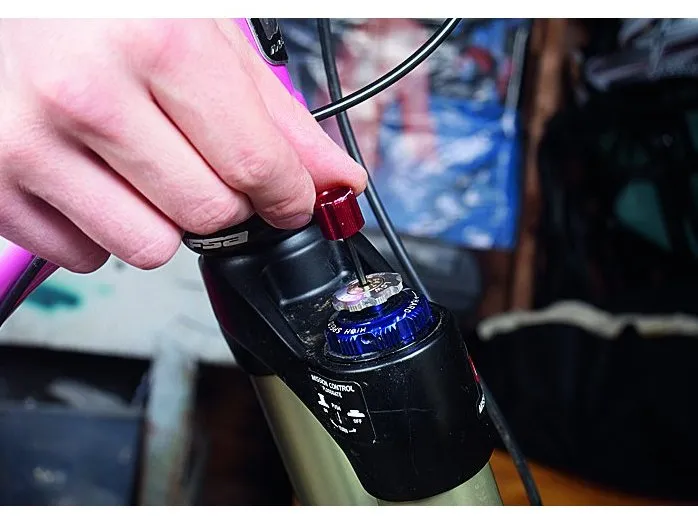
5b
You can then remove the rebound adjuster and use it to adjust the 'gate' or threshold of the Motion Control. A setting that stops the fork moving due to rider input, but still allows big bumps to be absorbed, is ideal. This way, if you forget to turn off the threshold at the top of a hill you won't ruin the descent.