


If you want to adjust the travel of your RockShox Reba Team Dual Air fork, let us make the process easier for you with this handy step-by-step guide.
Time: 60 minutes
Cost: £12.99
Tools:
- Shock pump
- Circlip pliers
- 24mm socket
- 10mm socket
- Ratchet
- 5mm Allen key
- Soft faced hammer
- Clean rag
- Isopropyl alcohol
- Length of dowel
- Clear lensed eye protection
- Grease
- Fork oil
- Workstand
- Torque wrench
- Rubber gloves
- RockShox All Travel Spacer Kit (available from SRAM)
Before you start:
- Stripping forks down isn’t always straight-forward. Things can go wrong, so it’s important that you take care when you’re doing it. Forks aren’t cheap so you can’t go cutting corners when it comes to equipment. It’s essential you have exactly what you need before getting stuck in. Good quality tools makes stripping a fork a lot easier and lowers the risk of breakages and rounding out the bolts.
- Remember to get your goggles on too. Rogue oil squirts are a common occurrence and it’s no fun if you get one to the eye.
16-step guide to adjusting the travel of a RockShox Reba Team Dual Air fork
1 It’s a good idea to wear rubber gloves. Take the fork off of the bike and give it a bounce so that you know how it should feel when fully functioning. Firmly clamp the steerer of the fork into a workstand. Remove both of the air caps from the left leg of the fork. Using a shock pump, note the air pressures. Remove the rebound adjuster and use it to release air pressure, starting with the negative chamber (bottom of the left leg), then do the same with the positive chamber (top of the left leg).
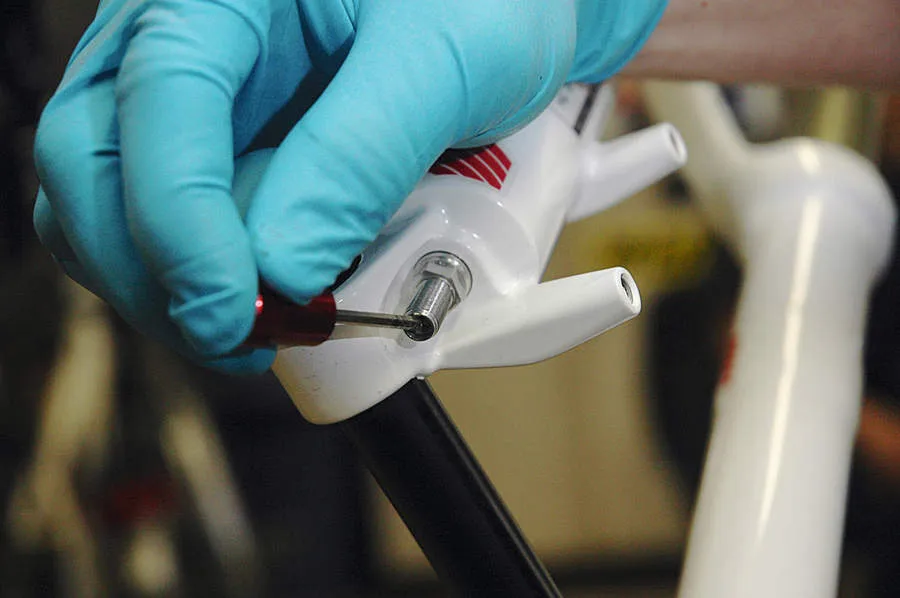
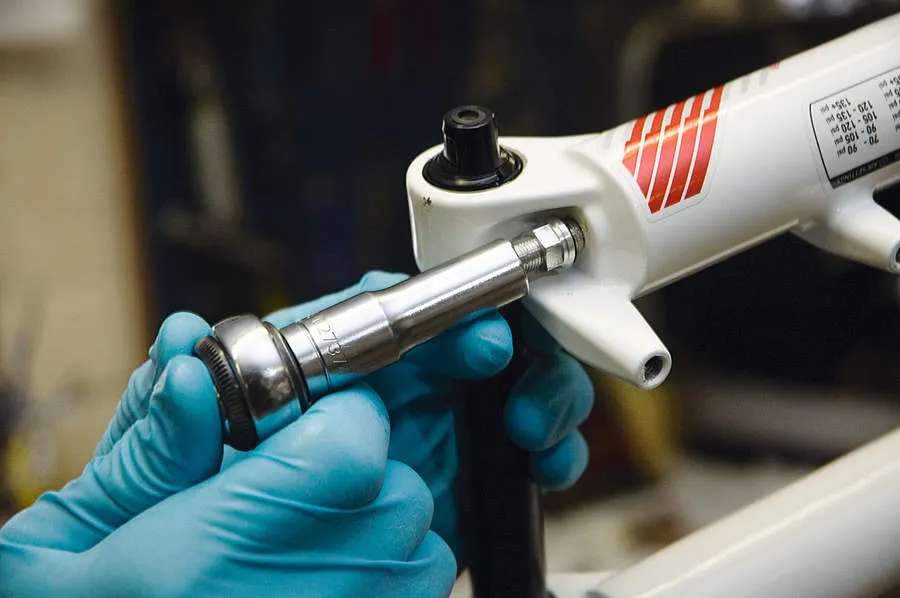
2 Use a 10mm socket to loosen and unthread the Dual Air shaft nut that’s located at the base of the left leg. Loosen the nut a few turns, but do not remove it completely. Using a 5mm Allen key, loosen the bolt at the base of the right leg three or four turns but again, do not remove it completely.
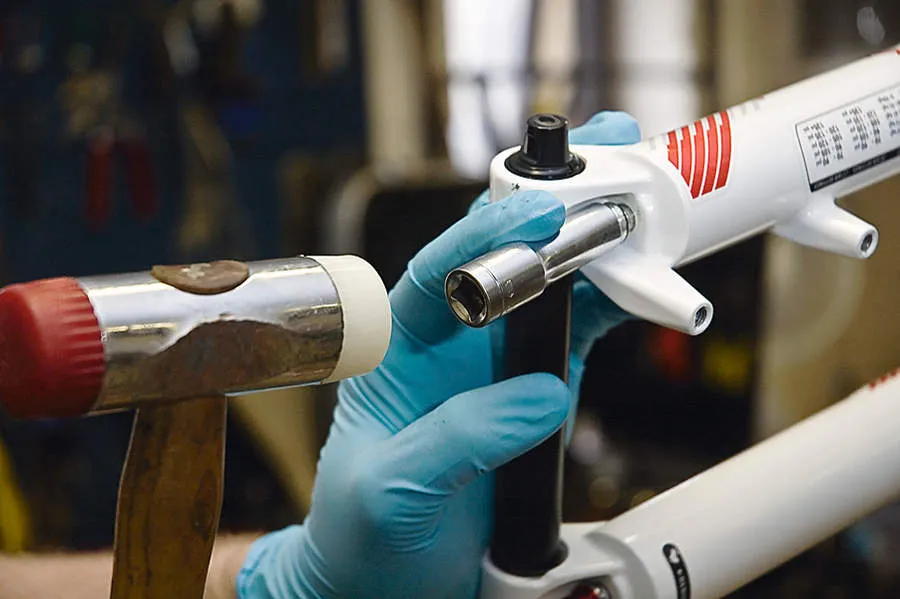
3 Place a tray or oil pan beneath the fork and, with the 10mm socket in place over the Dual Air shaft nut, use a soft faced hammer to strike the socket to release it from the press-fit to the lower leg. Strike the 5mm Allen bolt on the lower right leg too. Use your fingers to remove the bolt from the right leg and the nut from the left leg. Pull the lower legs down until oil begins to drain out into the tray below.
4 With the oil drained, pull downward on the lowers by holding onto the brake arch and remove the lowers completely. Give the lowers a clean with a clean rag and some isopropyl alcohol. To reach the inside, wrap the rag around a piece of dowel or wooden spoon handle and clean inside each of the legs.
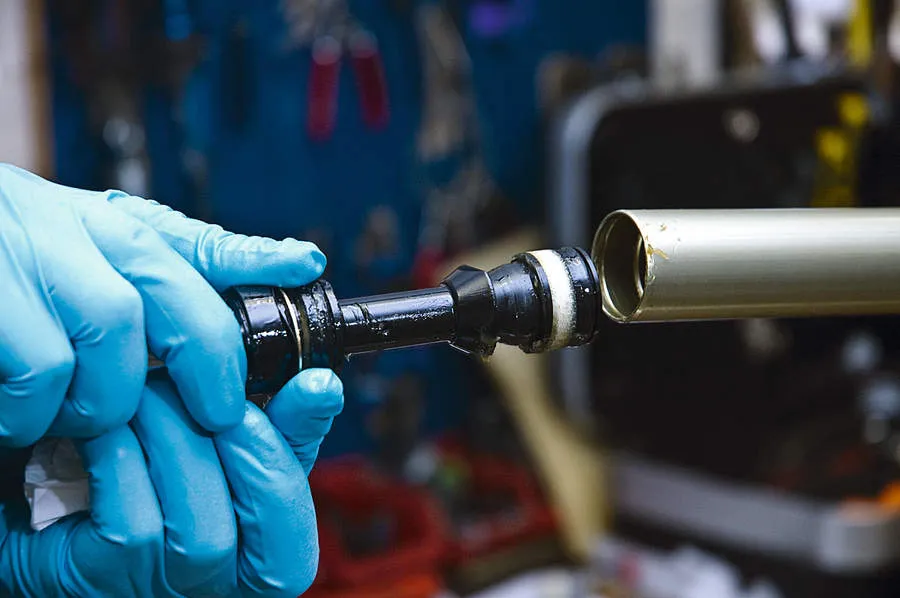
5 You now need to remove the Dual Air Spring. Check all the air is removed from the assembly and use a 24mm socket to unthread the air spring top cap located at the top of the left leg. Remove the fork from the workstand and pour any lubricating oil into the oil pan beneath it. Clamp the fork back into the workstand.
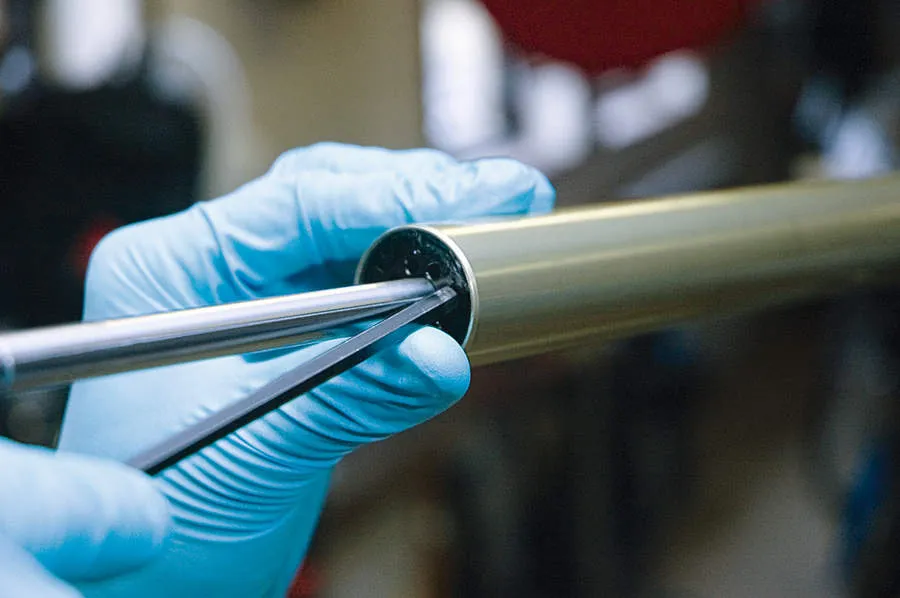
6 Press against the baseplate gently, pushing it up and into the upper tube with a 15mm socket or something similar slotted over the air shaft. Using a pair of circlip pliers, remove the circlip. Take note of its orientation because this is very important. Pull the air shaft down to remove the air spring assembly from the upper tube being careful of any excess oil that may come out while you are removing it.
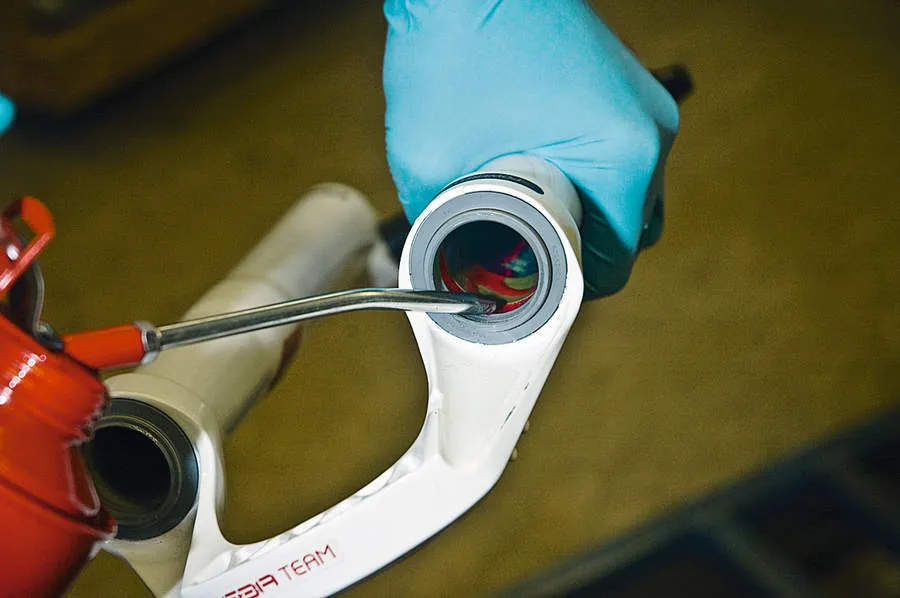
7 Remove the baseplate, wavy washer, flat washer, baseplate bumper and negative air piston from the air shaft assembly. Give the upper tubes a clean with some isopropyl alcohol and a clean rag on both the inside and outside, paying particular attention to the inside of the seals.
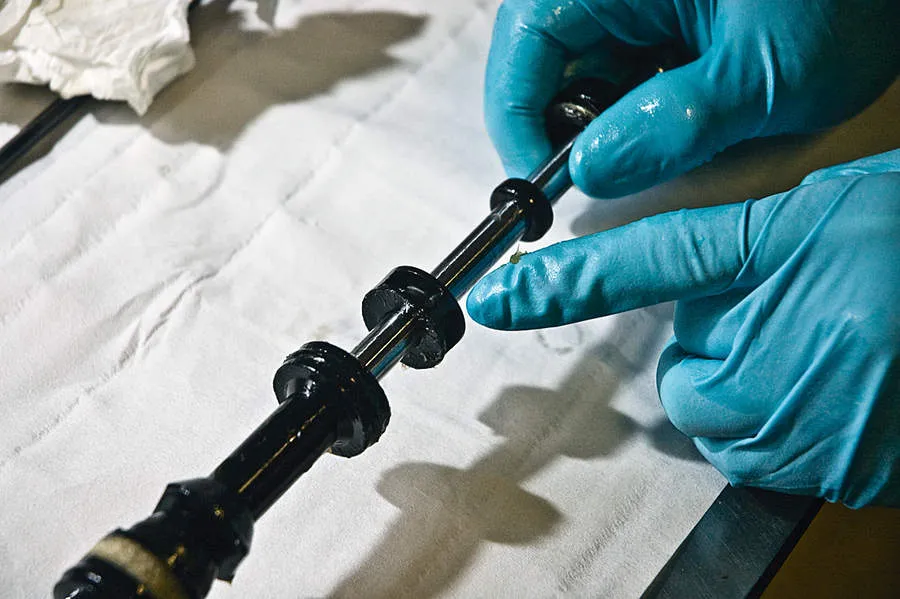
8 The travel spacers are located between the baseplate and negative piston. Depending on what travel you want to run, add or remove spacers accordingly. More spacers means less travel. They come in 20mm or 10mm sizes so you can tune your Reba’s travel between 80mm and 120mm in 10mm increments. Check your fork’s manual for specific settings because it can vary depending upon the year of production.
9 With spacers in place, reinstall the negative piston, baseplate bumper, flat washer, wavy washer and baseplate onto the Dual Air shaft. Apply a thin coating of grease to the O-rings. Insert the Dual Air assembly into the upper tube. Soak the foam wiper in SRAM RedRum. Make sure it goes in the correct orientation – air piston first, then the negative piston and baseplate assembly (base retaining washer, then wavy washer).
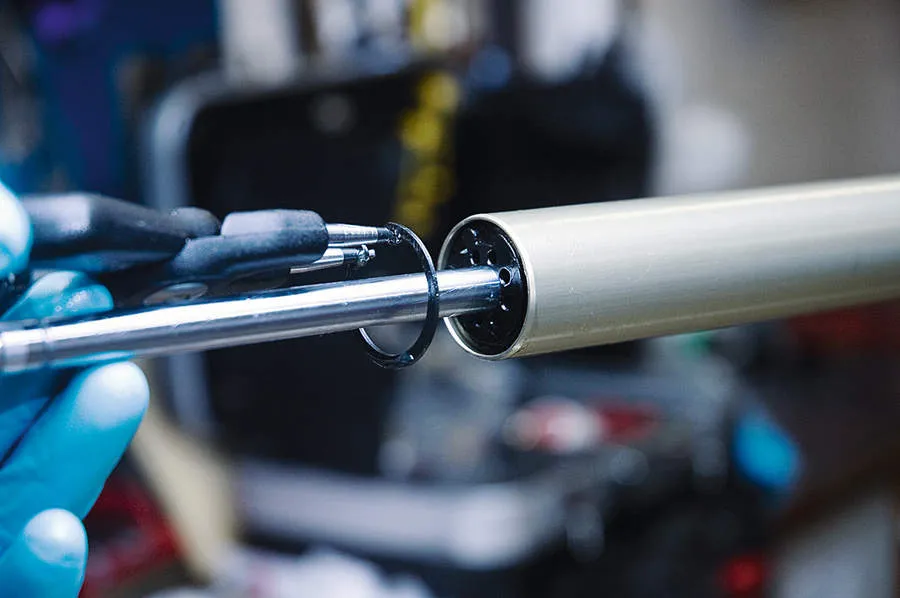
10 Push the baseplate into the tube using your thumb until you can see the groove that the circlip sits in. Using the circlip pliers, secure the circlip back into the groove facing the same way as it was when you removed it. It is very important to secure the circlip properly so the fork functions correctly. If the circlip is secured properly, the air shaft won’t pull away from the upper tube.
11 Give the top cap a clean with some isopropyl alcohol and a clean rag. Put just enough RedRum to cover the top of the air piston and a dab of grease on the top cap threads and O-ring. Thread it carefully into the upper tube/crown. Use the 24mm socket and torque wrench to tighten it to 7.3Nm.
12 Pour some 15wt suspension oil or RedRum onto the clean foam rings just under the wiper seals inside each lower leg. Apply a little grease to the inner surfaces of the dust wiper seals and carefully slide the lower leg assembly onto the upper tubes. Keep sliding them up until the shafts make contact with the end of the upper tubes. If the dust seals fold or deform, repeat the step.
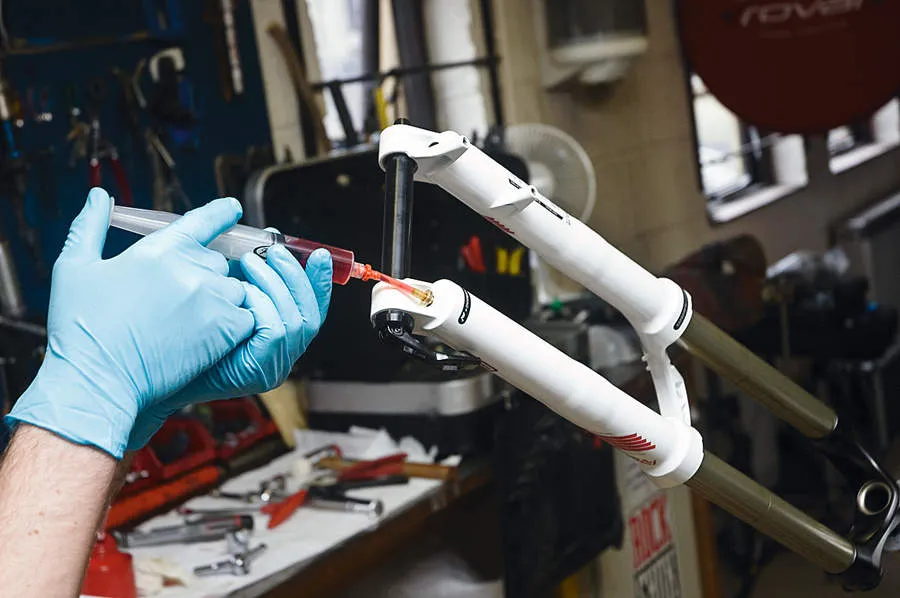
13 Turn the fork in the workstand so the lowers (still only partially covering the upper tubes) are pointing upwards, in roughly the 10 o’clock position. Measure out the correct amount of oil according to the manufacturer’s specification. Pour or inject this into the lower legs through the each shaft bolt hole. Once complete, wipe all the excess oil from the lower legs.
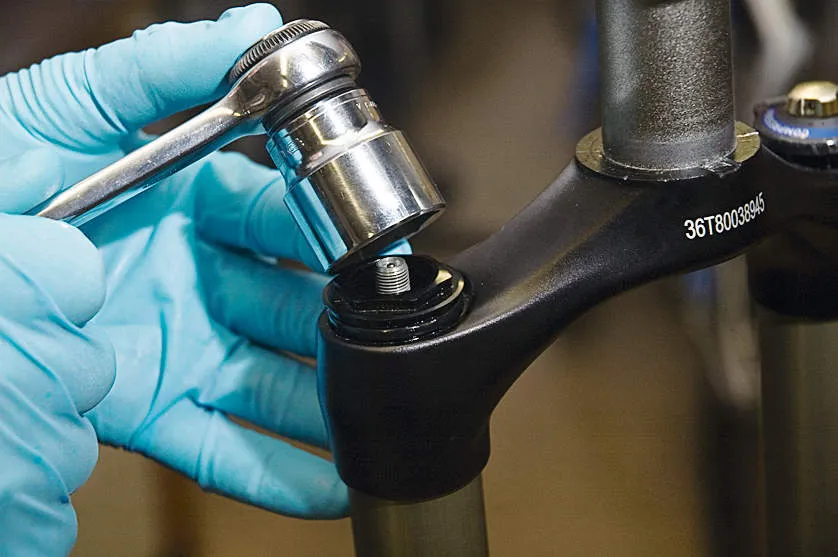
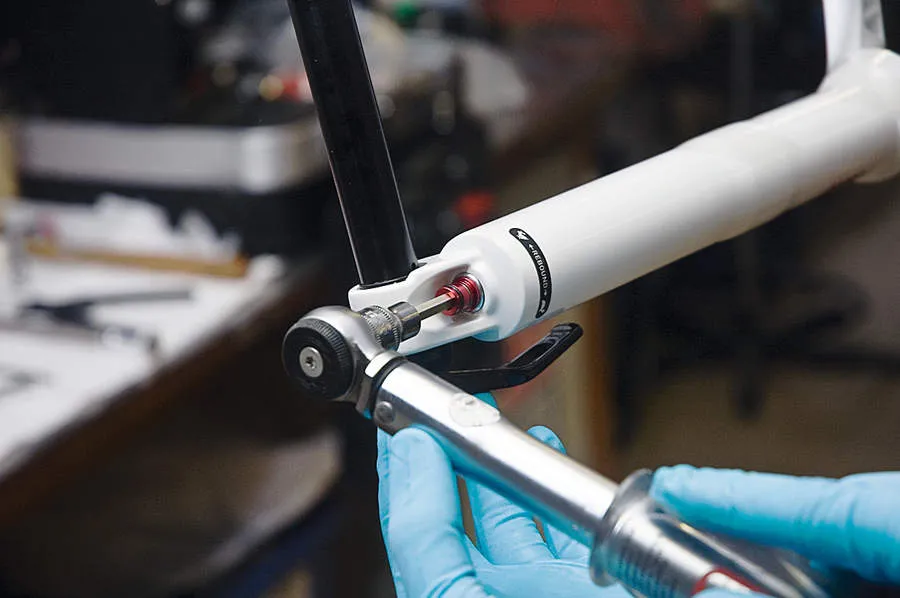
14 Clean the damper and air spring shaft bolt and nut, crush washer and crush washer retainer. Use the 5mm Allen key to insert and loosely thread the bolt on the lower right leg and the 10mm socket to loosely thread the nut onto the threaded air shaft. With the torque wrench, tighten to 7.3Nm on both sides.
15 Replace the rebound adjuster knob by carefully locating the hex key fitting in the lower right leg and pushing it into place. Using the pressures noted previously, inflate the positive air chamber, then the negative air chamber, to the appropriate pressure for your weight. Give the fork a quick rub down with a clean rag and some isopropyl alcohol.
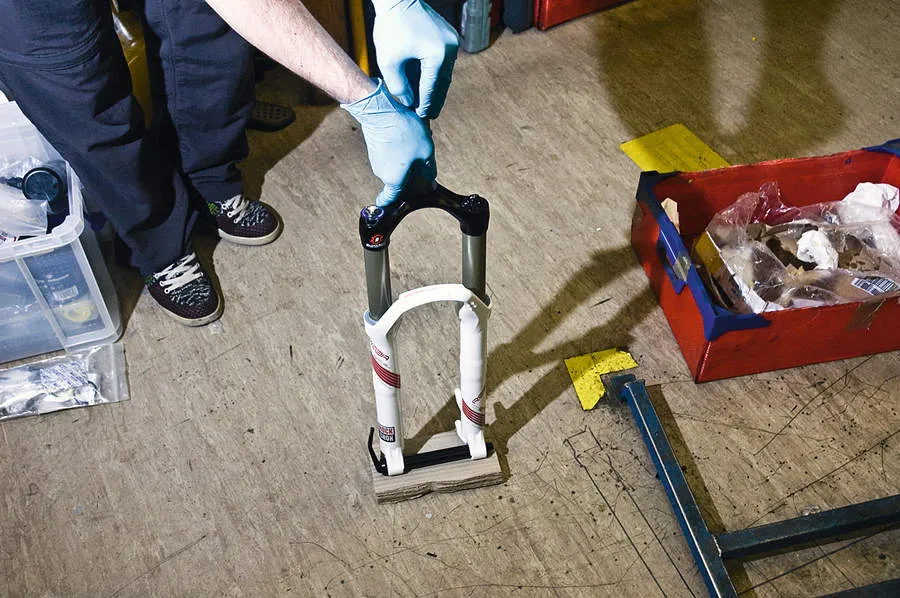
16 Replace the air valve caps onto the air valves and remove the fork from the stand. With the fork resting on something protective, give it a bounce to check it has been rebuilt correctly before reattaching it to the bike. Carefully replace the fork into the frame and tighten your headset sufficiently.