


Wheels are the closest things to magic on your bike. Take a bunch of relatively weak components, which each individually bend or break with little effort, build them in the time-honoured fashion and they take on a new life. They gain an exponential amount of strength in certain directions, yet remain fragile and easily damaged if stressed in the wrong direction.
Bicycle wheels are dynamic objects where each component interacts with the others as they roll to distribute the forces from the trail. When all is in order everything pulls together for a common goal. When wheels are neglected or damaged, stresses that were previously balanced can create pockets of stress directed at specific points in the wheel’s structure.
A sideways bash of the rim can lead to a bent spoke; the spoke loses tension and the stress on its elbow changes. While this loose spoke is getting looser, the stress can gather on neighbouring, opposing spokes. Imbalance is growing, the wheel is more susceptible to further run-out issues, and over and under-stressed spokes begin to fail as the unbalanced load forces change.
Add to this rough bearings, rim damage and wear and tear, and you realise that a little care can save you time, money and even trips to A&E. Below, Justin Loretz shows you all the essential steps to look after your wheels and keep them in good condition.
How to look after mountain bike wheels
- Time: Half an hour
- Cost: £0-15
- Difficulty: Easy
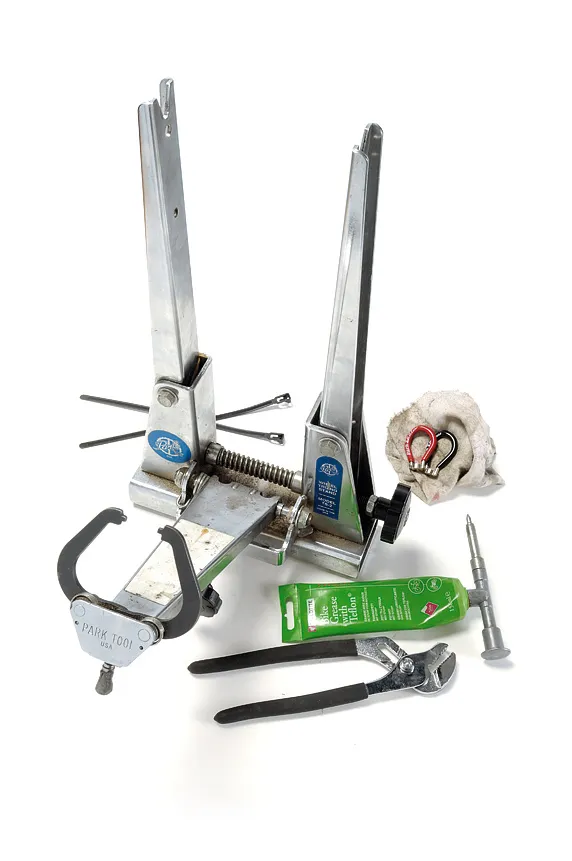
- Tools: Spoke key; spoke prep; cloth; lube; grease; zip ties; molegrips
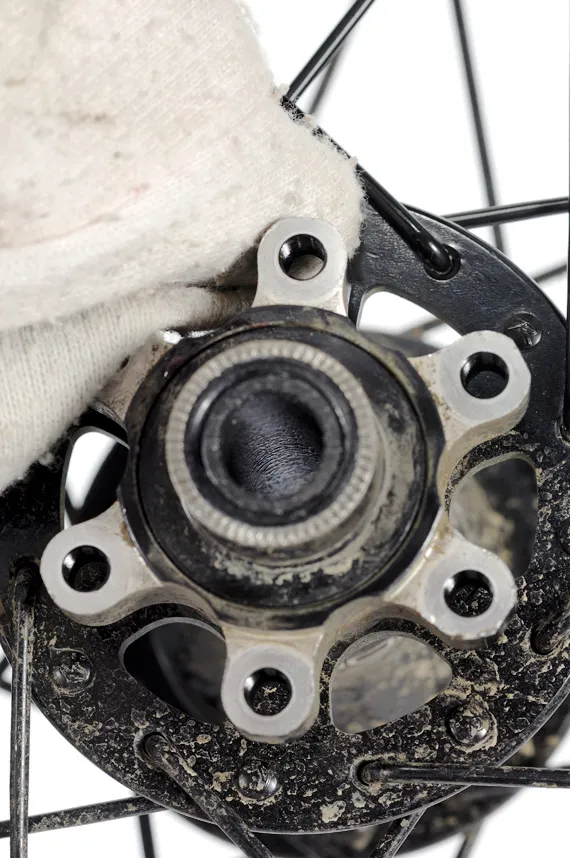
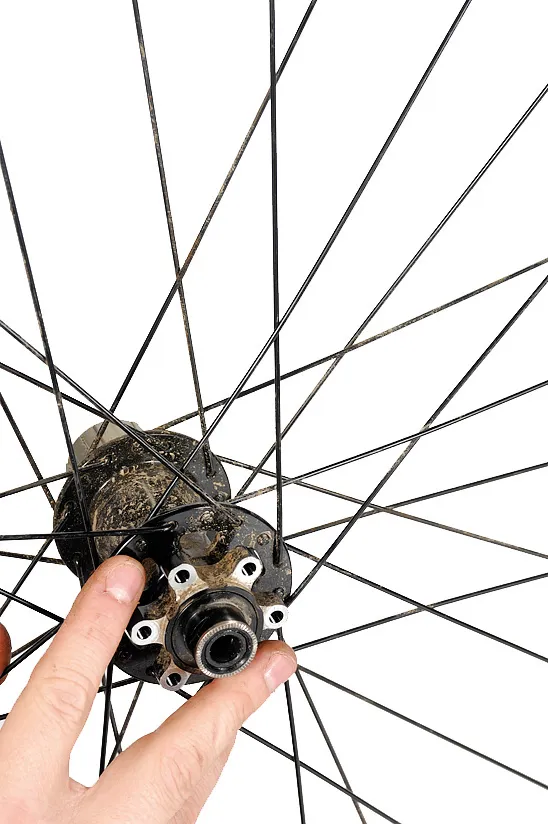
1 Check the hubs
Wheels run on bearings, which rely on a serving of grease to keep them smooth and rolling. Mountain bikes are often out in the rain, and regularly get the hosepipe, jet washer and degreaser treatment so grease gets washed away or contaminated, meaning wheels can run rough. New wheels still arrive at BikeRadar for test with barely any grease in them. Check your wheels, new or old, to see if the bearings are rolling as well as they could be.
2 Grease the hubs
With cartridge bearing hubs, remove the alloy seal covers; these pull off or are secured with an Allen grub screw. Drift out the bearing and replace with a new version. Cup-and-cone bearings (Shimano and Fulcrum still build with loose balls) require thin cone spanners to undo the seals and outer bearing seat. Replace the balls with the same size and number and use waterproof grease on the new bearings. You can rarely use too much.
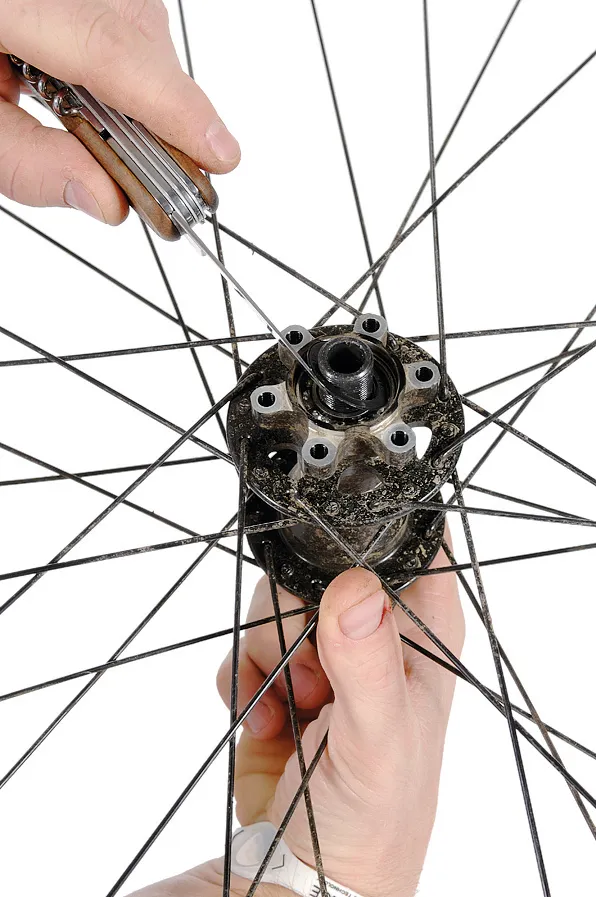
3 Check flanges
Conventional hubs have parallel alloy flanges drilled with 28, 32 or 36 holes (for the spokes to fit into). Spokes are laced to the rim and tensioned. Over time this tension, often in association with low cross-lacing patterns (radial being the worst offender), can cause tiny cracks, radiating from the edge of the holes to the flange edge. Hub failure follows. Check hubs periodically, especially if running less than three cross-lacings.
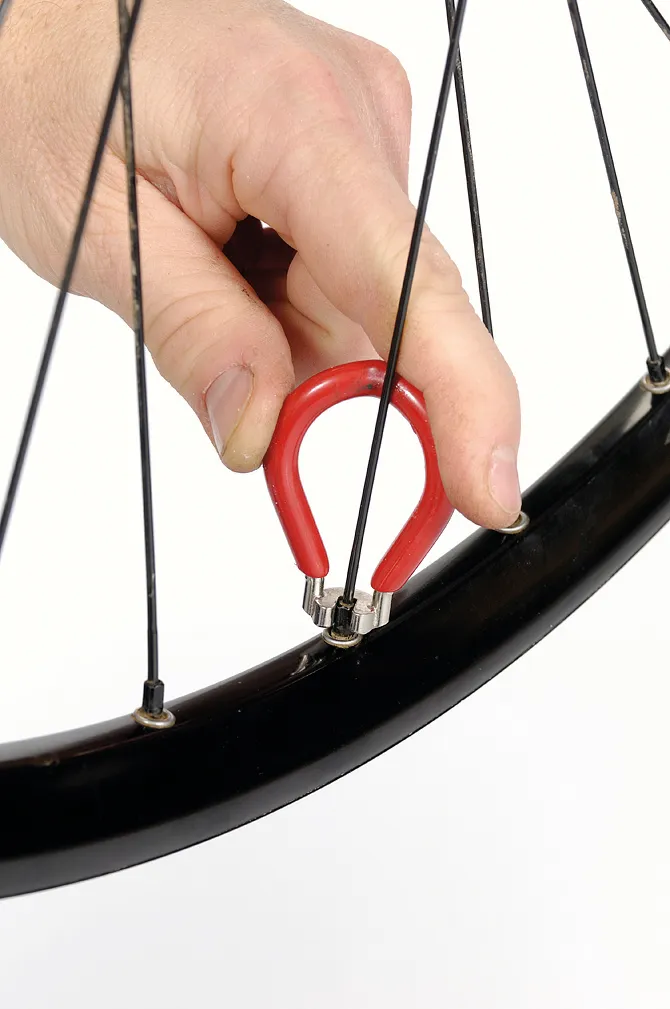
4 Nipple rounds
Wheels that have been subject to regular or intensive truing can end up with nipple wear. This is especially likely on lightweight alloy nipples, though it’s as easy to round off the edges of brass nipples if you’re using a poor quality spoke key, rushing, or are simply a bit ham-fisted. Fully rounded nipples can't be adjusted. This means the next time the wheel requires a re-true you’re going to be stuck.
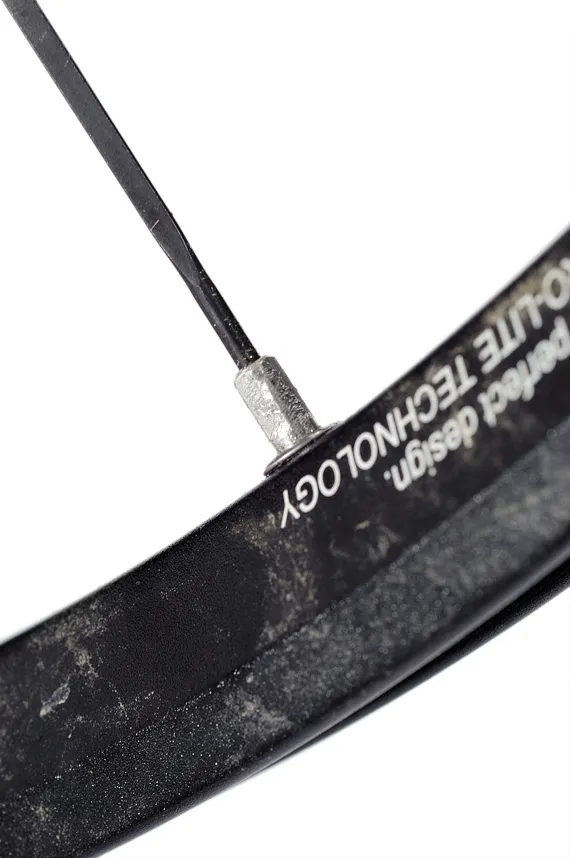
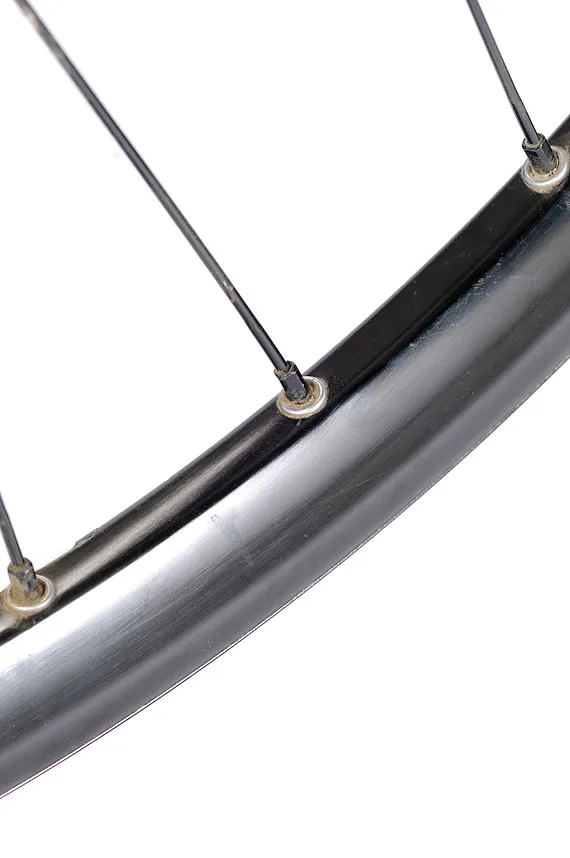
5 Eyelet cracks
Wheels built to extremely tight tensions can cause un-reinforced rim eyelets to develop tiny cracks. This is the head of the nipple pulling hard against the backside of the rim bed. A bit like an eruption it eventually causes the alloy around the spoke eyelet to crack, which can lead to spoke failure. If your eyelets are showing signs of cracking, keep an eye on them. If it gets worse it’s time for new rims with steel reinforced eyelets.
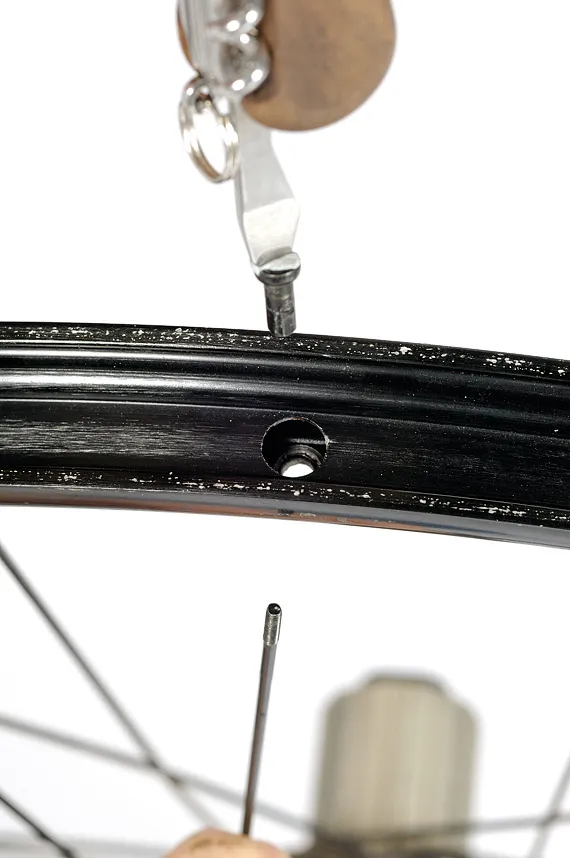
6 Replacing a nipple
If the nipple is so badly mangled that it can't be undone with a spoke key, you’ll need to remove the tyre/tube/rim strip and use a spoke driver or flat-bladed screwdriver to unthread the spoke from the backside. You might want to drop a spot of light oil down the spoke into the top of the nipple to lubricate the thread and ease its removal.
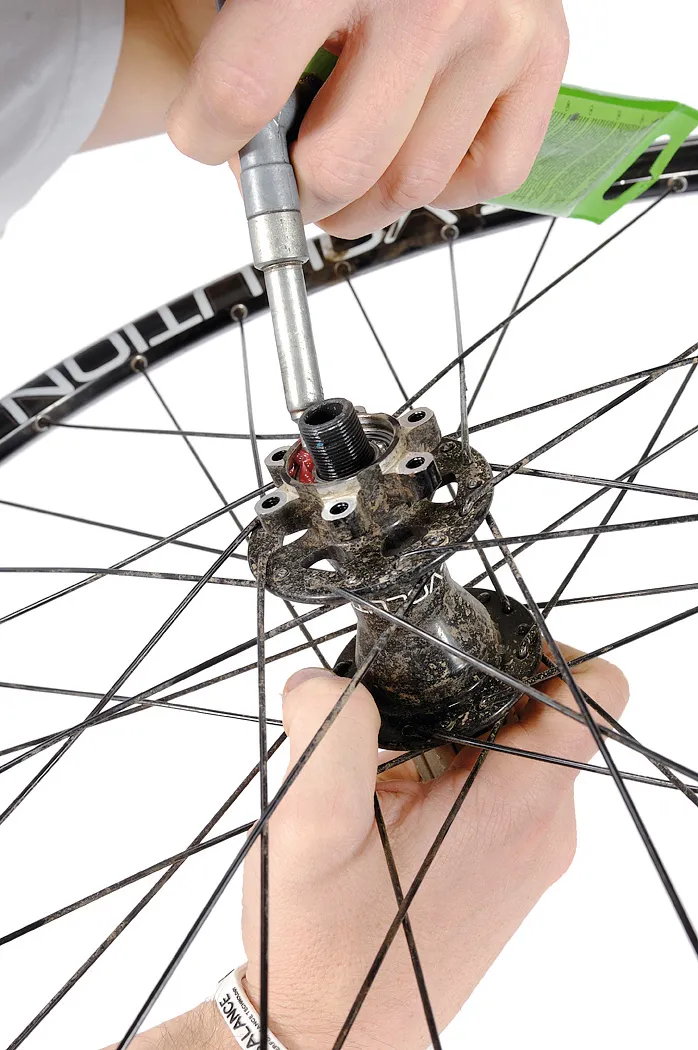
7 Apply thread prep
When you replace the nipple it's a good idea to make sure that, once correctly laced and tensioned, the spoke can't begin to unwind or rattle loose. Modern spoke nipples are made to close tolerances to prevent this happening, but a little spoke prep on the thread works like a semi-permanent glue, allowing readjustment but not accidental unwinding.
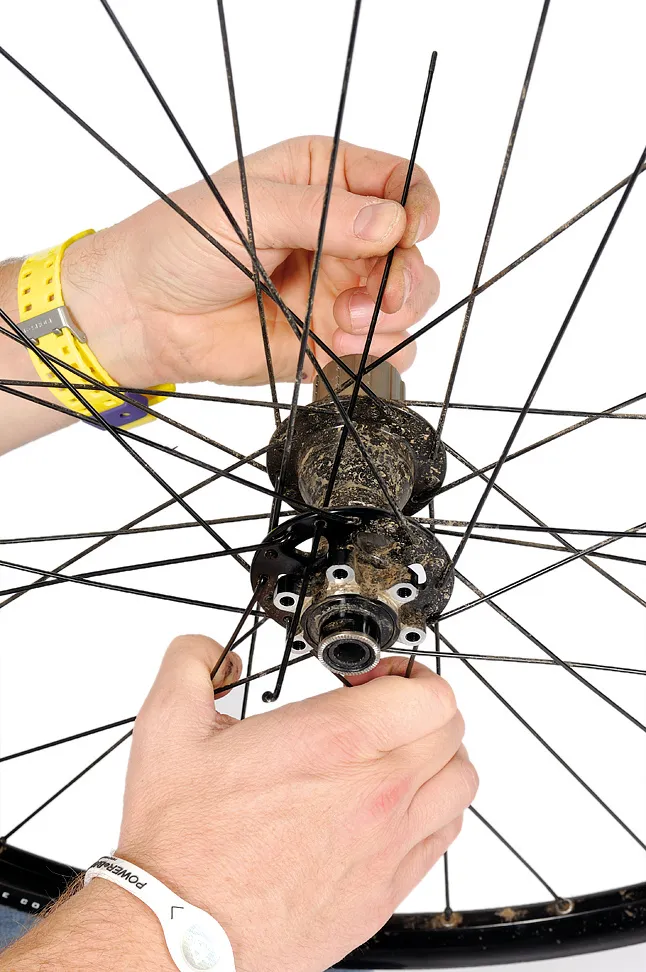
8 Replace spokes
Removal of a kinked or broken spoke requires some flexing of the spoke to unlace it from the wheel. Using a spoke of the correct length (it’s important to avoid further problems), begin replacing the new spoke, paying close attention to the over/under-lacing pattern. You may have to flex the spoke a bit, just don’t kink it.
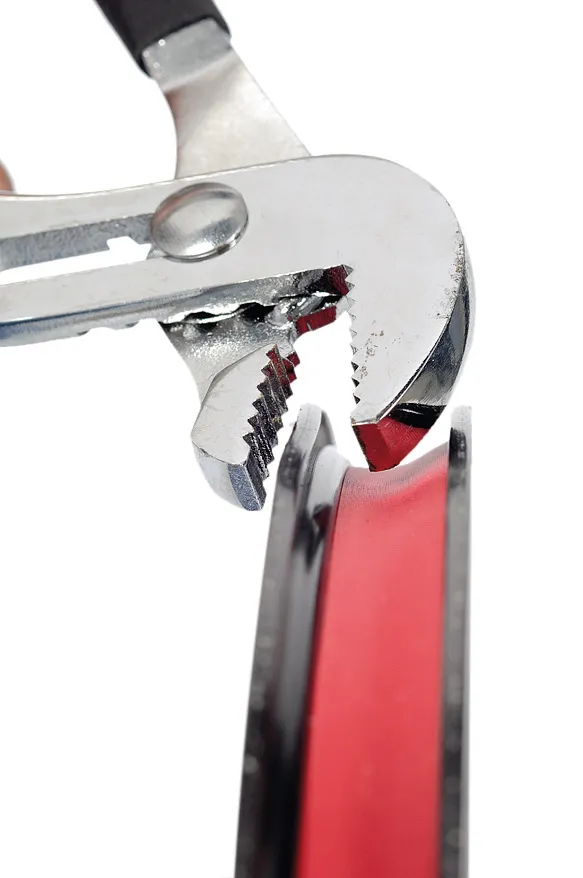
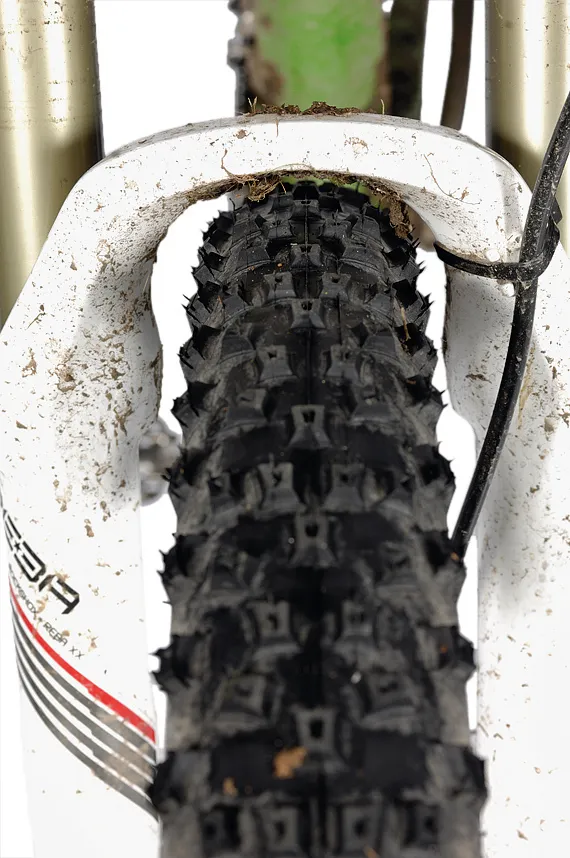
9 Rim dent
Mountain bikes use low-pressure tyres and sooner or later you will bottom-out the tyre and possibly dent the rim wall. Minor dents can be pulled out using molegrips, adjustable wrenches or, at a push, pliers. On disc rims it doesn’t have to be perfect; on rim brake wheels you might need to take some time to make a smooth braking surface.
10 Rim run-out
Putting a dink in the wheel is common and a few millimetres of run-out can easily be adjusted using a spoke key. Using a simple ‘right = tight and left = loose’ guide, you can increase or decrease tension in specific spokes, pairs or groups. Remember, a rim running out to the right needs tension added to the left side spoke(s) and vice versa. It’s important to reduce the opposite spokes’ tension by the same amount to ensure the wheel stays round.
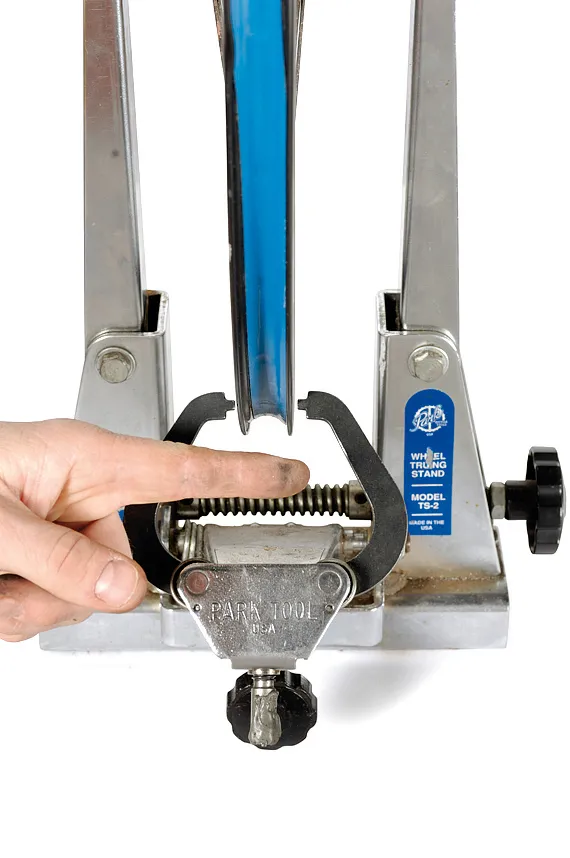
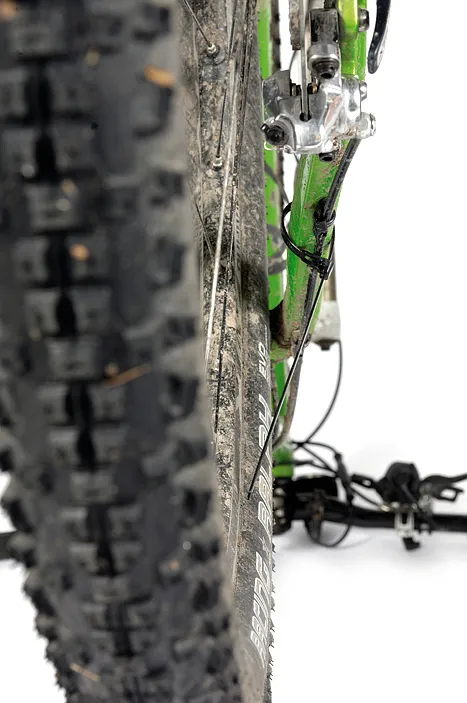
11 Truing by frame and by jig
To assess the level of run-out in a rim you need a fixed point to measure against. A purpose-built wheel jig is most useful, allowing you to incrementally move the pointer guides as you make adjustments. Using zip ties on your frame/fork can also work well, and is a handy trailside skill to have if you whack a wheel while in the boonies.
12 Wheel dish
Sometimes wheels, especially disc wheels, can be slightly out of central alignment. It’s a good bit of housekeeping to centralise the rim in the frame and fork by adding an even amount of tension to the spokes on the same side of the wheel as the direction you want it to go (effectively pulling the rim across). Half a turn per spoke on that side should see a change for the better. See www.sheldonbrown.com/wheelbuild for in-depth advice.
13 Spoke tension
As we’ve discussed, wheels like to be in a state where there are even sets of forces being applied to the rim. As far as is possible, spokes on the same side of a wheel should share an even tension load. Plucking the spokes with your fingers should result in even sounding notes. Specific tensionometers can be used to give empirical data if required.
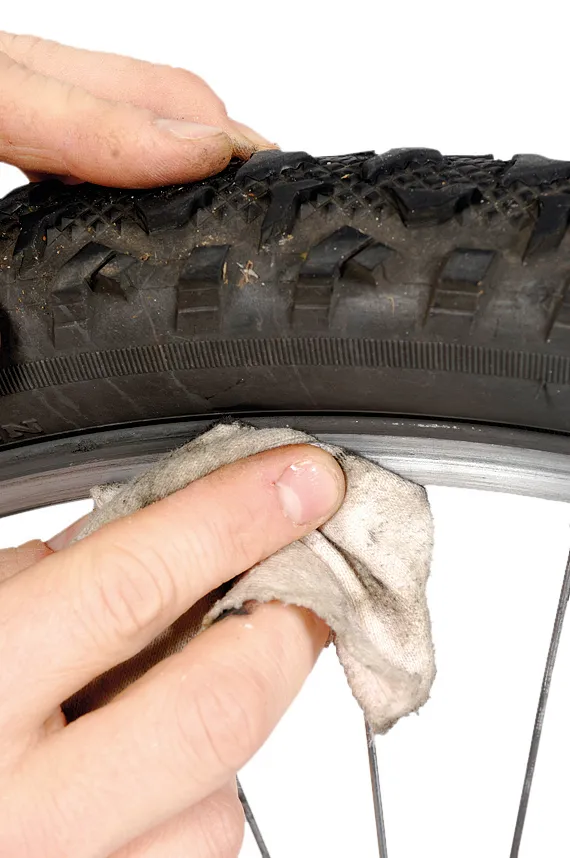
14 Rim wear
Rims can wear out. As part of your ongoing TLC regime you should keep an eye on areas like the rim sidewalls, especially if you’re using rim brakes, and the spoke holes of rims – lightweight un-eyeleted ones in particular can crack and deform under high loads. Carbon rims can crack if bashed hard enough, though this is actually a rarer occurrence than carbon scaremongers would have you believe.
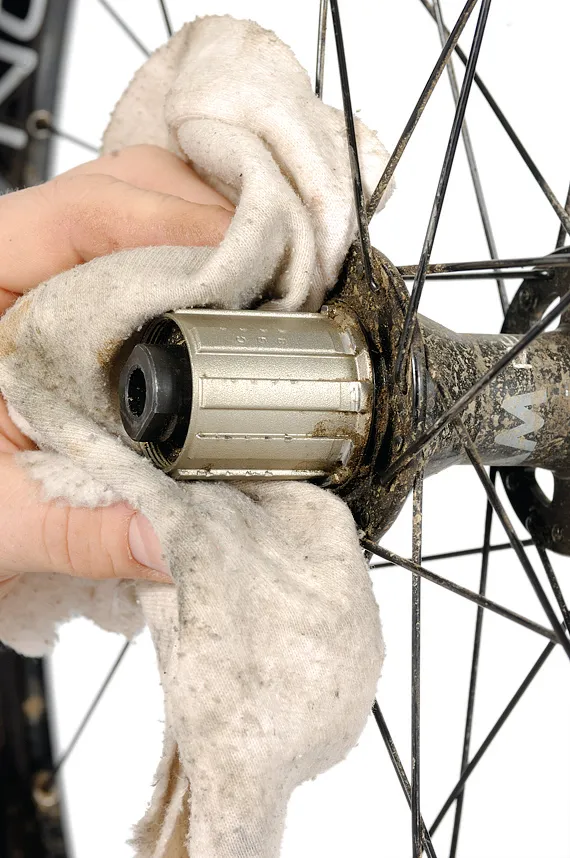
15 Freehub clean
Lots of the issues people have with wheels emanate from the freehub. Ingress of water, grit and gunk can chew up the relatively delicate ratchet mechanism and cause failure. Make it a habit to remove the cassette, clean up the freehub area, add a little light lube and wipe off the excess (this only causes more dirt to stick to the area).
16 Fresh rubber/pressure
One of the best ways to show your wheels some love is to change the rubber from time to time. Old tyres get damaged from the long-term effects of exposure to the elements and lose their tacky, compliant nature. Try some new treads, maybe a different width or pattern. Also consider if you’re using the right pressures for your weight, riding style and terrain choices. Small changes can make a big difference.
Top tips
- Know your numbers: Breaking a spoke means replacing one, which means knowing the length and type to ask for. Check manufacturers' specs to see if you need plain, single, double or triple-butted spokes. Note the length in mm of both sides of both wheels.
- Rim strips: With the exception of dedicated sealed UST rims, all other rims need rim strips – thin strips of plastic or traditionally cloth which form a tight fit over the exposed spoke holes in the rim bed. These stop the edges of the spoke holes from abrading the rubber of the inner tubes and causing punctures. You can use electrical tape, but the real McCoy is a better bet.
- Fitting rim strips: Once the rim strip is on, you often find that the valve holes in the strip and rim don’t line up. Slide a screwdriver under the strip and around the edge of the rim to adjust the position of the strip relative to the rim.