

Everyone will have a different idea about what it’s worth spending on a frame renovation. A rational spend based on end value has to be offset against the impossible to quantify emotional attachment that some frames attract.
At one end of the spectrum you could simply strip all the parts off, spend time with a pot of paint stripper and emery cloth then repaint by brush in whatever Hammerite colour happens to take your fancy.
Provided you do the general preparation and degreasing well, careful layering using cans of car spray paint can result in an excellent finish. Practice before you begin, and wear a mask.
It’s an art to spray a bike frame well without getting dribbles and uneven areas, and you really don’t want to be breathing in that drifting spray!
At the other end of the spectrum, you can pay a specialist such as Argos Cycles to sandblast or chemically strip a frame and apply your choice of colour/s, a new set of graphics and finishing lacquer.
While you’re at it you could get it to fit disc brake bosses, chrome-plate part of the frame, add extra water bottle or rack bosses or even completely replace a damaged tube.
Most specialists will repair steel frames, while a minority will also tackle aluminium, carbon fibre and titanium. The cost will vary depending on who you decide to use.
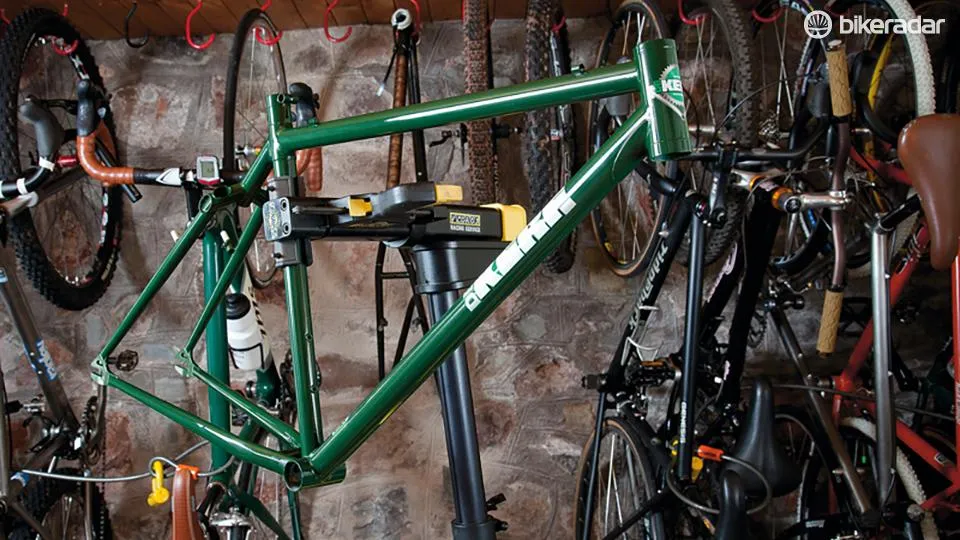
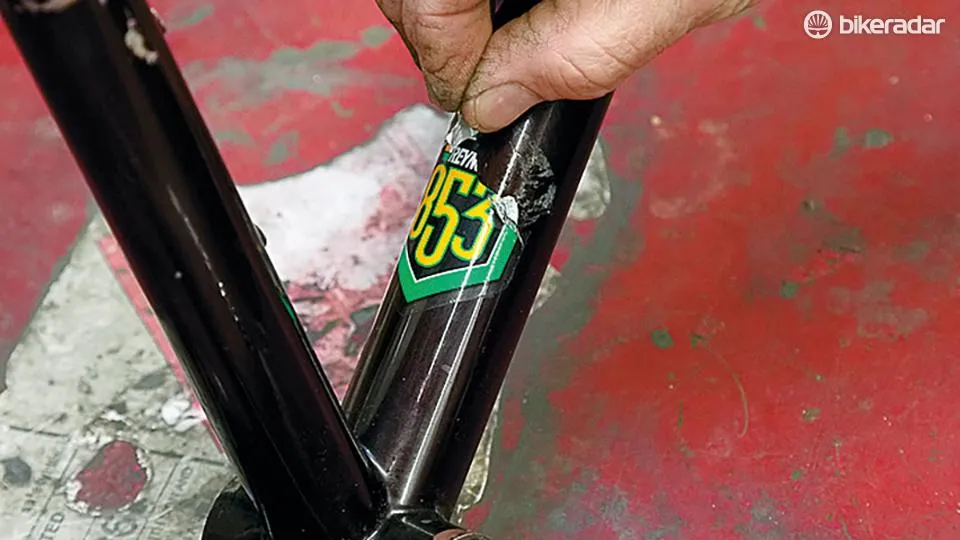
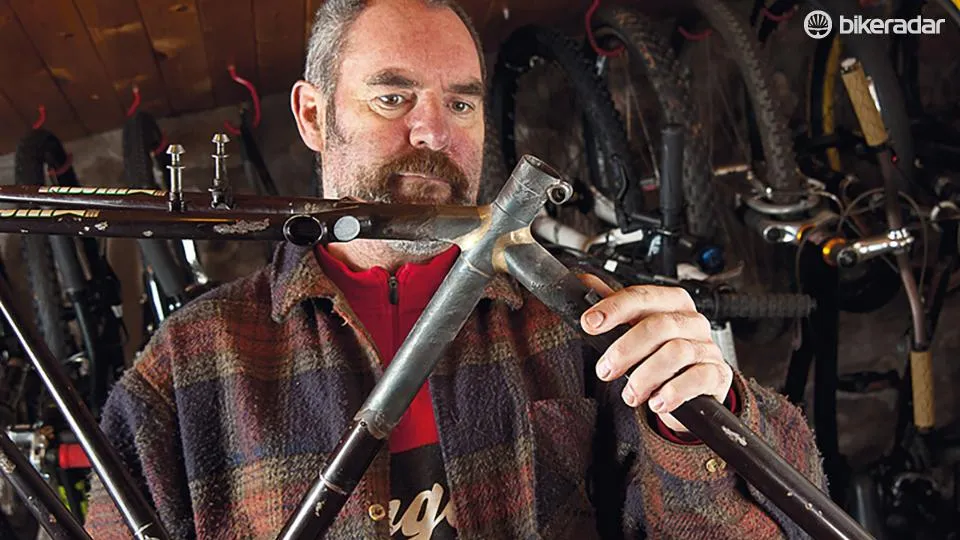
Here, we refurbishing the only Reynolds 853 singlespeed specific frame that Canadian master-builder Chris DeKerf ever built, so it has high ‘want to keep’ value despite being left in the garage for years with a seatpost corroded into it.
A blowtorch was used to get the seat post out, heating it to melting point and pouring it out in molten lumps. We also stripped paint off around the head tube to make sure crashes hadn’t damaged the joins into the top and down tubes. Then it was sent to Bristol’s renovation specialist, Argos Cycles.
We walk you through what Argos did to get our old frame looking as good as new…
1. Strip off component parts
This is essential to do a proper paint job on a frame. Apart from the headset and bottom bracket bearing cups, a full strip down will be easy in most cases using Allen keys, a chain splitter and cable cutters.
The headset cups can be tapped out with a hammer and a long piece of metal, but a headset cup remover will do a better job. A tool to remove your threaded bottom bracket cups will cost around £10>£15.
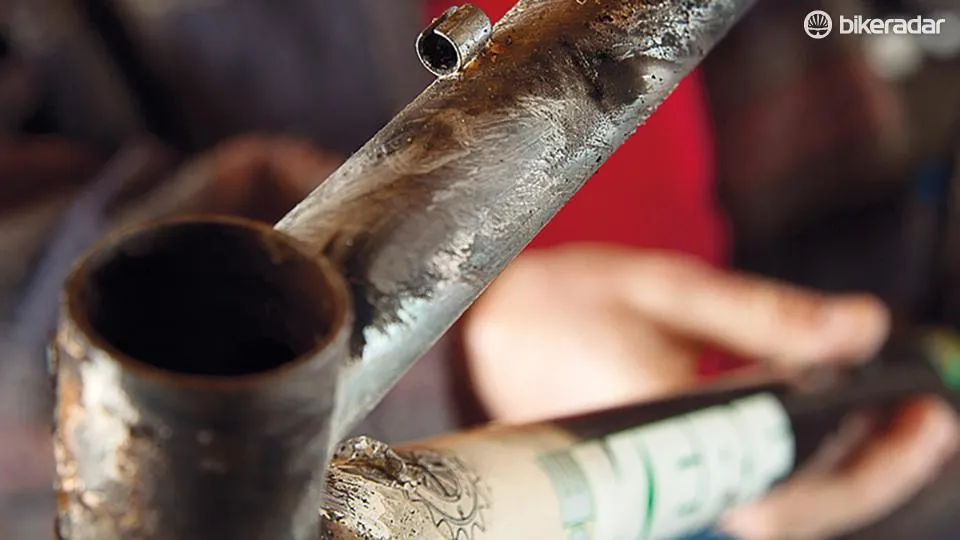
2. Stuck parts
A stuck seat post in an old frame is a common problem. In this case we had to heat the frame (with a blowtorch) to a point where the aluminium post melted.
In the case of an aluminium frame, that obviously isn't possible, but most renovation specialists will have their own secret methods of removing seized parts, including bottom bracket cups and broken off bottle cage bolts.
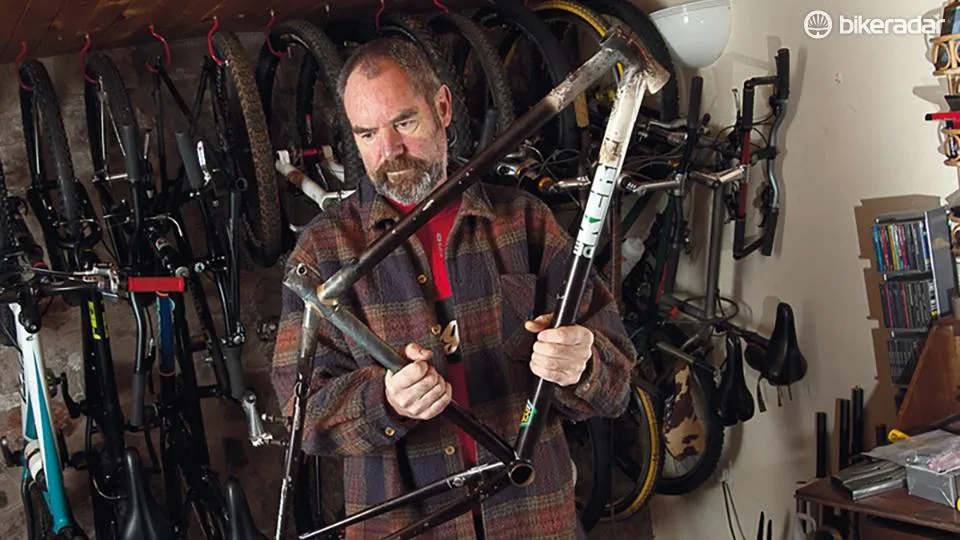
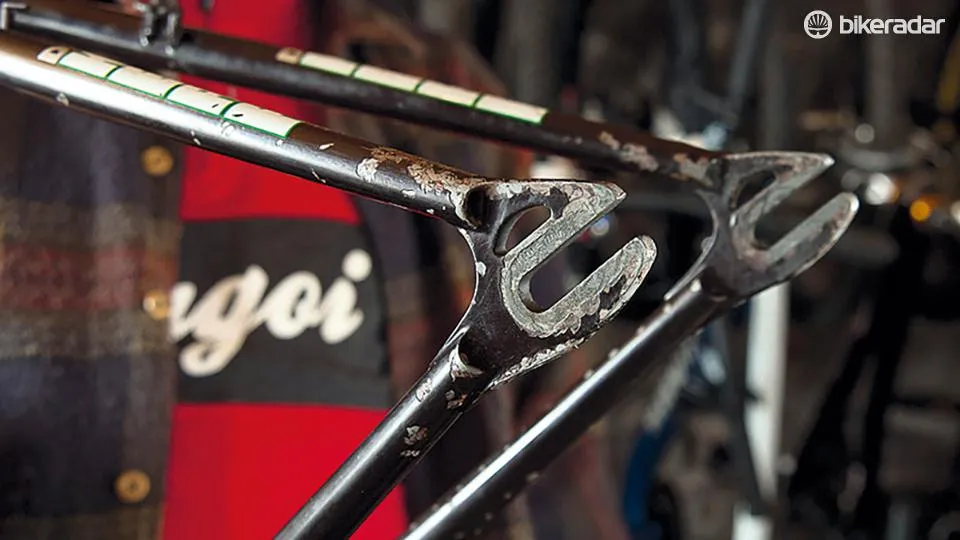
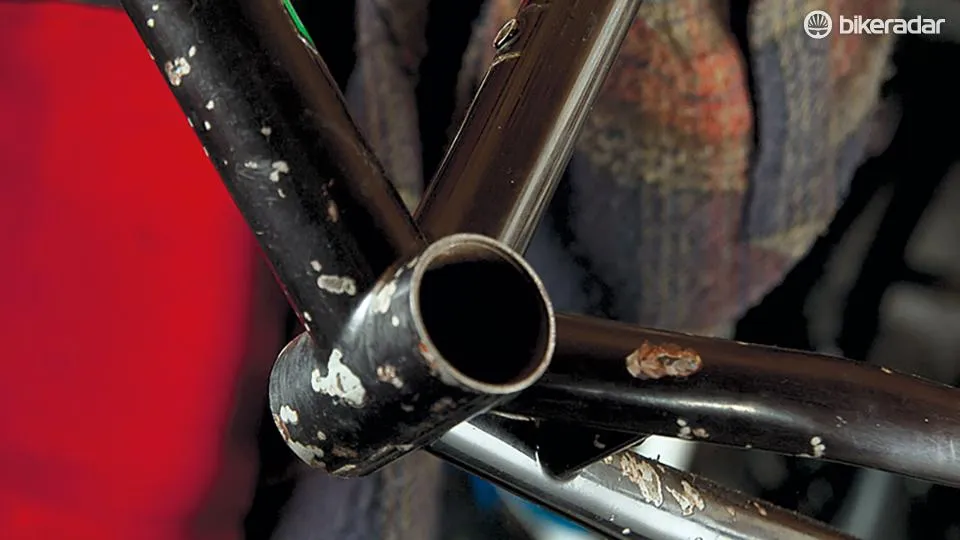
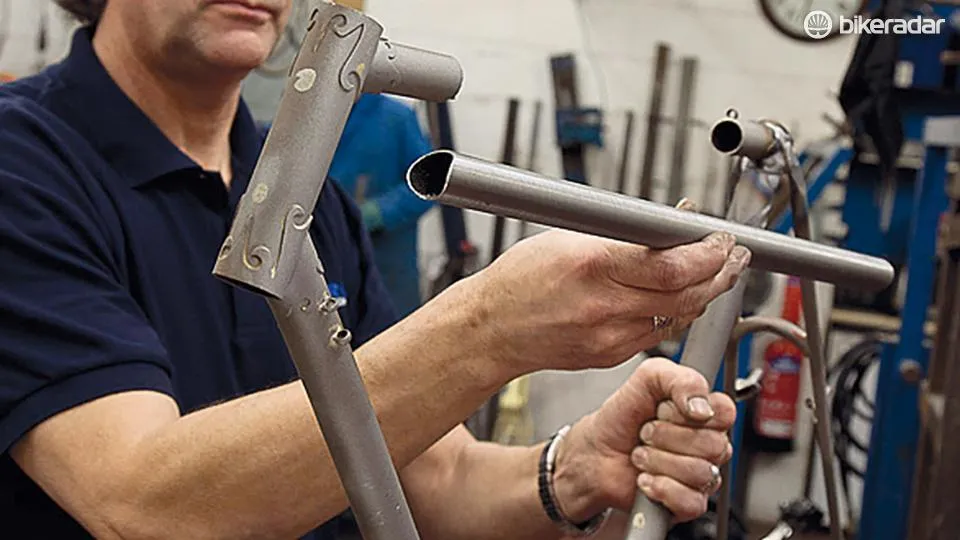
3. Structural issues
Don’t commit to a renovation before you’ve checked all the crucial parts for damage. Pay attention to welded or brazed joins, especially behind the head tube if you can remember any sort of frontal impact.
Make sure all the tubes are straight and that rust spots aren’t compromising the structure of the frame. Most renovation specialists can repair a join, or even fit a new tube, but the cost may not be worth it.
4. Cable guides
This is also a good time to assess your cable guides. Many riders will want to upgrade an old frame to disc brakes, or fit full outer cables instead of interrupted cables.
All these detail changes are possible, and easily achieved by a specialist like Argos Cycles while the paint is stripped off the bike. Make sure you get a quote as all the little changes can soon add up to a lot of extra cash.
5. Bottle bosses
Fitting extra bottle bosses is a frequently requested change during renovation. This is easily and fairly cheaply achieved, and can be done even if you’re not ready for a respray.
It’s the same for underdown tube Crudguard eyelets and, in most cases, threaded rack eyelets on the seat stays. If you want to add threaded tabs at the drop-outs for mudguards and a rack, just be sure that the tubes are not precariously thin at the fix points.
6. Seat clamps
The DeKerf frame was made with a welded, threaded seat post clamp. Ours was fine but these often stretch in use. They can simply be removed and replaced with a slide-on wrap-around clamp.
We have known a lot of riders who’ve used a renovation opportunity to beef up this part of the frame with a support gusset, which is especially useful to boost the strength of a frame with an extended seat tube and a long seat post.
7. Drop-outs
A favourite renovation conversion is to replace a frame’s wheel drop-outs. This may be because the gear hanger’s gone into the wheel and damaged the drop-outs, or because you’re having the frame converted from geared to single-gear use.
Now’s the time to think about whether you want to add a disc brake bracket to an old steel frame and remove the cantilever brake bosses while you are at it.
8. Bottom bracket
Damaged bottom bracket threads are another typical problem on old frames. There are several possible solutions from re-cutting the threads to replacing the whole bottom bracket shell.
We once had a steel frame ‘cut and shut’ — the underside of the shell was cut then pulled together and welded again, thereby slightly reducing the size of the shell before the new thread was cut.
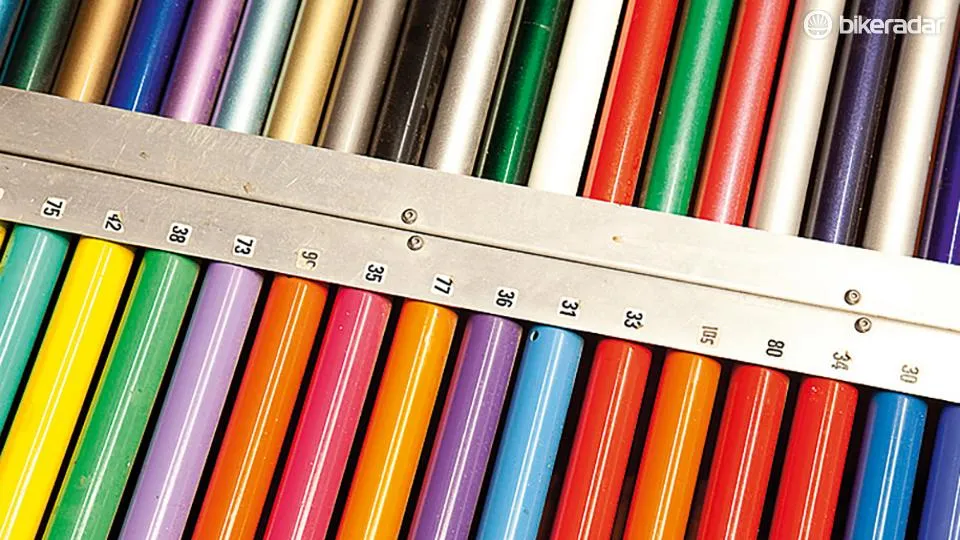
9. Colour choice
Everything from basic super-tough ‘school railings green’ (our choice for the DeKerf) to fancy metallics, contrasting colour panels and gradual colour fades are possible if you have the budget. If you're feeling particularly flush, you could even consider getting the suspension fork and stem coloured to match. A specialist renovation shop can usually match original manufacturer colours, too.
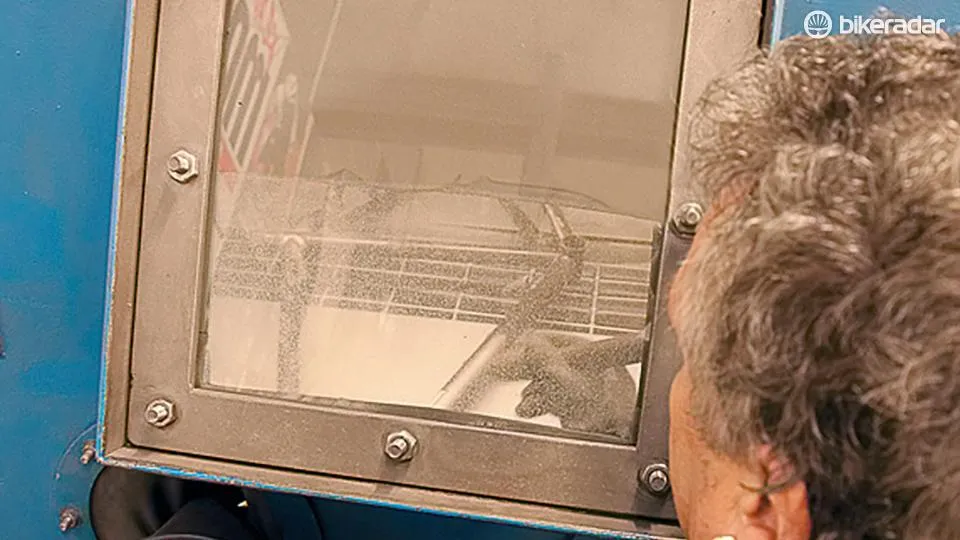
10. Shot-blasting
Paint removing chemicals do the job nicely on DIY home spray jobs or with a softer material frame, but shot/sand blasting is the fastest and most thorough method on most steel frames.
It will also highlight any problems, like rust spots that have become pin-holes (these can be filled) giving you a last chance to call off the expensive part of the renovation job if a problem is structurally significant.
11. Modification
A popular upgrade is chroming the drop-outs, or the whole right-hand chainstay. Adding disc brake tabs or cable guides (perhaps for full outer cables) are easy jobs, too, as is replacing the rear gear hanger if you’ve twisted and weakened the current one when you put your rear gear mech into the spokes.
12. Extras
In logical terms, starting to replace whole frame tubes is rarely worth it, but it’s easy to become emotionally attached to a favourite frame so taking out and replacing a badly corroded, dented or damaged section isn’t out of the question.
A specialist usually has ways of sucking out dents, or filling them, before a final paint job. Never assume that something is impossible. Always ask.
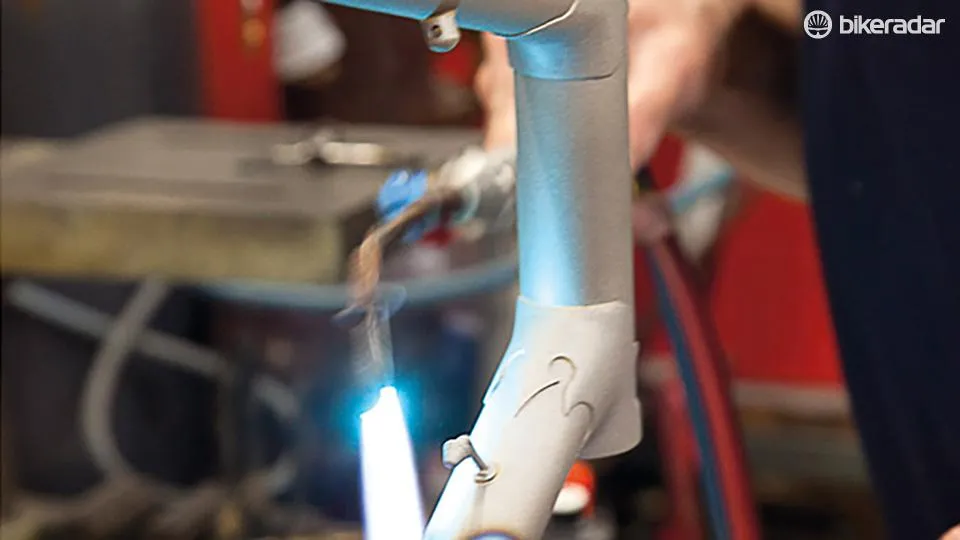
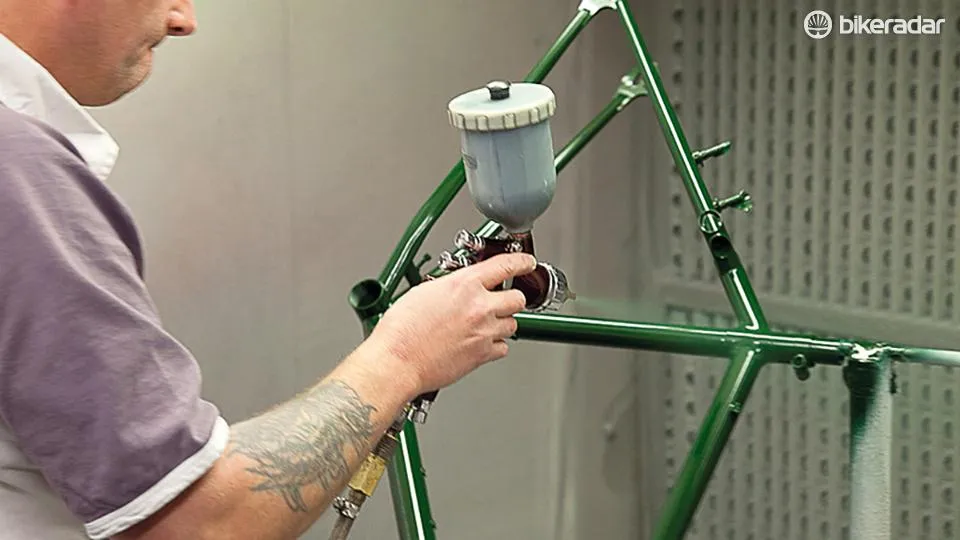
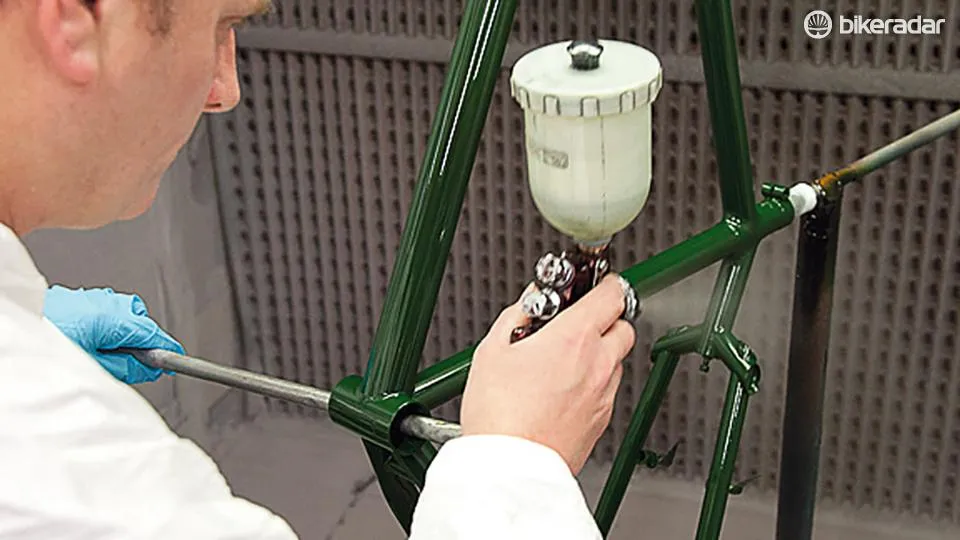
Step 13: Spraying the frame
Spray-painting a bike frame is a skilled job, in terms of getting a truly professional, evenly applied finish that’s tough enough to last. We have seen fine looking low-cost DIY jobs but it’s hard to get a finish that truly shows off the quality of a valued frame when you do it yourself. Just pay for a pro and think about it in terms of spreading the cost over years.
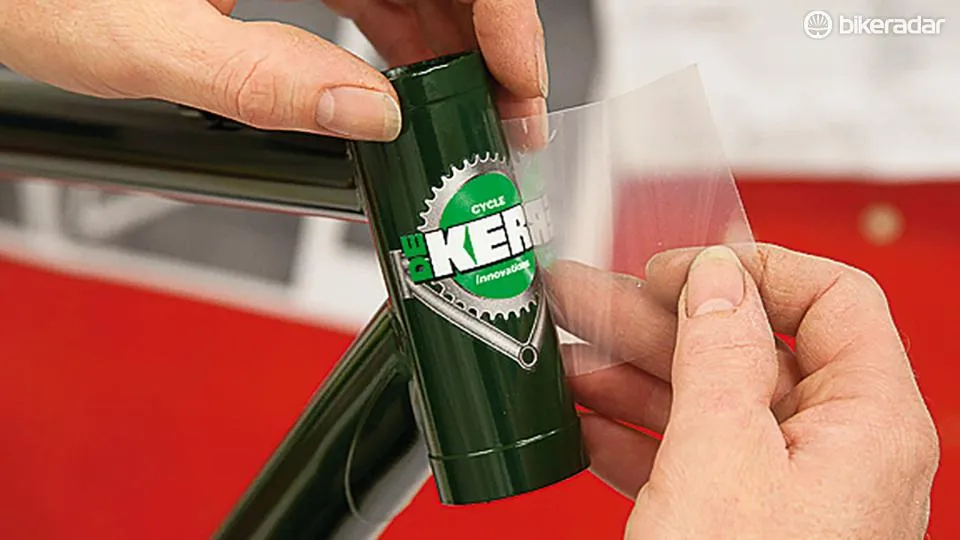
14. Decals
Most manufacturers can supply ready-to-apply decals for frame renovations. It’s worth getting them applied professionally and sealed with lacquer as part of the repainting process.
Lining up decals and applying them with no creases or bubbles requires practice and you don’t want to waste the money you spent by messing up the application. Most specialist renovators will be able to supply tubing decals.
15. Finishing
A coat of lacquer is the final touch to a professional renovation. It’ll add extra toughness to the paint and seal the decals. You could choose a gloss, matt or silk lacquer depending on the desired effect.
It’s also a good time to think about clean-facing the bottom bracket threads or adding clear protecting tape to shield the paint from cable rub, chain slap or stones spitting off the front wheel and damaging the underside of the down tube.
16. Welcome home
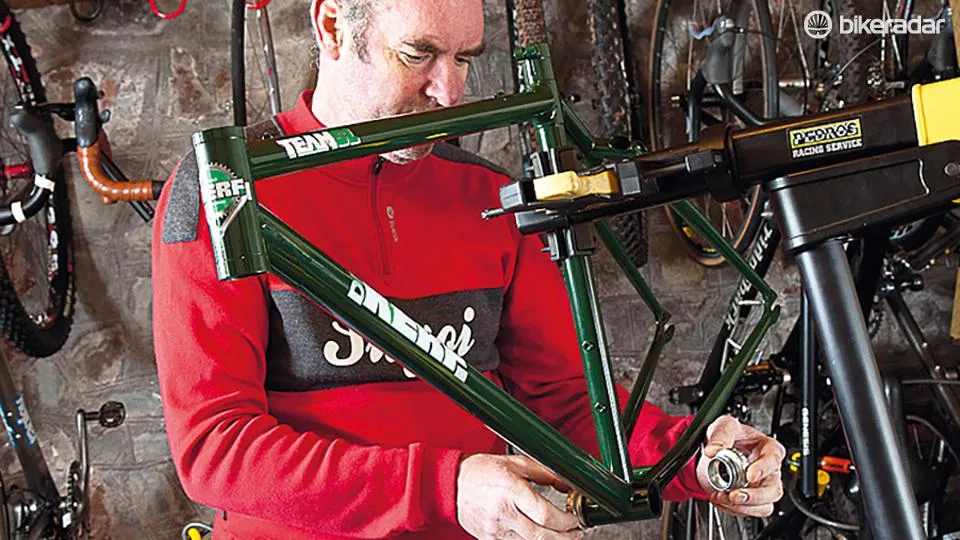
In most cases a frame will be ready to build as soon as you get it home, but occasionally the final paint or lacquer coat can be slightly soft for a few days, so if you can wait for a while it’s worth it.
Think carefully about how you’re going to rebuild the bike and make sure you clean excess paint out of the bottom bracket threads, the head tube and the seat tube. In most cases, a specialist renovator will do this for you.
Essential tools
- Allen keys
- Chain splitter
- Multitool
- Hammer
- Metal bar
- Headset press
You need a full Allen key set and a chain splitter for the initial strip-down and rebuild. A multitool might do for everything except the headset and bottom bracket (BB) cups.
Check which tools are needed to remove and re-fit the crankset and BB. There are different options for different units.
A hammer and a long piece of metal may work to remove the headset cups but you risk damaging the cups if you try to re-fit them without using a headset press. A press costs around £35, or take the frame to your local shop and let them do it.
Top tips
Future proofing: The expense of adding disc brake bosses to a frame may be worth it, but think about how much you spend on a frame with say, a 1in steerer designed for a short fork. Your choice of 1in steerer stems and short forks is becoming extremely limited!
Check for damage: Undoubtedly, an old frame will have been crashed, which may have resulted in structural damage. If you are getting a frame re-painted, it’s easy to strip off sections of paint in order to inspect tubes and joins. Crashed aluminium frames may have stress fractures that aren’t obvious when painted. Look hard at steel frames if you can see an area of corrosion that might be more than just superficial;
- Check the top tube join behind the head tube before you commit to the expense of a respray. This is an area that’s often damaged by frontal impacts.
- It’s easy for a frame renovation specialist to reinforce, change or re-thread a seat clamp on an old frame. This is a common area of damage or weakness.
- If your headset cups were a loose fit, it might mean the head tube has been slightly splayed on an impact. A renovation specialist will be able to put that right.
- Damaged bottom bracket threads can be built up and re-cut. In extreme cases a new bottom bracket shell can be fitted.
Drop-outs: A good frame renovation specialist can easily change the wheel drop-outs on your frame if you opt for a singlespeed conversion or need a gear hanger repaired.
Extra protection: The two pack epoxy finish we chose for the DeKerf will hopefully prevent rock-spit damage on the underside of the down tube. Alternatively, fit frame protection tape.