


When you consider how important it is to have full control of your bike when riding off-road, it’s astonishing how little notice we pay to the positioning and setup of our cockpit area and controls.
Most people choose a bike at the bike shop, let the workshop mechanic set it up and then go on to ride the bike as is, with no consideration as to whether it actually fits, is set up for maximum comfort and delivers the most control possible. It’s not only rider safety that’s at stake, your comfort is too – stiff neck and shoulder muscles are usually caused by incorrectly set up handlebar controls.
Tell-tale signs of badly set up cockpits are poorly positioned bars, badly adjusted stem faceplates, wonky stems, brake lever clamps butted up to the grips, brake levers set too low and gear levers that can’t be reached or are in the way of the brakes.
Take a minute to minesweep your cockpit and check you aren’t harbouring a handlebar hazard. It’ll only take a minute to fix and will boost your control, enjoyment and street cred, not to mention your safety.
Need to know
Time: 0.5 hour
Rating: Easy
Cost: Potentially nil
Essential tools
- Tape measure
- Allen keys
- Grease
- Hacksaw
- Masking tape
- Control centre
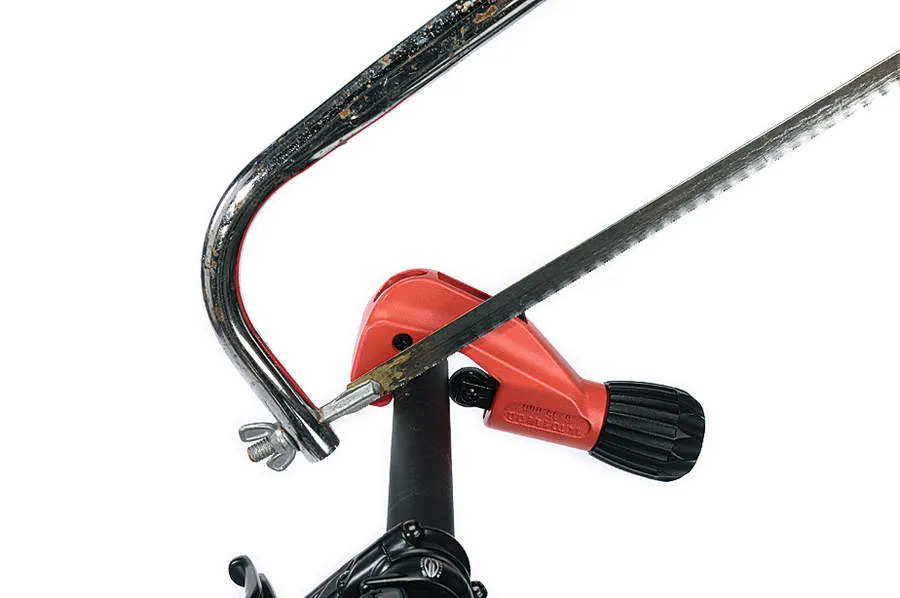
Trimming the bar
If you’re particularly narrow shouldered you might find some modern riser bars a fraction wide, but before you cut anything slide the grips and the controls inboard 5mm from both ends then ride for a month and see if the new position feels more comfortable. If it does, then trim the ends with a sharp hacksaw. If you have a carbon bar, wrap the cutting area in masking tape before cutting to reduce the risk of delamination and fraying.
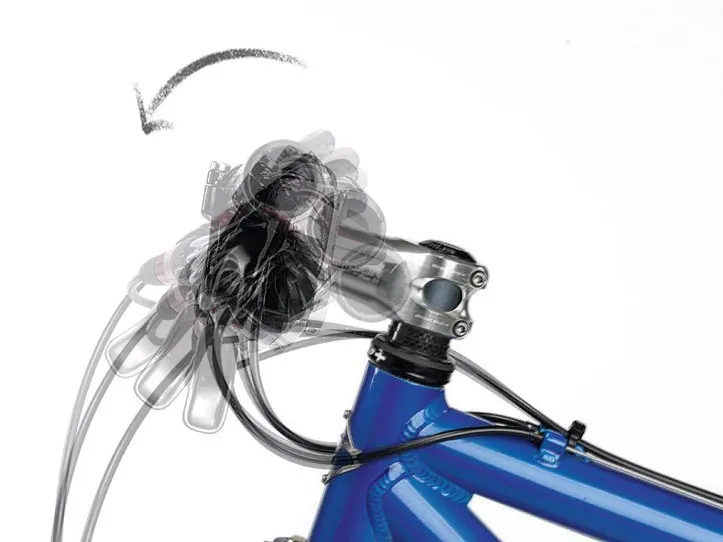
Bar rotation
Bars are made with an amount of rearward sweep (backsweep) and most risers have some upsweep too. Rotating the bar in the stem clamp changes the position of the controls surface, giving more or less backsweep and upsweep. How you set up the bar depends on personal taste and riding style, but most riders opt for a position where the rise section (between the bends) is near vertical. This gives a neutral position on the bar for the controls.
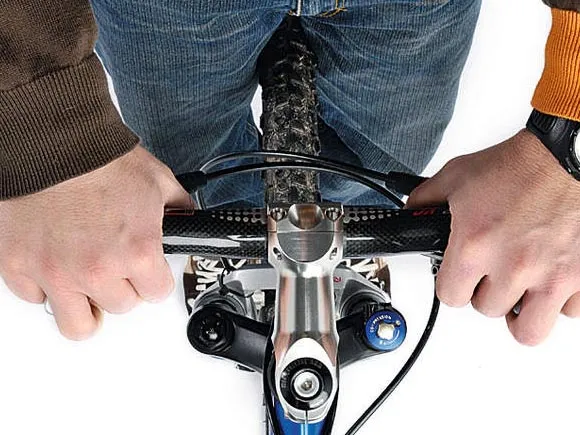
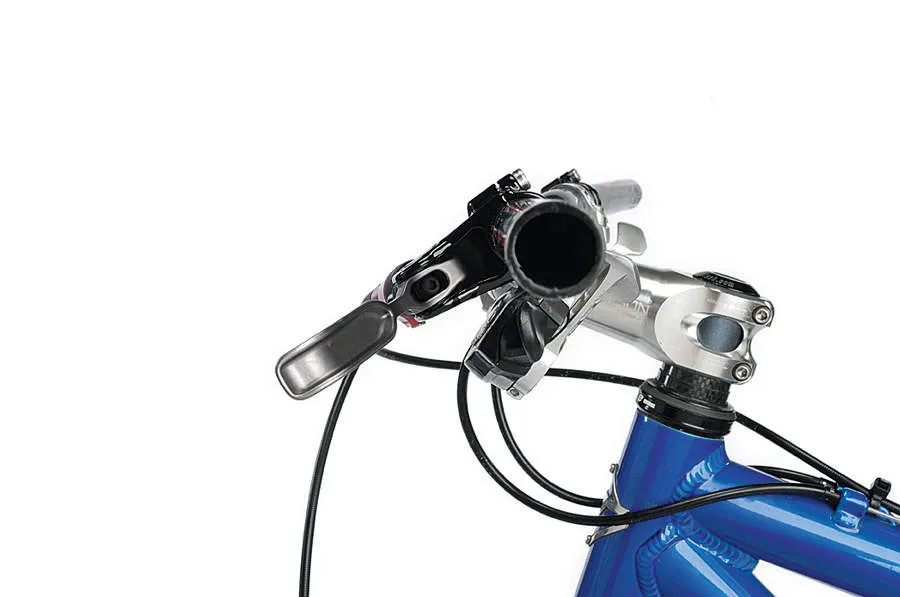
Stem angle
Getting the stem in line with the front wheel sounds simple, but can be tricky. Loosen the stem’s steerer clamp bolts and give the bar a wiggle to free up the stem. Don’t let it be so loose that it swings about or it’ll be hard to keep the stem in the correct position while you tighten the steerer bolts. With the front wheel held firmly between your knees make fine adjustments until straight. It can take a few minutes and some squinting to get it dialled.
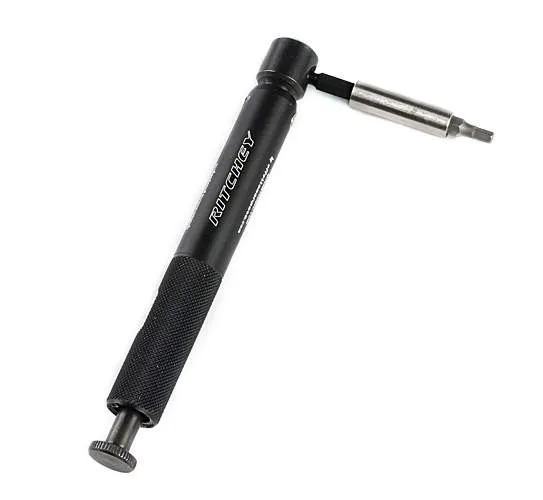
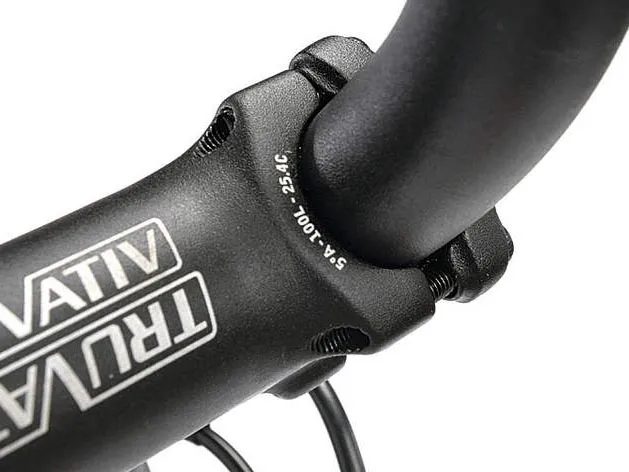
Stem bolt torque
Tempting as it is to get out that set of long handled T-bar ball-ended Allen keys your gran gave you for Christmas and start winding on torque until the head of the bolt rounds off or the alloy thread you’re screwing into strips, you shouldn’t for those very two reasons. Most stem bolts only require torquing to 3-6Nm. We recommend using a torque wrench, but if you don’t have one, that’s about the same force you’d use to open a door handle.
Stem faceplate
Doing up the stem faceplate bolts evenly and accurately is essential for a well set-up and safe cockpit. We wince when we see stem faceplates with the top two bolts done up so tight the top edge of the faceplate touches the top edge of the stem, leaving the lower two bolts barely engaged in thread. This poorly distributes the stem’s clamping force and can lead to the bar slipping or being damaged, or even breaking completely.
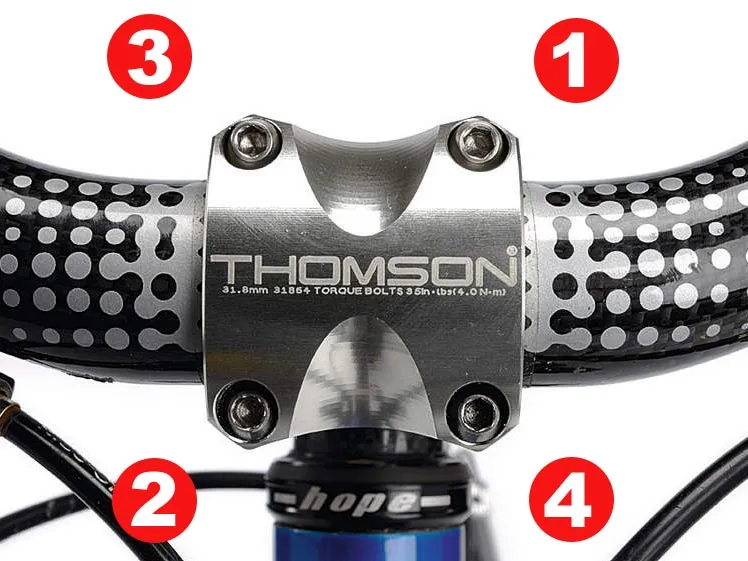
Bolt balance
Bolts on one side of the stem can loosen as you do up those on the other side. Counter this by using cross-sequential tightening. Tighten all bolts to finger-tight then (looking at the cap head-on) tighten the top right bolt by two turns, then the bottom left two turns, then the top left two turns, lastly the bottom right two turns. Follow this pattern keeping the gap between faceplate and stem extension evenly spaced, both left and right, top and bottom.
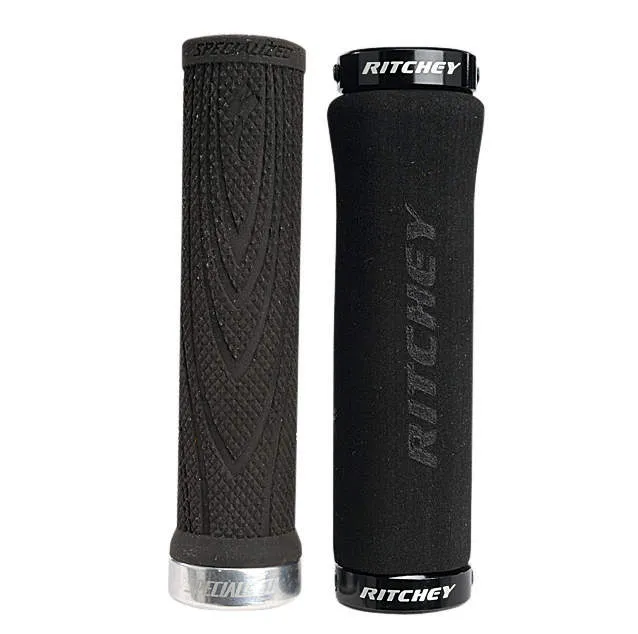
Getting a grip
We recommend lock-on grips for their all-weather grip on the bar. Go for a set that suit your hand size, and err on the side of softer rubber for comfort. Some brands (like Specialized) make bolt-on grips with only one inboard bolt per grip, which feel especially nice if you ride without gloves or with thin gloves. For long cross-country rides we’ve been experimenting with Ergon's flared grips with integrated bar ends — the comfort benefits are fantastic.
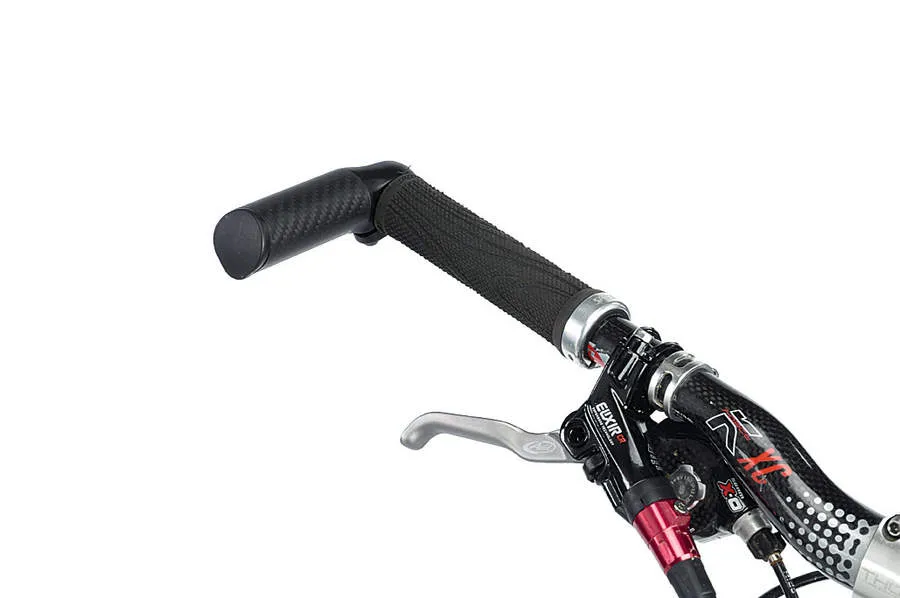
Bar ends
Using bar ends is one of the quickest ways (along with clipless pedals) to turbo charge your cross-country riding. They allow use of your bigger bicep muscles instead of the weaker triceps that climbing on the bar alone uses. Exact bar end positioning is down to personal preference though somewhere between about 30 degrees upward from horizontal and a few degrees below horizontal seems to work for day riders and racing snakes alike.
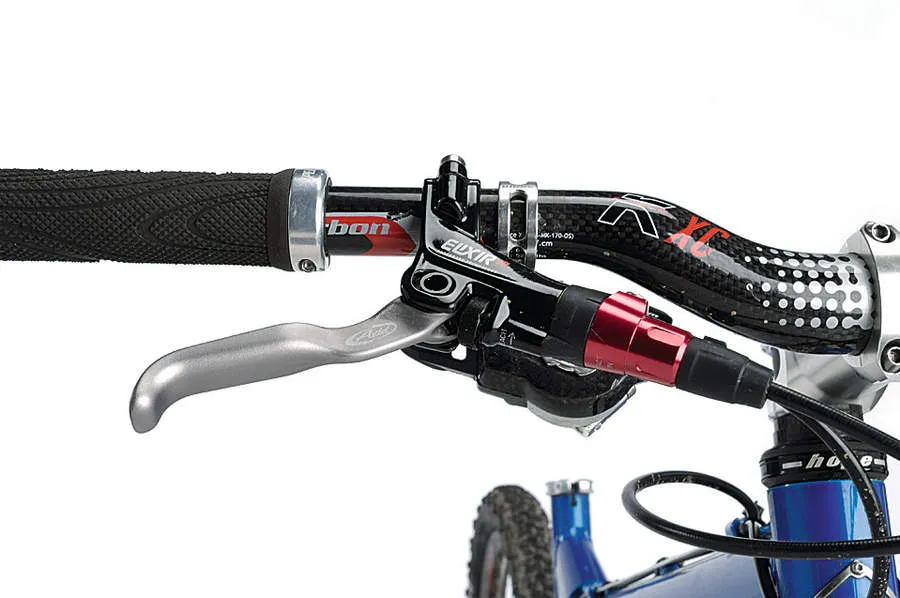
Brake position
It is normal for bikes to come from the factory or dealer with all the controls slammed up against the inboard edge of the grip. This looks tidy but reduces your ability to use the controls to their full potential. It forces you to squeeze the brake lever nearer to its pivot, which isn’t efficient. Move your brake levers inboard so that your braking fingers are using the last 3cm of the lever. This gives you maximum leverage and greater bite control.
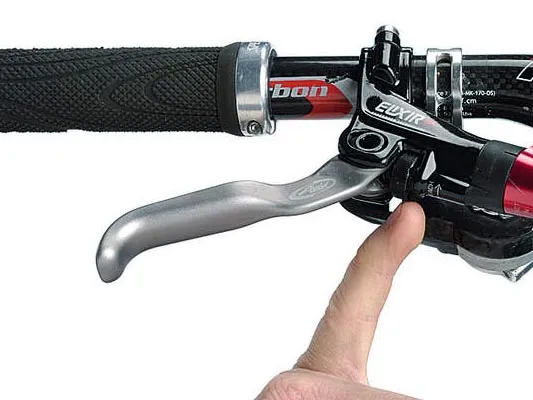
Brake reach
It’s vital you can comfortably reach the levers with your braking fingers. Most brakes come fitted with their lever blades set with their reach adjustment wound fully out, meaning small hands will struggle to reach. Most models have a grub screw (usually a 2 or 2.5mm Allen head) near the lever pivot. This can be wound in or out to adjust the resting position of the lever blade. Spend some time getting it dialled; you’ll reap the benefi ts every ride.
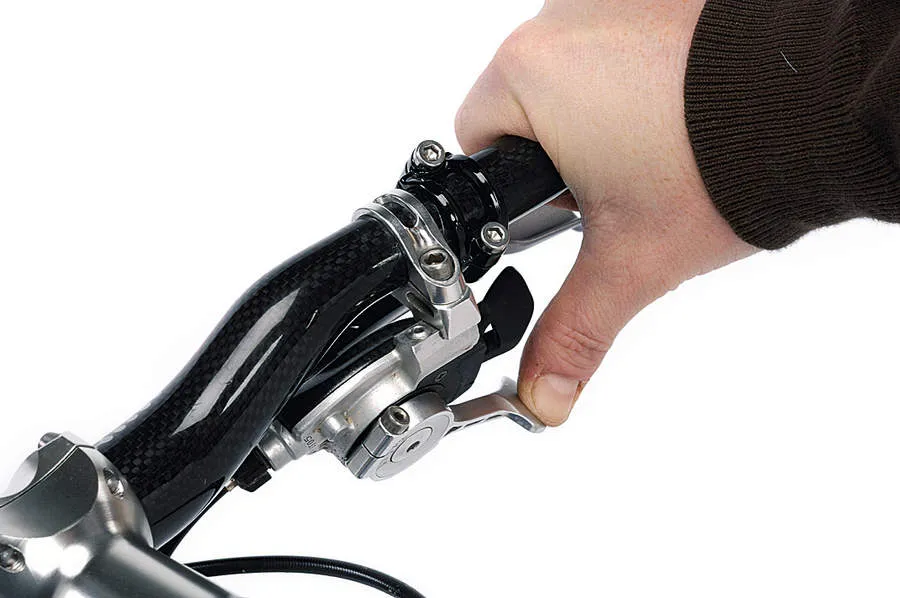
Angle of dangle
You can easily adjust the angle of the brake levers by loosening the Allen bolts and twisting the clamp around the bar. Adjust them so that the lever more or less falls in line with the angle of your arms from your torso as you sit on the bike in your normal riding position, to prevent strain on your wrists. Riders doing lots of descending may want to position the levers higher, nearer to the horizontal, to counter being further back off the saddle.
Gear position
With the brake lever position determined and recorded, move the gear shifters to a position on the bar where you can easily access the triggers without them fouling the brake levers while seated on the saddle — fouling happens more often when using different brand brake and gear levers. Check by pushing triggers through their complete arc of movement. Beware if using grips with a throttle flange as these can catch gear shifters.
Getta Gripshift
The popularity of SRAM's Gripshift system may have waned, but it’s still a great gear changing system. If you butt the brake lever perch up to the plastic housing of the shifter, make sure it does not foul the action of the lever (Hope Minis do this). Correct this by spacing them a few millimetres apart. Also ensure the shifter is clamped to the bar (using the 3mm grub screw) and that the shifter is orientated so the full range of gears are attainable in a single sweep.
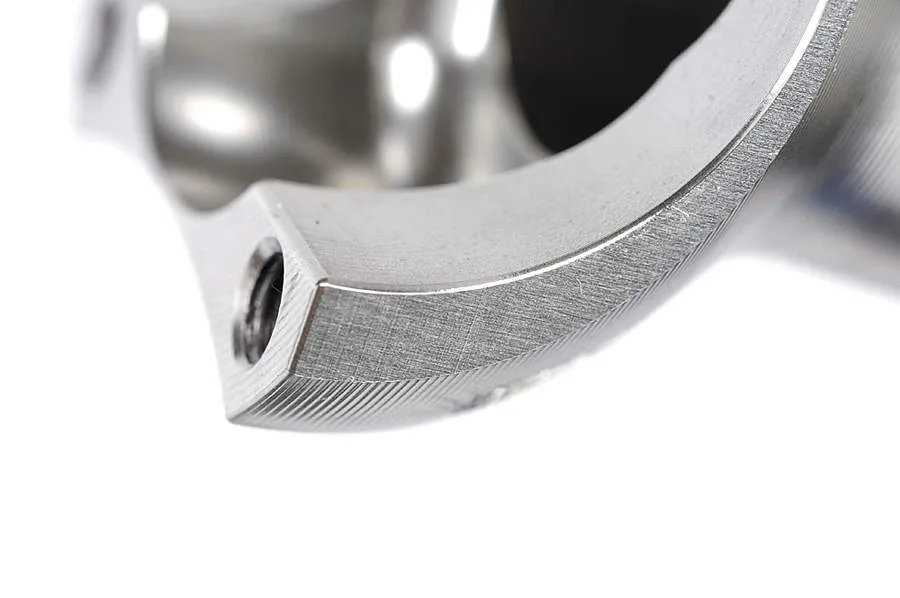
Deburr
If you’re fitting a new bar or stem, check the stem’s clamp areas (on both bar and stem) to ensure there are no sharp edges, machining burrs or non-radiused (unbevelled) edges. Such burrs and edges can cause microscopic damage to the bar (especially carbon bars), which can slowly grow into cracks. Often the first you’d know about it is when the bar snaps when you’re out riding. Remove such maladies carefully with fine emery paper.
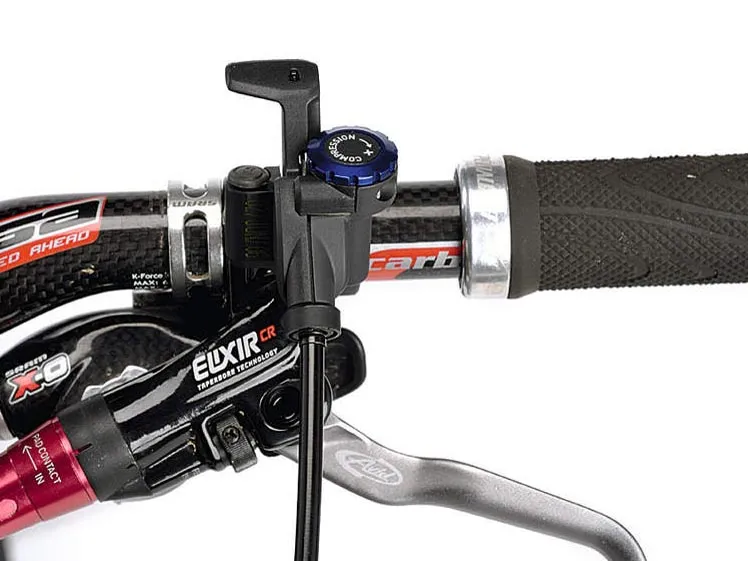
Remote control
Many suspension forks have remote lockout or damping adjuster levers attached to handlebar bracket mounts. Ensure the lever is attached securely to the bar and that it does not impede your use of brake/gear levers or get in the way when using other hand positions on the exposed bar that you might use when cruising flats or climbing steep hills. RockShox remotes can be changed for a leg-top adjuster if you don’t like clutter on your bar.
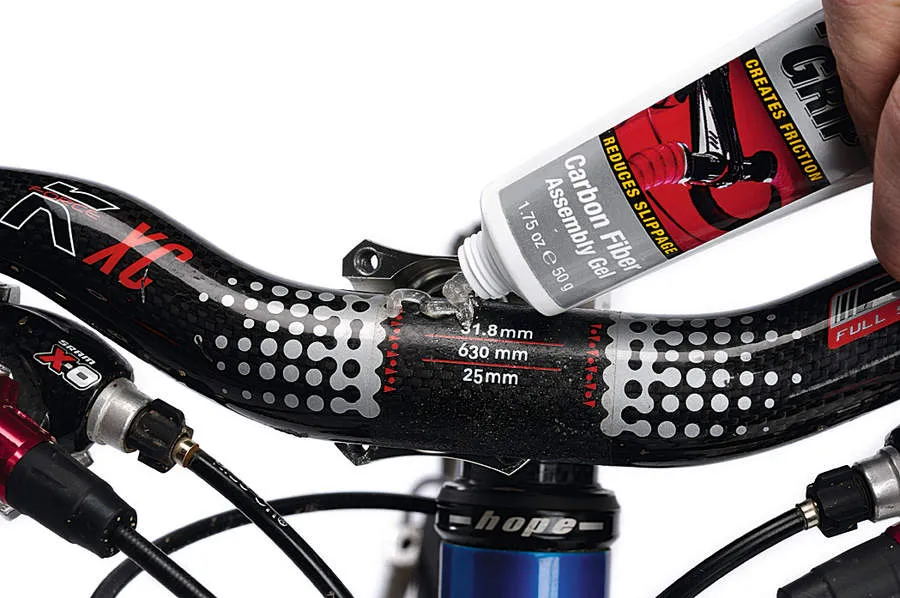
Carbon paste
Carbon fibre is a very strong material but it can also be fragile if treated in the wrong way. You can go a long way to protecting your carbon handlebar by using a smear of carbon fitting paste. This acts like a grease but its microscopic makeup of millions of tiny synthetic balls helps reduce slippage in the stem clamp without the need to apply unnecessary torque, so reducing the chances of crush damage or damage from stem clamp edges.
Top tips
- Use a tape measure to make sure everything is properly centred and spaced. A few millimetres might not seem like much in the workshop but it can translate into an annoying distraction on a long climb or in a race.
- Learning to use a torque wrench after years of guessing how tight is tight enough takes time, but it’s a good habit to nurture. Buy a cheap one and keep it with you. There are many different brands on the market, and they’re often sized to cope with specific load capacities. You’re looking for something relatively small as most control bolts should only be tightened to between 3Nm and 6Nm. Check the specific requirements with the manufacturer as they all vary between the two figures.
- While you’re adjusting your grips, stick a few different sized zip-ties inside your handlebar. You never know when you might need to tie something back together as an emergency get-you-home measure.
- Pay attention to the condition of the steel bolts used to secure stems and other bar controls. They can dry out and corrode, making them far more likely to damage their alloy threads. Give a dab of grease to prevent this.