Truing is the act of adjusting the tension of a wheel’s spokes to make it perfectly straight and round.
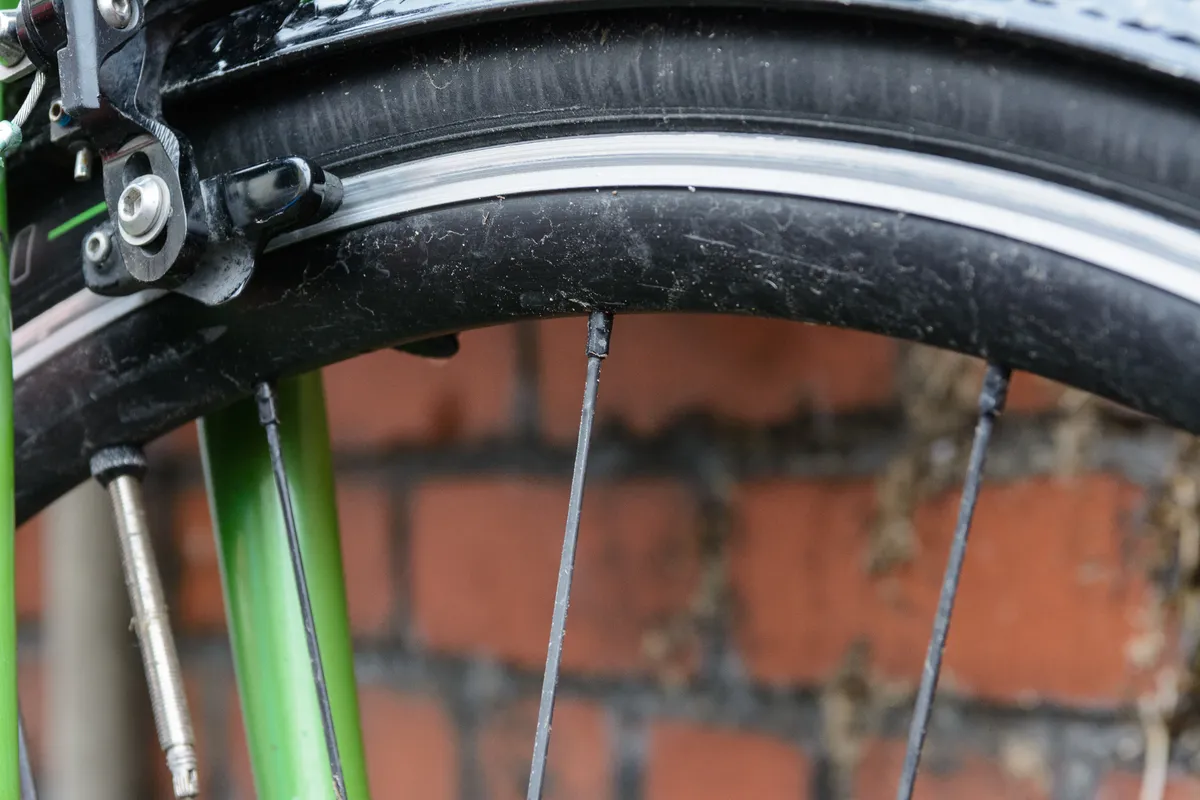
Truing is a normal part of any wheel’s life. Wheels are subject to extreme forces, from withstanding a clattering from an unexpected pothole or rough riding off-road. Over time, or in the case of a heavy hit, this may cause the wheel to go ‘out of true’.
This presents itself as a wobble in the side-to-side (lateral) trueness of the wheel, or its roundness (radial).
A wheel that is out of true won't handle well when riding and will potentially shorten the lifespan of the components. If your bike has rim brakes, the rim may contact the pads as it spins. In extreme cases, it could even cause the rear tyre to abrade on the inside of the seatstays or chainstays.
In this guide, we’ll run through the four main principles you need to know when truing a wheel.
Because there is so much nuance to wheel building, this guide is by no means exhaustive and is intended as a reference point to get your wheel back into working order.
Wheel truing requires a basic understanding of the principles of wheel building, patience and practice – you are very unlikely to get it right on your first go.
If you are new to wheel truing, we would strongly recommend you practise on an old wheel first. Exotic carbon wheels are best left for when you have lots of experience.
Before truing a wheel, it's worth checking if the hub is properly adjusted. Any play in the hub will be amplified on the truing stand. We have a full guide on how to service a hub.
Tools required
- Wheel truing stand
- Relevant spoke keys
- Bladed spoke holder (if your wheel has bladed spokes)
- Wheel alignment (dishing) gauge
- Spoke tensiometer (recommended but not essential)
Wheel truing stand
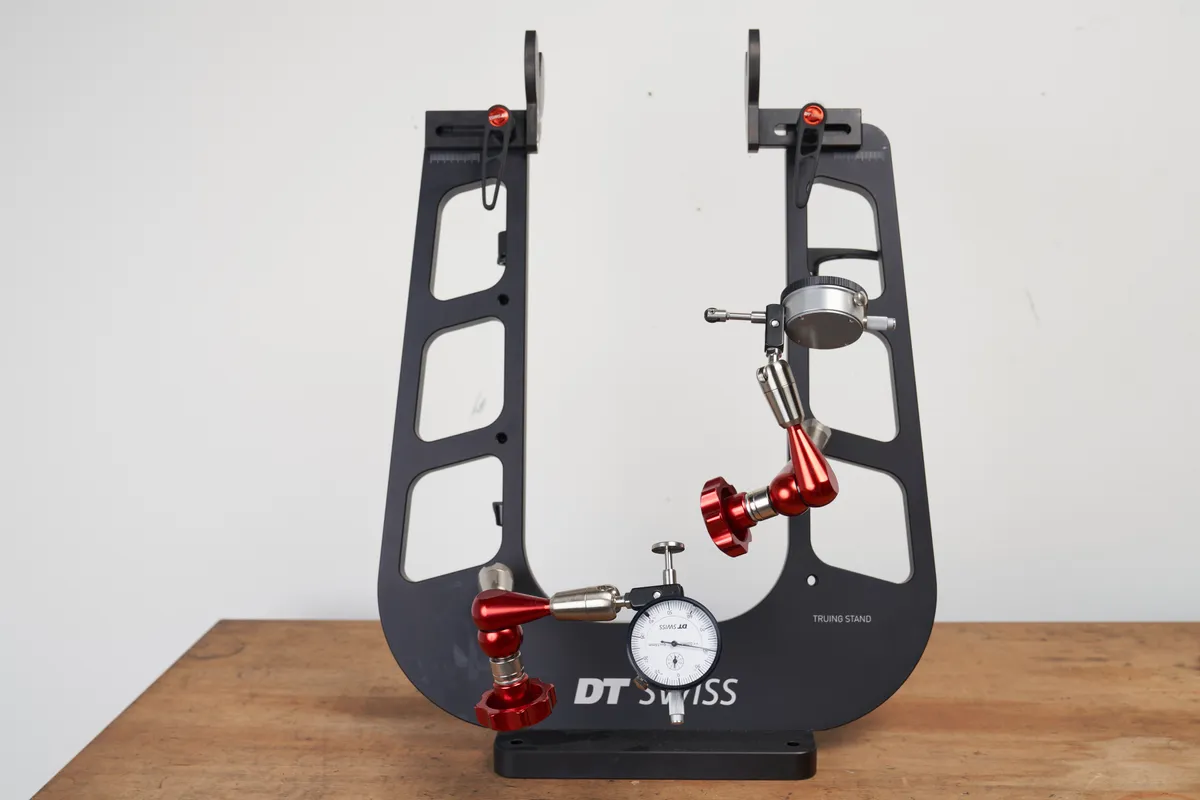
A dedicated wheel truing stand is a significant investment, with the majority of options ranging from £80 to £500.
As such, it's only worth investing in one if you know you are going to make good use of it – or perhaps chip in and buy one as a group of friends and share it around.
More expensive truing stands will be built to tighter tolerances and may include additional features, such as having two caliper jaws, dial indicators or built-in dishing.
Many stands require calibrating, where the uprights are perfectly centered to give an accurate reading of wheel dishing (we’ll come onto this in more detail later, but it means how central the rim is over the hub). If your stand uses this design, make sure you keep it in a safe place to avoid it getting knocked.
If you don’t want to invest in a truing stand, you could turn the bike upside down and use cable ties around the frame to act as your reference points and you could judge the tension of the spokes by feel.
Spoke keys
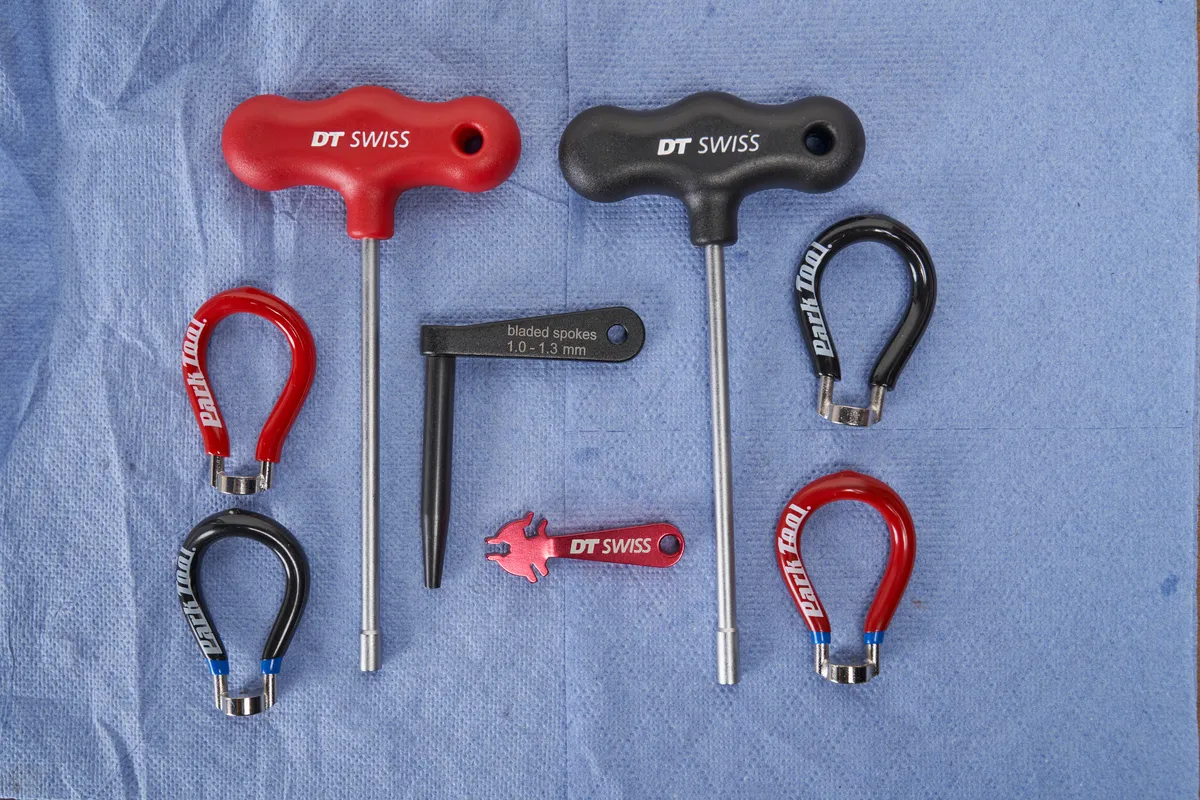
You must make sure you have the correct spoke key for your nipples.
Although there are many variations, most conventional spoke nipples (the nut that threads onto the end of the spoke) have four wrench flats. You can use a vernier caliper to determine the width of the flat.
A spoke key that is too large may round the corners of the nipple, whereas one that is undersized simply won’t fit. If you’re unsure, buy a spoke key with multiple nipple sizes (we like the Cyclo triple spoke key).
Some spoke nipples don’t use wrench flats and require a specialist tool instead, such as the nipples used on Mavic’s Zicral spokes.
Some spokes require adjusting at the hub, whereas others are internally accessed and require the rim tape to be removed.
If the spokes are bladed, you’ll also need to buy a bladed spoke holder so that the blade doesn’t twist around when you adjust the spoke.
How to true a wheel
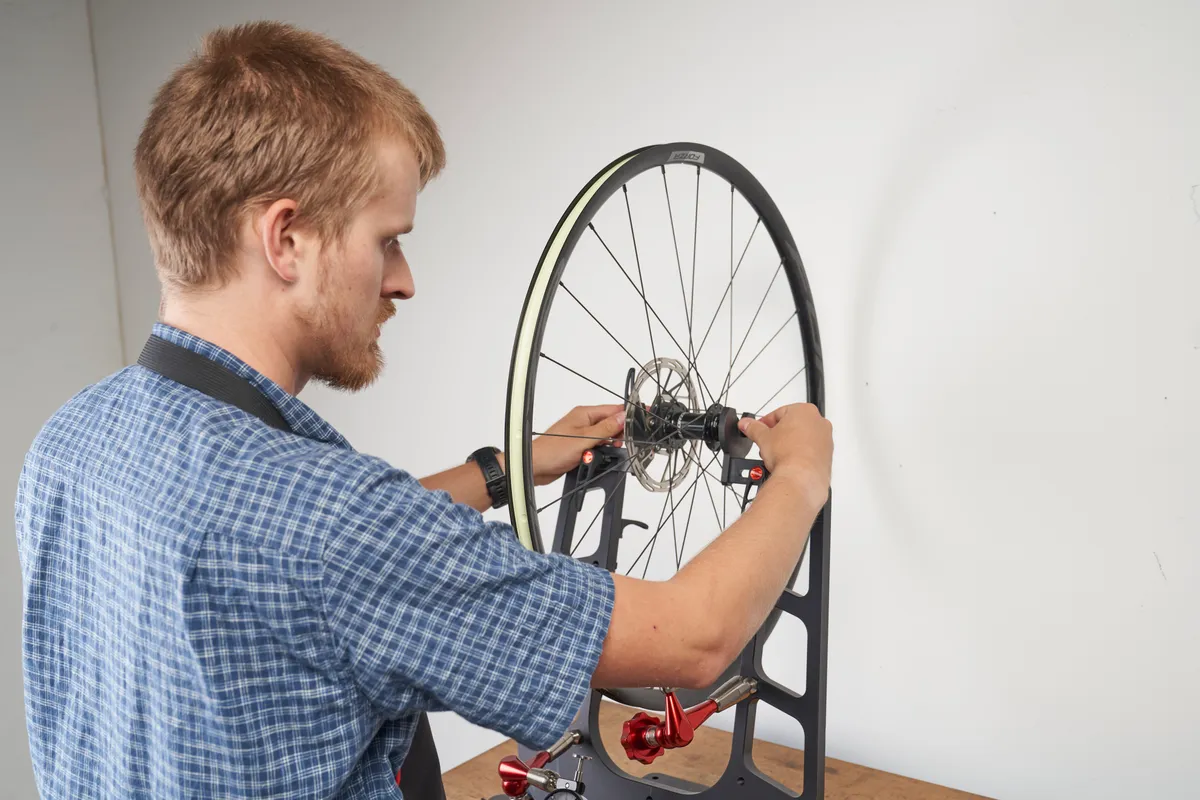
Wheel truing is essentially the act of balancing four variables – how true the wheel is laterally, radially, if it’s dished correctly and if the tensions are correct.
It’s first wise to check for any obviously loose spokes, either by hand or with a tensiometer
It’s best to remove the tyre when truing a wheel because it’s much harder to accurately gauge how radially true the rim is with the tyre installed.
We’d also recommend checking the upper and lower limit spoke tensions so you know they’re in the correct range and to avoid overtightening them. You should check with the rim manufacturer because this will almost always be lower than the upper limit of the spoke itself.
If you overtighten a spoke, it's likely to break or damage the rim. On custom wheel builds, the spoke tensions are often calculated for the rider’s weight.
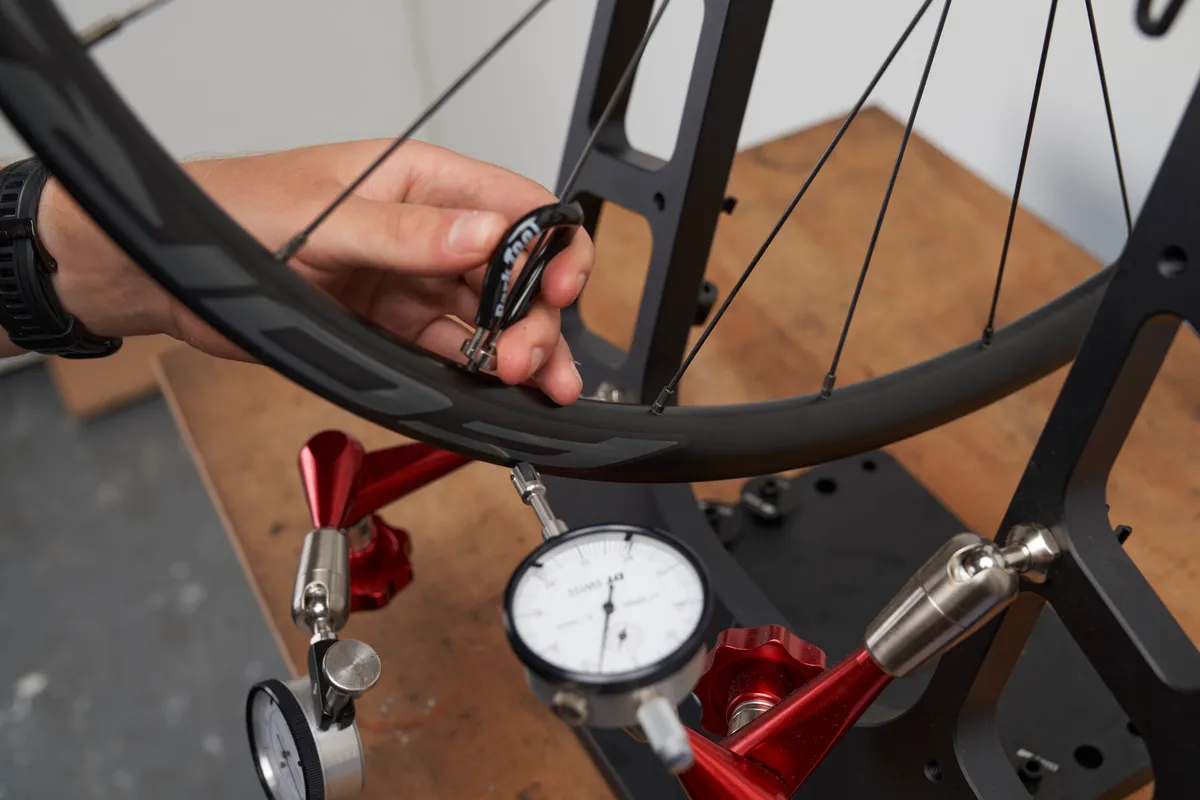
We like to check the tensions of the spokes before truing so we have a starting reference point. To check the recommended tension, you need to know the diameter and the material of the spoke. You can then look these up on a table – Park Tool supplies its truing stand with a tension meter chart.
If your truing stand has two caliper jaws, the wheel should be placed in the stand so the disc brake rotor is on the left-hand side when looking at the stand from in front.
If your stand only has one, you’ll need to rotate the wheel periodically to check both sides.
Wheel truing in a nutshell
- Work on the wheel’s lateral true
- Then move on to radial true
- De-stress the spokes and repeat steps 1 and 2 until you are happy with the result
- Check the wheel is dished correctly
- De-stress again if you need to make any adjustments
- Check the tensions are all in range
Lateral truing (side-to-side)
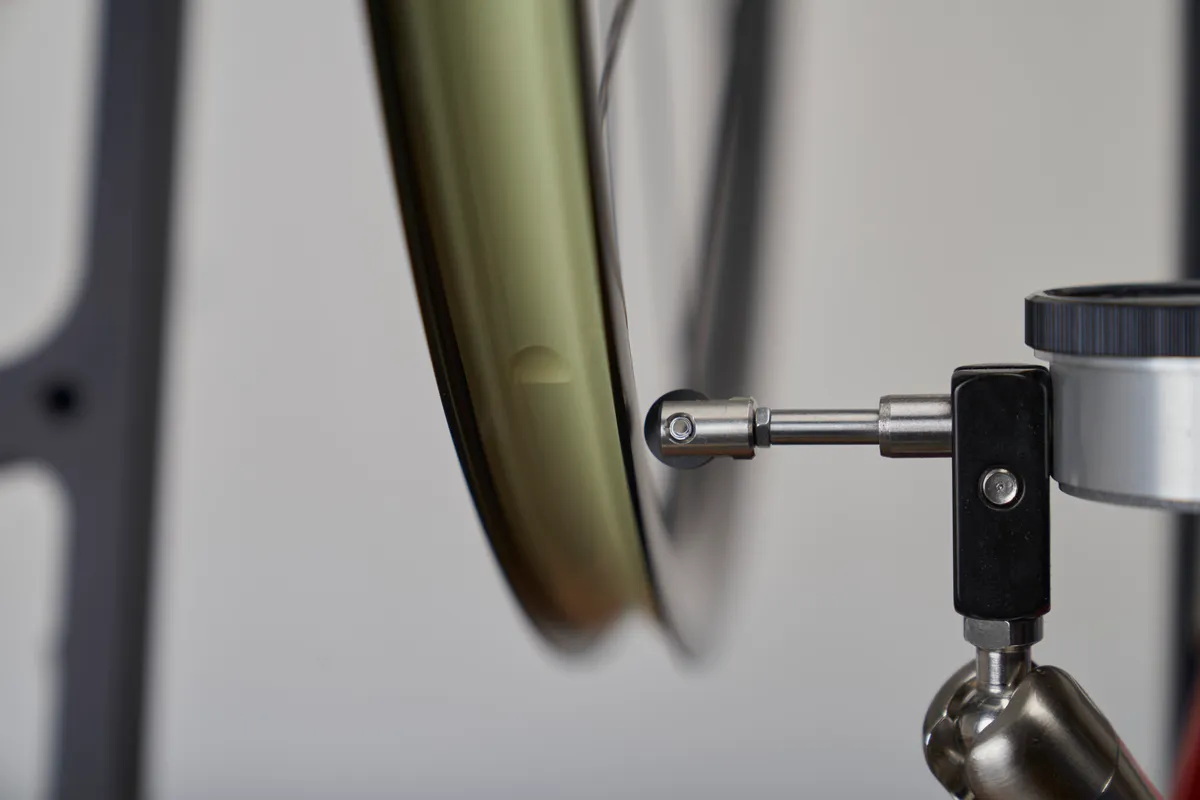
Lateral truing is the correcting of any side-to-side wobbles.
Spin the wheel slowly in the truing stand and wind the caliper jaws in until you see and hear one part of the rim make contact with either jaw.
If the rim hits the left jaw, we either need to tighten a spoke on the right to pull the rim over to that side or loosen a spoke on the left to relieve tension on that side. If the rim hits the right jaw, the opposite would be true.
Identify the spoke that needs adjusting. Buckles aren’t necessarily isolated at one spoke, and you may need to adjust several spokes on one side.
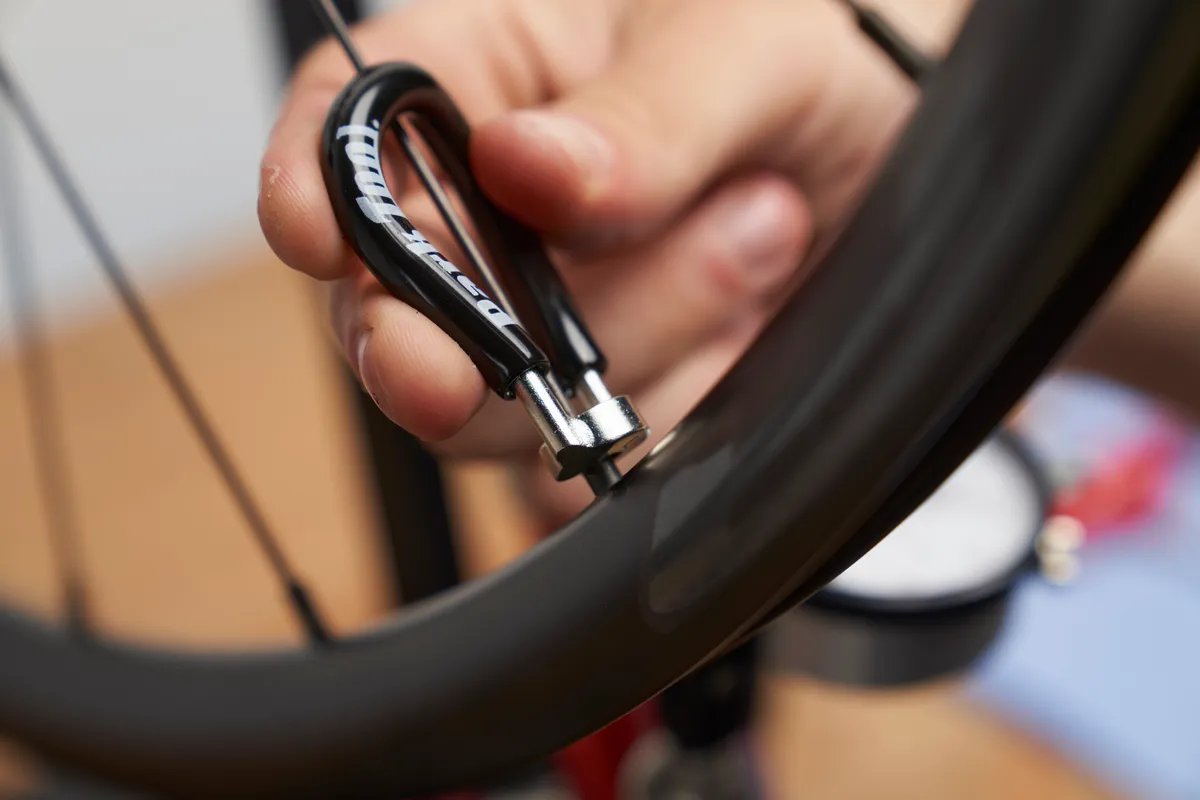
Looking at the spoke in front of the truing stand, turning the spoke nipple clockwise adds tension and anti-clockwise loosens the spoke.
We recommend adjusting the spoke in quarter (or even eighth) turns so you can monitor any changes carefully.
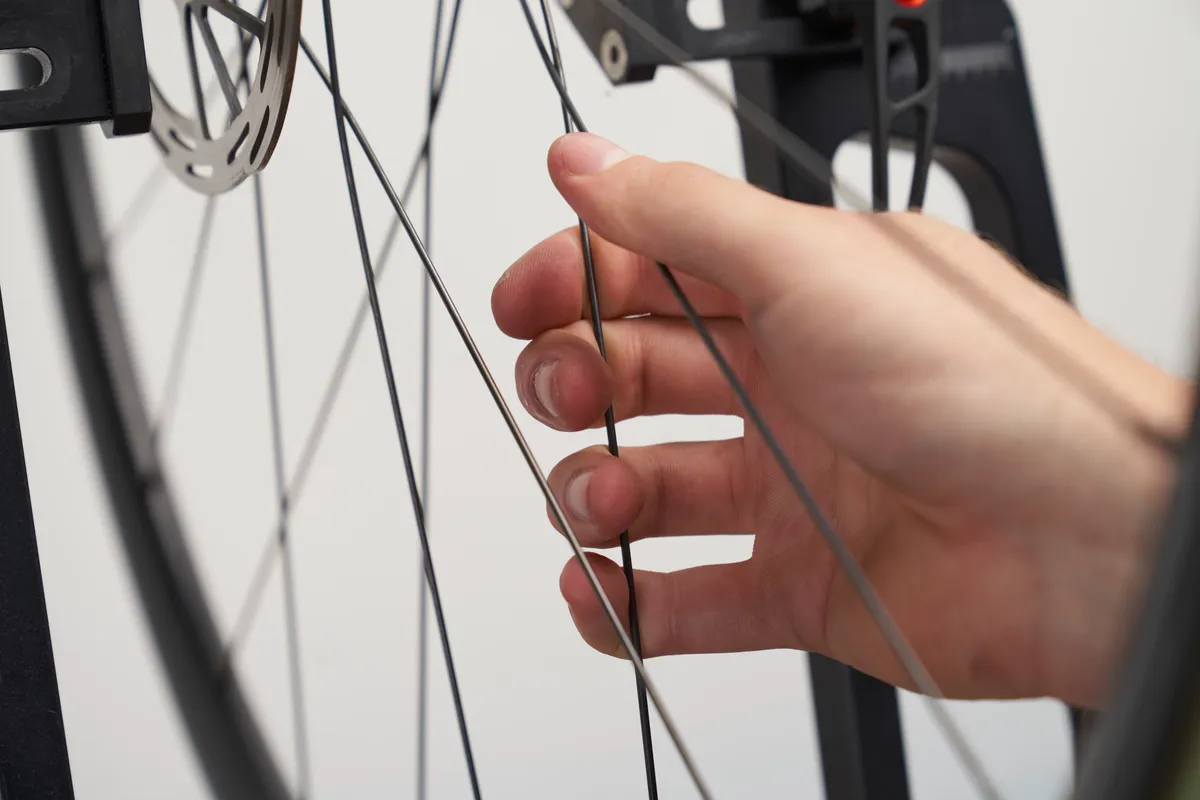
If you want to get an idea of what tightening a spoke will do, squeeze it with your finger and you’ll be able to see the result.
Once you’ve sorted the first area out, identify the next problem area by winding in the caliper jaws until another area of the rim makes contact.
Keep working on the lateral true until you are happy with the result.
If the spoke is hard to turn (and isn’t towards the top of its recommended tension) or creaks, it’s worth adding a drop of lubricant to the spoke nipple, provided that’s within the purview of the rim manufacturer.
Radial truing (the roundness or up-and-down)
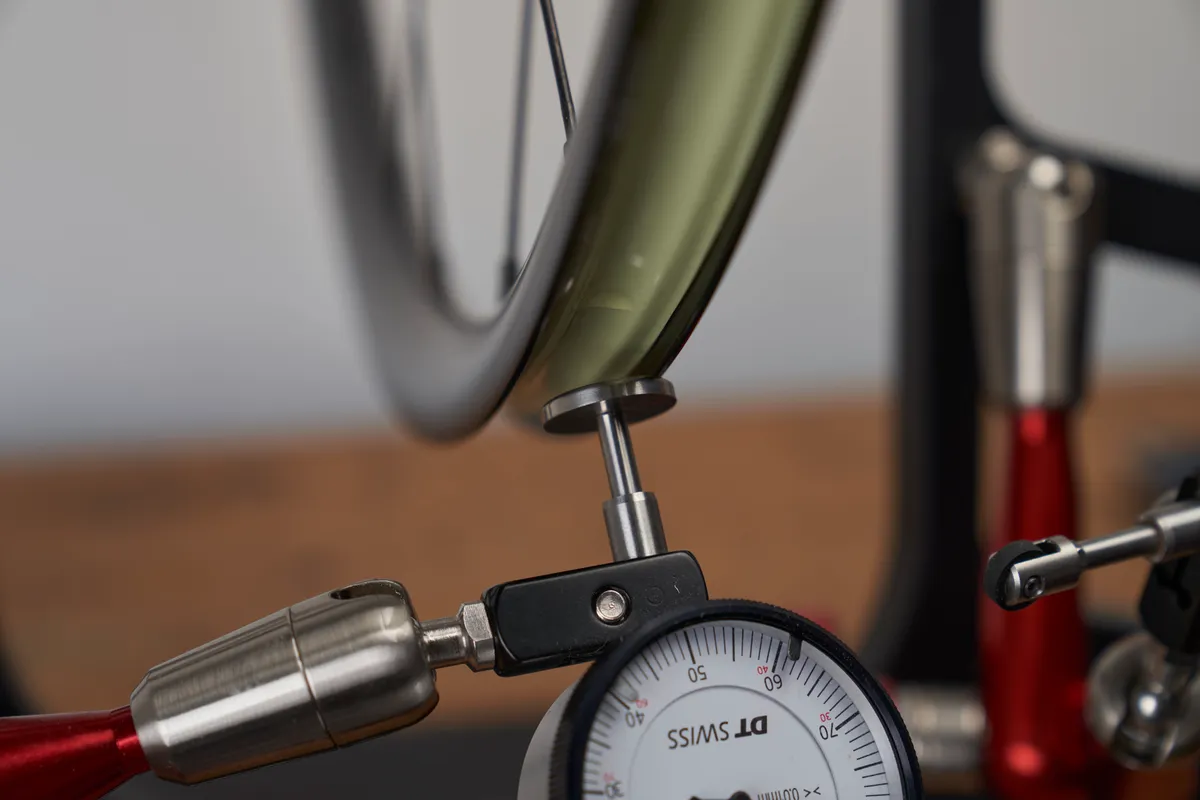
Although a rim might be laterally true, that doesn’t mean it is radially.
Align the calipers under the rim to check where the rim is out of true, moving them up until they make light contact.
A section of the rim may move inward towards the rim or outward away from the rim.
With radial truing, we work on pairs of spokes to pull the rim in or push it away.
Identify the two spokes nearest the problem and tighten each by a quarter turn to move the section towards the rim or loosen to move away from the rim.
As with lateral truing, if you want to look at the result before you make an adjustment, squeeze the two affected spokes and see what the result is. Radial truing may also extend across more than two spokes.
We’d recommend first focusing on spokes that have a ‘high spot’ (where the rim of the wheel moves further out). By sorting these spokes first, you’ll minimise the ‘low spots’ when you come to adjust these afterwards.
When you make radial corrections, the lateral truing will likely be affected. We’d recommend re-checking the lateral true every three or four radial adjustments.
Wheel dishing
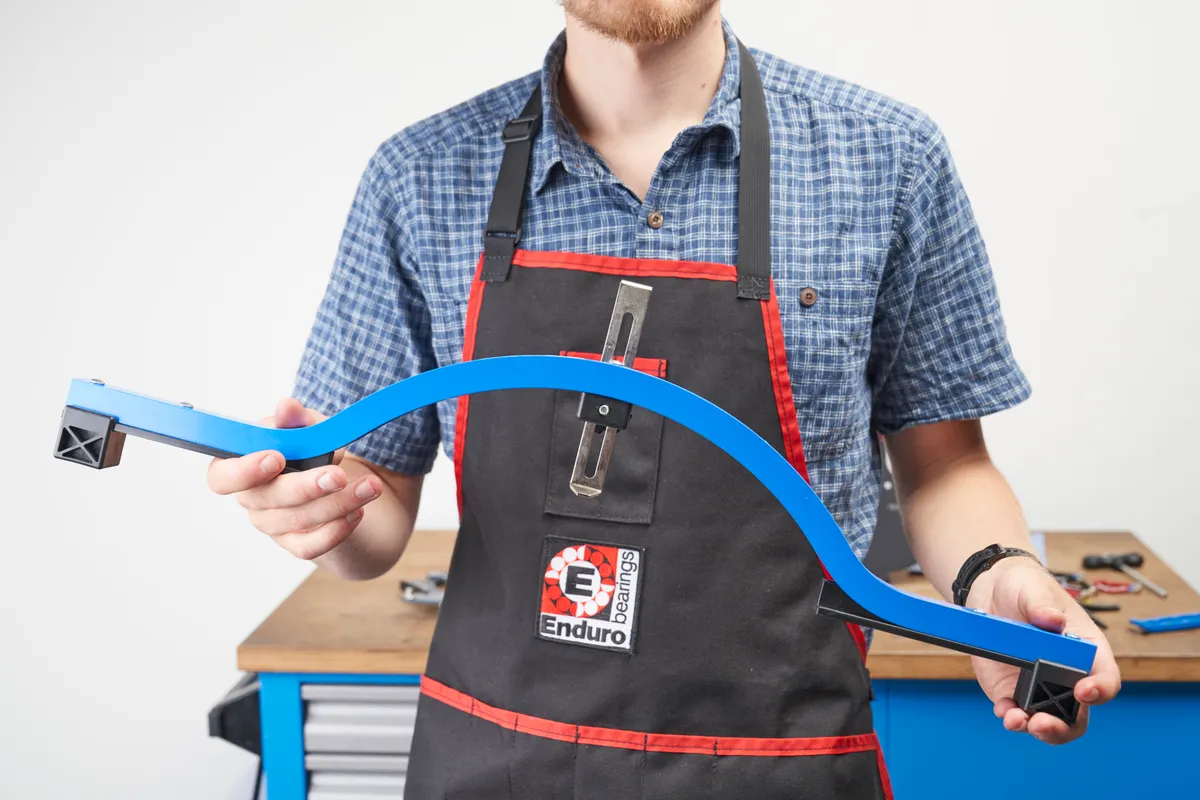
The dish of the wheel refers to how central the rim is over the hub.
Some wheel truing stands have a dishing feature built in, whether that’s a mark on the stand to signify its central point or the caliper jaws are calibrated to be in a certain position.
Although we wouldn’t recommend this method because it’s inaccurate, you can use the bike’s frame as a way of testing the dish, which will suffice in a pinch.
However, even if you have a stand with a built-in dishing feature, it's always best to use a dedicated tool to check in case the stand isn’t calibrated correctly.
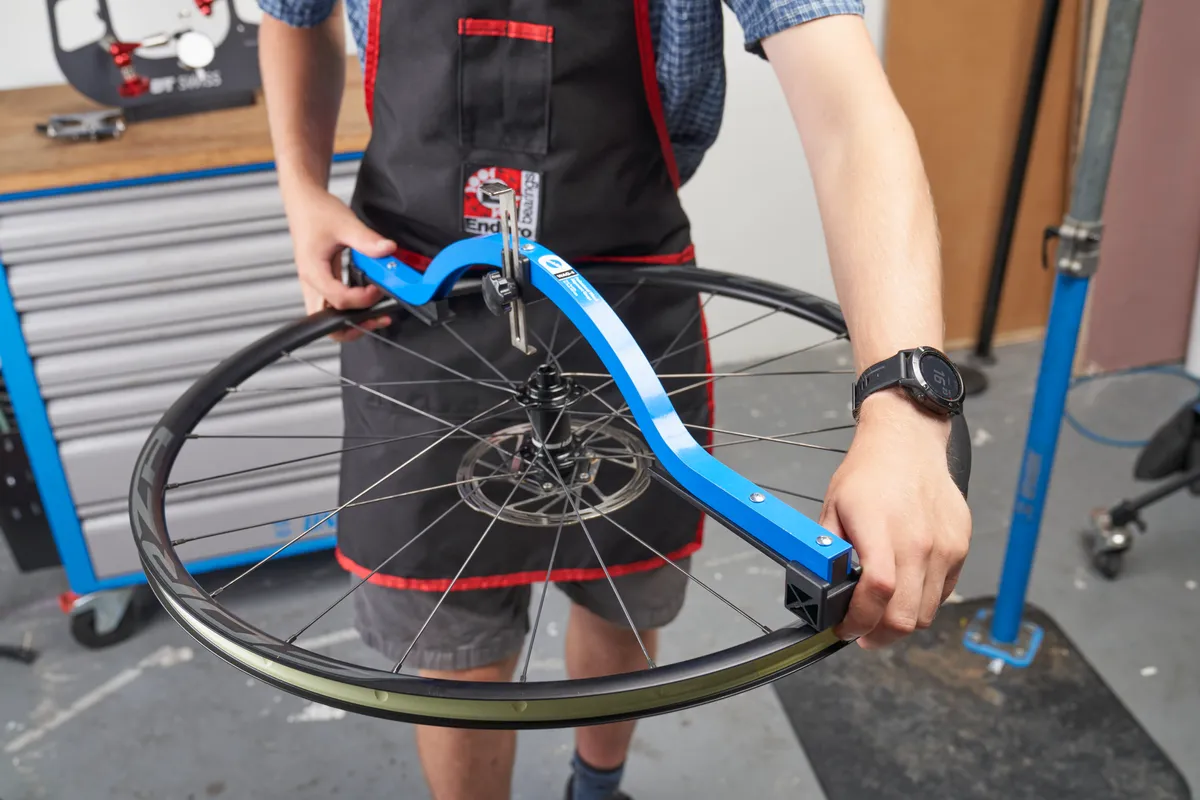
Employing a specific wheel alignment gauge, use the two sliding blocks of the tool to rest them on either side of the rim.
Lower the gauge of the tool so it touches the outermost axle locknut or end cap (depending on your wheel).
Then, flip the wheel around and inspect if the gauge of the tool contacts the axle locknut on the opposite side.
Because the dishing tool magnifies any problems, a 1mm gap will equate to about 0.5mm when the wheel is installed on the bike.
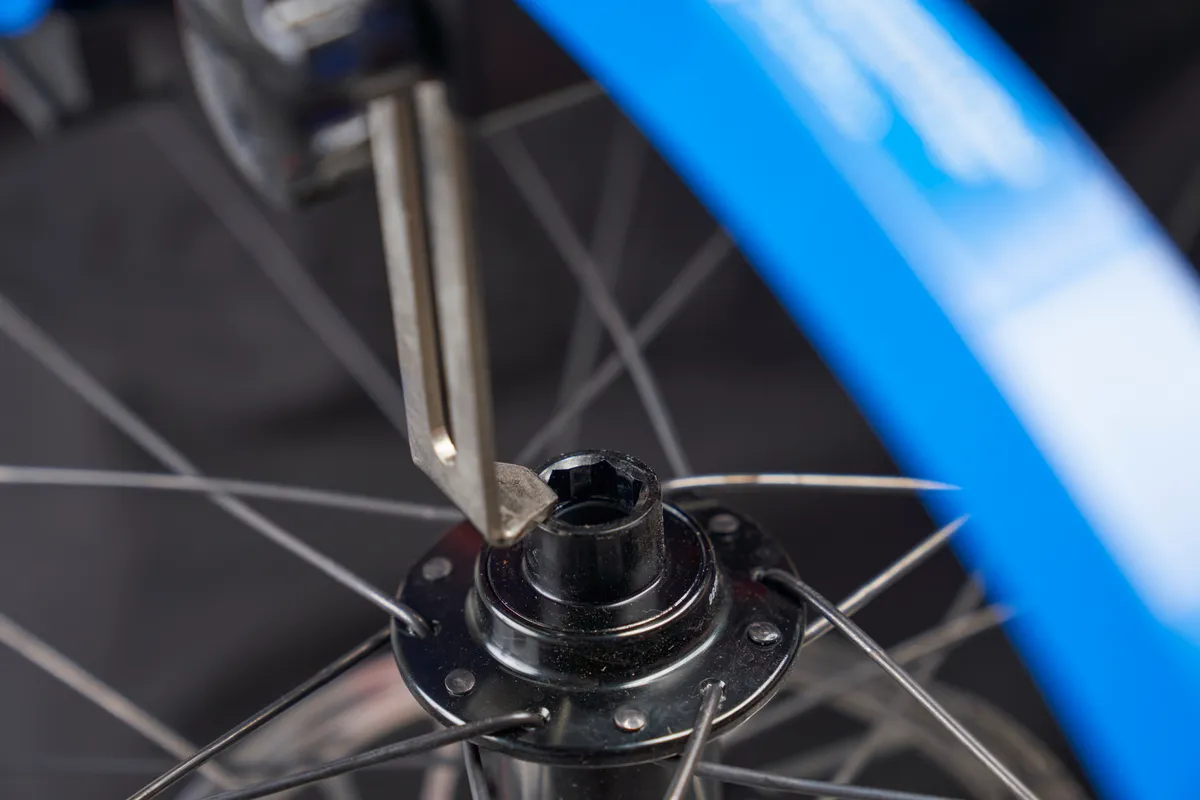
There are three possible scenarios – if there’s no significant gap, you’re good to go because the wheel is properly dished.
The second scenario is there will be a gap between the gauge and the axle locknut. As a general guide, if it’s less than 1mm, you’re okay, but if the gap is larger, the dishing will need to be adjusted.
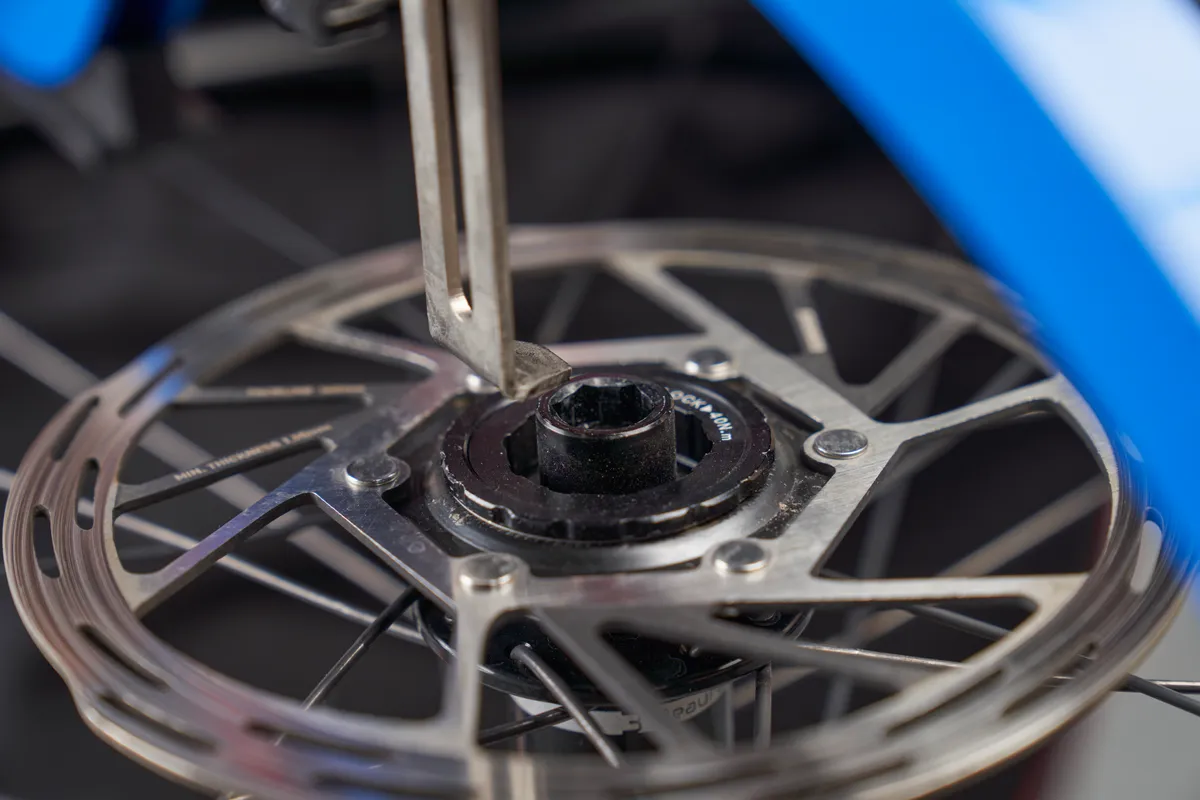
The third scenario is the gauge will sit below the locknut face. In this scenario, we’d recommend resetting the tool using this side as the initial reference and then flipping it around – this will then result in a gap between the axle and foot of the tool as in the second scenario.
If you need to bring the rim further to the driveside, starting at the valve hole so you have a point of reference, equally tighten all the non-driveside spokes half a turn.
If the rim needs to be pulled further towards the non-driveside, tighten all the driveside spokes half a turn.
Before you adjust all of the spokes, it’s worth checking the tensions. When you tighten all of them, both sides will tighten and you want to make sure you’re not going to go over the maximum recommended spoke tension.
Like lateral or radial truing, tightening isn’t necessarily always the best option. You could loosen one side by half a turn to achieve the same result if the tensions are already towards the upper limit.
Once the rim’s dish is within tolerance, you should check the lateral and radial true again.
Spoke tension

The correct spoke tension is crucial to the performance of your wheel, ensuring its structural integrity.
If it's too low, the wheel will flex when you're riding and wobble. You risk cracking the rim and hub, or damaging spokes if the tension is too high.
If you're unsure what spoke tensions your wheel uses, consult with your wheel or rim manufacturer.
Spoke tensions are measured in kgf (kilograms-force). Recommended spoke tensions are given when the tyre is removed because the tensions will change once a tyre is installed.
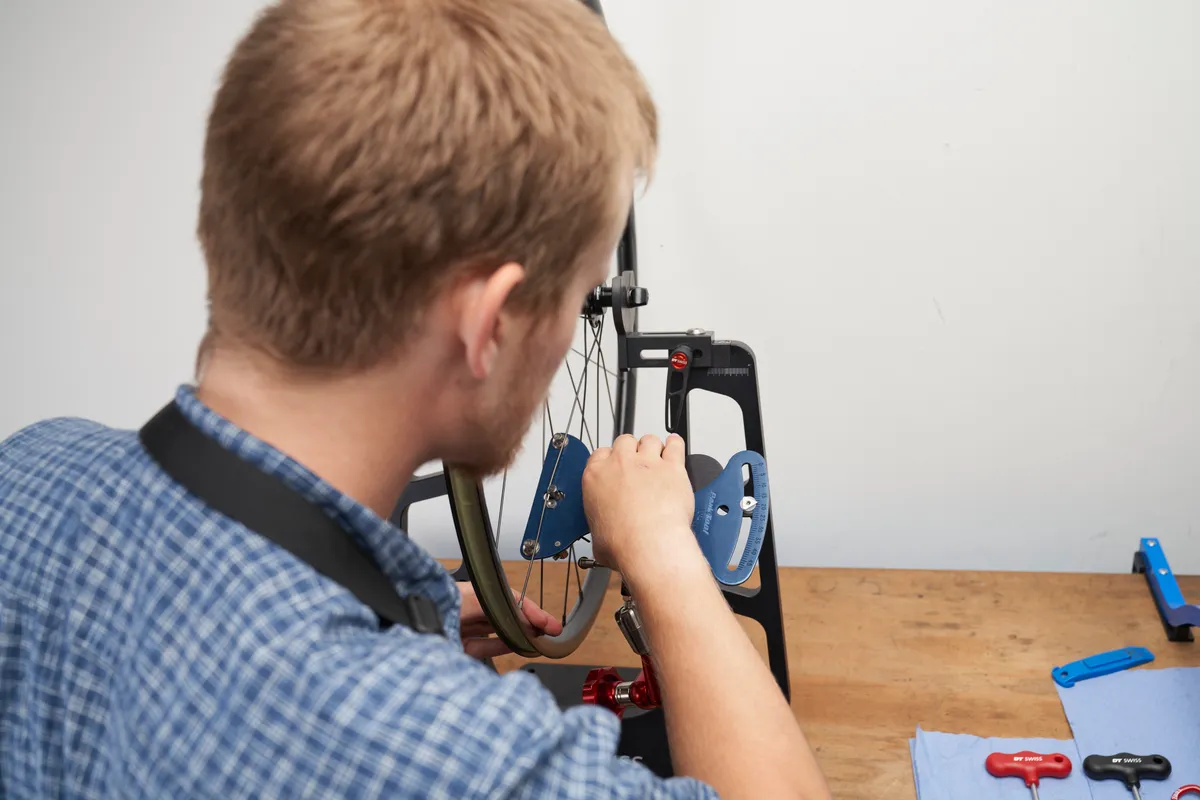
The best way to measure spoke tension is to use a specific tensiometer. This tool flexes the spokes between two posts via a calibrated spring and the amount of deflection is shown on the scale.
If you don’t have a tensiometer, you could pluck the spokes and listen to their tone, but this isn’t the most accurate method.
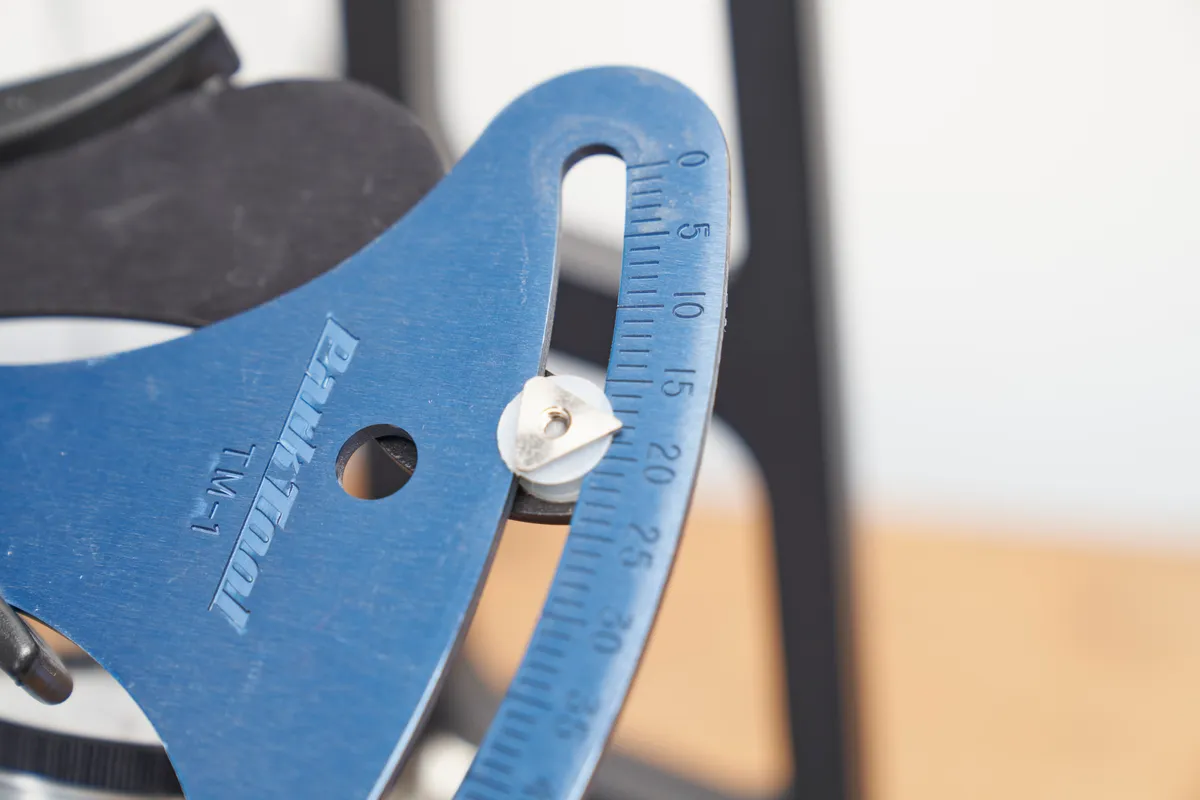
If you are using a Park Tool TM-1 tension meter, it’s important to note the tool doesn’t measure in kgf. You need to refer to a table, which then converts the figure portrayed on the TM1 to kgf.
De-stress the wheel

Once you are happy with your work, remove the wheel from the stand and grip the wheel horizontally with your hands on the top rim in the 10 and 2 o’clock positions.
Press the wheel down on your thighs, applying pressure through your forearms. Make sure you’re wearing an apron or something protective because rims are often dirty. Don’t worry if you hear the spokes pinging – that’s the sound of the heads settling into place.
Work your way around the wheel to evenly de-stress it.
Another way we like to de-stress the wheel is to press against it while it’s lying on the floor.
You may see examples of mechanics standing on a rim. While this also de-stresses it (and the rim should be able to withstand the force), our method is less destructive.
Once de-stressed, check your work on the truing stand and repeat the above four steps as necessary.
When should I stop?
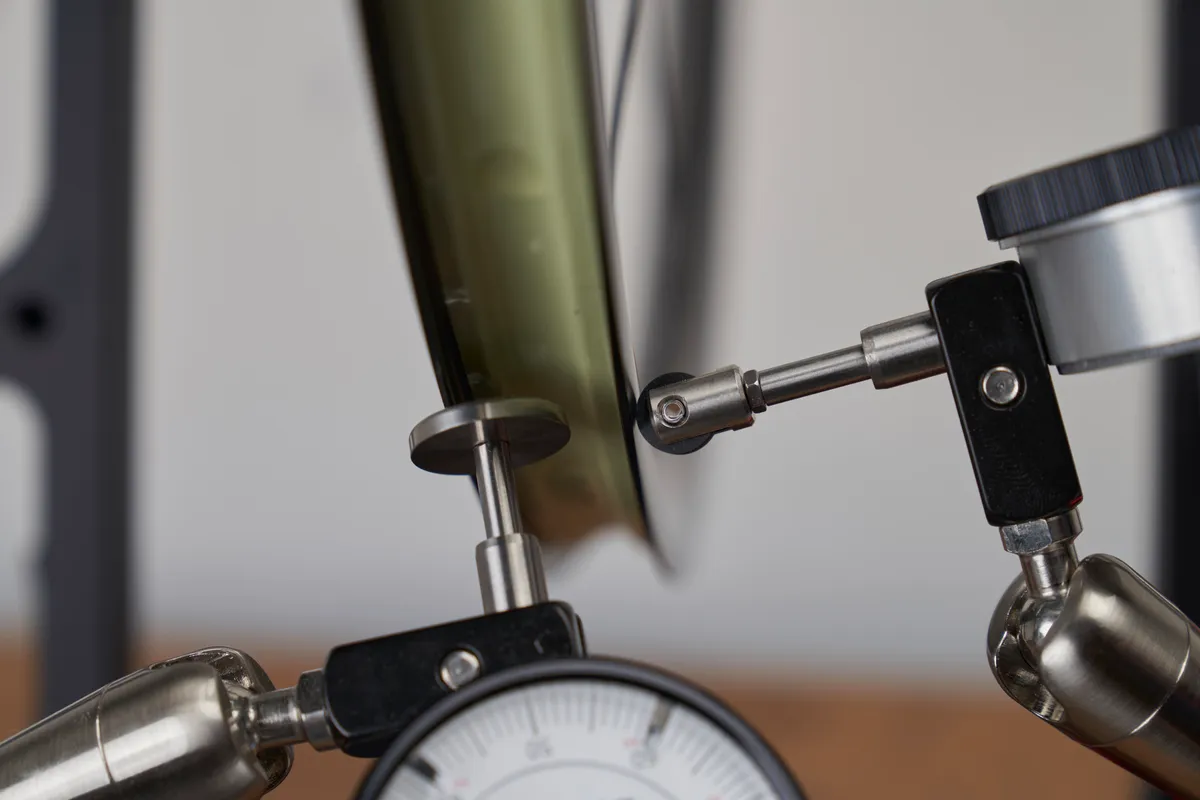
For reference, the tolerance according to British Standard BS 6102 for a rim brake wheel is 2mm, whereas there’s more leeway with disc brake wheels at 4mm. However, that’s quite generous.
We would generally suggest stopping when the rim is within 0.5mm laterally and radially, after the wheel has been sufficiently de-stressed and at the correct tension.
Of course, many pride themselves (especially master wheel builders) on being able to get a wheel as true as possible in the pursuit of perfection.
