Learning to ride on your own, without stabilisers or support, is a massive moment for any child (and their parents). But there are real pitfalls to avoid, so what is the best way to teach a child to ride once you've bought them their first bike?
First things first, the best way to get a child started on a pedal bike is by giving them a balance bike to practise on first.
The child learns how to balance and steer a two-wheeler without the complication of pedalling and taking their feet off the ground at the same time.
Many children learn to ride with stabilisers, but there are advantages to choosing a balance bike over one with extra wheels. Stabilisers hold the bike in a rigid upright position, so children don’t learn to lean the bike in order to balance and steer.
With this in mind, follow the nine steps we've outlined below and your child should be well on their way to riding a bike and heading out on rides with you.
How to teach a kid to ride a bike in 8 steps
Step 1: Gauge if the child is ready

Most children will be ready to learn between three-and-a-half and four-and-a-half years of age. If they’re not ready, it’s usually pretty obvious right away and they won’t get the hang of moving the pedals in circles quickly.
If children see other kids riding, they’ll get some sort of idea about turning the pedals. Remember, children are hardwired to learn to walk and run, but not to cycle.
Step 2: Choose a suitable area

It’s important to choose a suitable area for their first lesson. It can be tempting to choose soft grass because it’ll give a softer landing, but this is actually harder to pedal on.
What you want is a smooth and fairly flat tarmac surface that’ll let the child get some rolling momentum, ideally with plenty of space so the child can roam around and, of course, away from traffic.
Step 3: Get the bike set up

Make sure you buy the correct-sized bike for your child, and try not to put them on a bike that’s too big in the hope they’ll ‘grow into it’.
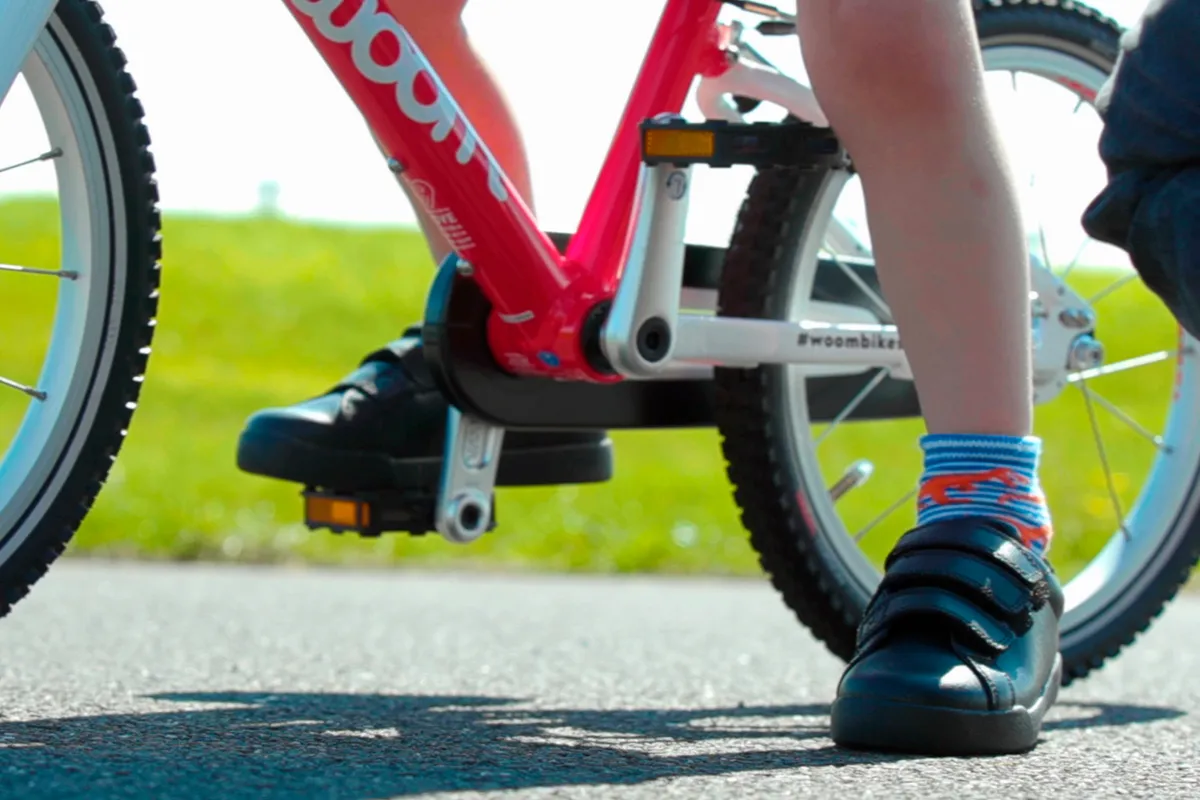
Set the saddle so the child can get the balls of their feet on the ground.
It’s tempting to go for setting the saddle low enough that they can put their feet flat on the ground, but that makes the pedalling action more difficult because their knees will come up too high and interfere with the steering. This will make gaining balance more difficult.
Most kids' bikes are sold based on wheel size, and we have a guide to kids' bike wheel sizes to help you find the right size bike for your child or teenager.
Step 4: Support the child in their first efforts
It’s tempting to hold on to the saddle and handlebars, but you’ll be interfering with how the bike leans and responds to the rider’s weight.
It’s best to stand behind the bike and child, and wedge the rear wheel between your feet and calves. Support them with your hands under the armpits, so they’ve got complete control of the bike – it’s easier on your back too.
Step 5: Gradually let go (but stay ready to catch them)

As they gain confidence riding, you can gradually let go, but stay ready to grab them under the armpits if necessary.
When you’re running behind them, you can guide their body and help them to understand how the bike responds to leaning, show them how to corner and make S-turns.
If they’re ready to learn to ride, they’ll find their balance and be pedalling forward quite quickly, usually within one session of half an hour or so.
Step 6: Let them set off on their own
Once they’ve got the hang of pedalling forward and balancing, you can show them how to set off on their own.
Put the pedal of their stronger foot in the 2 o’clock position, and get the child to place their foot on the pedal.
Tell them to push down hard on that pedal while pushing on the ground with the other leg. It will take a few attempts before they get the hang of it.
Step 7: Teach them to brake
It’s sometimes easier to introduce the concept of brakes without the child riding, so ask them to walk alongside the bike and pull on the brake levers to see what happens.
They will pull on the levers pretty hard to begin with. You can then encourage them, while walking, to squeeze the brakes more slowly.
Once they’ve got the hang of that, put them back on the bike to have a few goes. They’ll usually brake effectively, but forget to put their feet down – so be ready to catch!
Soon they'll be riding without you running behind them.
Step 8: Try, try again

Practice is key to getting the hang of it. But remember that every child’s different and the point at which they’re ready to ride varies.
Be careful not to make it a stressful experience for the child, no matter how keen you are for them to join you on rides. With any luck, they’ll love practising this new skill and the freedom it brings.
Oh, and don’t forget the protective gear, particularly at this early stage; a helmet is essential, and cycling mitts can help prevent scuffed hands. Long trousers, such as tracksuit bottoms, and shirts with sleeves are better than bare arms and legs because they’ll help protect them from minor grazes. Boots or trainers are better than sandals too.