
So you want to learn how to wheelie a bike? You've come to the right place.
There’s a sound practical reason why you’d want to learn how to wheelie: it helps you manoeuvre the bike up and over obstacles. But perhaps more importantly in many people's eyes, it's old-school cool.
- Learn how to track stand, with Anna Glowinski
- How to ride no-handed, with Anna Glowinski
- How to quickly dry your soggy cycling shoes, with Anna Glowinski
In this video, Anna Glowinski talks you through the basics, from getting into the right starting position and correct gear, then leaning back to find the right balance point, and keeping the bike rolling smoothly with judicious dabs of pedals and rear brake.
From there it's practise, practise and more practise – before you know it you'll be riding everywhere on one wheel. Maybe.
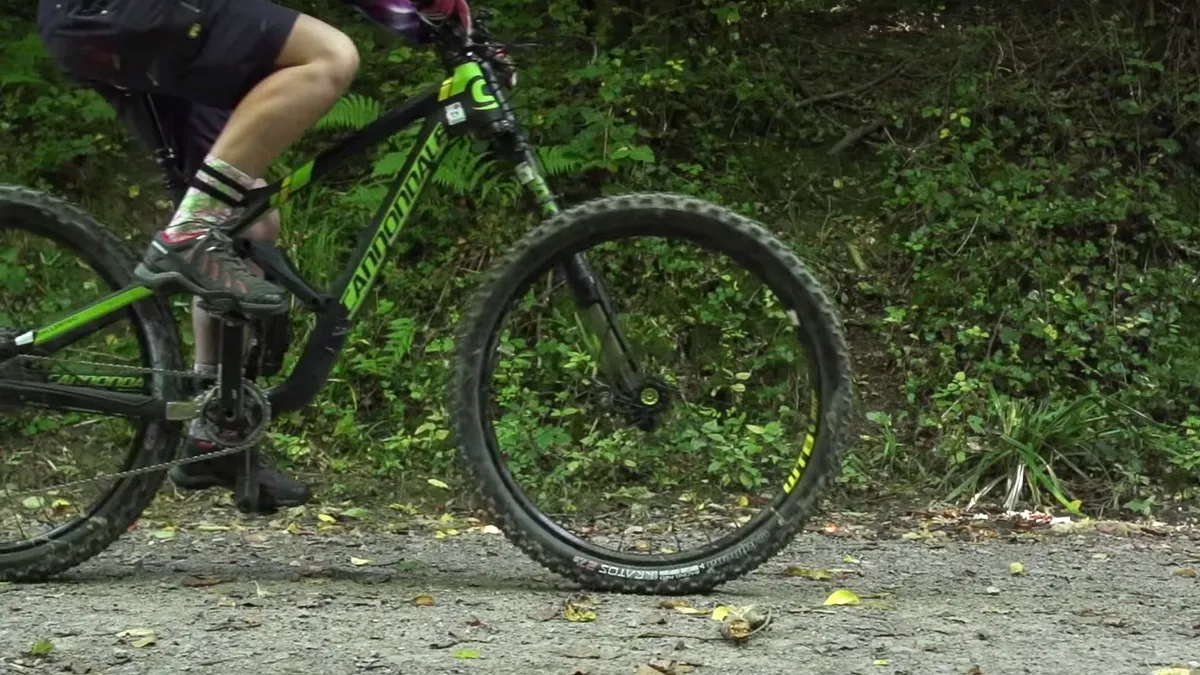
How to wheelie a mountain bike
Step 1: Get into a low gear
It’s also helpful to find a bit of an upslope, because that will help with popping up the front wheel. Flat grass is ideal, and flat pedals will let you bail out if needed.
Select the little ring at the front, and a gear three or four down from easiest at the back. Pedal along at walking pace while gently dragging both brakes.
Step 2: Place your strongest foot near the top of the pedal turn
You might be thinking that this is the point where you “heave” up the front wheel with your arms. Actually you don’t – the motion comes from your legs driving the cranks round.
As your lead foot comes over the top of a pedal stroke (see picture below), suddenly surge down on this pedal and release the brakes.
Step 3: Push down as hard as you can on the pedal
You’re aiming for the same feeling you get when you pedal hard on an uphill climb and the front wheel lightens due to how hard you’re driving the pedals. By the time your foot gets to the bottom of the stroke, your wheel should be in the air.
If you can’t get the wheel in the air you could be in too hard a gear, making it too difficult to suddenly increase your cadence and drive the wheel up. Or maybe you’re accelerating gradually rather than with one quick, snappy surge.
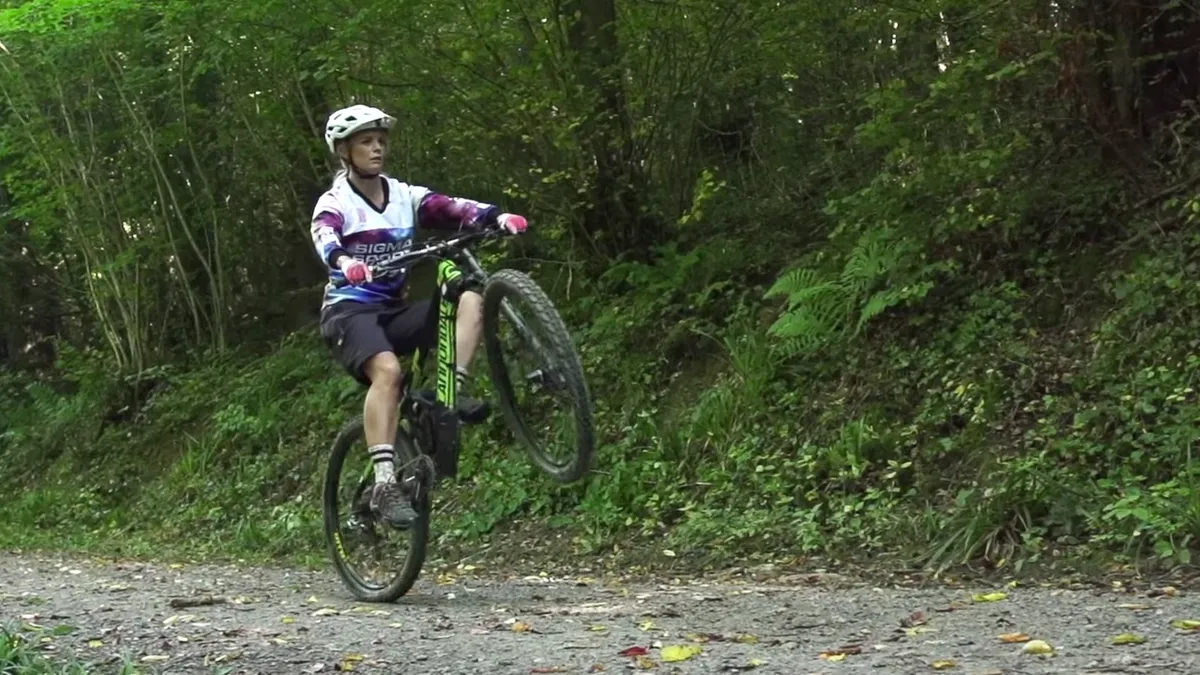
Step 4: Use your weight to lean back
Straighten your arms out (but don’t lock them) and keep your weight over the back wheel. If you’re twisting the bars to the side then you might be relying too much on a pull up, rather than a pedal stroke lift.
The thrust through the pedal stroke is coming through the centre of the bike so it’s inherently more stable than a tug on the bars. Try sitting higher and more upright so your weight is further back, and let the bars come up lightly with your hands rather than pulling them.
Step 5: Find the balancing point, and keep looking forward
Now it’s just a matter of time and practice in order to find the balance between pedalling hard enough to keep the wheel up (and your momentum going), and going too far backwards…
Remember – don’t look down at your front wheel! If the bike starts to fall to the side you can throw out the opposite knee to counterbalance and keep you upright. This is the way to steer when you wheelie.
Step 6: Cover the back brake (just in case)

Yup it can hurt to go over backwards all the way. Prevent that from happening by keeping your back brake covered: it only takes a slight dab to put you back in the right position.
