
Our debut installment of Budget Bike Tech focused on keeping your feet warm during cold rides. This time around, we're doing a complete reversal by showing you an extremely inexpensive – and yet extremely effective – method for keeping your hydration pack fluids icy cold on hot days.
Many hydration packs already build some amount of insulation into the body of the pack itself but in our experience, it's woefully inadequate when outside temperatures are really sweltering. Even with a reservoir full of ice cubes, we've typically ended up with a pack full of tepid liquid after riding in summer for even just a couple of hours.
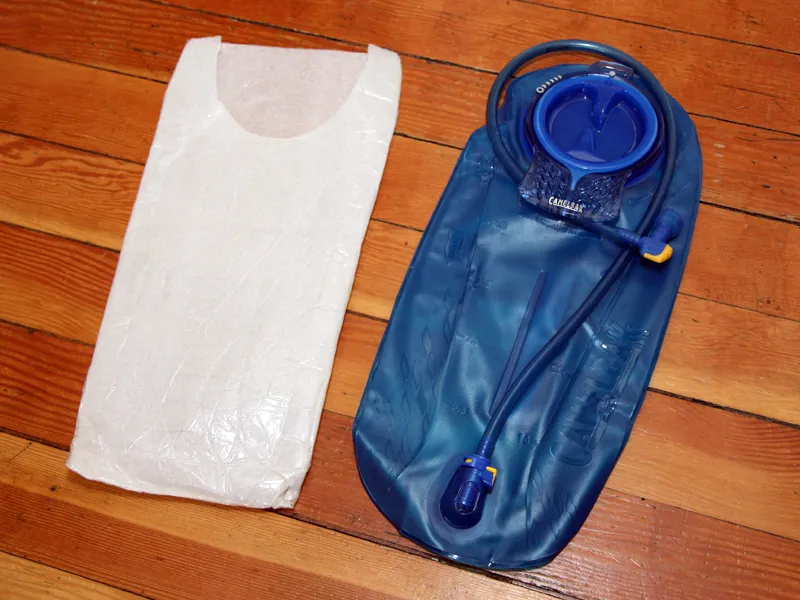
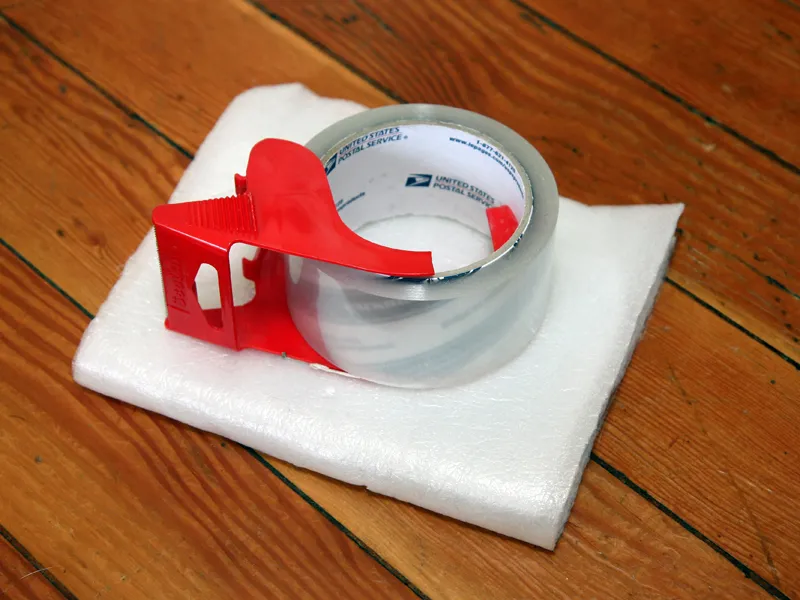
The simple solution is to just create your own insulating sleeve using a thin sheet of closed-cell foam and some sturdy tape. The foam is widely available at office supply shops or hardware stores or – even better – you can simply repurpose some packing material as we've done, in which case the grand total cost for the project is nearly zero. As long as it's a little more than twice as big as the hydration reservoir you wish to insulate, you're good to go.
Adding a layer of closed-cell foam provides effective insulation for your hydration pack's reservoir
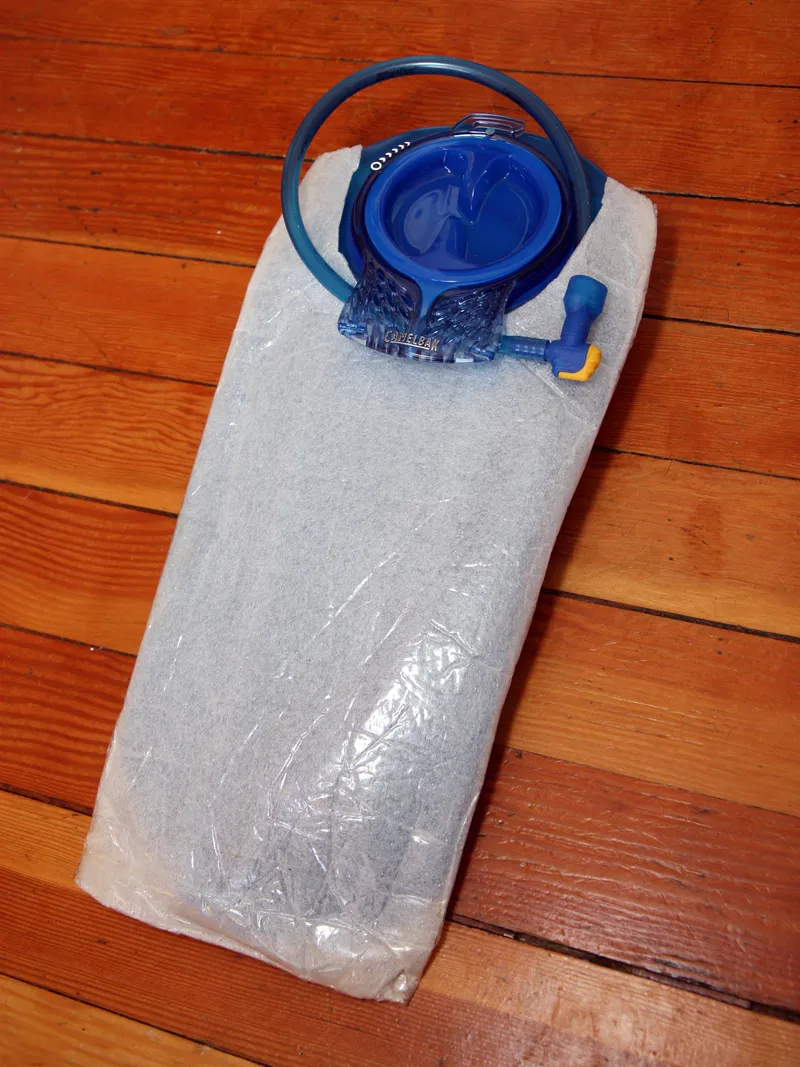
Simply lay out the reservoir down on the foam sheet and outline the outer edge with a marker, leaving a buffer of about 1cm. Put the reservoir aside, fold the foam along the bottom edge, then cut through both layers along the outline. Finally, tape the left and right edges together to form the sleeve (or wrap the entire thing as we've done for extra durability), cut out a bit for the reservoir cap as needed, and you should be all set.
Surely this can't work, you say, right? To be honest, even we were shocked at how effective this was. In fact, it even took us a few rides to get the ice-to-fluid mixture right as we often ended up with a reservoir full of solid ice cubes with nothing to drink. Once we figured out the ideal blend, though, we've regularly enjoyed genuinely icy cold refreshment up to three hours after leaving the trailhead.
In addition to being virtually free, our insulating sleeve also weighs next to nothing at just 24g and has held up to over years of regular use with nary a bit of wear to be seen. Since you're making the sleeve yourself, it's also no problem adapting the shape and size to whatever make or model of hydration pack you happen to use. Even better, you can just make another one if you lose or wreck the thing.
One has to ask, though – if this is such a great and effective idea, why doesn't someone offer this commercially? That's a good question and one that we actually presented to Camelbak shortly after we deemed the experiment successful.
Curiously – especially since they utilize a nearly identical strategy for their insulated bottles – Camelbak told us the idea was intriguing but that they were satisfied with the level of insulation that was already incorporated into their packs at the time.
That's just fine with us. Some of you might prefer to be able to just head to your local shop and buy something like for US$10-15 or so but seeing as how no one is ever going to see this thing, anyway, the DIY route gets the job done just as well and still leaves money left over for a decent lunch. Win.
Budget Bike Tech is a new column here on BikeRadar, focused not on the latest high-end gear and accessories but on cheap and clever tips, tricks and upgrades that cost virtually no money at all. Improve your riding and improve your ride – just don't go broke in the process.
