

Follow our step-by-step guide on how to fit a Race Face Cinch bottom bracket and crankset.
1. Install the bottom bracket
First, install the bottom bracket. Check www.raceface.com for instructions for your BB type.
For a BSA-threaded BB, as seen here, clean and grease the frame’s threads, then carefully screw the cups in by hand.
Note that the driveside tightens anticlockwise, and vice versa.
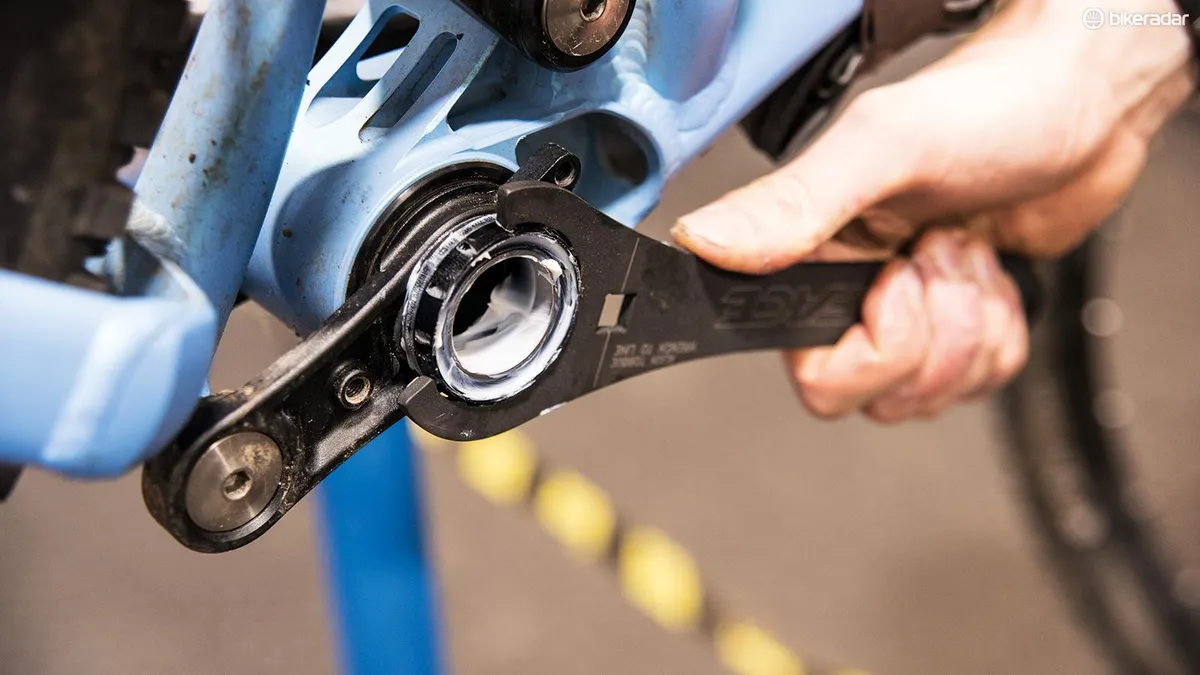
2. Torque the bottom bracket cups
Next, torque the BB cups to 40Nm using a Race Face BSA BB tool (this is a different tool to those used for SRAM GXP or Shimano Hollowtech II threaded BBs).
Finally, smear some grease inside the BB bearings.
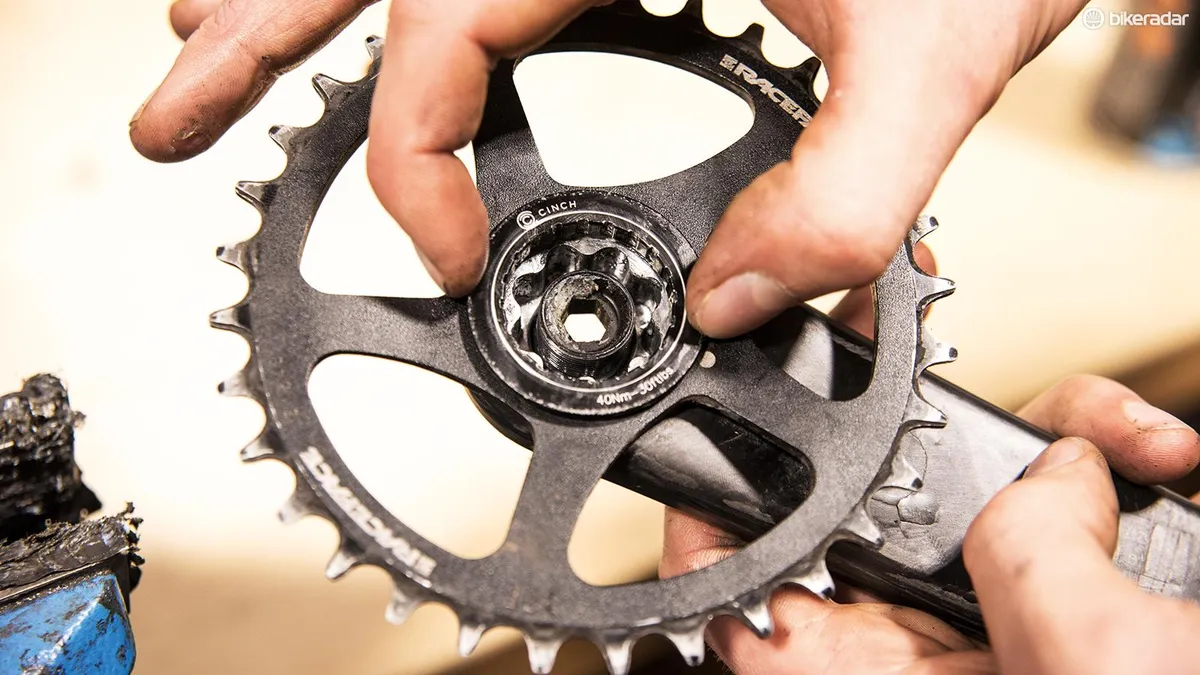
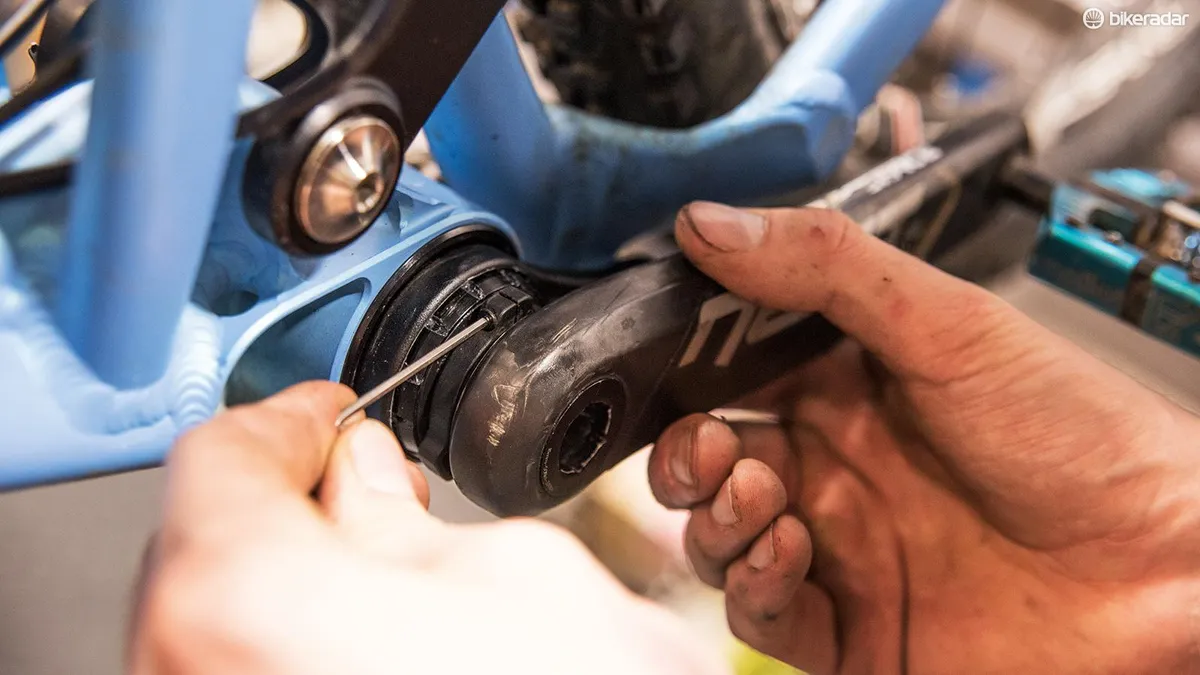
3. Slot the Cinch onto the crank arm
Slot your chosen Cinch direct-mount chainring or spider onto the splines of the driveside crank arm, with the chainring logos facing the arm.
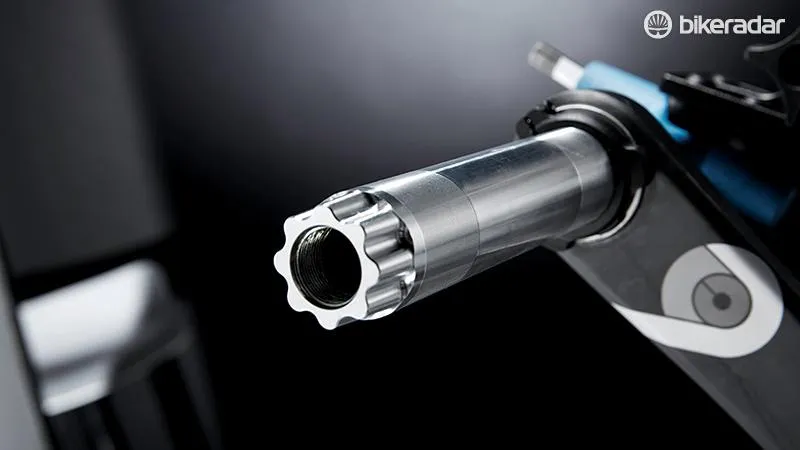
Thread the lockring on by hand, clockwise. Use a 20-tooth internal BB tool, installed in a vice or wrench, to torque it up to 40Nm.
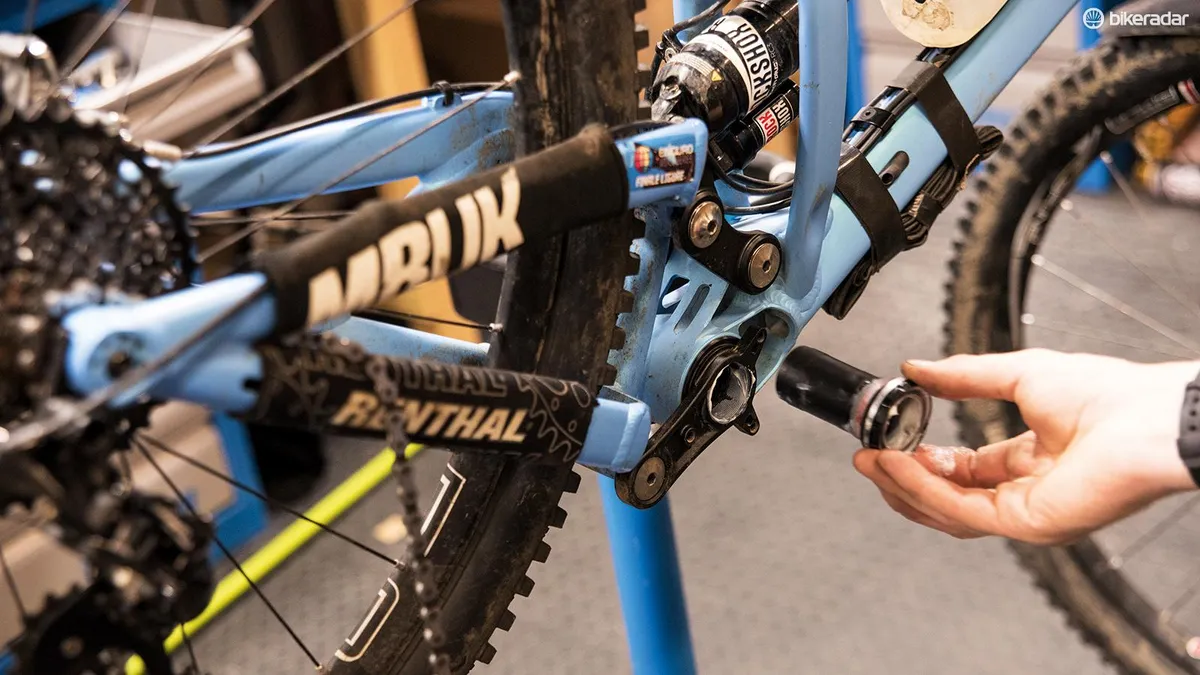
4. Install the dust caps
Install one of the included dust caps on the crank axle, with the writing facing the crank arm.
Carefully push the axle through the bottom bracket from the non-drive side until it stops. Install the other dust cap on the exposed axle, with the writing facing out.
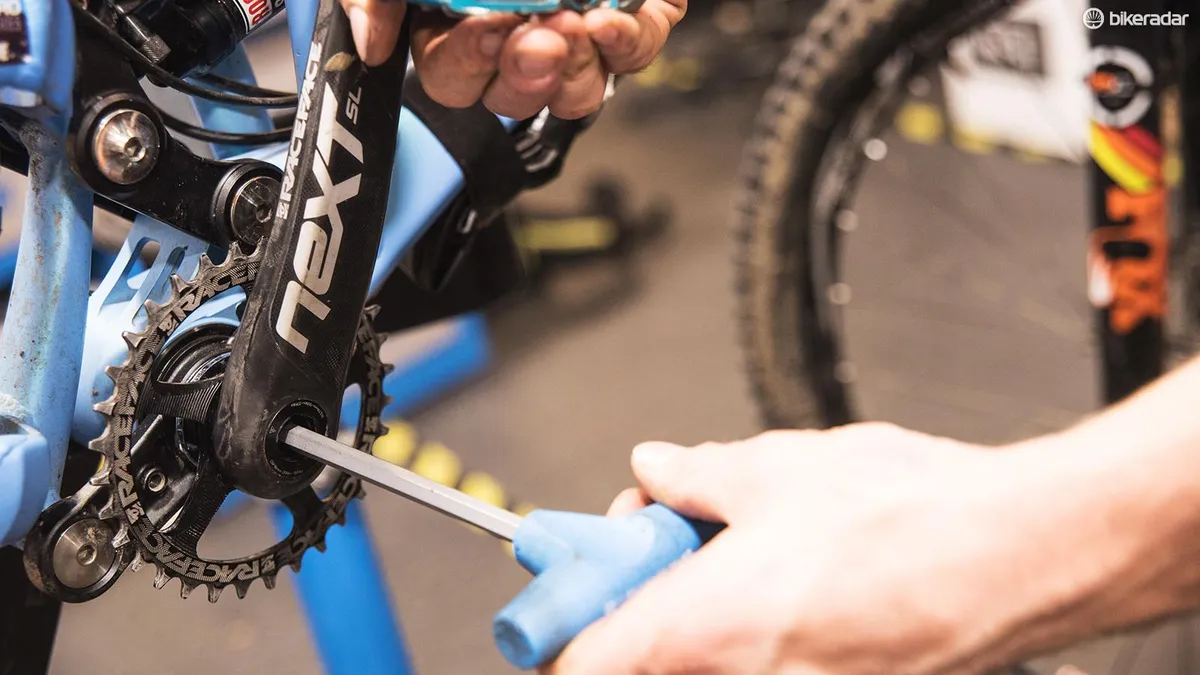
5. Grease the axle splines
Lightly grease the axle’s splines and thread. Push the driveside crank arm onto the splines, at 180 degrees to the non-drive arm.
Push the arms together to ensure the interface is engaged, then torque the crank bolt to 50Nm, turning it clockwise with an 8mm Allen key.
6. Push it together
Give the driveside crank arm a firm push. This should open up a gap between the BB and the preload collar on the non-driveside arm.
Turn the collar clockwise until finger tight, then tighten the pinch bolt with a 2mm Allen key until the gap closes.
7. Test the fit
Rock the crank arms back and forth, and give them a spin to check they’re free of play and turn smoothly. If not, repeat step six, tightening the preload collar slightly to reduce play or loosening it to reduce friction.
Jargon buster: Race Face Cinch System
Race Face’s Cinch cranks use a proprietary interface that makes swapping chainrings quick and easy (assuming you have a 20-tooth BB tool to fit the central lockring).
A range of compatible direct-mount rings and multi-ring spiders are available.