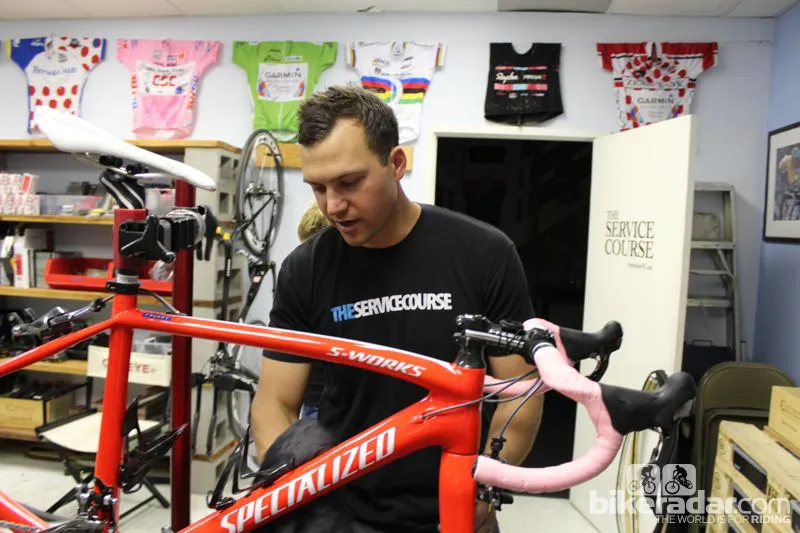

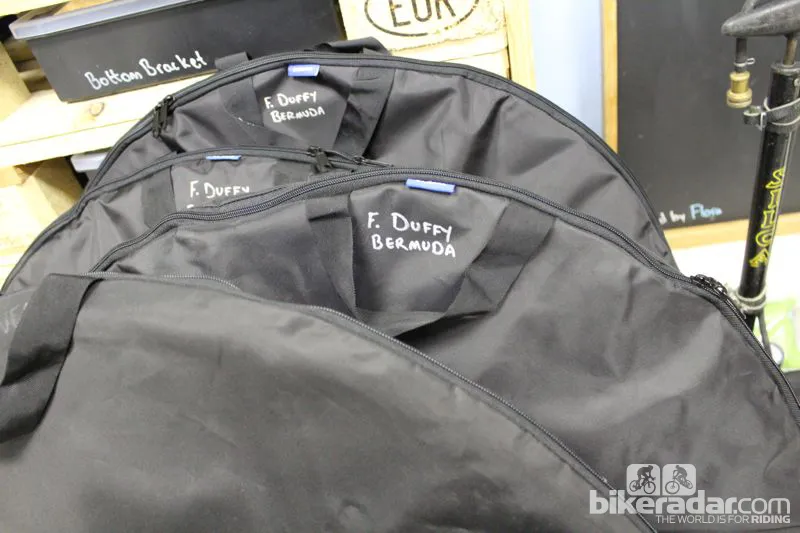


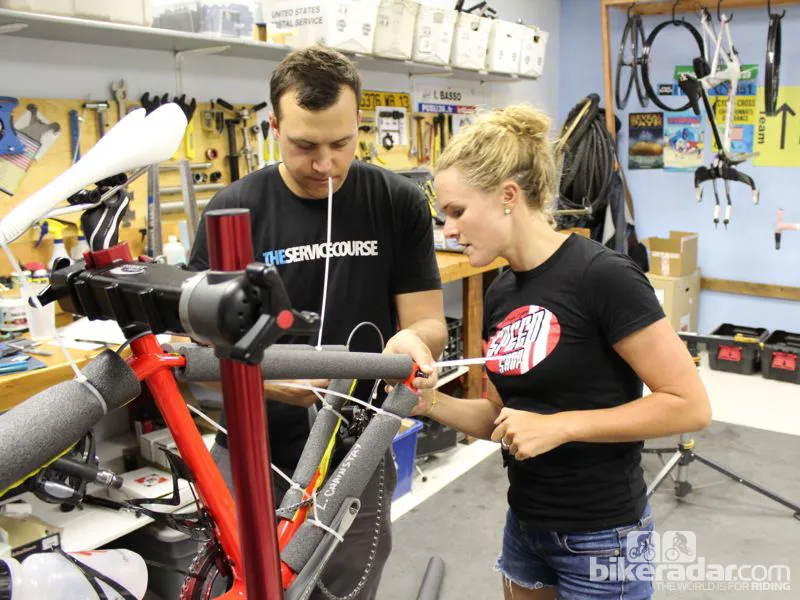


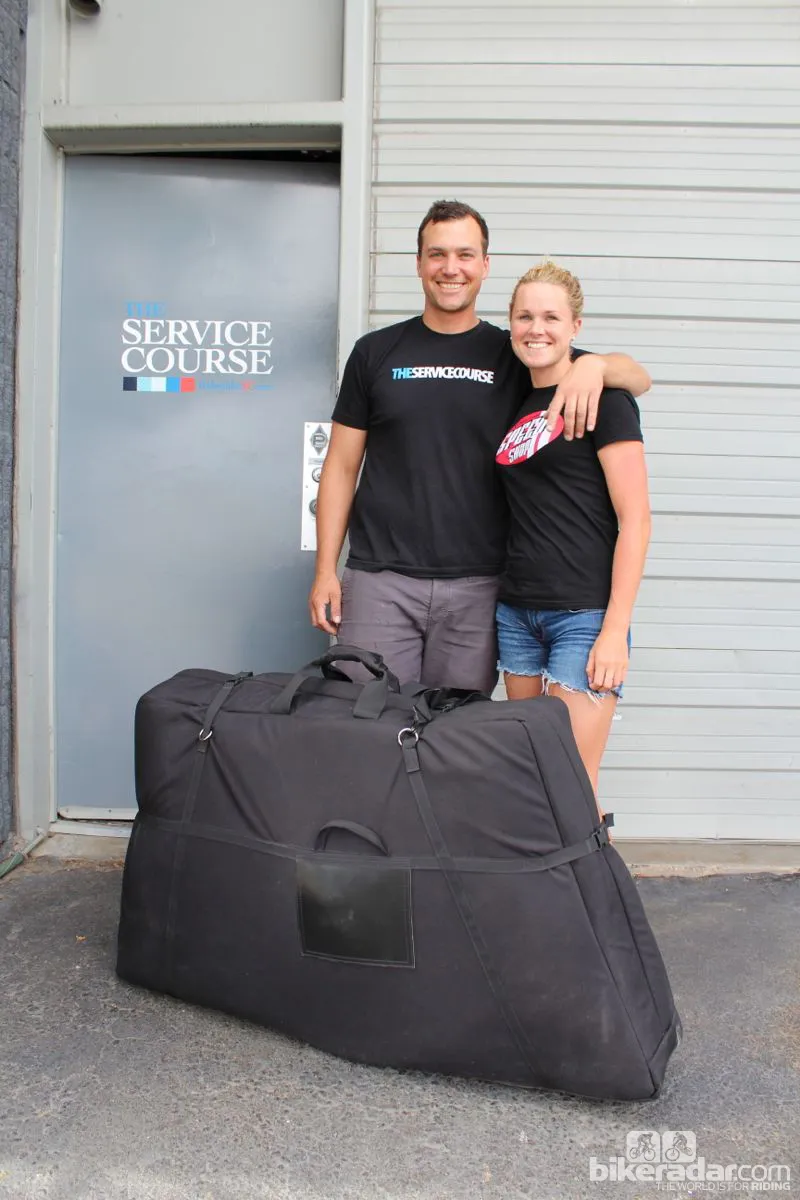
Professional mechanic Daimeon Shanks has packed hundreds if not thousands of bikes for transportation. Before the Olympics, Shanks had a special customer — his girlfriend and Olympian Flora Duffy needed her bike packed for London.
BikeRadar visited The Service Course shop that Shanks operates to document his method for carefully disassembling and securing a bike for transportation. Click through the gallery at right for a step-by-step explanation of how to do it like the pros, and some special steps Shanks took for Duffy's Olympic bike. Duffy will be racing the Olympic triathlon, which, unlike the popular Ironman format, is draft-legal. This is her second Olympic Games racing for Bermuda.
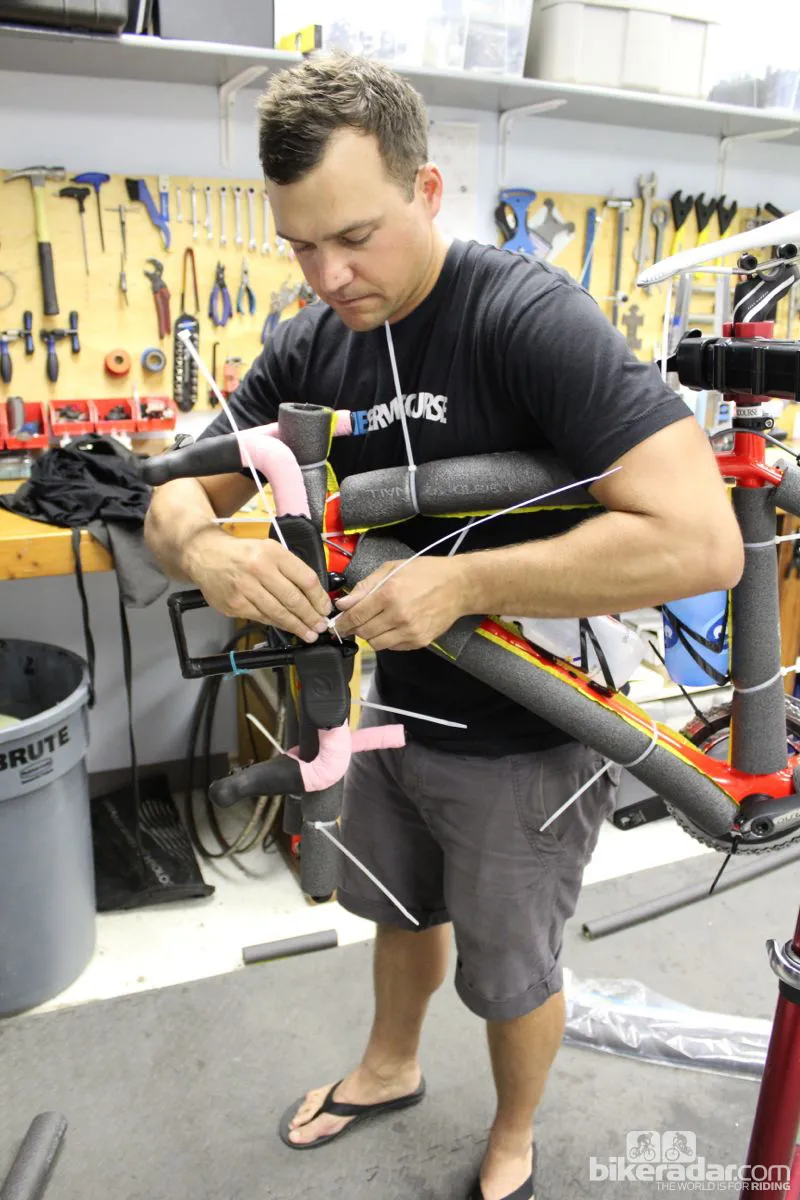
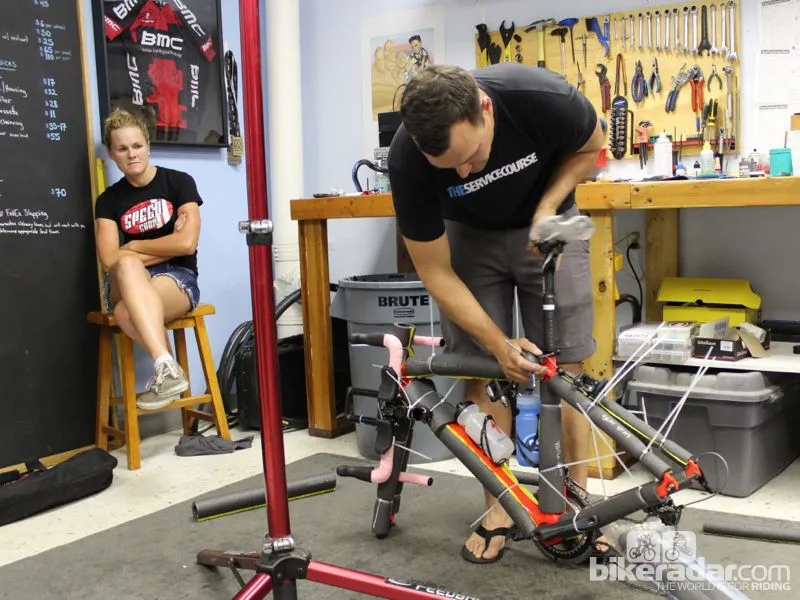
There are two keys elements to Shanks' process: removing and/or securing moving pieces, and padding virtually everything.
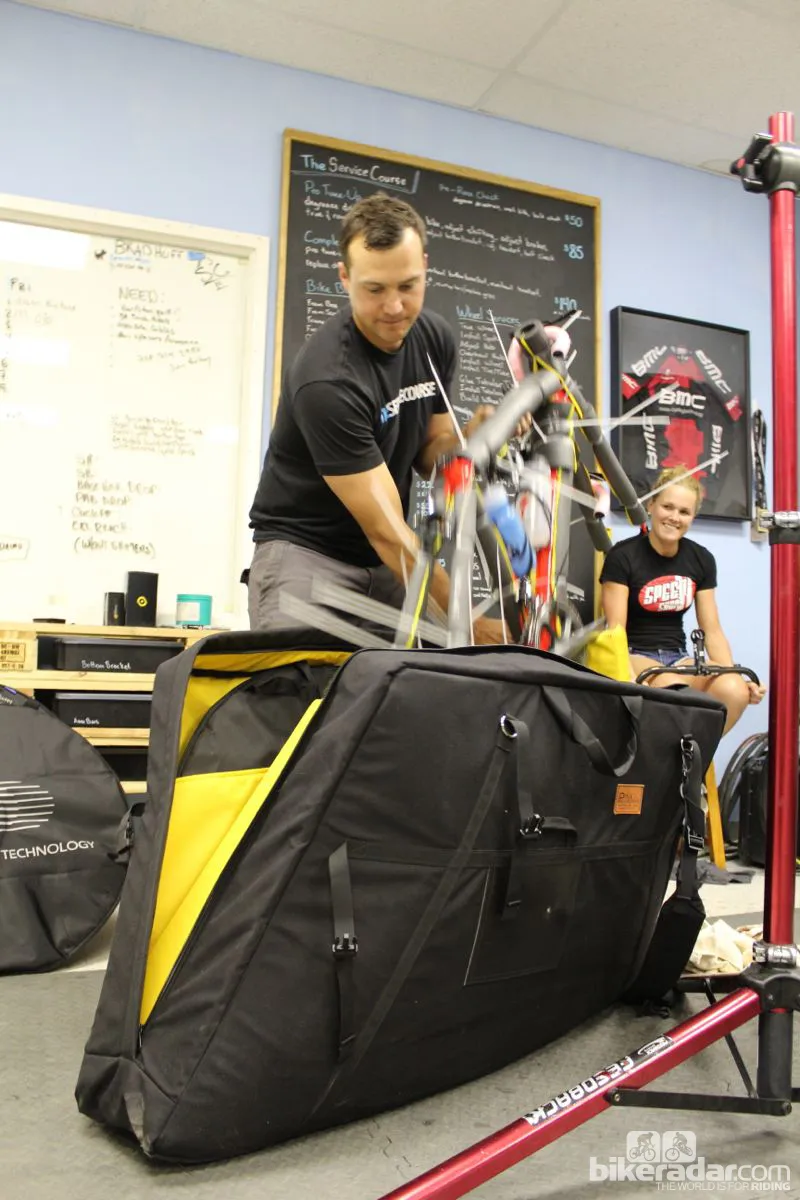
"The most important thing is the compression," said Shanks. "Keeping everything secure and minimizing movement in the bag is the key to preventing damage."
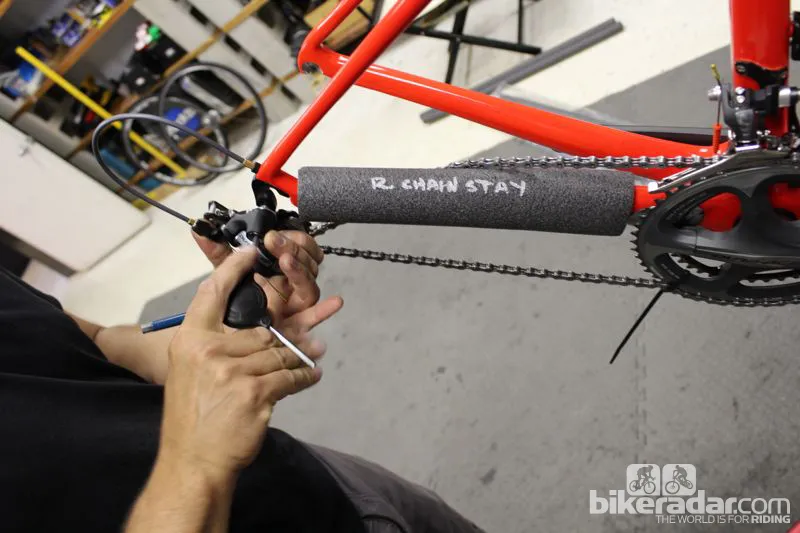
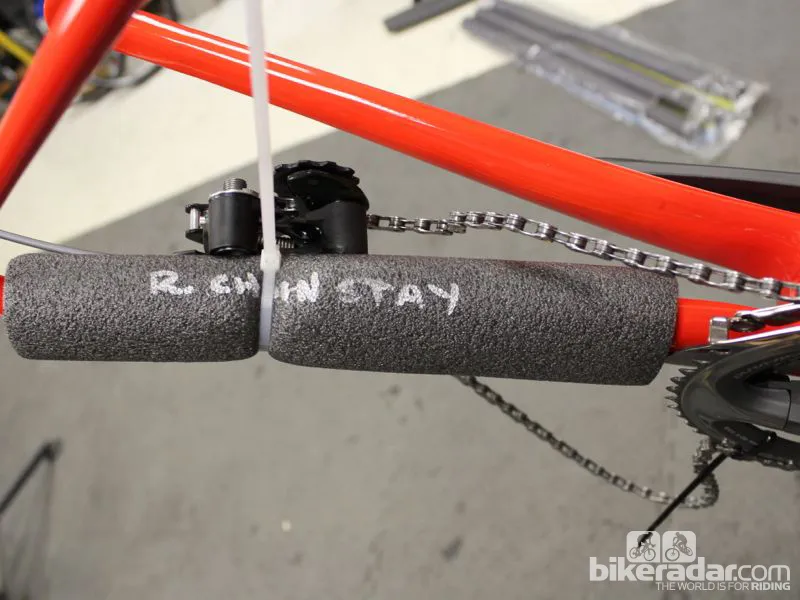
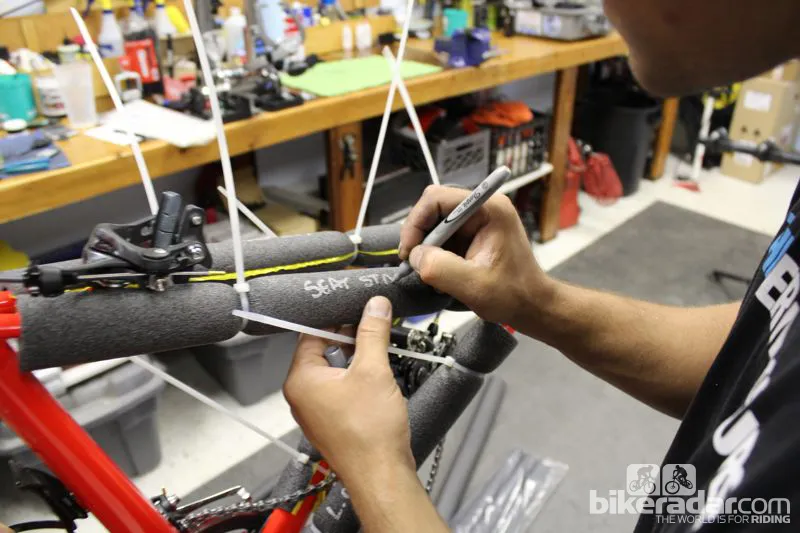
Shanks prefers using pipe insulation to protect the frame, as it comes in various diameters, is easy to cut, and slips easily on and off of the frame tubes. He cuts each piece to fit, labels them for easy re-use, and secures each with a zip tie or two.
To prepare a bike for travel, he secures the chain to the big chain ring, removes the rear derailleur and secures it inside the right chain stay, removes the handlebars and secures them to the fork, removes the pedals and secures them to the top tube, reinforces the fork and rear dropouts, covers all the tubes with padding, and, finally, removes the seatpost with the saddle still on.
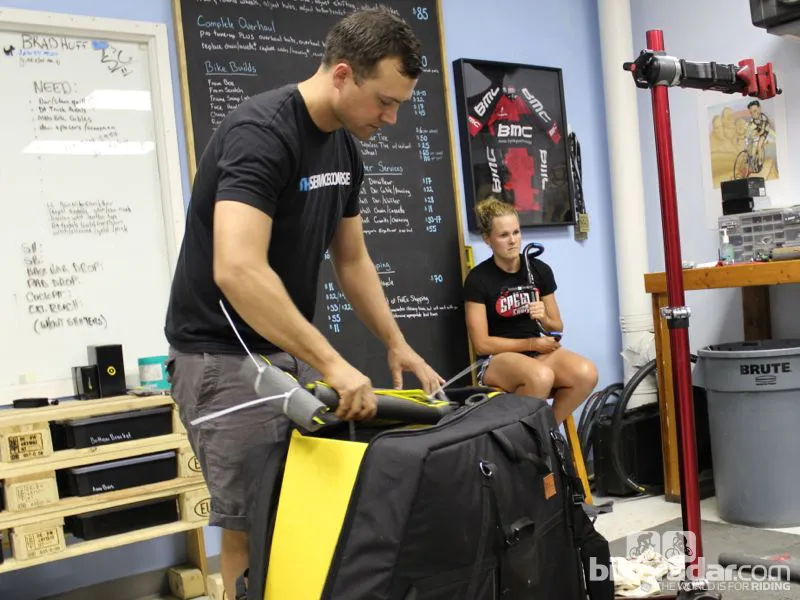
The padded bike is then placed in a bike bag (or a bike box) with the wheels in wheel bags.
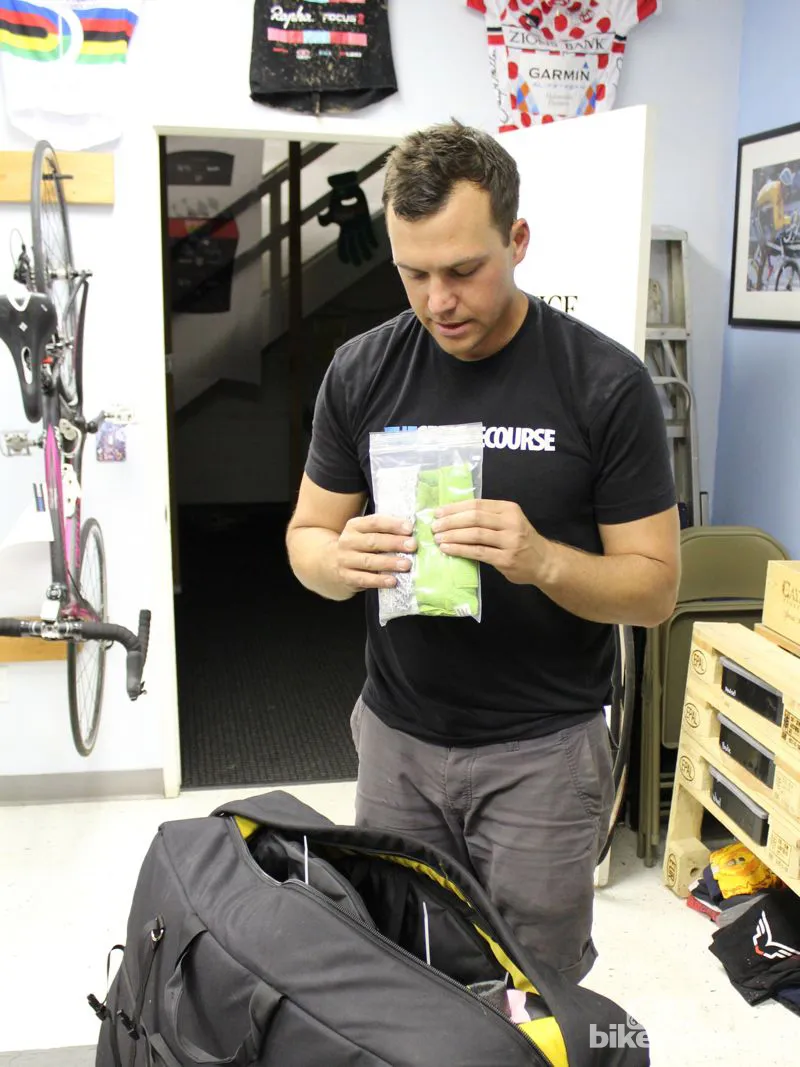
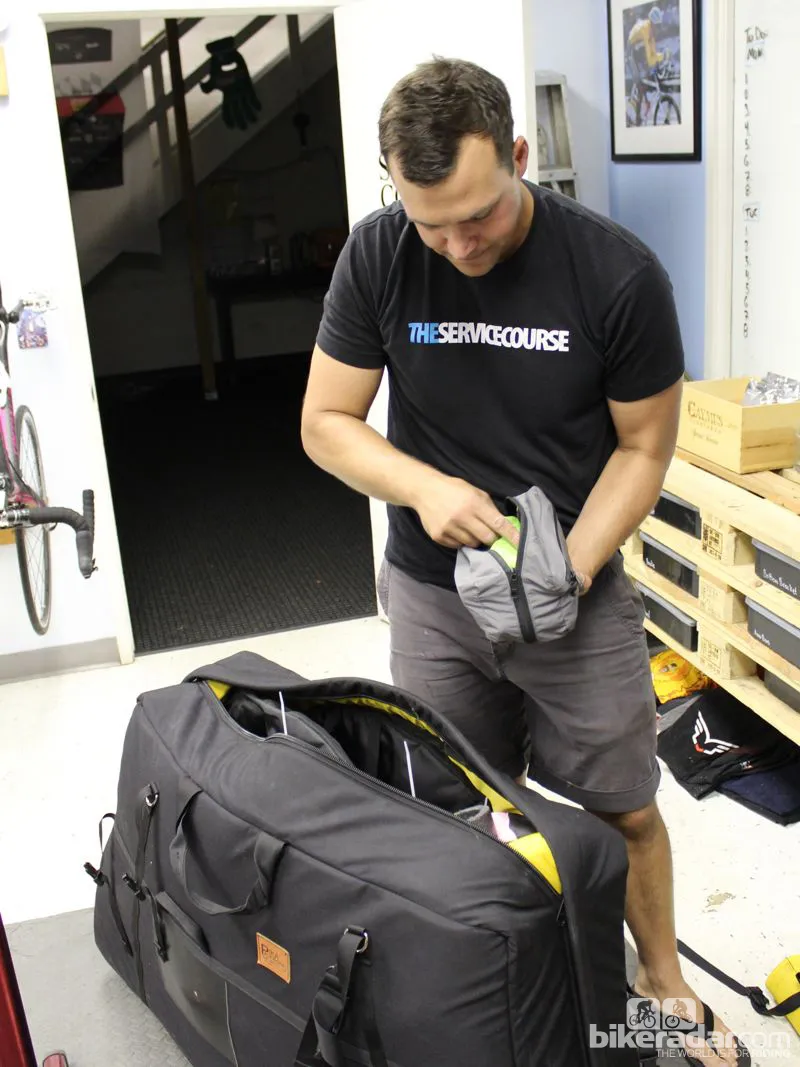
In Duffy’s bike bag, Shanks also packed a small set of tools, an extra chain, extra bar tape, an extra tubular and a floor pump — padded, of course.
What you need to pack a bike:
- long zip ties
- pipe insulation (with inner diameters that roughly match your frame’s tubes)
- fork and rear drop-out blocks
- Allen keys
- bike box or bike bag
- and, ideally, a bike stand
Step 1. Clean the bike
If you have one, hang the bike in your bike stand. Before you disassemble the bikes, carefully clean everything. This is a good time to inspect for cracks or any other damage.
Step 2. Remove pedals
Using a pedal wrench or the appropriate Allen key, unscrew each pedal in the opposite direction from the pedaling motion. You can put the pedals in a zip-lock bag in the bottom of your bike box or bag, but Shanks prefers to zip tie them to the top tube after the frame has been padded so there’s no chance for loose pedals to damage the bike.
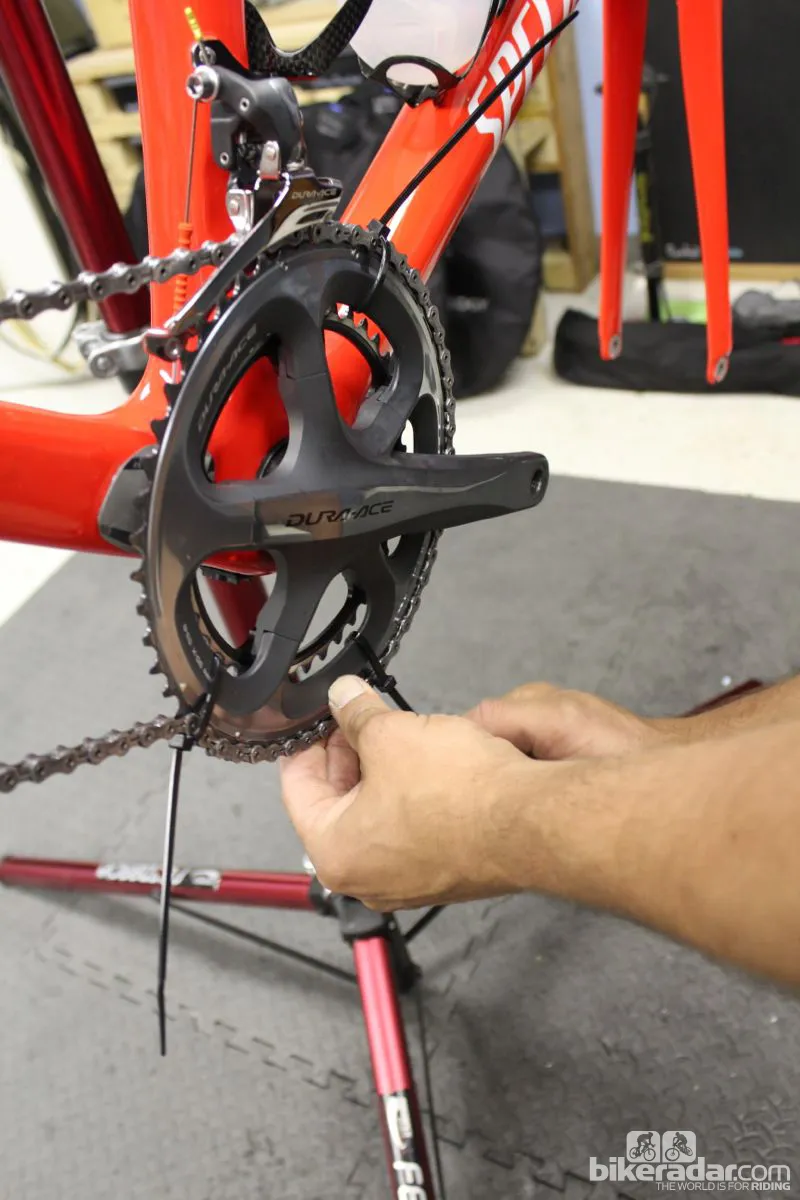
Step 3. Secure chain
Shanks zip ties the chain to the big chain ring in three places. This keeps the chain in place, but also protects the chain ring’s teeth from damage.
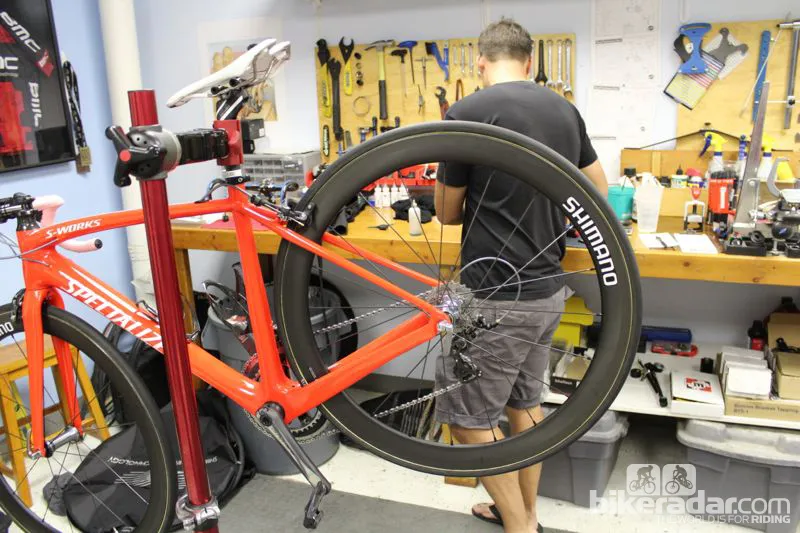
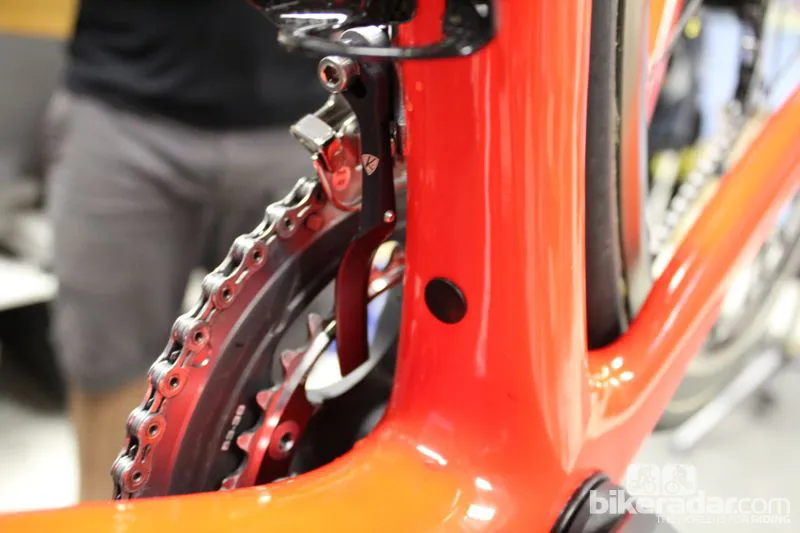
Step 4. Remove the rear derailleur
Using a 5mm Allen key, unscrew (counterclockwise) the derailleur from the derailleur hanger.
Step 5. Add padding and dropout blocks
Cut pipe insulation to fit the length of each tube. Slide the insulation over the tube (don’t remove the plastic sticky backing – it could leave adhesive residue on your frame), and secure with a zip tie. Mark each piece of insulation so you can use it again. Install dropout blocks on both the rear dropouts and the fork.
Step 6. Secure the rear derailleur
Taking care not to bend the cable housing, move the derailleur to the inside of the right chain stay and secure with a zip tie.
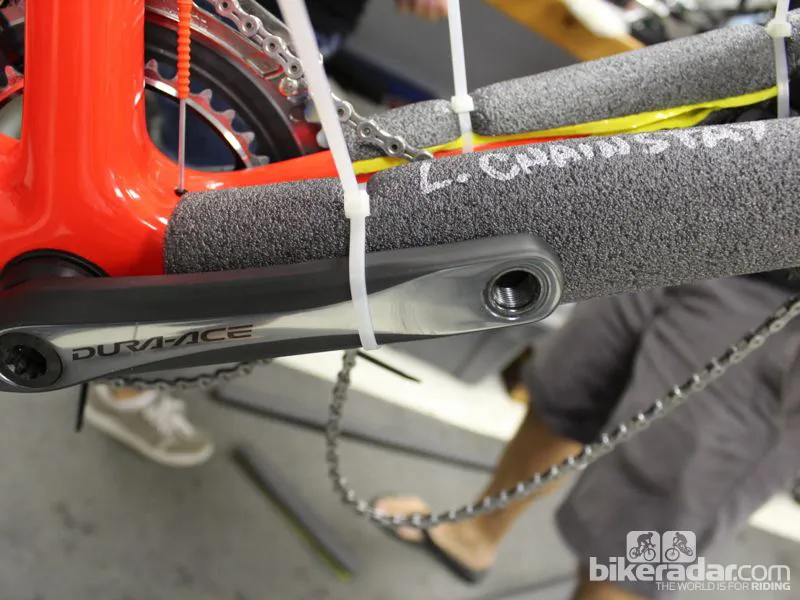
Step 7. Secure the crankset
On the non-drive side, zip tie the left crank arm to the chain stay.
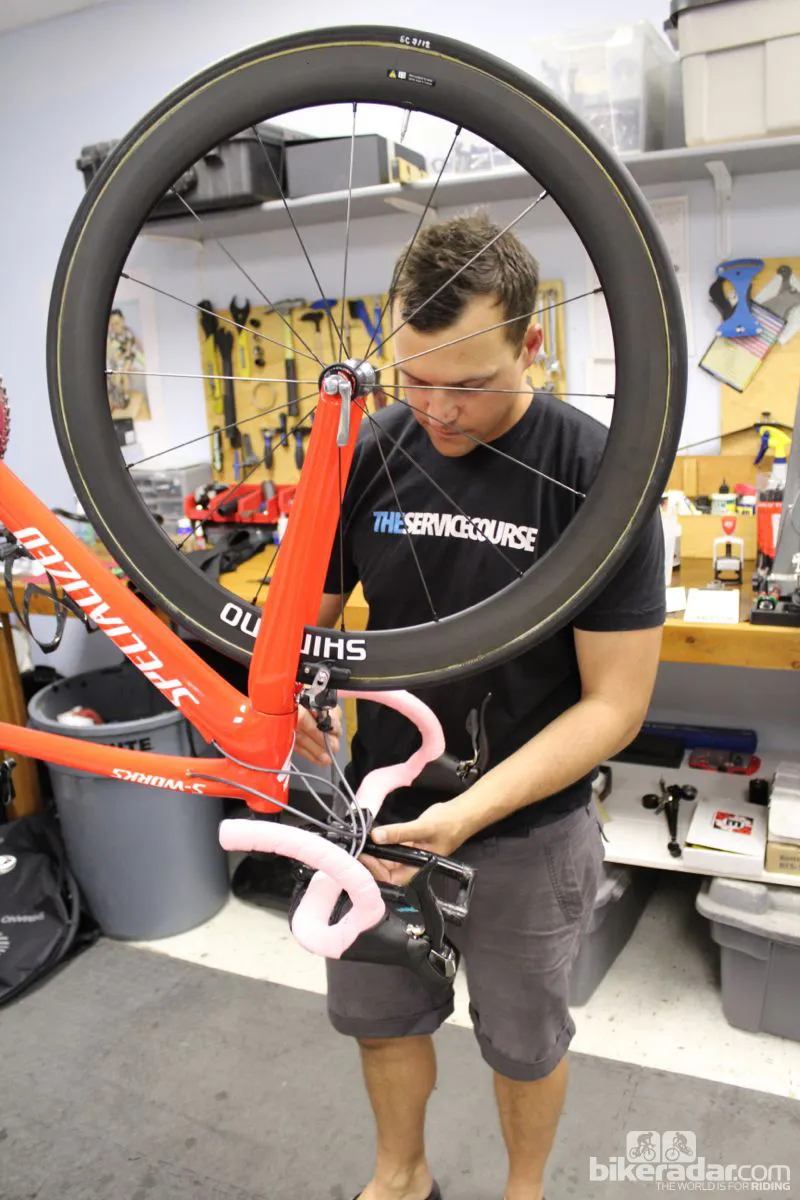
Step 8. Secure the handlebars
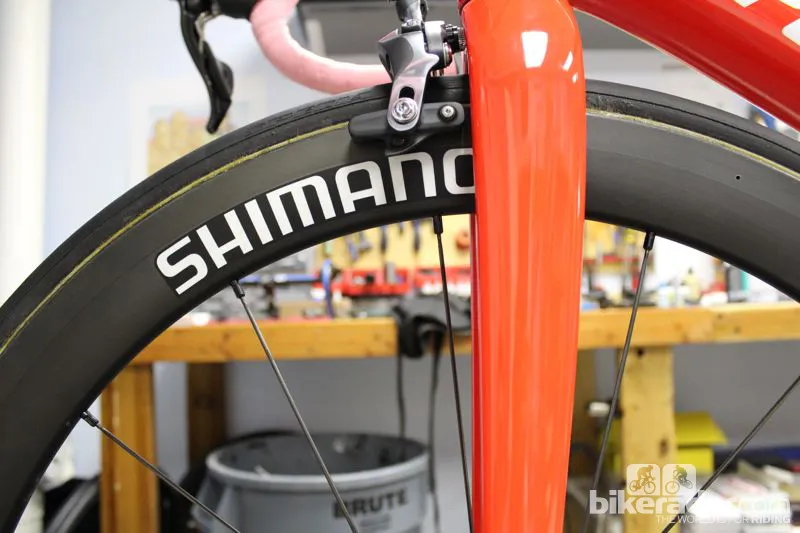
Remove the stem cap, loosen the stem bolts on the steerer tube, and slide the handlebar/stem off the steerer. Re-install the stem cap on the steerer tube so it is not lost. Wrap a piece of insulation around the head tube and steerer tube, securing a zip tie around the steerer tube. Then hook the left drop of the handlebar around the fork, and the right drop around the now-padded steerer tube. Depending on your bike, you may need to remove your front brake to accomplish this, and if so, pad the front brake and zip tie to the fork leg.
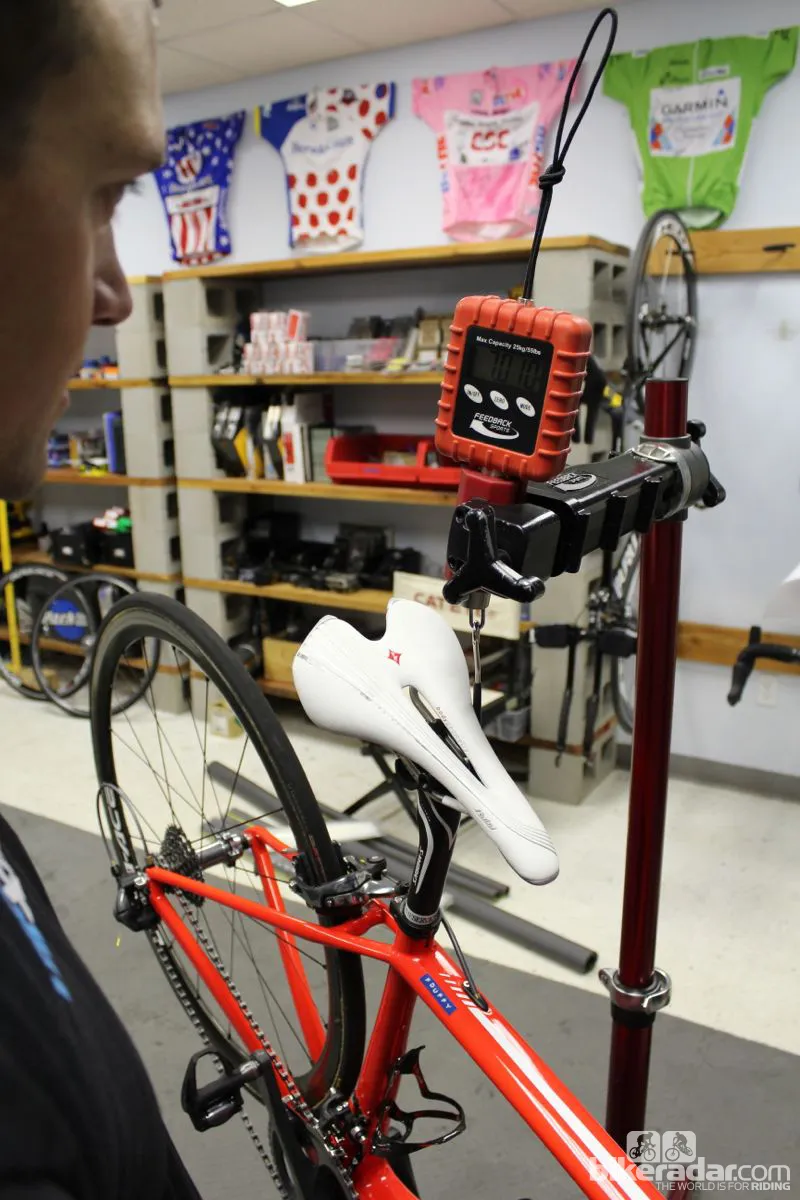
Step 9. Remove the saddle and seatpost
Once you have the bike padded and secured, take the bike out of the bike stand. Then loosen the seatpost collar and remove the seatpost and saddle. Wrap the seatpost with insulation and secure with a zip tie. Snug up the seatpost binder bolt so it doesn’t rattle loose during travel.
Step 10. Put the bike and wheels in the bike bag/box
Bike boxes and bags have different configurations, but use common sense to spatially balance the load, paying attention to the center bulges of the wheels at the hubs.