

Headsets don't have the easiest life. They’re in the direct line of fire of everything that gets thrown off the front wheel and are subject to regular jet-wash abuse. If your headset has seen better days and servicing your bearings doesn't rectify your problems, then it's time to replace your headset. This guide will also help if you're fitting a new fork.
Previously, headset replacement was a bike shop job, but you can now buy an affordable headset press and do the job in the comfort of your own kitchen. However, make sure you do it right, as a ham-fisted approach to fitting can seriously damage — and even write off — your precious frame.
How to fit a new headset to your bike
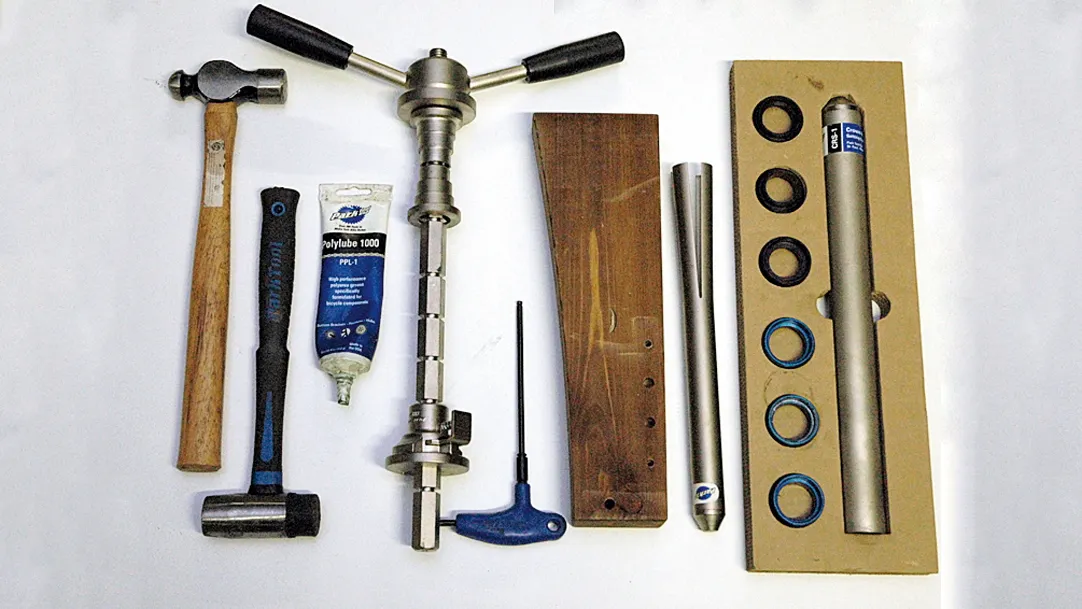
What you need:
- Headset press
- 5mm Allen key
- Slide hammer (optional)
- Teflon grease
- Headset cup remover
- Hammer
- Mallet
- Block of wood
- Crown race remover (optional)
- Large flat blade screwdriver
- Torque wrench
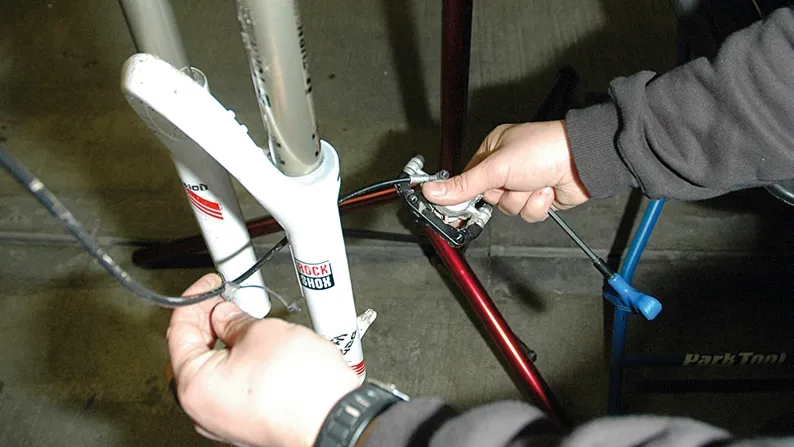
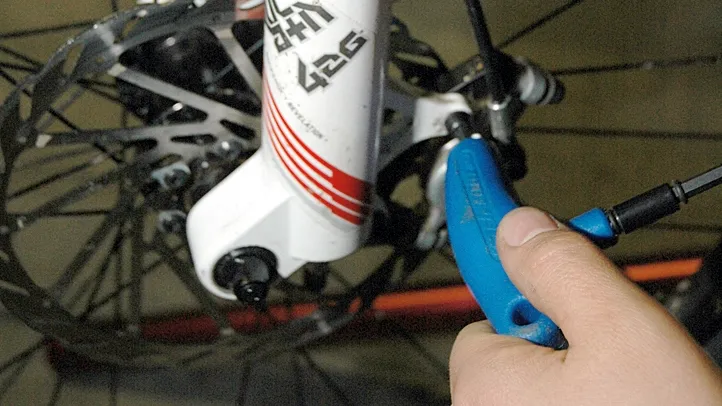
Step 1: A workstand will make life a lot easier for this job. Without one you're going to spend a lot of time scrabbling on the floor on your knees. First remove the front wheel then remove the front brake caliper from the fork. Remember to remove the guide or the zip tie holding the brake hose onto the fork too.
Step 2: Now remove the stem. If the stem has two bolts holding it onto the steerer, loosen the bolts a quarter turn each at a time in sequence. This makes it much easier to undo the bolts and avoids the potential damage caused by overloading one of the bolts.
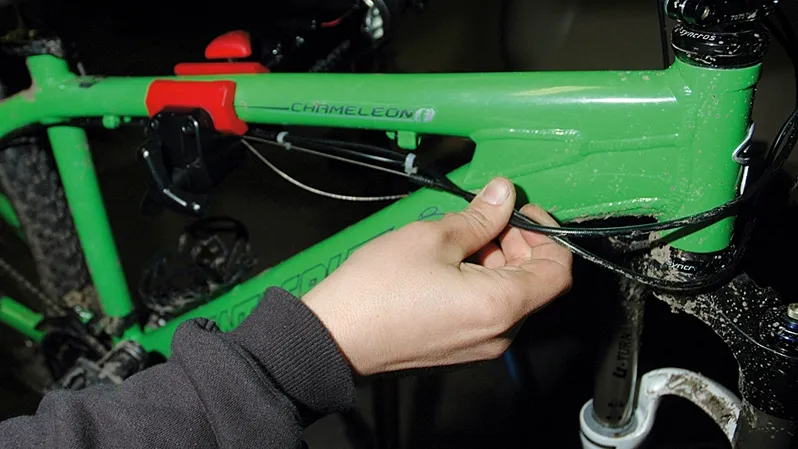
Remove the gear cables from their slotted stops and unclip the rear brake hose from the frame. This helps to keep the bars clear of the head tube for fitting the new headset.
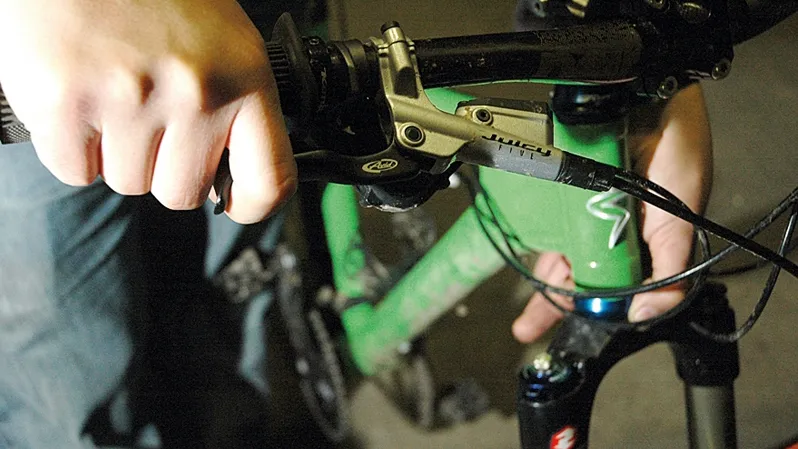
Step 3: Remove the top cap while holding onto the fork so it doesn’t drop out of the frame. Remove the stem and bars as a unit and place them clear, making sure you don’t pull or kink the rear brake hose.
Remove the headset spacers and withdraw the fork. The fork may need a tap on the end of the steerer with a rubber mallet to get it moving.
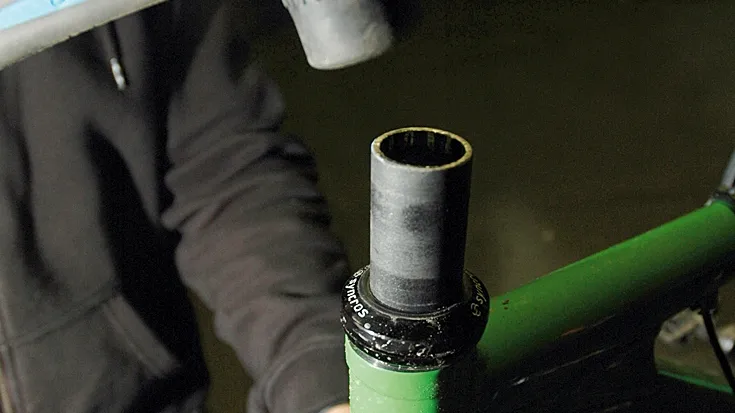
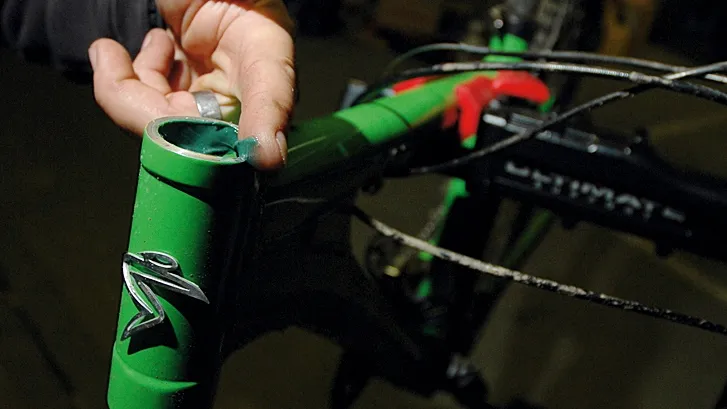
Step 4: If you don’t have a headset cup remover, then it’s bodge time! Since you’re replacing the headset, it’s probably already knackered, so it doesn’t matter if you damage it.
Get a large hammer and either a length of metal bar or a large flat blade screwdriver and knock out the headset cups. Your goal is to knock the headset out a little at a time, hitting opposing sides of the cup to ‘walk’ it out.
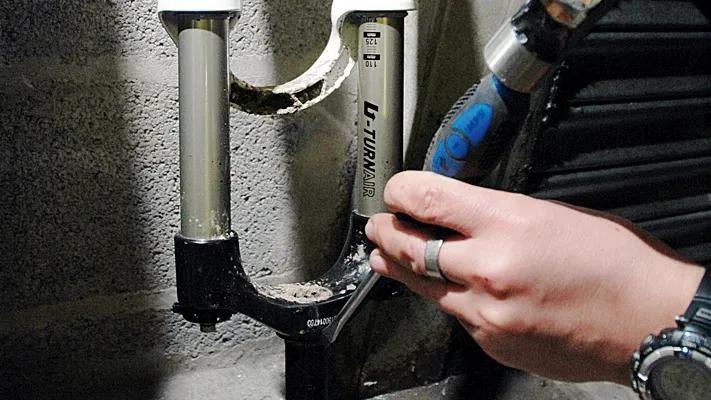
Step 5: If you don’t have a crown race remover, it’s bodge time round two! Place the fork upside down with the steerer resting on a block of wood. Grab a large flat blade screwdriver and hammer. Hit the crown race collar away from the fork crown.
Similar to the last step, move it a little at a time, hitting opposing sides to ‘walk’ the collar off the steerer.
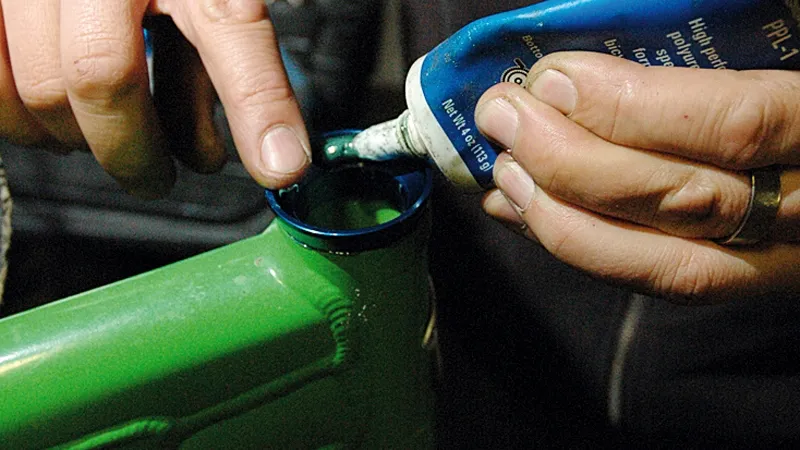
Step 6: Thoroughly clean the inside of the head tube and the fork steerer. Once clean, apply a generous coat of fresh grease inside either end of the head tube where the new cups will fit. This will not only aid pressing in the new cups, but will also eliminate any creaking you may get from slight movements of the cups in the frame.
Step 7: If you have one, fit the crown race with a slide hammer, otherwise it’s once again time to channel the bodging gods.
Rest the crown of the fork on the corner of a workbench for a solid base. Slide the new crown race onto the steerer and place the old crown race upside down on top of it. Using a block of wood and a hammer, hit the crown race into place. Use the ‘walk’ technique again, hitting at 180 degrees, moving a little at a time.
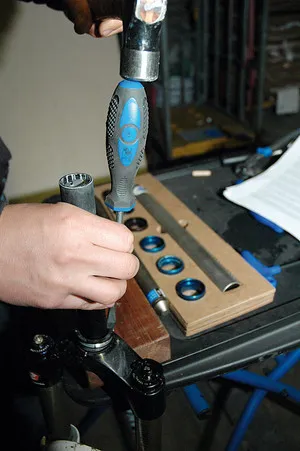
Step 8: Don’t try to fit your headset cups with anything other than a headset press. You could write off your frame by trying to bodge them in and useable ones are as little as £40, so don’t skimp.
Place the cups on the headset press and slot into position. Make sure the cups start straight, going slowly at first then press them in tightly.
Step 9: Now you need to grease the headset cups. Even if your headset has sealed bearings, a healthy amount of grease in the cups will help to eliminate any creaking and reduce water ingress.
Grease inside the cups and on the crown race collar in the top cup. Fit the bearings to the cups in the frame, then add another layer of grease on top. Also, grease the cone and compression ring of the top cup.
Step 10: Now fit the fork into the headset. If the headset has separate seals, make sure they are the right way round and that they don’t get pinched when you slide the fork into place.
Slide the headset spacers and the stem back on to the steerer. If you’ve fitted a different headset, then you may need to adjust the spacing to suit. The steerer should be about 3mm short of the top edge of the stem. Leave the stem pinch bolts loose.
Step 11: Put the front wheel back in and re-attach the front brake caliper, remembering to fit the hose into its retainer. Once you’re done, re-fit all of the cable and hoses back into their guides in the frame.
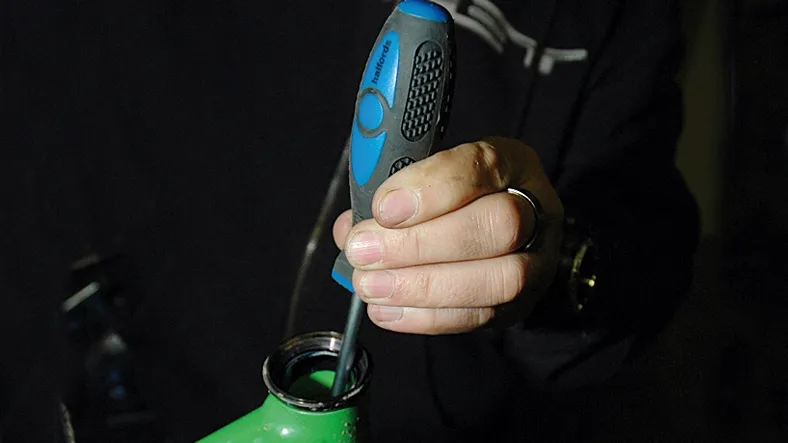
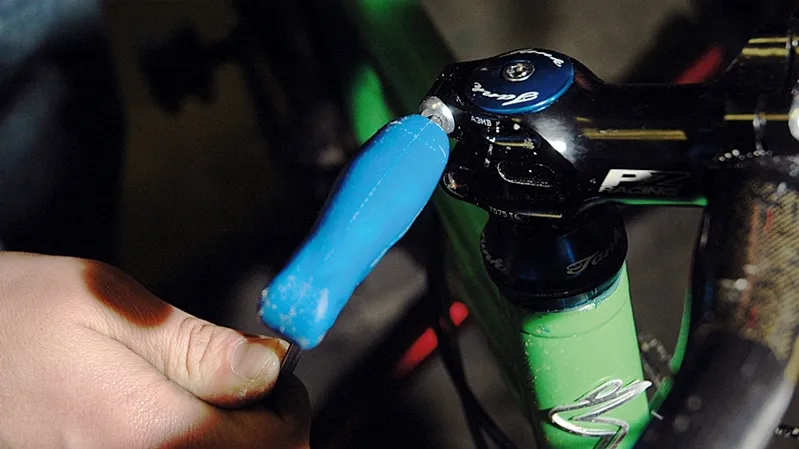
Step 12: Re-fit the fork top cap and use the bolt to adjust any play out of the headset.
To check for play, grab the front brake, put a hand around the bottom cup of the headset and rock the bike back and forth to feel for play. If there is, tighten it a little at a time, then re-check.
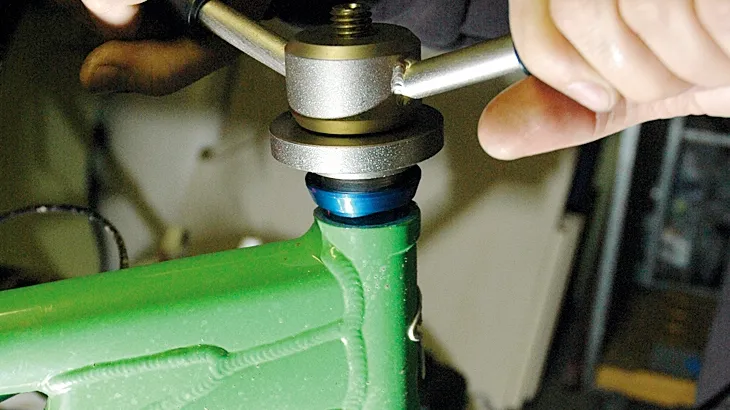
Step 13: Once the headset is adjusted so that there’s no play but still it moves freely, tighten the stem clamp bolts to the manufacturer’s recommended torque. Tighten each bolt a little at a time in sequence.
When you next go for a ride, be sure to take a set of Allen keys, as it’s possible for a headset to loosen as everything beds into place.
