
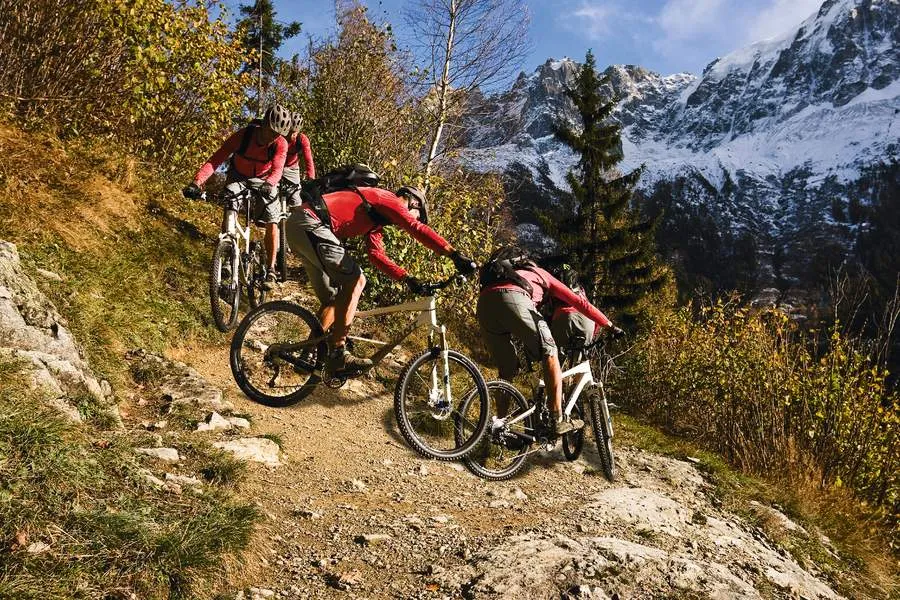


The Alps are a favourite holiday destination for riders seeking big mountains, steep climbs and mammoth descents to reward their efforts. However, there’s more to it than buying a plane ticket – getting the most out of a trip to the Alps means honing your skills to meet the more strenuous technical challenges of big mountains.
Most of the skills you’ll need should be familiar, but they take practice to perfect. So next time you’re out riding, take the chance to work on shifting your weight around on the bike, because smooth and effective weight transfers lie at the heart of most Alpine skills.
Master switchbacks
Long Alpine descents are full of switchbacks and mastering them can produce an unbeatable endless flowing feel. For many riders, though, they’re the trickiest part of biking in the Alps, not least because there’s a drop looming on the outside edge of each corner. This means that conquering switchbacks is as much a challenge of confidence as physical skill. Yet by teaching your body the correct position on more open bends to begin with, and then tackling ever tightening turns, you’ll soon find you’ve refined your technique to a confidence-inspiring level.
Stay focused
As with most obstacles, your head, shoulders and bike will follow your gaze, so focus on the trail ahead of you instead of on the drop. Switchbacks are usually encountered during descents, so you should already be standing up on the pedals and placing your weight behind the saddle, keeping your centre of gravity low and to the rear.
Your footwork is also essential here – moving the pedal on the outside of the turn forward as you approach the switchback puts your body in a position to work with the corner. Keep placing this outside foot forward throughout the turn, so your hips stay facing in the same direction as you’re turning, which avoids your upper body and hips working against each other.
If you know that you’re most comfortable riding with one particular foot forward, then try freewheeling using the opposite foot instead. Practise this whenever you get a chance until you become equally comfortable at using both – remember, switchbacks come as both left and right-handers.
Time to commit
Commitment is paramount in conquering switchbacks. Newcomers to Alpine trails usually stall on switchbacks by hesitating, leaving themselves running out of trail and facing the wrong way.
The key to overcoming this is to look into the switchback early and commit to dropping into it, pushing your weight back over the rear wheel to give you confidence. As the front wheel drops downwards and the bike is at its steepest, you’ll feel exposed as your balance and confidence are tested. However, you’ll need to maintain some momentum to carry the front wheel through the inside of the bend, past its stall point, then use your upper body and foot positioning to steer the bike out through the exit.
It’s also worth knowing that the front brake is more effective to use than the rear brake through switchbacks, because more weight is loading the front wheel than the rear at the crucial moments of the manoeuvre. Before you tackle Alpine switchbacks, try to refine your front brake use and familiarise yourself with its bite point.
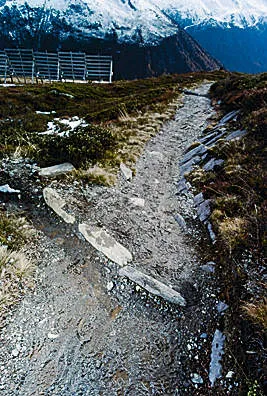
Clearing rain bars
Rain bars, or water channels, are among the biggest causes of over-the-bars dismounts on Alpine trails. While it’s easy to curse the interruption of these little obstacles during the flow of a descent, their existence is a necessary evil, helping to drain trails quickly and minimise the eroding effects of storms.
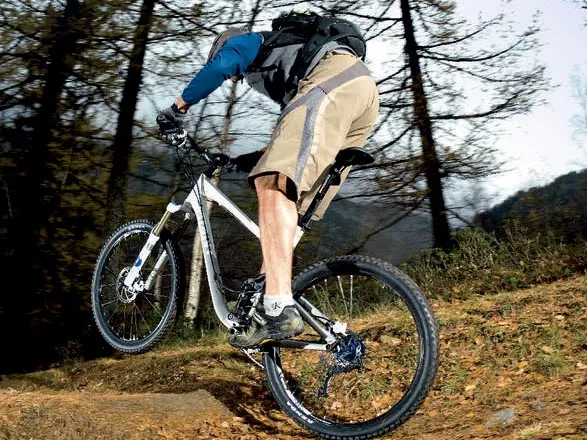
Clearing rain bars comes down to shifting your body to remove the weight on each wheel as it passes over the obstacle, but while the essentials of the technique are simple, you’ll need to adapt them depending on the pitch of the trail and size of the rain bar.
Steeper trails make it harder to lift your heavily weighted front wheel, and although rain bars are typically a narrow trench dug across the trail, you’ll also find them constructed of vertical ridges of rock, which makes them a puncture hazard.
Cautious approach
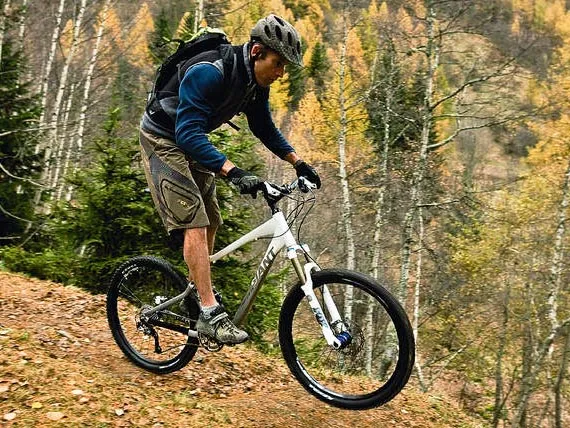
As with all descents, you should be standing up on your pedals with your legs flexed and the cranks horizontal as you approach a rain bar, keeping your centre of gravity low. It’s essential to scrub off speed early as well, because you’ll need to release both brakes to clear the obstacle.
Once you get the approach right, you’ll need to lift the front wheel cleanly over the rain bar to avoid it slamming into the downhill hump and pitching you over your bars. You can achieve this by using the rebound of your fork and a weight shift rearwards.
If the rain bar is made of earth, you can then let your rear wheel ride through the trench, using your rear suspension (if you have any) to absorb much of the impact. It’s important to keep flexed legs and arms here to allow the bike to move upwards beneath you. Essentially, these movements are the first stages of learning the bunnyhop.
If the rain bar is a rocky ridge, then you’ll need to kill your speed further, unweight the rear wheel and hop it over the rock by shifting your weight forward and pulling up on your pedals. This takes coordination and precise timing, otherwise you’ll end up pinch flatting the rear tube. Practise the sequence by trying both stages of the move over a branch laid across a trail on your next ride.
Top tips
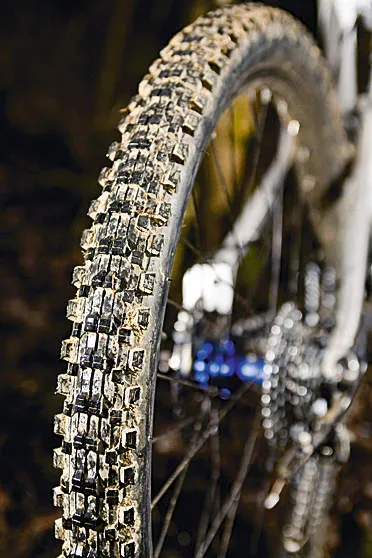
Choose your tyres wisely: The Alps are full of rocks, roots and potential punctures, so your tyre choice is crucial. Lightweight riders should bring at least 2.1in tyres — Specialized’s Resolutions with a tall sidewall and high volume make for great resistance to pinch flats. Heavier riders might want chunkier rubber still: try Maxxis’s 2.35in High Rollers, which are great aggressive all-rounders for Alpine terrain. At 695g a tyre they’re still light enough for the uphills, too. You can get away with shallower tread depth on the drier terrain. If you ride light, even Schwalbe’s lightweight Racing Ralph 2.25in tyres can be great for Alpine trails.
The rocky trails of the Alps are infamous for shredding tyre sidewalls. If this is a worry, consider shoeing your bike with tyres that have reinforced sidewalls, such as Continental’s duraskin-walled Mountain Kings. Alternatively, carry plenty of tyre patches in your pack.
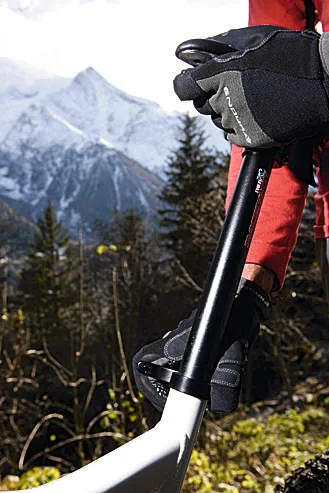
Drop your seat: Unless you have extra-long limbs, dropping your seat can be a big help on the techy trails of the Alps. The descents are long enough to warrant the effort and the additional clearance allows you to effectively move your weight around the bike without snagging your shorts on the seat. Overall, it’s a big confidence booster too.
Skip the bars: Rain bars above the tree line often consist of a vertical kerb of rock, rather than an excavated trench. If you’re comfortable with jumping, look ahead for a line that uses a rock or ramp to bypass rain bars, conserving your speed for the descent.
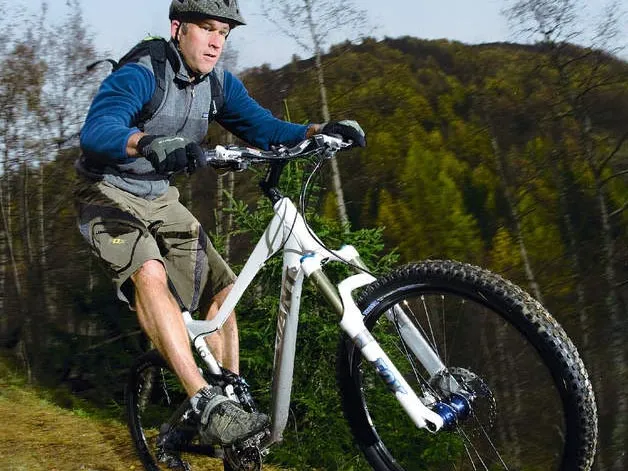
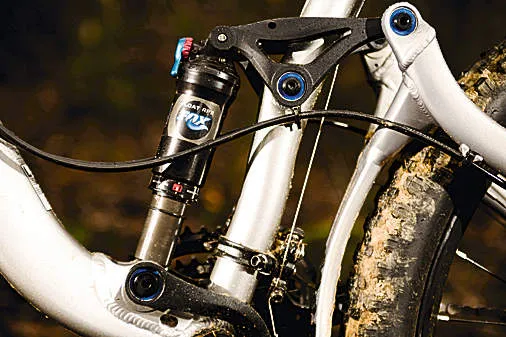
Get your suspension dialled: A full-suspension steed will boost your confidence on Alpine trails. Before you go, learn how your suspension is set up and be ready to tweak the damping settings to compensate for the aggressive terrain. Set your shock’s sag so it sits at about 25 percent of the total travel when you’re at rest on the bike. Be ready to unwind your fork’s rebound damping a click or two to stop it packing down on steppy descents. You’re aiming to take the hits smoothly without a kick in the rebound. Also consider any extra weight you may be carrying in your pack and reset your suspension sag while wearing the laden pack.
Meet our coaching expert
Phil Hennem founded Chamonix-focused Mont Blanc Mountain Biking (MBMB) in 1992, after cutting his riding teeth on the technical trails of the Alps. Riding a rigid Specialized Stumpjumper, Phil first explored many of the trails around Chamonix that make up the bulk of the guided rides offered by MBMB. Then in 1994, he pioneered the Three Countries Tour and subsequently incorporated the five-day bike adventure into MBMB’s repertoire of Alpine classics. Now armed with a full-susser, there’s not much Phil doesn’t know about riding Alpine trails. To join Phil’s Alpine adventures go to www.mbmb.co.uk.
