

Winter riding is tough. It calls upon every ounce of skill you possess as you slip and slide your way along the trail. But if you get the basics nailed, you'll be able to take on the worst the weather can throw at you.
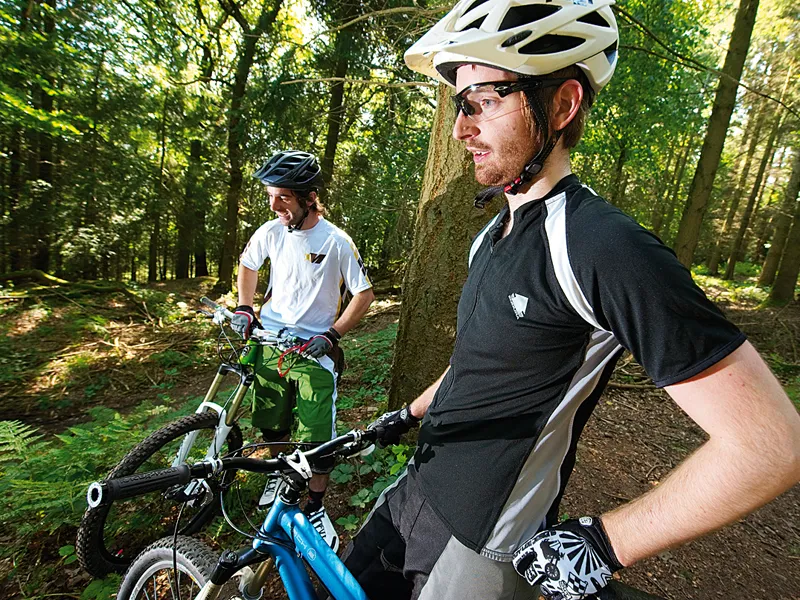
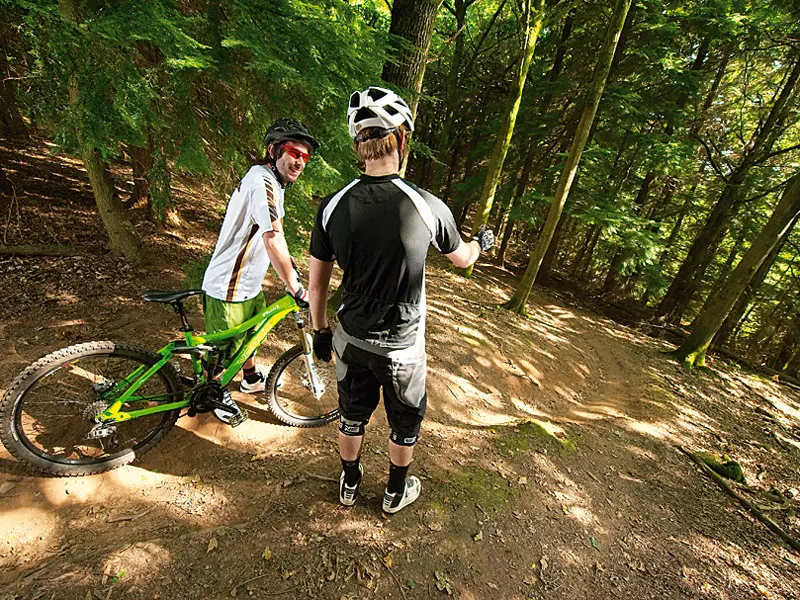
Here Rob Weaver, who has raced downhill at World Cup level and now spends most of his time wrecking and rating kit for Mountain Biking UK magazine, teaches editorial assistant, and fellow beard-wearer, Ric McLaughlin three essential skills to help improve flow and speed.
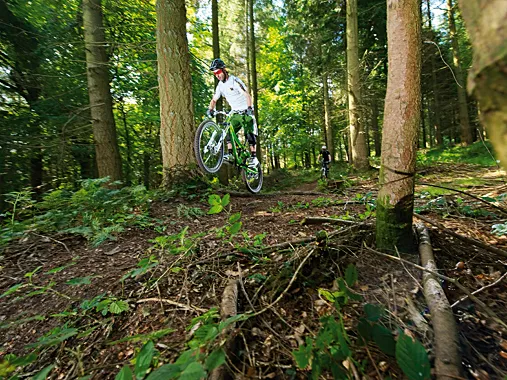
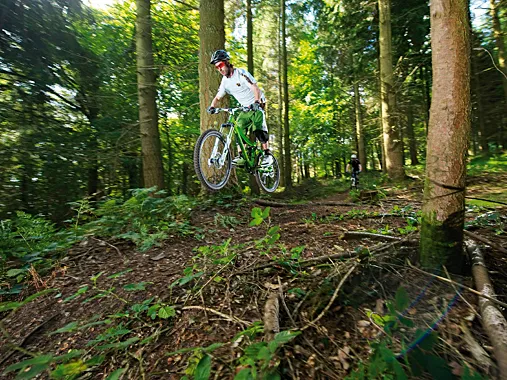
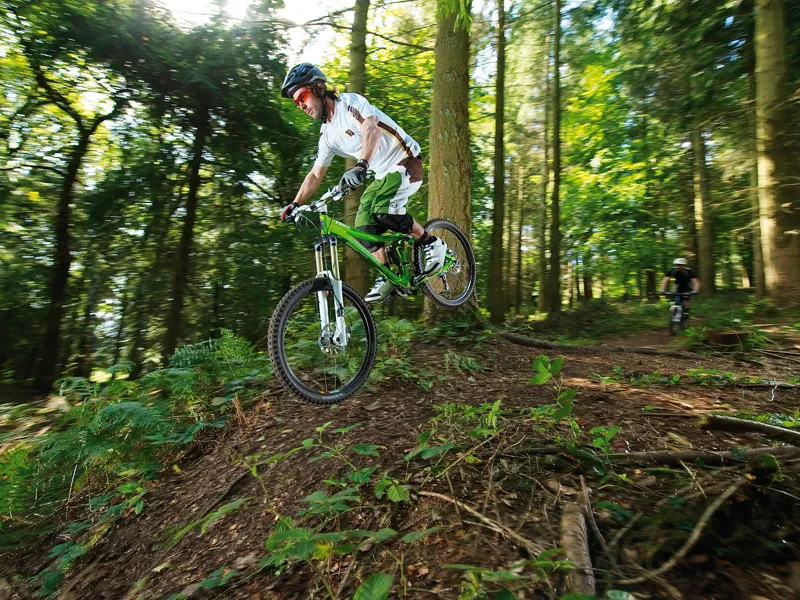
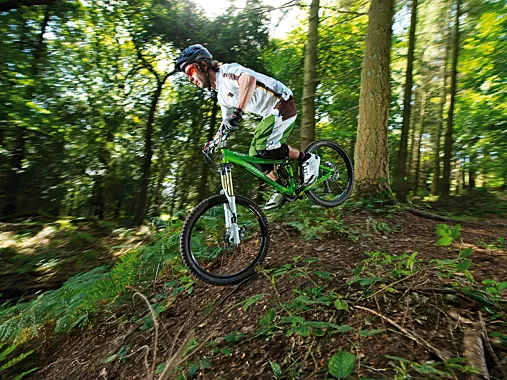
Pre-jumping
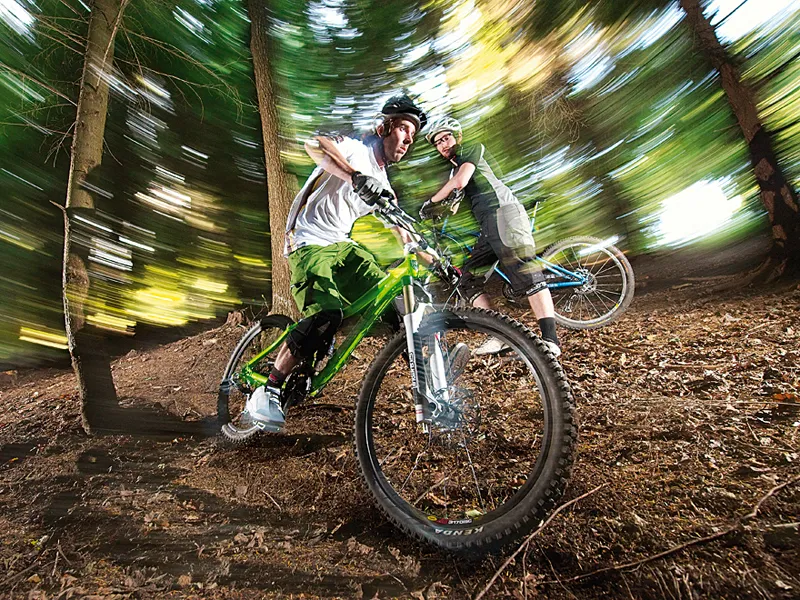
Undulations in the trail disrupt your flow and make it harder to pedal. It can also be tricky to keep control if you simply plummet from the top. Pre-jumping enables you to plant the bike on the backside or downslope of the trail as early as possible, and keep your momentum.
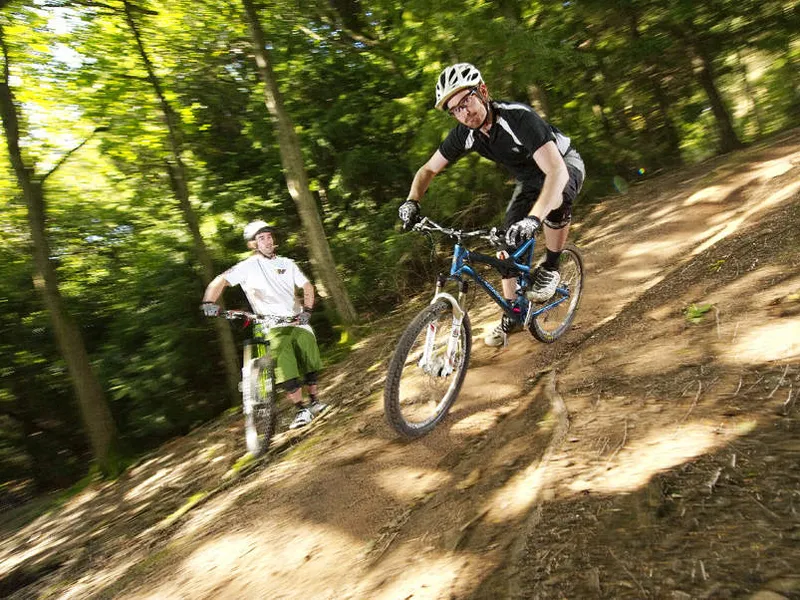
I began by getting Ric to roll into the slope to get a feel for the trail and what he would be dealing with as he exited the section. Now this is all about judgement. Pre-jumping is tricky because you need to get the timing of the hop perfect if you want to keep things smooth and fast.
It was time to put Ric’s bunnyhopping skills to the test. Before Ric reached the crest of the downslope, he had to do a small hop and nose the bike into the downslope. Even a small pop like this will help you get the pump from the trail and increase your exit speed.
Tentatively, I urged Ric to maintain the same speed into the downslope but make his hop bigger and earlier. As his confidence increased, so did his speed.
As Ric progressed, he was able to maintain his hop but take off further up the trail to make sure his wheels hit the downslope as soon as possible.
The more Ric practised this, the better his judgment became and soon enough he was planting his bike nice and early on the downslope, and then scaring himself silly with his new-found speed.
Pre-jumping essentials
■ Progressing slowly is essential. start slow and make sure you feel comfortable with just rolling the trail first.
■ Begin with a small hop at the top of the downslope and get a feeling for the added pump and surge of momentum this gives.
■ Hop into the downslope, landing the wheels simultaneously.
■ Bring your hop back a bit and take off earlier.
■ Slowly increase your speed and the distance you hop to ensure you get the wheels onto the downslope quickly.
Roots often make ideal pre-jump launch pads
Gradually build up your approach speed
Once you're airborne keep things smooth and spot your landing
The downslope will present a natural landing pad
Don't be afraid to nose the bike in; it'll feel odd at first but stick with it
Touchdown! Now, eyes up and ready for the next obstacle
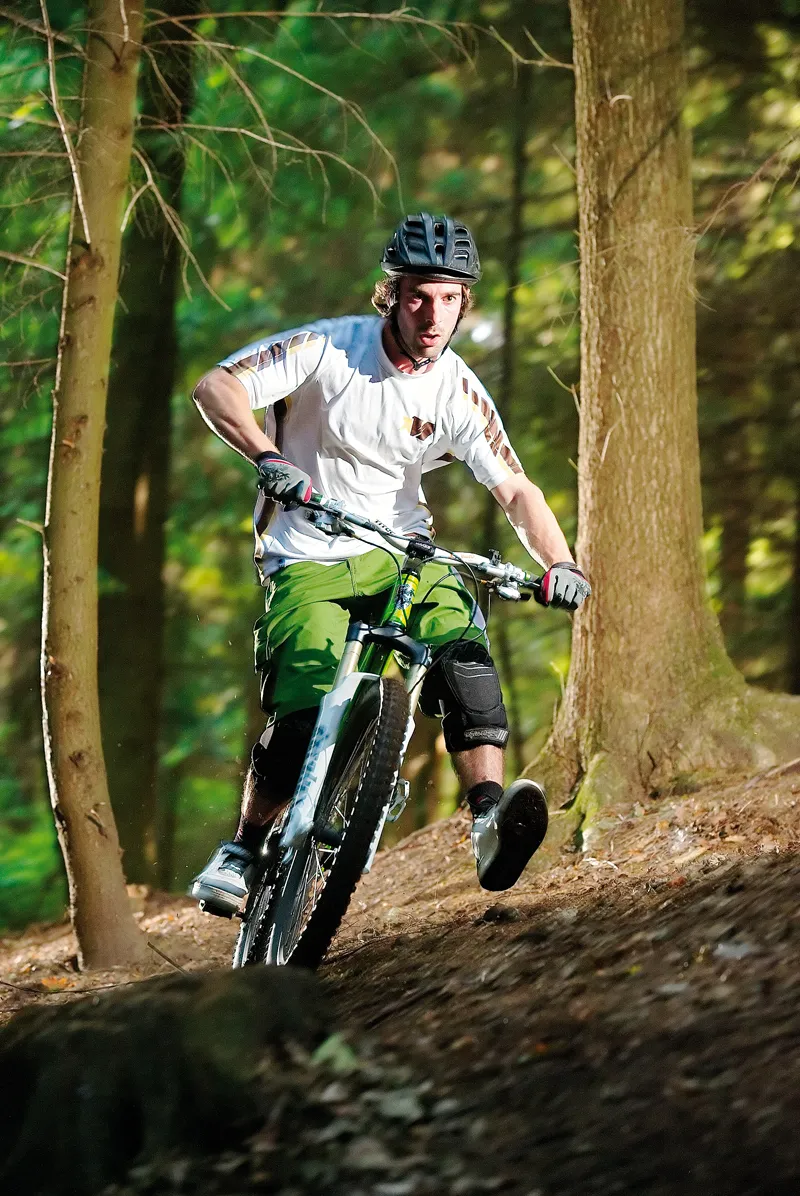
Off-camber terrain
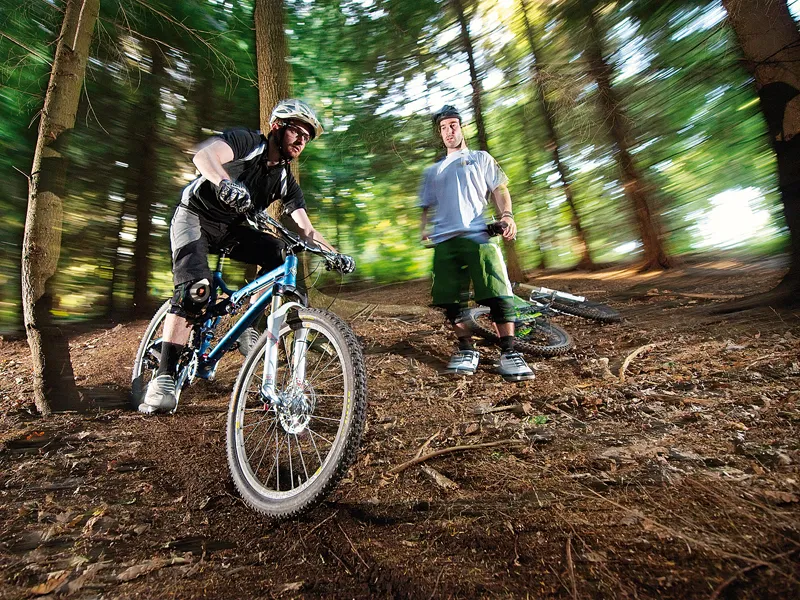
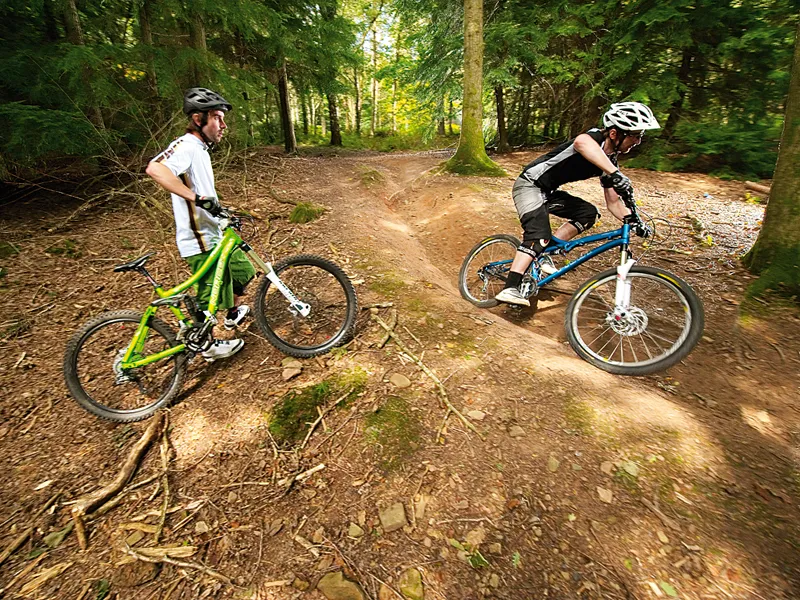
I could see Ric’s trepidation as we talked about hitting the high line on the off-camber section. These sections are common to nearly every trail and riding them is all about commitment.
We walked the line to scope out any hidden roots or stumps that might cause Ric any issues, then we ran through the key elements common with all off-camber sections.
I explained that he needed to brake before his wheels had hit the uneven surface. Braking on off-camber will result in your bike sliding out, forcing you offline or even washing your wheels out completely.
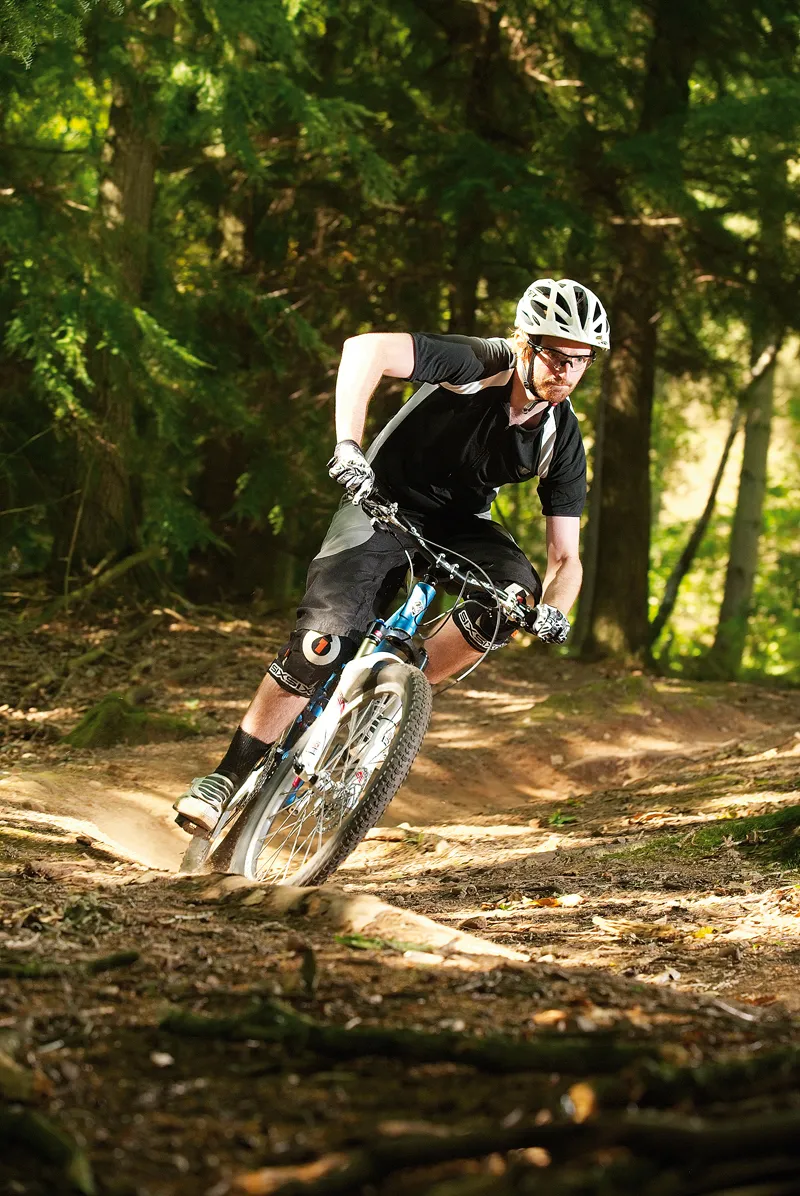
Rob demonstrates the correct body position for riding off-camber terrain
The next thing to remember is body position. Lean into the hillside and counteract the overbalancing force of the trail. Don’t be afraid to stick a foot out to correct slips and slides while you’re railing across it either. Your weight needs to be firmly planted on your outside foot and inside hand and you need to keep your head up and focus on the trail ahead of you, not your front wheel.
Riding off-camber is something that simply needs practice. I forced poor Ric to ride it over and over to help build his confidence and keep his twitchy fingers off of those pesky brakes. Soon enough, Ric’s initial wobbles were gone and he was hitting the high line inch perfect and building speed on every attempt.
Ric learns to keep his itchy trigger fingers off the brakes
Off-camber terrain basics
■ Keep off the brakes. Brake before you reach the off-camber, not while you’re on it.
■ Lean into the camber with your weight on the outside foot with the crank at the bottom of the stroke and lean onto your inside hand.
■ Commit to the line. Keep your head up and focus on the trail ahead and the exit of the section, and nothing else.
Don't be afraid to stick your foot out to correct slips
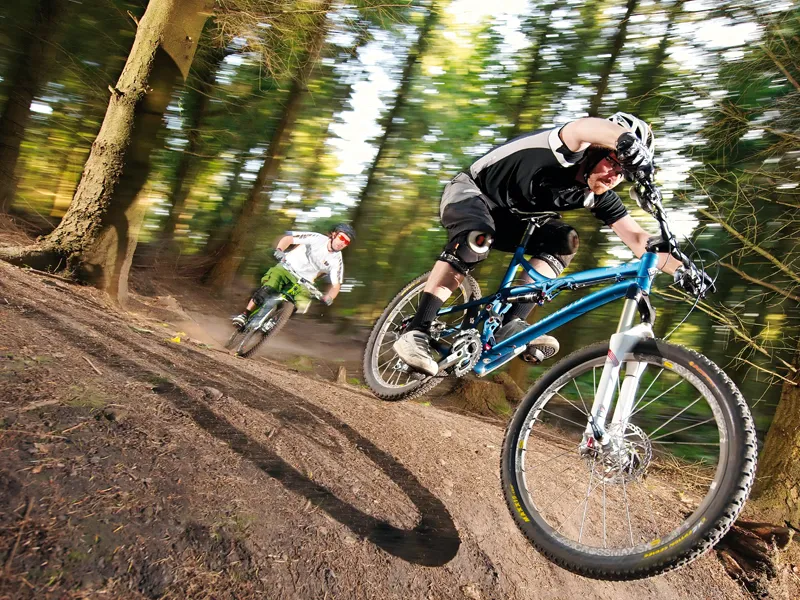
Corners
No trail is straight, and cornering is one of the most important techniques to master if you want to ride faster. Whether it's bone dry or gloppier than grandma’s porridge, the following principles will always apply.
After watching Ric ride the fast turn we had chosen, I could see what needed to be worked on to help boost his confidence and exit speed. Picking your line is vital.
The turn we used for the day was typical of any trail centre and still loose even though it had a thoroughly established rut through it. The plan was for Ric to enter the rut as wide as possible, making a shallower and mellower arc around it. This decreases the chances of stalling or sliding out and also helps make it a more fluid motion.
Check out the turn beforehand and ride it in your head a bit
Much like riding off-camber, you need to scrub any unwanted speed before you hit the turn, so you’re at the right pace going into it. Maximising control in the turn is key and this all comes down to body position. Get your outside foot down and put all your weight onto it. Get your outside elbow up and out and as you enter the turn, roll that outside shoulder forwards slightly.
As Ric will testify, this will help get your head up and get your eyes focusing on the exit of the corner. Getting your body central on the bike allows you to quickly react to changes in grip. Lean your upper body forward slightly to ensure the front wheel grips and weight your inside hand.
After numerous corner attempts, Ric was clearly becoming comfortable putting all this information into practice and it was clear that once he had mastered technique, his speed increased as much as his grin.
The apex holds the key to quick cornering, so commit to it
The keys to cornering
■ Make sure you know what line you want to hit and that you’re comfortable with it.
■ Brake before the turn.
■ Outside elbow out, outside foot down and get your weight over the front wheel.
■ Weight your inside hand and stay off those brakes.
■ Get your head up and focus on the exit.
Eyes up! Keep focused on what's next to benefit from your godlike exit speed
Bike setup: Perfect your rig for practice
Tyre pressure: Avoid packing in the PSIs while you’re learning – a lower PSI will mean your tyres have a little more give in them, which will help improve grip and cushion any mistakes.
Suspension settings: Keep to what you’re familiar with. Don’t go fiddling with your dials before you attempt something like a pre-jump. Stick to what you are used to and avoid unfamiliar territory.
Tyres: It is better to have a tyre that you trust with plenty of tread on. If it's wet, it’s great to have the choice to run a specific mud tyre but most companies now cater for intermediate conditions which will be fine in most weather.
Pedals: If you feel nervous practising these techniques in clips, then sling on a pair of flat pedals to make sure you can get your foot down if you need to.
This article was originally published in Mountain Biking UK magazine, available on Apple Newsstand and Zinio.