

Whether you got a new bike for Christmas, you've made a new year's resolution to get fit or you just want to get out and put in some miles, now is a good time to make your bike winterproof.
We'll show you some tried and true methods and an old timer trick or two, along with more obvious procedures. For those of you prepared to go the extra mile in order to protect your bike, performing all of these steps can significantly prolong its life, but even adopting just one or two will help your enjoyment and safety.
Most of these steps should be within reach of the confident DIY cyclist, and the tools required are pretty straightforward, but if in doubt an experienced shop mechanic can work wonders with a seized bottom bracket or close-fitting mudguards.
Tools Required
- Bottom bracket removal: Shimano splined socket, lockring and pin spanner and crank extractor, or external cup splined type spanner depending on BB; 8mm or 14/15mm socket for crank arm bolts
- For fasteners and other components: 3, 4, 5, 6mm Allen keys and/or 8, 9 and 10mm standard spanners; Phillips or flat screwdriver, pliers, small hacksaw
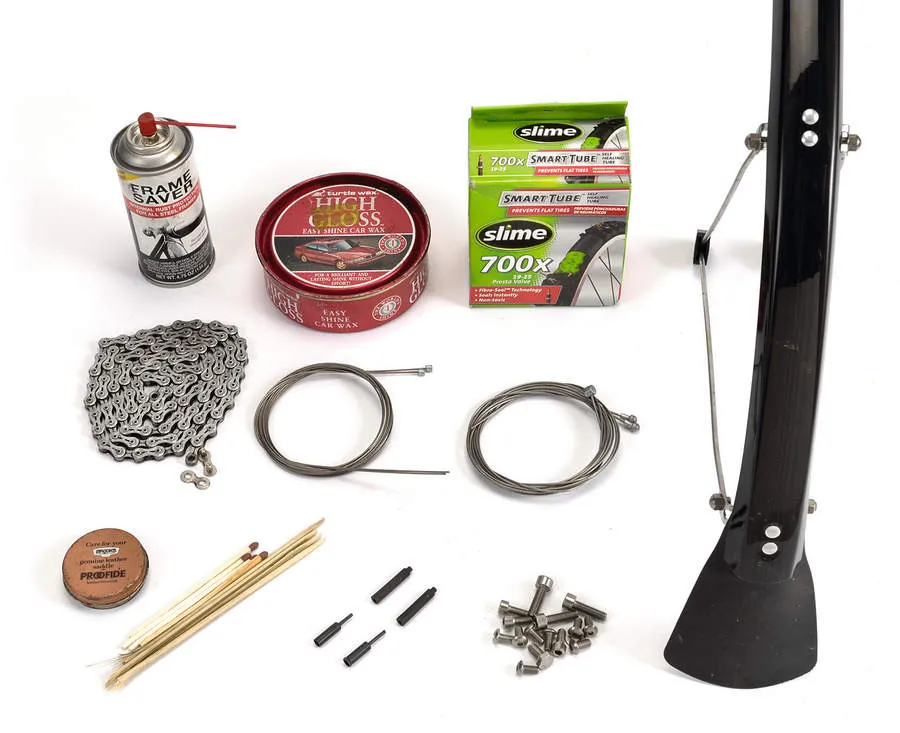
- Frame Saver (www.ceeway.com)
- Slime tubes (www.slime.com), Jagwire cable wiper seals (www.jagwireusa.com)
- Mudguard flaps, rustless chains (www.amba-marketing.com)
- Car wax or other (www.halfords.com) Stainless fasteners, Kevlar tyres and mudguards (all should be available from your local bikeshop)
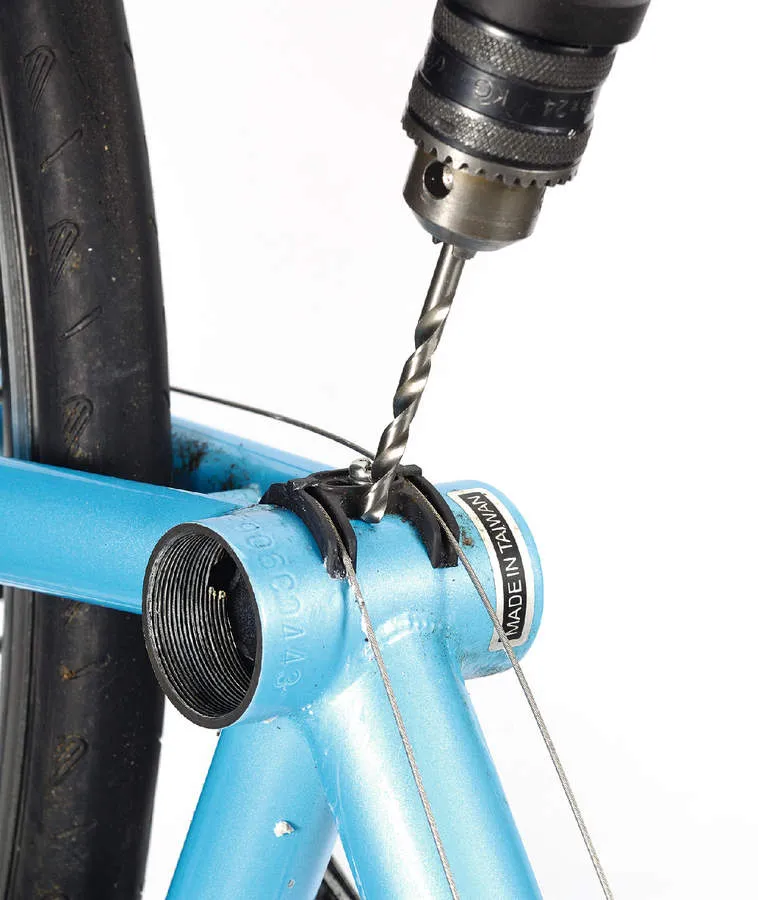
1 Drill, Baby, drill!
Drainage is essential for keeping the inside of your bike and bottom bracket dry. Drilling what is in effect a second hole (the cable guide screw being the first) should pose no structural problems on steel or aluminium frames, but might have warranty repercussions. This will definitely be the case for carbon, so the final responsibility rests with the person giving the okay to drill.
Remove your bottom bracket first, and take the opportunity to clean and inspect it for corrosion. Make a starter mark adjacent to the cable guide, but as close to the centre of the bottom bracket as possible before drilling. Use a 5 or 6mm drill. Finish with a bit of touch-up paint.
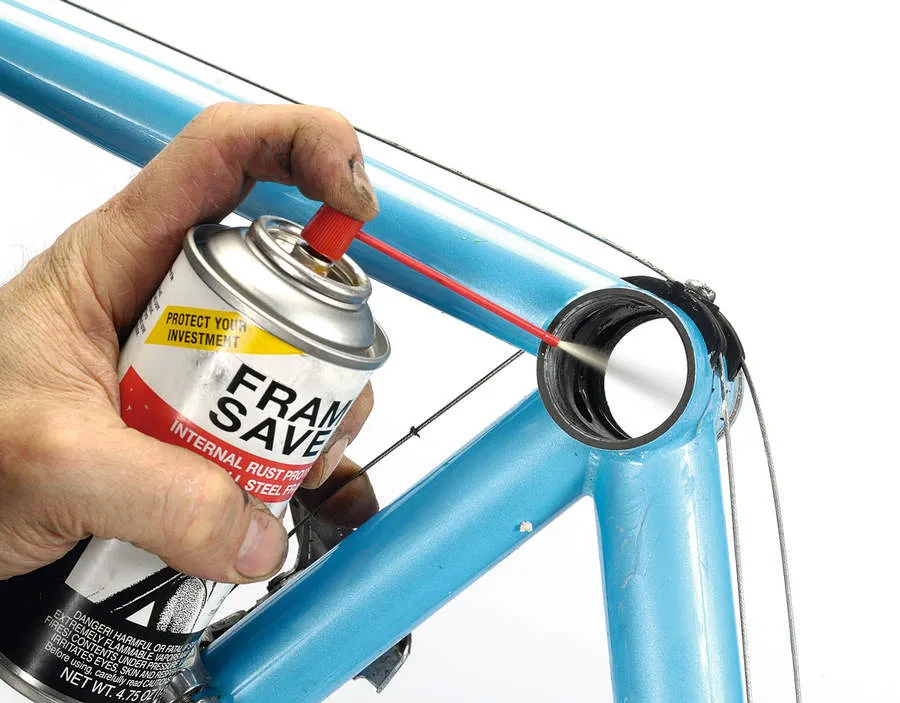
2 Inside job
Steel and even aluminium frames can corrode from the inside out, and oxidation can spread from scratched braze-ons and eyelets. One useful product is Frame Saver, available in a small can with a pipette with which you can treat approximately two frames. Make sure to wear protective eyewear in case it blows back at you when spraying. You can use 30wt oil or thick chain lube with a bit of WD40 to help spread it around.
Make access and handling easier by removing the cranks, bottom bracket and wheels, then dribble or spray the fluid into the tubes and plug the BB and seat tube with rags or paper. Now gently move the bike around to coat the inside evenly. Allow it to settle and then wipe off excess.
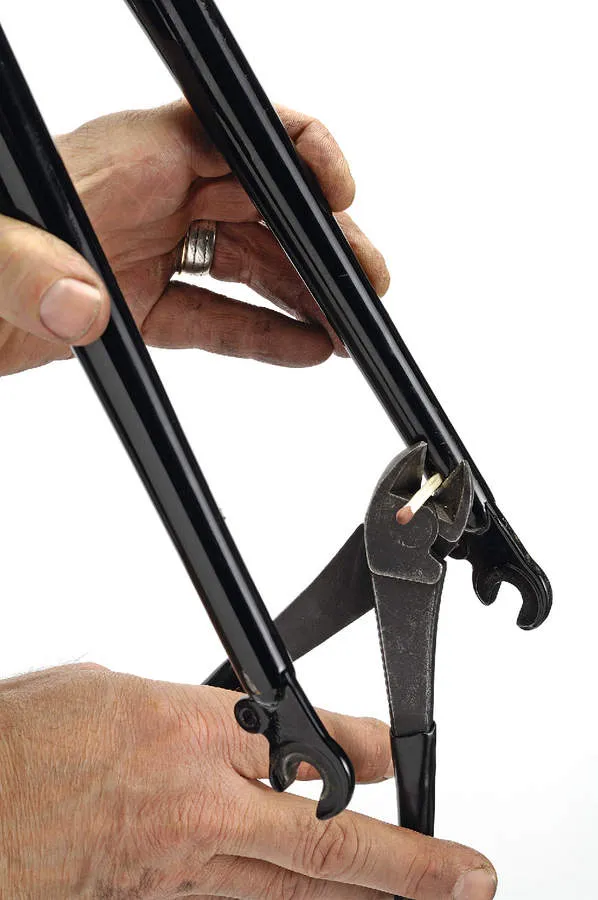
3 Seal of approval
After coating the inside of your frame with either Frame Saver or plain old oil, one good tip is to seal it up. An old cycling buddy and roughrider, known as the Ragin’ Cajun in some cycling circles, would perform this prep job before heading out on epic tours up the Alaskan highway and beyond the Arctic Circle. You might not be making for such inhospitable climes, but it’s still a useful trick.
Use matchsticks or kebab skewers depending on the size of the vent holes. Dip the wooden end in a bit of contact cement or superglue, poke it into the hole, then break it off or snip it with wire cutters. Follow up with a dab of enamel or touch-up paint. Make sure to install greased bolts in all the spare eyelets to prevent ingress of water.
4 Friendly fenders
Mudguards are probably the most important winter accessory. They’ll prolong the life of your bike, components, and in particular your chain, not to mention improve your comfort.
Check for clearances – occasionally a small cutaway may need to be made in order to clear the brakes – mark and cut carefully using a small hacksaw. For tight clearances use SKS Race Blades. P-clips can be used when eyelets aren’t available.
Don’t forget mudflaps. These simple devices can help keep your feet a lot drier, and are useful as a courtesy to riders behind you, especially on group rides. Some brands attach simply by means of two bendy tabs, others require a hole to be drilled and installation with a screw and nut.
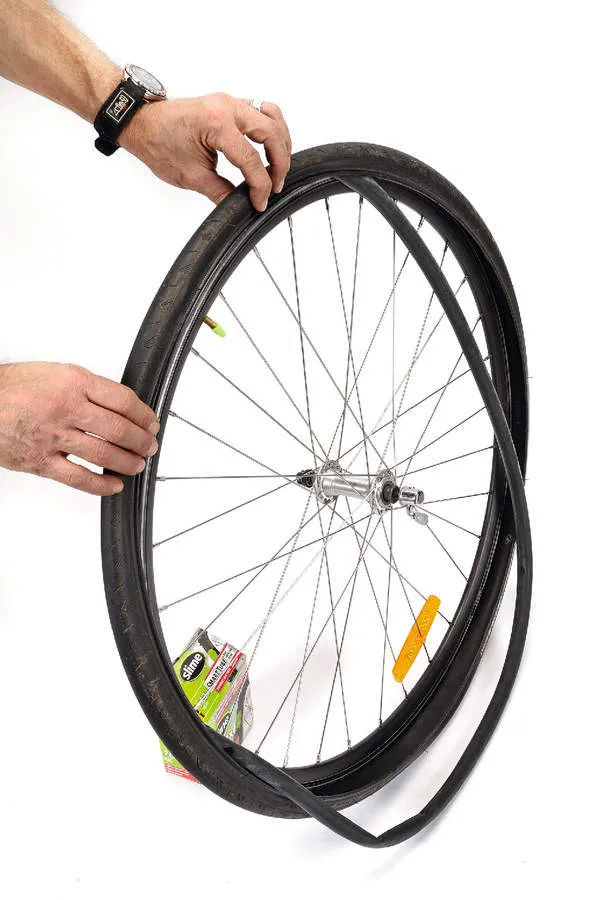
5 Freedom from flats
Getting a flat tyre on the way home during a cold, dark and rainy night is no fun, and repairing it can be made even more difficult with a multispeed or dynamo hub. The onset of winter brings thorny hedge clippings and sharp road grit too, making some kind of puncture protection essential.
Install Slime-filled tubes, polyurethane protective strips (Mr Tuffy) or Kevlar belted tyres – the small sacrifice in ride quality and weight is well worth it.
Remove wheels, tyres and old tubes. Inspect your rim strips for wear and make sure they adequately cover the spoke holes. Inspect your tyres for thorns or glass if you plan to re-use them. Re-install with the appropriate protection, and confirm correct bead seating while inflating, especially at the valve.
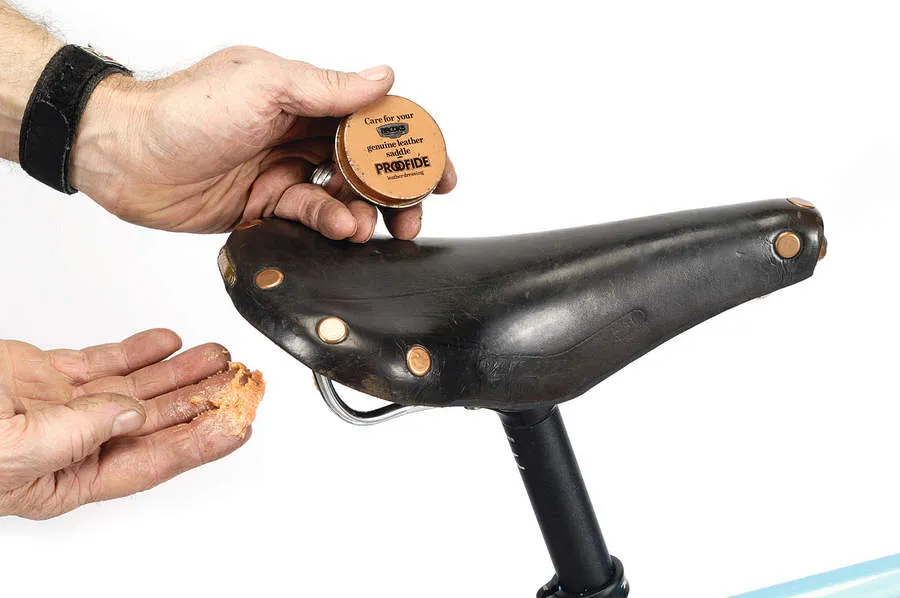
6 Leather wear
Saddles take a real beating in the winter, especially leather ones. If you ride without mudguards, the gritty slurry thrown up by the back wheel can take its toll on the saddle’s finish and shape. The surface polish gets scuffed and the natural protective oils get washed out.
Start by cleaning the underside with a stiff toothbrush and a rag to loosen and remove any built-up dirt. Grab a generous dollop of Brooks Proofide leather saddle dressing and apply a substantial coating to the underside of the leather. This will seal it from the elements and be drawn in by the heat generated by riding.
After a really wet ride, soaked leather that has lost some of its form can be re-shaped with firm hand and thumb pressure before allowing it to dry naturally.
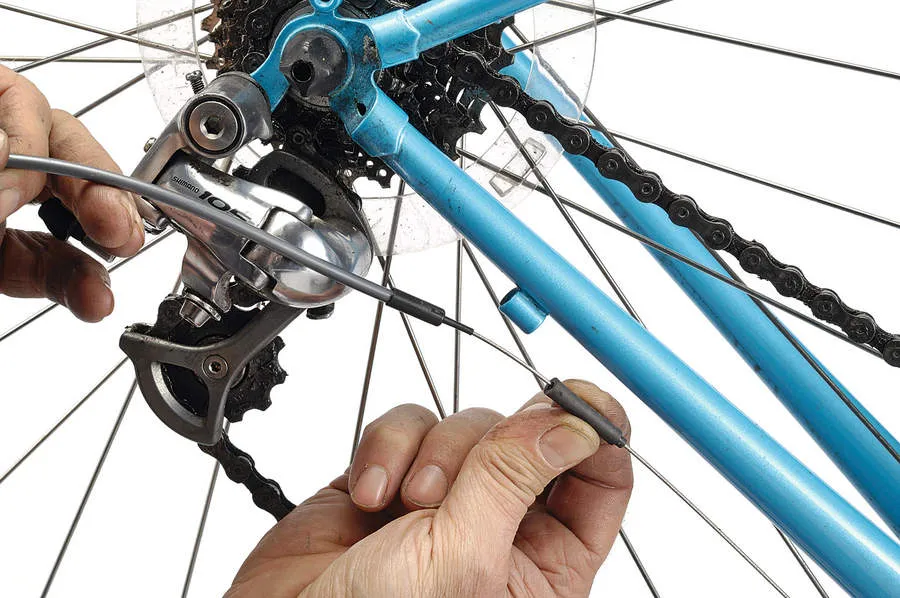
7 Signed and sealed
Cable wipers and seals are a simple way of keeping your shifting smooth and slick regardless of the weather.
Make sure that the end caps match the diameter of your outer cables. Snip off the end cap and loosen the anchor bolt holding the cable. Withdraw it from the mech and slide off the outer in question. Replace your standard end caps with the new ones, and slide the rubber wiper onto the cable first before threading it back into the outer with the help of a few drops of oil. Anchor and adjust.
There’s more than a good chance that you might need to replace your cables at this point, because they’ll have been damaged by the anchor bolts and could be frayed, so give them a good inspection. If they do need replacing, choose cables that’ll withstand wintry weather.
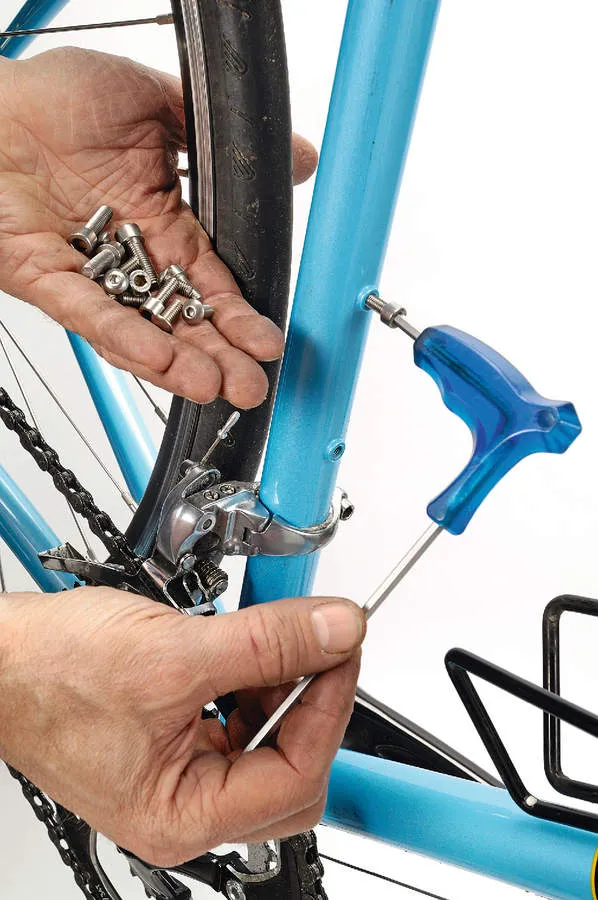
8 Antioxidants
Stainless steel items like gear and brake cables, chains, fasteners and even aftermarket ball bearings can help keep your bike rust-free and looking good. Most bike shops will stock a selection of stainless steel fasteners in 4, 5 and 6mm thread sizes in either Allen or standard versions, along with washers and Nyloc nuts. Grease them well and replace as required.
A stainless steel chain is certainly worth it if you have the budget, and if you do replace your chain it’s a good idea to include a SRAM PowerLink type connector to make it easier to remove and clean.
Install stainless cables on brakes and derailleurs, especially if you’re adding those little wipers or a new piece of outer. Make sure to add a dab of oil, as it’s still essential to reduce friction wherever metal is concerned.
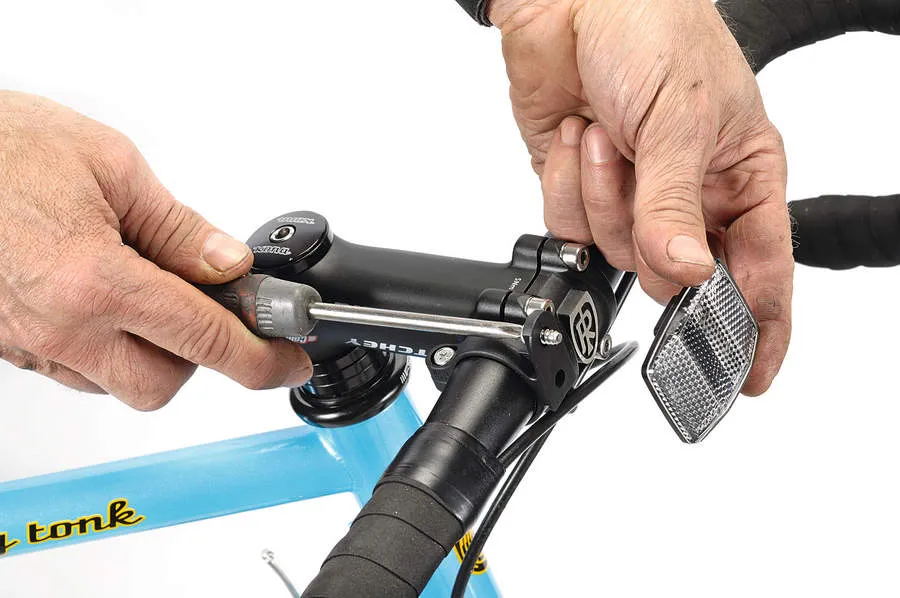
9 Time for reflection
This bit of advice may be unpopular with the ‘sportier’ riders among you, but when winter hits, so does early nightfall, and this simple step can be a lifesaver on those occasions where your batteries run out, or you’ve left it too late to head home with night closing in.
So dig out those old reflectors if you still have them and put ’em back on! If you don’t have any, some shops are only too happy to give them away, but expect to pay at least a little something for them.
Pedal reflectors are particularly visible, and adhesive reflective patches make a good alternative if you want to preserve the clean lines of your bike, so install them on seatstays, fork blades, on rims between spokes, and even helmets.
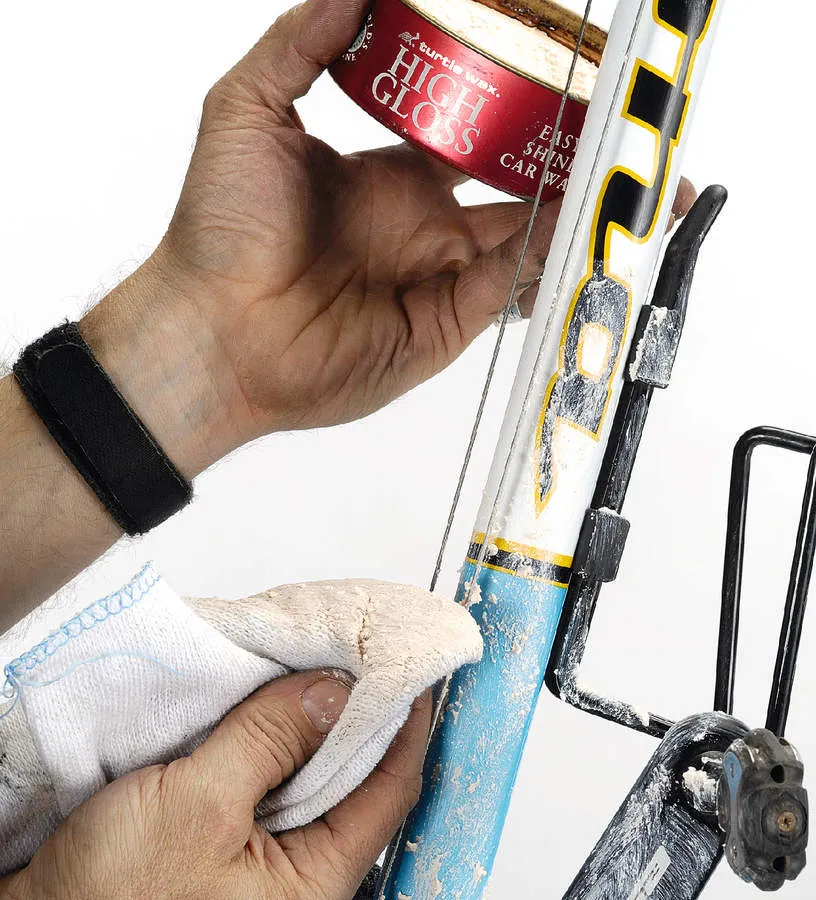
10 Simoniz it!
Old fashioned but effective: apply a generous layer of car wax to the entire bike, especially under the down tube and in the bottom bracket area. You can also treat components, even spokes. Harmful grime, grit and dirt are prevented from gaining a solid foothold thanks to the super slippery surface created by the wax.
Make sure the bike is clean first, then simply spread the paste or liquid with a cloth, allow to dry to a haze, and wipe off. Repeat, then buff to a high polish. You can also use some of the spray-on after-wash coatings based on light oils or silicone that are currently available (X-Lite Bike Spray, for example). These involve a bit less work but may require more frequent cleaning and re-application. Avoid braking surfaces!
