A bike works more smoothly, lasts longer and looks better when it’s clean. That will make riding it more enjoyable and save you money in the long term.
While it may be tempting to just pop it in the shed until your next ride, even a few minutes spent at regular intervals will improve your riding experience and the longevity of your bike.
Regardless of what shape your bar is or how many suspension parts your bike has, any build-up of dirt will wear through moving parts if left to do so. As important as it is to clean your bike after a filthy wet ride, it remains key after dry, dusty ones too.
Here’s how to clean your road or mountain bike in seven simple steps.
Bike washing essentials
- Water source: a bucket or garden hose. A jet wash/pressure washer can be used, and while the jury is out on whether they force dirt past seals and reduce bearing or bushing life, it’s definitely best not to point them directly at bearing or suspension seals
- Workstand: optional, but undoubtedly helpful
- Brushes: several brands offer a ‘bike wash brush kit’ with brushes for the various applications, but if you don’t have those, a couple of toothbrushes and an old dustpan brush will do
- Chain-cleaning device: or a specific stiff-bristled toothbrush if you don’t have one
- Degreaser
- Bike wash fluid: preferably environmentally sound
- Chain lube
- Paper towel: or rag
How to clean a bike in 7 simple steps
Step 1: Clean the drivetrain

If you have a chain cleaning device, use it to clean the chain. If not, you’ll simply have to apply the degreaser and use a brush. You’ll need the brush for the cassette and derailleur(s) in any case.
If you want to know everything there is to know about cleaning a bike chain (and likely more), check out our ultra in-depth standalone guide.
Make sure you have a specific brush for your drivetrain, and don’t use it on any other part of the bike, particularly the brakes – contaminating your braking surface with chain filth will ruin performance and may force you to replace your brake pads.
You may need to use something to dislodge stubborn grime from places such as jockey wheels, and some brushes have a hooked handle for exactly this. A flat-headed screwdriver and an awl can help here.
Step 2: Wipe the discs or braking surface down
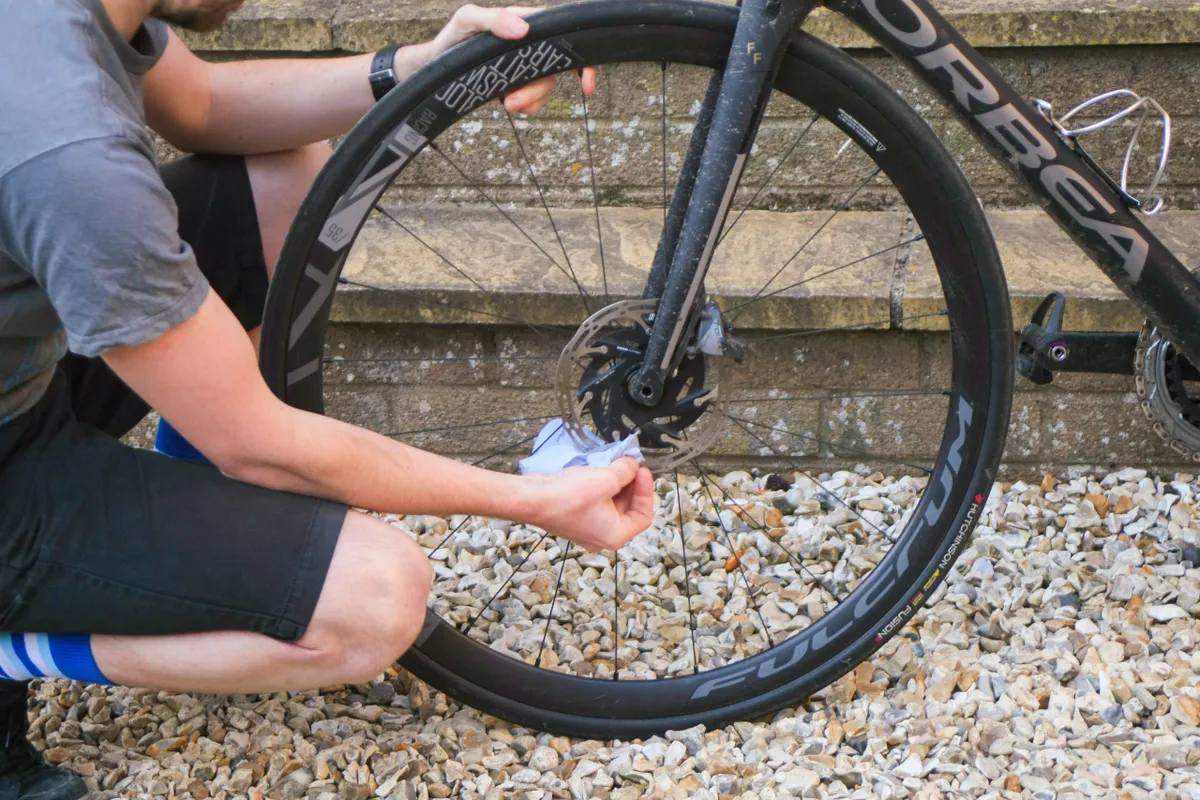
At this point, it’s wise to wipe your discs or rim brake surface down.
However careful you are cleaning the chain, there’s always a chance muck can find its way onto your rotors. It can also cause issues on rim brakes.
Spray some degreaser into a clean paper towel and wipe around the rotors.
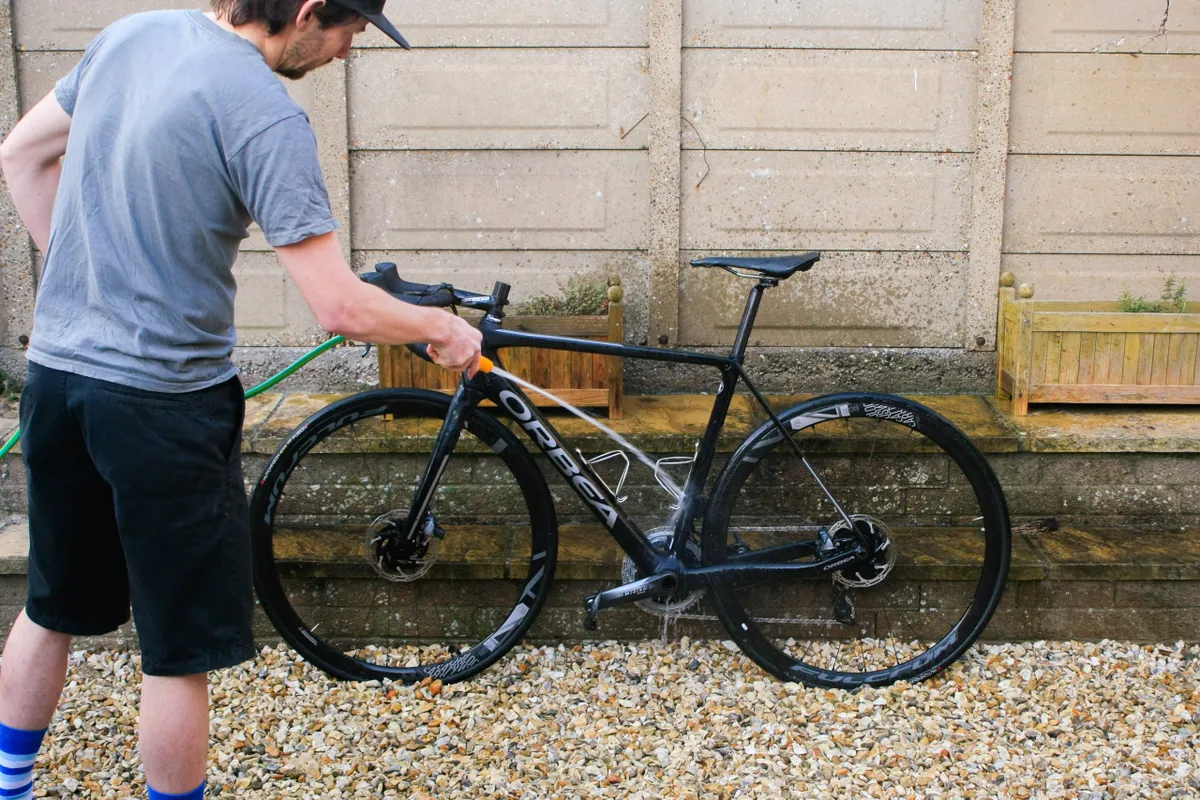
Step 3: Rinse and apply detergent
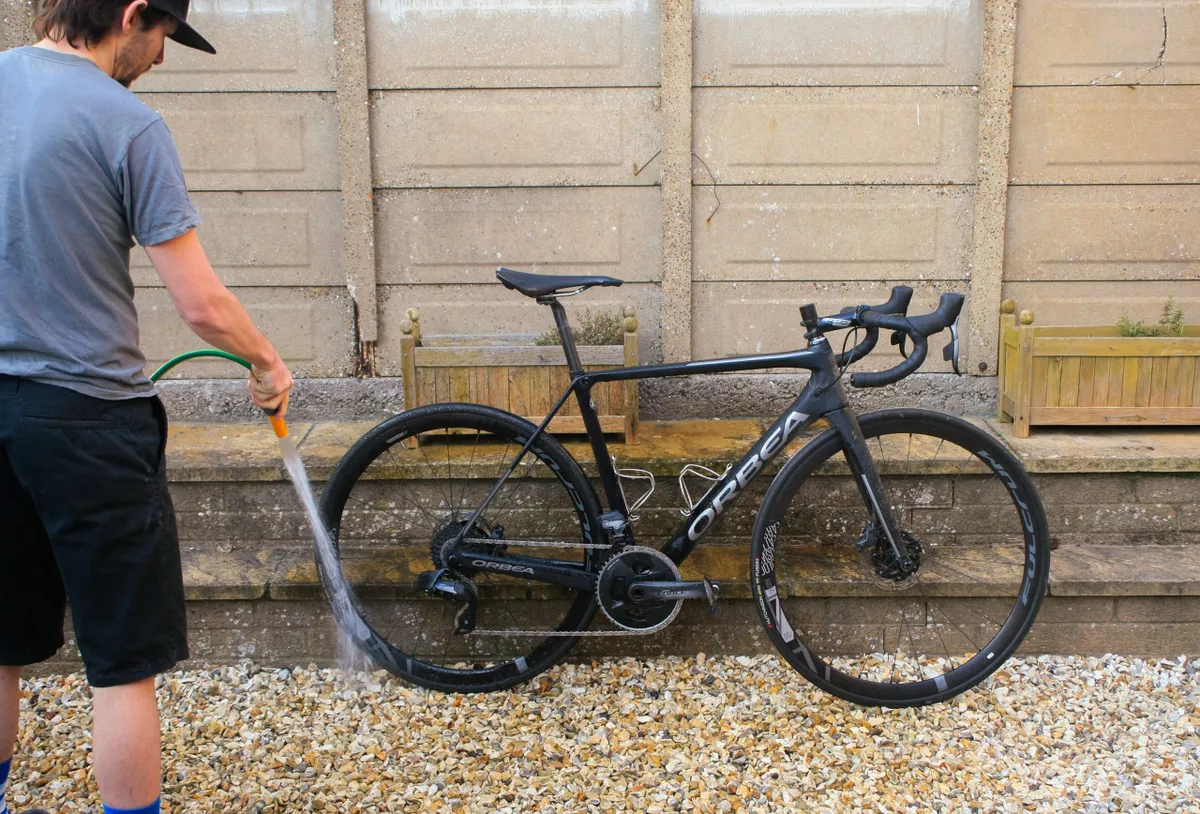
Use your hose, or bucket and sponge, to wet the bike and remove the majority of the mud and grime that has built up.
If you’re using a jet wash, stand well back or turn the intensity down.
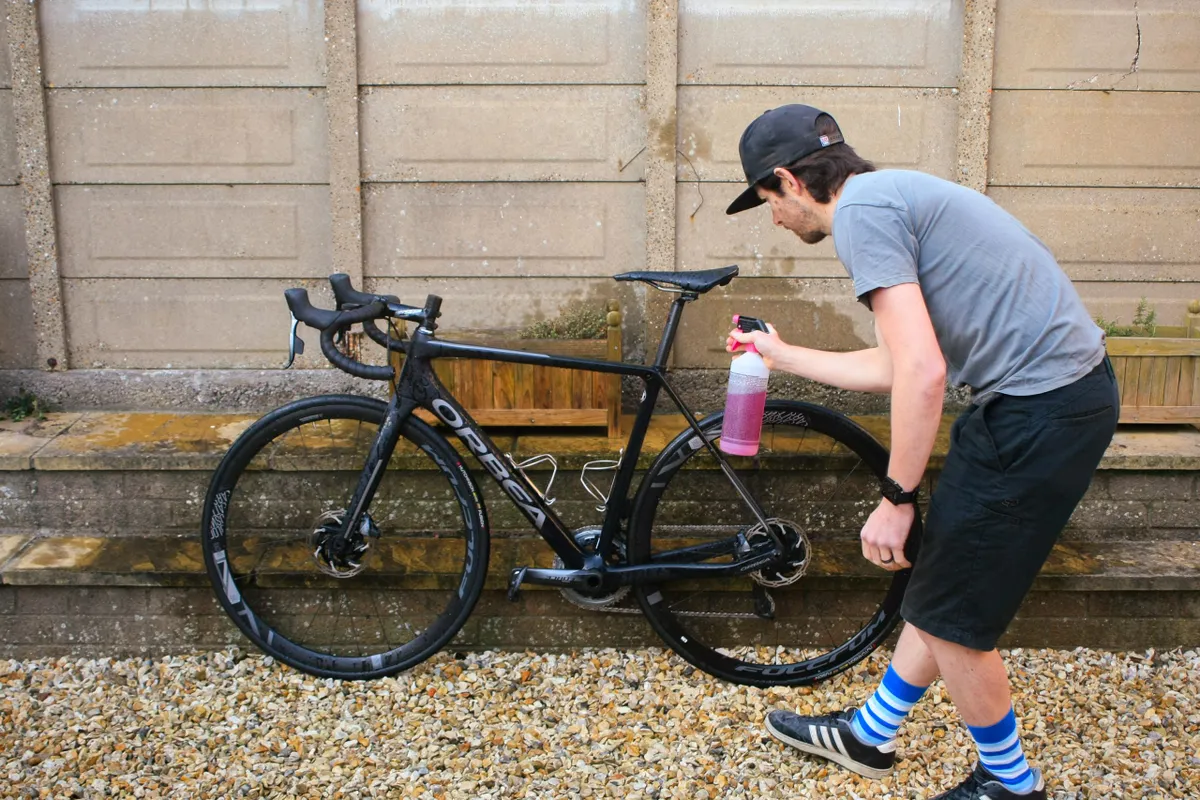
Spray detergent along the main tubes and the areas most affected by dirt.
Step 4: Brush clean
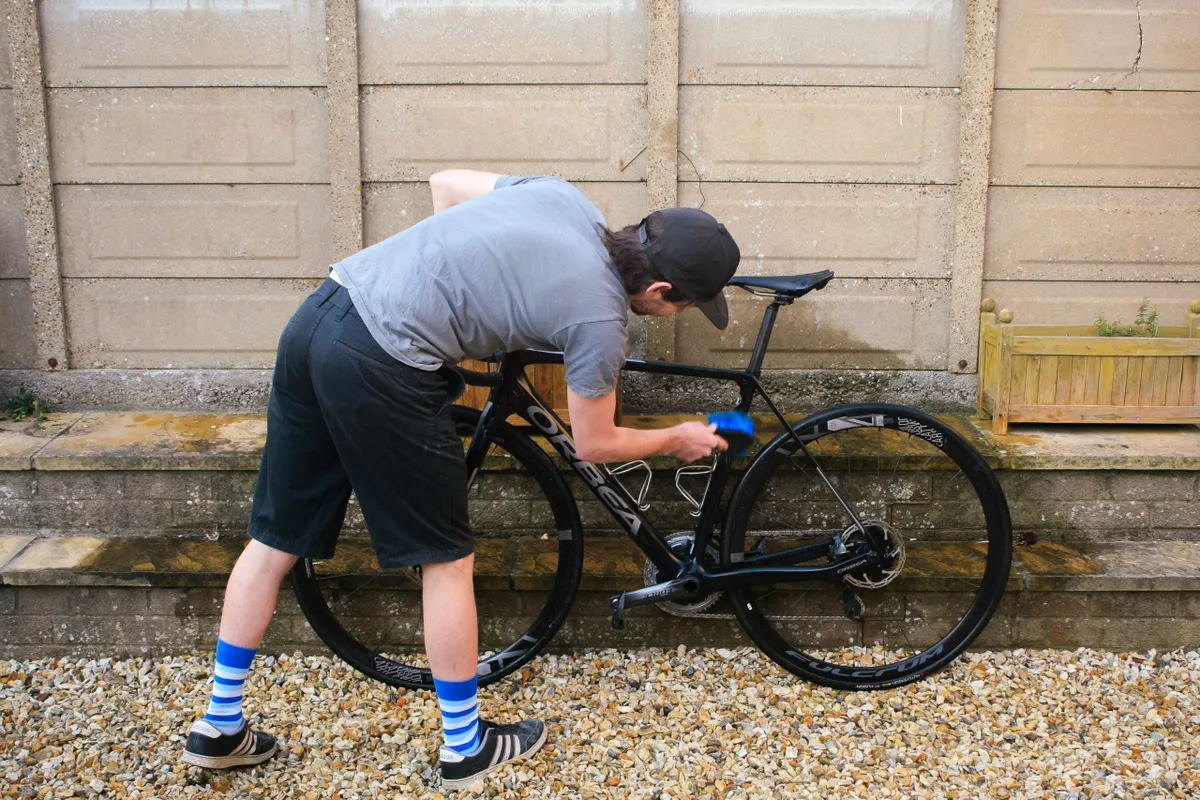
After a few cleans, you’ll develop your own routine – front to back or top to bottom. Pay attention to moving parts and use a smaller brush to get into narrower spaces.
The brushes combined with the detergent will loosen most of the remaining dirt from the bike. Remember the undersides and awkward bits that also need attention. An old rag is very useful for threading behind tight areas such as the crankset and front derailleur.
Step 5: Rinse
Use fresh water to rinse off the bike. Spin each wheel to rinse all the detergent out of the tread. Check all the dirt has been lifted off and revisit with the brush if any remains, then rinse again.
Step 6: Dry
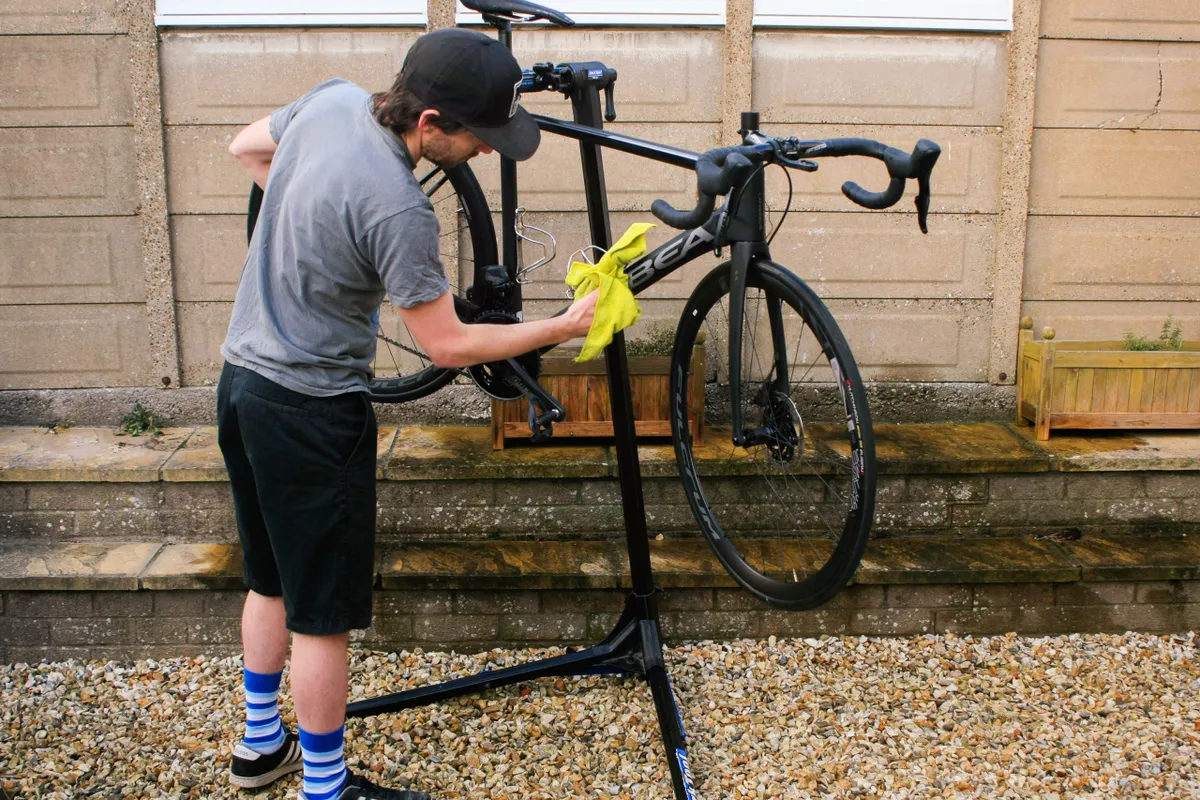
If you have a workstand, now is a good time to move the bike into it. Use an old dishcloth or chamois leather if you have one to dry the bike.
Then, fastidiously avoiding braking surfaces, give it a polish with PTFE or silicone spray. Rub it in with a paper towel or soft cloth. Not only will this make your bike shine, it’ll also reduce the amount of muck that will stick to it on the next outing.
Step 7: Lube
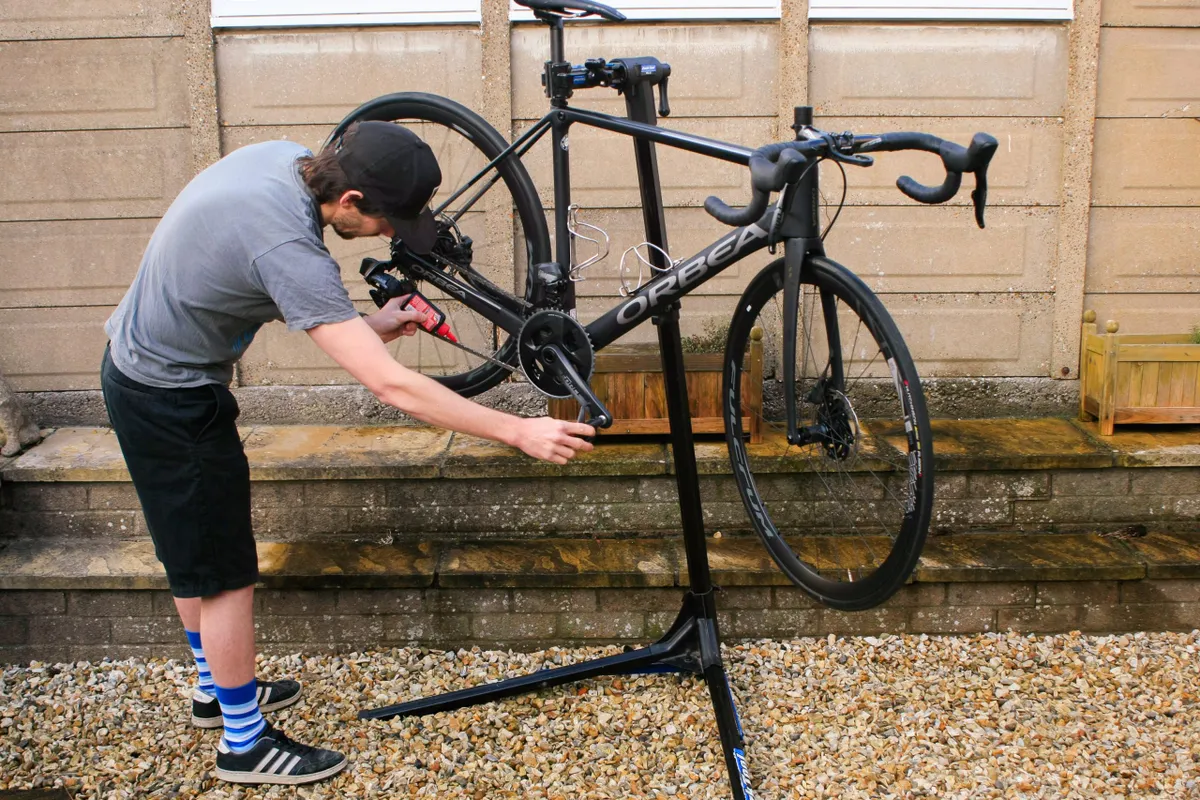
Apply lube to the chain while turning the pedals. Pay attention to manufacturer recommendations because it’s very easy to overdo it with lube.
If the bike is not in a workstand, you’ll need to turn the pedals backwards. Use a moisture dispersant lube on your derailleur pivots, taking extreme care to avoid your braking surfaces.
More on bike cleaning and maintenance
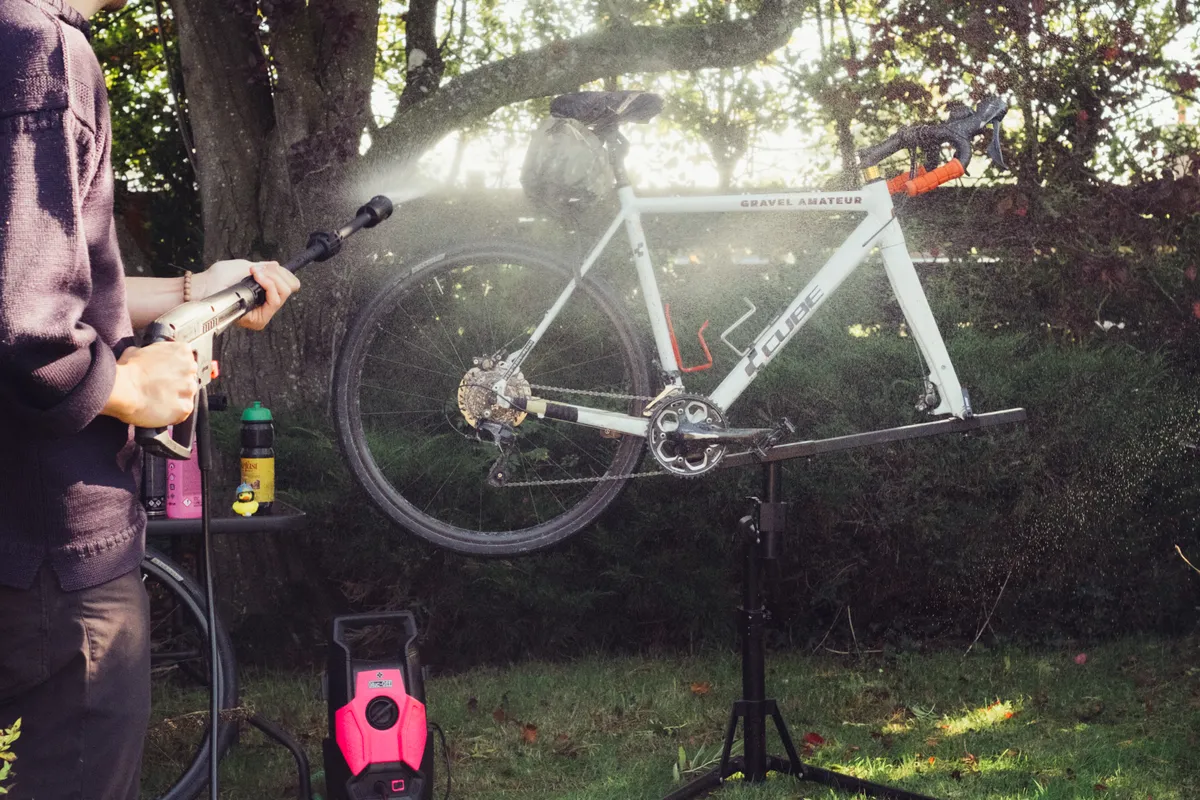
We know it's not always easy to perform a full clean as demonstrated in this article, so we have put together a separate guide on how to jet wash a bike safely for those riders with less time on their hands.
If you want to know everything there is to know about cleaning a bike chain (and likely more), check out our ultra in-depth standalone guide.
Cleaning your bike also presents a good opportunity to make sure everything is running as it should. Performing a basic M-check should highlight if your bike is safe to ride or if components are on their way out, but be careful to avoid these common home maintenance mistakes.