One of the most overlooked aspects of cycling is the maintenance your bike requires to keep it in tip-top condition.
Although it can seem daunting, learning these essential bike maintenance tips will help you no end. You’ll begin to understand how your bike works, be able to perform basic adjustments and repairs, and know when components require servicing or replacing.
It’s worth getting your local bike shop to service your bike periodically, but it will also benefit from some regular care and attention to keep it running smoothly.
In this guide, we’ll explain the essential bike maintenance tips for those with little or no experience fixing bikes, as well as the tools you'll need to keep your bike running smoothly.
1. Make sure you have the right tools

Having the right tools to fix your bike is the first step on your bicycle maintenance journey.
Some bike maintenance jobs can be done with everyday tools, such as hex keys. Other tasks require specialist tools or are simply made much easier when you have a tool designed specifically for working on a bike.
We’d always advise investing in higher-quality tools to make your maintenance as close to painless as possible and minimise the risk of rounding a bolt.
A multi-tool will serve you well when you’re out on a ride and for performing basic adjustments at home, but they lack the leverage needed for some tasks. It’s ultimately best to invest in a quality set of hex keys for home use.
Another option is to buy one of the best bike tool kits. These often contain the majority of tools you’ll need, although there may be some you’ll need to buy separately, such as a torque wrench.
Here’s a list of the tools you need when first starting out:
- Multi-tool
- Bike pump (both a track pump to use at home and a mini-pump in case you puncture on a ride)
- Tyre levers
- Puncture repair kit
- A set of good-quality hex keys (and torx keys if applicable)
- Torque wrench (critical if your bike uses carbon components, but we’d recommend this tool for all bikes)
- Chain breaker tool
- Chain checker
- Shock pump (if you’ve bought a mountain bike with an adjustable air fork or shock)
2. Perform an M-check
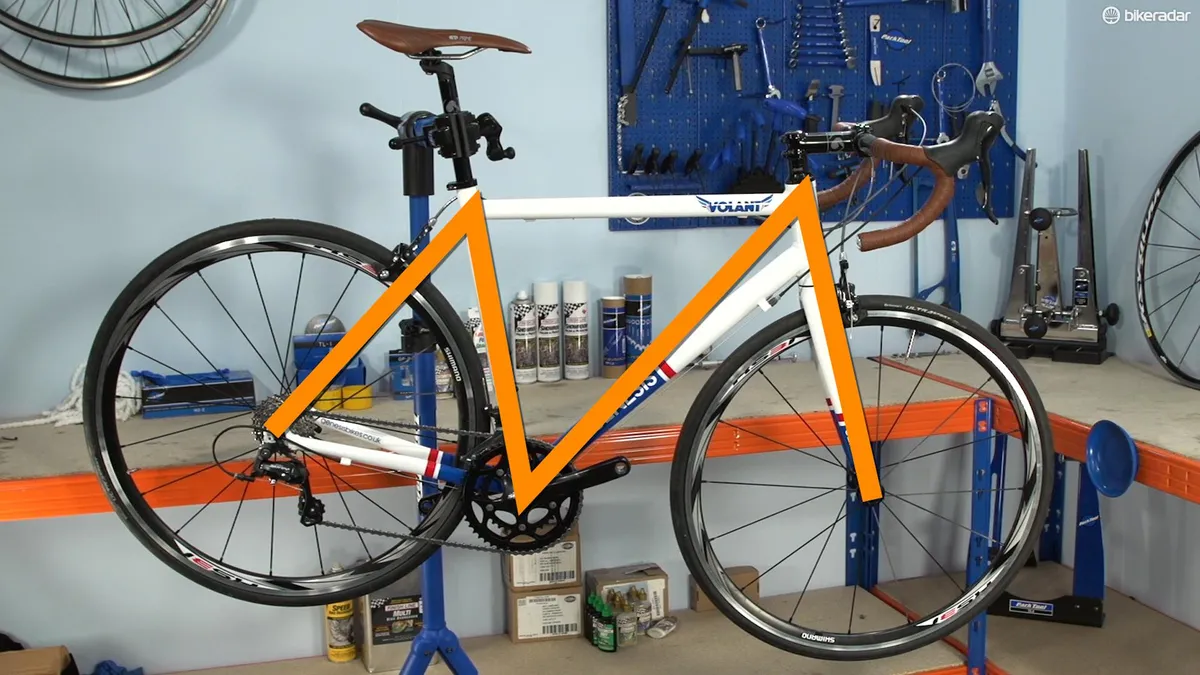
An M-check is a basic bicycle safety check that looks at all the main parts of the bike. It includes inspecting the tyres, wheels, drivetrain, seat, cranks and cockpit.
If you haven’t ridden the bike in a while or are buying a used bike, this check can also alert you to any major mechanical problems.
The check earns its name because you follow the shape of an M when checking the bike, and should only take a couple of minutes. It should ideally be carried out before every ride to ensure your bike is safe.
3. Learn how to fix a puncture

Learning how to fix a puncture will mean you don’t have to call for help or a costly taxi home if you’re left deflated on the road or trailside.
At the very least, you should carry a spare inner tube with you on every ride, as well as a puncture repair kit.
A puncture repair kit is useful if you experience a second puncture and run out of tubes, so you can repair the punctured tube to get yourself home. It will also prove cost effective, saving you from buying a new inner tube every time you get a puncture.
If you’re unsure how to fix a puncture, we’d recommend practising the process before you head out for a longer ride.
4. Check your tyre pressure

Riding with under- or over-inflated tyres is a common maintenance mistake.
Tyres that aren’t inflated to the right pressure can diminish your riding experience.
If the tyre pressure is too high, you’ll feel every vibration on the road and trail. If it’s too low, you run the risk of punctures and your bike may feel sluggish. You’ll also likely compromise the bike’s handling.
It’s a good idea to check your tyre pressure before every ride and invest in one of the best bike pumps to keep them inflated.
If you’re unsure what pressure you should run, there will be a suggested range printed on the sidewall of the tyre, or you could take a look at a tyre pressure calculator, such as Silca’s.
5. Keep your bike clean

Cleaning your bike will keep it running smoothly and reduce the wear on components, saving you from prematurely replacing parts or having to make extra trips to the bike shop.
The muck, salt and grit on the roads and trails will eat away at your drivetrain components if you don’t look after them.
While cleaning your bike may feel like a chore, it doesn’t have to be too labour-intensive. You could consider doing this at the end of your ride before you head back inside to get the job out the way.
We’d recommend cleaning your bike at least once a week in the summer and after every ride in the winter.
Start by wetting the bike either using a bucket and sponge or a hose pipe. We’d recommend avoiding using a pressure washer because they can blast the grease out of the bearings.
Start by cleaning the chain with a specific degreaser, which will normally take three to five minutes to work its magic.
While you’re waiting, you can clean the rest of the bike using a specific bike cleaner before moving back to the chain.
Once you’re done, dry the bike and apply chain lube to your chain to keep it running smoothly.
6. Learn how to adjust your brakes

Bike brakes perform a critical function and will lead to all kinds of problems if they’re not set up correctly.
If your bike has rim brakes, it’s worth keeping an eye on the pad life and replacing them before they’re worn out.
It’s also worth regularly checking the brake cable isn’t frayed and is under sufficient tension – the brake lever shouldn’t pull all the way back to the handlebar.
If your bike uses disc brakes, regularly inspect the disc brake pads to make sure there’s plenty of life left. It’s worth spraying some specific disc brake cleaner on the brake to avoid any contamination and squealing noises.
Check out our guides on how to set up rim brakes and how to change disc brake pads to find out more.
7. Index your gears
From time to time, you may need to adjust your gears to stop them from mis-shifting or being excessively noisy.
Although there are many elements to adjusting the gears on your bike, being able to index them so they move from one cog to the next easily is a good foundational skill.
The indexing of your gears is performed using the barrel adjuster, which can be found either on the derailleur, shifter or in-line in the cable housing. You’ll be able to solve most indexing problems by making adjustments to the cable tension.
If the chain shifts off the cassette or chainrings, you may need to adjust the limit screws. However, this won’t be the case most of the time and should be your last port of call.
One general tip is to avoid resting your bike on its driveside, where the derailleurs, cassette and cranks are. This will avoid the derailleur hanger bending, which can lead to poor and inaccurate shifting.
8. Check your chain for wear
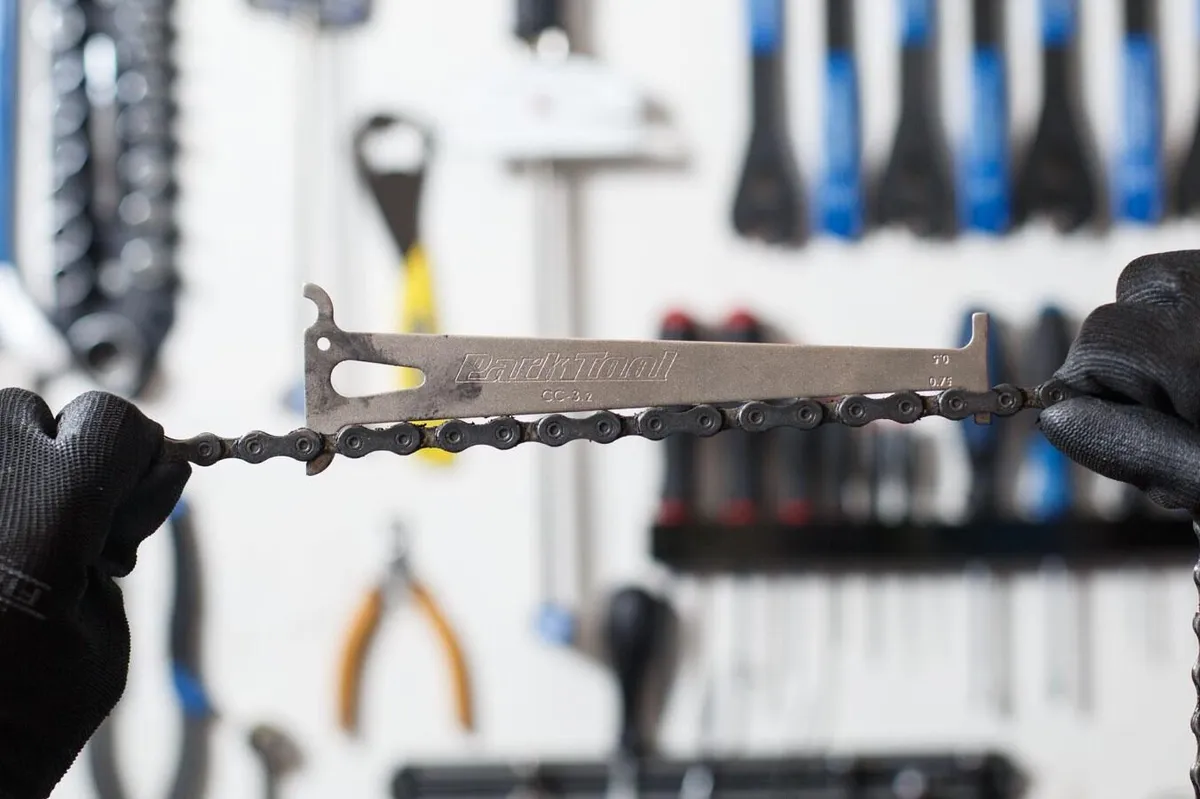
The chain experiences a heavy life and its pitch will grow in length over time. It’s worth investing in a chain checker and regularly checking for wear.
If you don’t change a chain in time, it will overstretch and then wear out the cassette and chainrings on the crankset, potentially making for a hefty repair bill.
9. Fix a broken chain
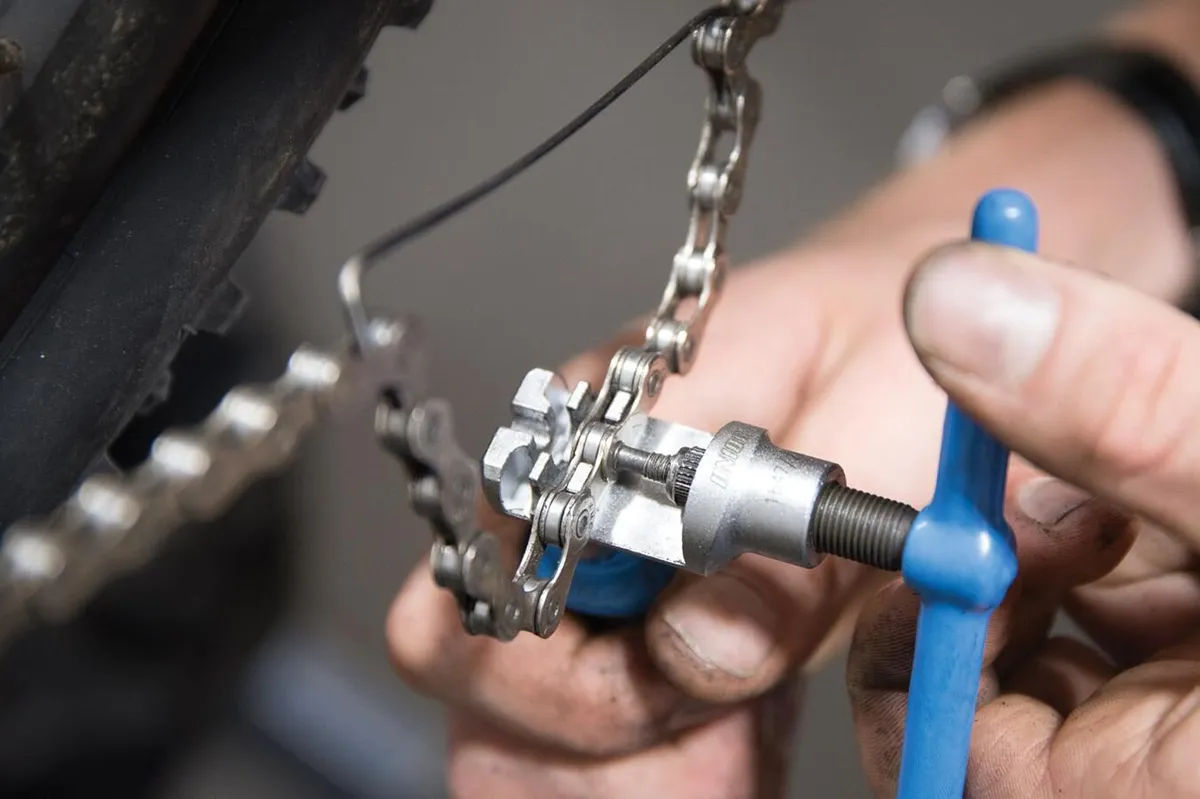
A broken chain doesn’t have to be a ride-ender if you’re carrying the correct tools and have the know-how to repair it.
If you’ve broken a chain on a ride and none of the links have bent, you can get yourself home by installing a new joining pin or quick link. It’s best to carry a multi-tool with a chain breaker function.
If some of the links have bent, you’ll need to shorten the chain. You may not have access to all of your gears, but you’ll be able to get home and ultimately replace the chain.
10. Attend a bike maintenance class
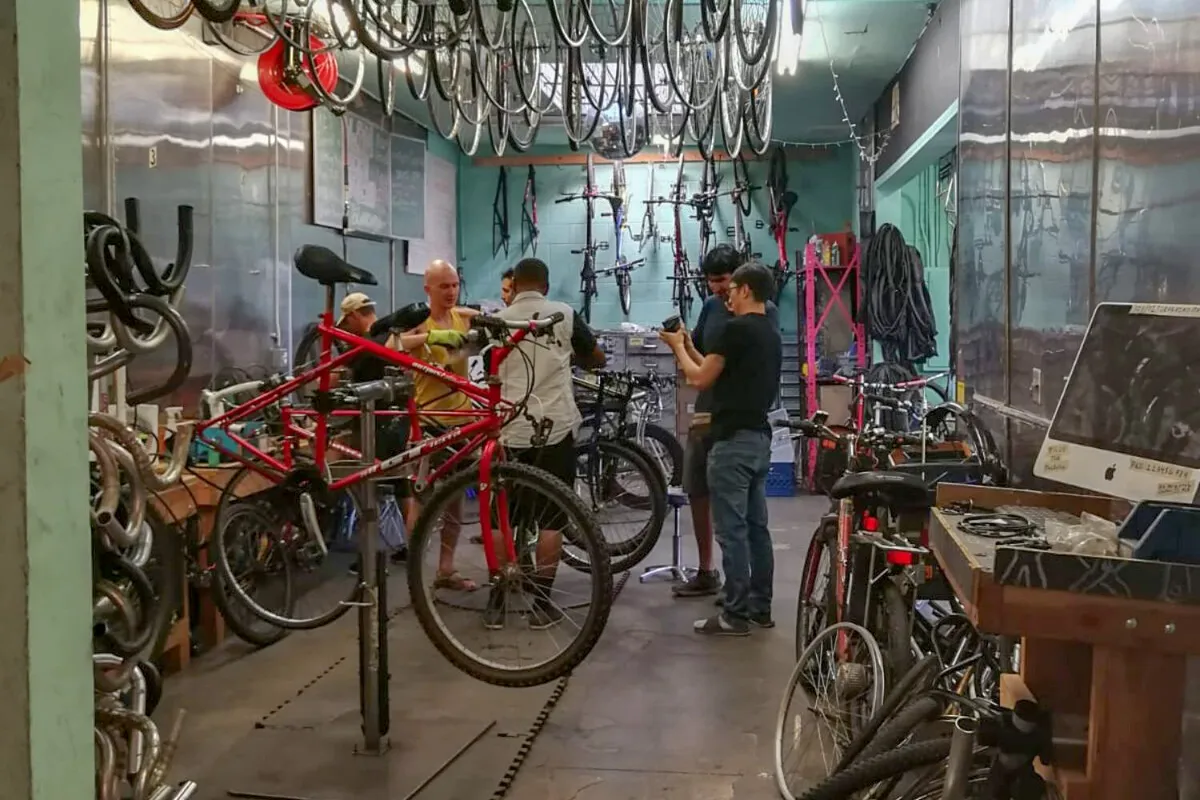
Attending a bicycle maintenance class is a great way to learn how to fix your bike.
Many bicycle workshops offer maintenance classes and the mechanic will likely be happy to answer your questions and offer you valuable tidbits of information.
Editor's note: This article was first published in February 2023 and updated in May 2026.