Never mind fancy electronic shifting and disc brakes – back in the real world that most of us inhabit, mechanical shifting and calliper rim brakes are still the most common gear and brake systems around.
They are also easier – and a fair bit cheaper – to service and replace and, if you look after your bike’s cables, these loyal workhorses should give you years of safe and efficient service.
However, cables do become worn, sticky and frayed with use (especially if you’re not too keen on cleaning your bike), and then it’s time to replace them.
This job is well within the capabilities of any amateur home mechanic – you just need some basic tools, new cables and ferrules and an hour of your time.
Tools you will need:
- Cable cutter
- Side cutter
- File
- Pointer/awl
- Scissors
- Hex keys
In this guide, we'll cover how to maintain and replace your bike's brake and gear cables. If you'd prefer to follow our video guides, scroll down to the bottom of this article.
What is a brake and gear cable?

Brake and gear cables are formed of two parts – the inner and outer. This arrangement is known as a Bowden cable, to give its proper name.
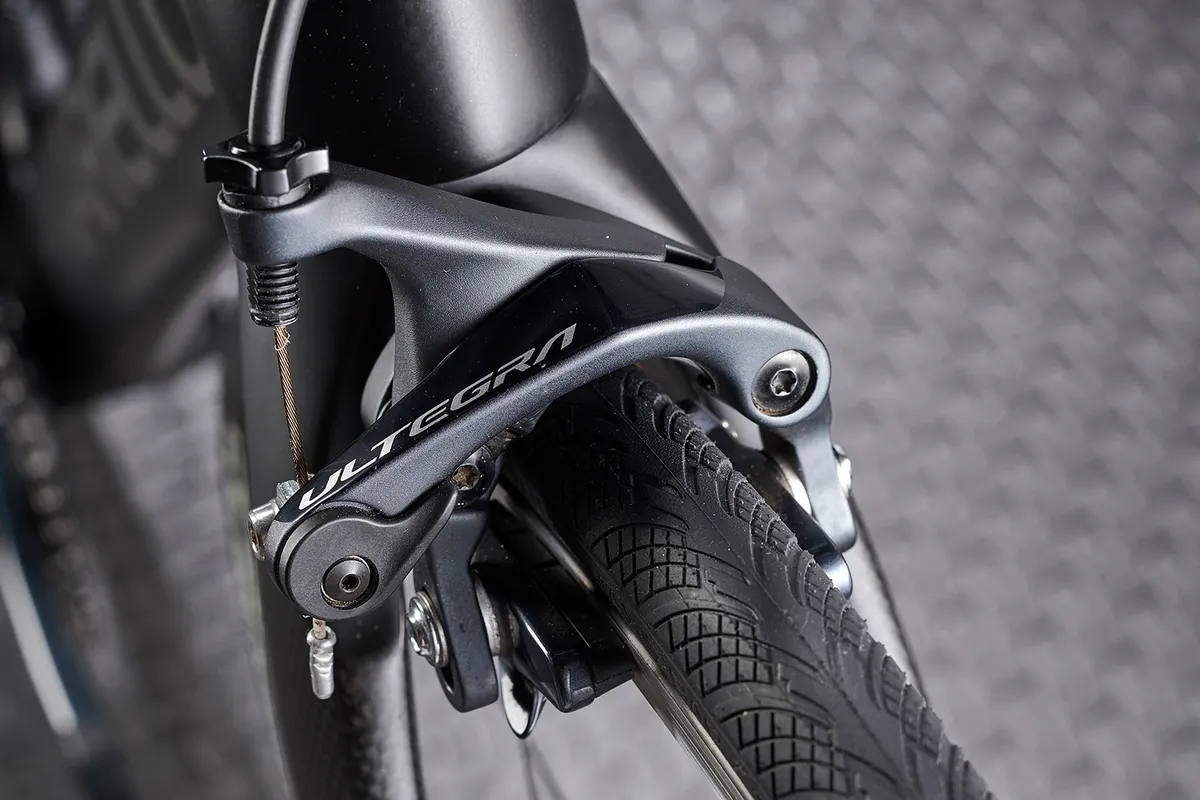
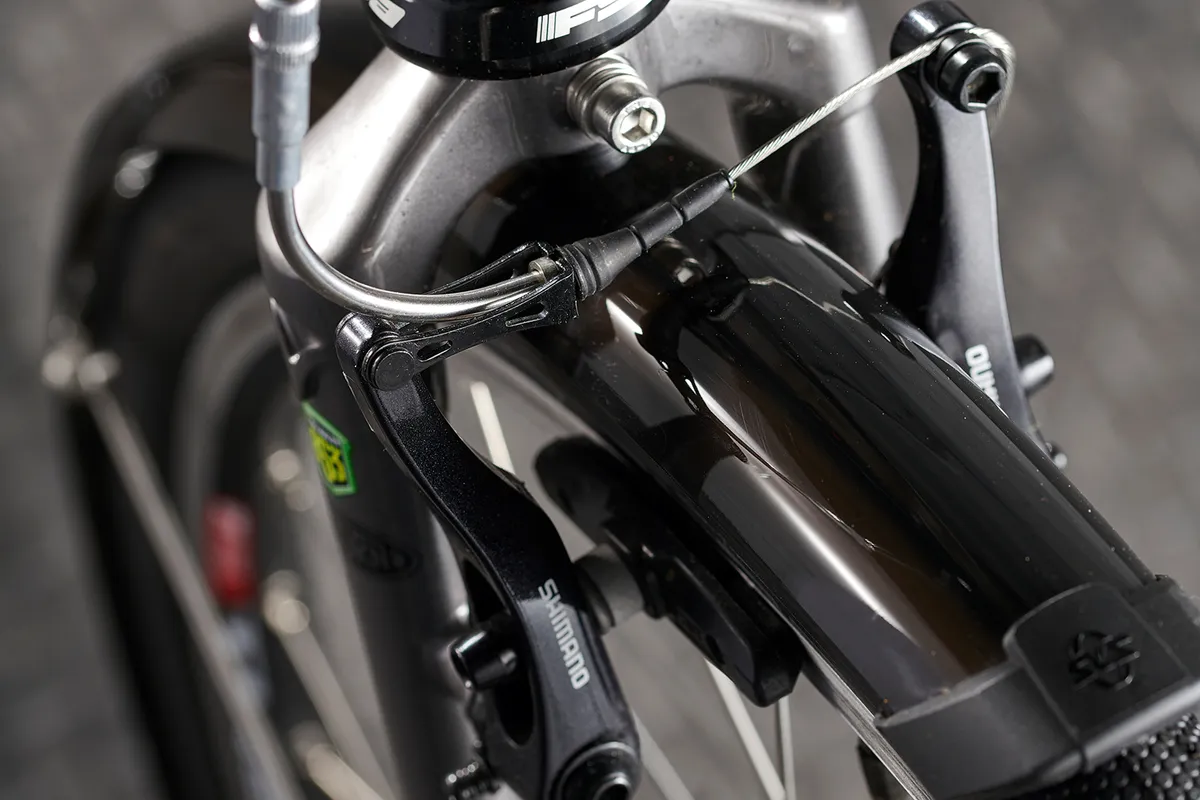
- A brake inner cable is a thick steel cable capped at one end with either a pear-shaped (road brake levers) or round (flat bar brake levers) nipple that slots into the brake lever.The outer is usually formed of a coiled steel core shrouded with a hard rubber or plastic cover.
- A gear inner cable is a thinner steel cable that is capped at one end with a small cylindrical nipple.The outer cable is typically formed of a bundle of very thin cables that run as a continuous helix along the length of the housing. This is also coated in rubber or plastic.
Brake and gear cables are absolutely not interchangeable with each other. It should go without saying but to use a thin gear cable for a brake could have disastrous consequences.
How to replace bike brake cables
Step 1. Remove brake cable
We're going to start with brake cables. The first job is to remove your existing brake cables.
Back off the cable adjusters on the calipers (turn the barrel adjuster clockwise) and undo the cable retention bolt at the caliper and cut off the cable end. If your bike uses V-brakes or another cantilever brake, there almost certainly won't be a barrel adjuster.

Once the inner has been released, feed the cable back into the outer. Pull the brake lever so the cable can 'escape' and pull the cable through the lever. On most flat bar levers, you will need to unhook the cable end from a hinged slot.
A small screwdriver may help free the end of the cable from its mount within the lever. You can then pull the cable through the top of the lever.
Step 2. Replace the housing
If the cable housing is visibly worn or you suspect it might be contaminated with dirt, you may want to replace it.
The proliferation of internally-routed cables (ie, the cables run inside the frame or handlebars) can complicate things here so, to keep things simple, we're going to assume you have externally-routed cables. We have a separate guide on how to route internal cables.

To replace external cables on a road bike, start by unwrapping the top half of the bar tape from the centre of the handlebar. Cut any tape holding the cable in place remove.
On flat bat bikes, you will only have to unhook the cable from the slotted barrel adjuster on the lever and from the frame.
Continue to each brake, unhooking cables from the stops as you go.
If you were satisfied with the quality of your braking before replacing the cables, retain the old outer and cut new sections to match.

You will likely be left with a rough edge when cutting cables. It is good practice to file/grind these back to a smooth finish or, at minimum, trim off any ragged edges. This makes a significant difference to the feel of your braking.
Once the ends are finished, refit ferrules (usually metal for brake cables) to each end of the cable.
Step 3. Fit the new brake cable

If using drop bars, start by slotting the cable into to lever. Then run the brake cable along the bar, taping it in place periodically.
Continue refitting cables to the frame and to the front bake. At this stage, pull the brake lever again and begin feeding the inner cable back through the lever body and into the cable.
Ensure any quick release is closed, thread inner through the cable-clamp slot and fasten roughly in place. Turn the cable adjuster one turn anti-clockwise.
At this stage, we recommend you check out our standalone guide on how to set up rim brakes.
How to replace bike gear cables
Step 1. Remove the gear cable

The process for removing gear cables is largely the same as for brake cables.
However, to remove the inner, you will usually have to shift to the lowest gear to bring the carrier for the cable inline with the opening. This is sometimes hidden beneath a rubber bung or the hood of a lever.
Make sure you also back off adjustment on all cable adjusters – derailleurs, down-tube stop and shifters.
Undo the cable clamp at the derailleur and pull the cable out from the shifter.
If you want to replace the outer gear cable, follow the same advice as for brake cables.
Step 2. Remove the gear cable

Gear cables are more sensitive to contamination than brake cables and, if dirty or sticky, this can adversely affect shifting performance.
If you think the outer is due a replacement, use the old outers as a cutting guide and follow the same advice for finishing the ends of the cable.
Note that Shimano now recommends the use of a special length of outer cable (OT-RS900) for the final part of the cable run from the frame to the rear derailleur on certain derailleurs.
Step 3. Fit the new gear cable

Feed the new inner through the shifter lever, housing and first section of outer. Ensure the cable fits tight to the lever body and, if using drop bars, tape to the bar.
Feed inners through the stops, bottom bracket guides and outer cable. Check the ferrules are seated. Feed inners through the correct side of the mech clamps and tighten.
Step 4. Finishing touches

It is essential to fit end caps to all cables. Trim all but roughly 3cm of inner cable protruding from cable clamps. Taking care not to splay the cable end, slide on an end cap. Crimp it gently with side cutters two or three times, and be careful not to slice through it.Never mind fancy electronic shifting and disc brakes – back in the real world that most of us inhabit, mechanical shifting and calliper rim brakes are still the most common gear and brake systems around.
They are also easier – and a fair bit cheaper – to service and replace and, if you look after your bike’s cables, these loyal workhorses should give you years of safe and efficient service.
However, cables do become worn, sticky and frayed with use (especially if you’re not too keen on cleaning your bike), and then it’s time to replace them.
This job is well within the capabilities of any amateur home mechanic – you just need some basic tools, new cables and ferrules and an hour of your time.
Tools you will need:
- Cable cutter
- Side cutter
- File
- Pointer/awl
- Scissors
- Hex keys
In this guide, we'll cover how to maintain and replace your bike's brake and gear cables. If you'd prefer to follow our video guides, scroll down to the bottom of this article.
What is a brake and gear cable?
Brake and gear cables are formed of two parts – the inner and outer. This arrangement is known as a Bowden cable, to give its proper name.
- A brake inner cable is a thick steel cable capped at one end with either a pear-shaped (road brake levers) or round (flat bar brake levers) nipple that slots into the brake lever.The outer is usually formed of a coiled steel core shrouded with a hard rubber or plastic cover.
- A gear inner cable is a thinner steel cable that is capped at one end with a small cylindrical nipple.The outer cable is typically formed of a bundle of very thin cables that run as a continuous helix along the length of the housing. This is also coated in rubber or plastic.
Brake and gear cables are absolutely not interchangeable with each other. It should go without saying but to use a thin gear cable for a brake could have disastrous consequences.
How to replace bike brake cables
Step 1. Remove brake cable
We're going to start with brake cables. The first job is to remove your existing brake cables.
Back off the cable adjusters on the calipers (turn the barrel adjuster clockwise) and undo the cable retention bolt at the caliper and cut off the cable end. If your bike uses V-brakes or another cantilever brake, there almost certainly won't be a barrel adjuster.
Once the inner has been released, feed the cable back into the outer. Pull the brake lever so the cable can 'escape' and pull the cable through the lever. On most flat bar levers, you will need to unhook the cable end from a hinged slot.
A small screwdriver may help free the end of the cable from its mount within the lever. You can then pull the cable through the top of the lever.
Step 2. Replace the housing
If the cable housing is visibly worn or you suspect it might be contaminated with dirt, you may want to replace it.
The proliferation of internally-routed cables (ie, the cables run inside the frame or handlebars) can complicate things here so, to keep things simple, we're going to assume you have externally-routed cables. We have a separate guide on how to route internal cables.
To replace external cables on a road bike, start by unwrapping the top half of the bar tape from the centre of the handlebar. Cut any tape holding the cable in place remove.
On flat bat bikes, you will only have to unhook the cable from the slotted barrel adjuster on the lever and from the frame.
Continue to each brake, unhooking cables from the stops as you go.
If you were satisfied with the quality of your braking before replacing the cables, retain the old outer and cut new sections to match.
You will likely be left with a rough edge when cutting cables. It is good practice to file/grind these back to a smooth finish or, at minimum, trim off any ragged edges. This makes a significant difference to the feel of your braking.
Once the ends are finished, refit ferrules (usually metal for brake cables) to each end of the cable.
Step 3. Fit the new brake cable
If using drop bars, start by slotting the cable into to lever. Then run the brake cable along the bar, taping it in place periodically.
Continue refitting cables to the frame and to the front bake. At this stage, pull the brake lever again and begin feeding the inner cable back through the lever body and into the cable.
Ensure any quick release is closed, thread inner through the cable-clamp slot and fasten roughly in place. Turn the cable adjuster one turn anti-clockwise.
At this stage, we recommend you check out our standalone guide on how to set up rim brakes.
How to replace bike gear cables
Step 1. Remove the gear cable
The process for removing gear cables is largely the same as for brake cables.
However, to remove the inner, you will usually have to shift to the lowest gear to bring the carrier for the cable inline with the opening. This is sometimes hidden beneath a rubber bung or the hood of a lever.
Make sure you also back off adjustment on all cable adjusters – derailleurs, down-tube stop and shifters.
Undo the cable clamp at the derailleur and pull the cable out from the shifter.
If you want to replace the outer gear cable, follow the same advice as for brake cables.
Step 2. Remove the gear cable
Gear cables are more sensitive to contamination than brake cables and, if dirty or sticky, this can adversely affect shifting performance.
If you think the outer is due a replacement, use the old outers as a cutting guide and follow the same advice for finishing the ends of the cable.
Note that Shimano now recommends the use of a special length of outer cable (OT-RS900) for the final part of the cable run from the frame to the rear derailleur on certain derailleurs.
Step 3. Fit the new gear cable
Feed the new inner through the shifter lever, housing and first section of outer. Ensure the cable fits tight to the lever body and, if using drop bars, tape to the bar.
Feed inners through the stops, bottom bracket guides and outer cable. Check the ferrules are seated. Feed inners through the correct side of the mech clamps and tighten.
Step 4. Finishing touches
It is essential to fit end caps to all cables. Trim all but roughly 3cm of inner cable protruding from cable clamps. Taking care not to splay the cable end, slide on an end cap. Crimp it gently with side cutters two or three times, and be careful not to slice through it.
Alternatively, superglue an end cap into place. At this point, refer to our standalone guide on how to set up and index the gears on your bike.
Finally, road-test your bike.
Video guides
Alternatively, superglue an end cap into place. At this point, refer to our standalone guide on how to set up and index the gears on your bike.
Finally, road-test your bike.
Video guides