Knowing how to remove and replace the cassette (the cogs on the rear wheel) on your bike is an important and easy task that any home mechanic should get familiar with.
Why would you want to remove your cassette? Well, if you ride your bike a lot and you don’t clean it as frequently as you ought to, your cassette can wear out.
Or, if you want to rectify your wrongdoings and clean your bike more thoroughly (you should), this is a good way to get into the bits you can’t normally reach.
Changing your cassette can also enable you to switch to different gearing, perhaps making it easier or harder for your local terrain or a specific event. All of these reasons will necessitate your cassette (and possibly chain) coming off.
It’s worth having a cassette tool and chain whip in your tool kit for all of the above reasons. You don’t need the top-spec tools that can cost more than some bikes. For the amount you’ll use them, it’s just not worth it. However, don’t buy the cheapest ones either – you may bend them within a handful of uses.
Do your research, or ask the mechanics at your local shop. As always, if you go to them for advice, do the right thing and buy there too.
We’ve split this guide into two separate sections to cover both Shimano / SRAM HG and Campagnolo cassettes and SRAM XD / XDR cassettes.
Tools required
- Chain whip
- Cassette lockring tool
- Grease, ideally lithium
- Torque wrench and cassette lockring socket (optional)
How to install Shimano, SRAM HG and Campagnolo cassettes
The following steps are relevant to all Shimano / SRAM HG and Campagnolo cassettes.
Cassettes from after-market manufacturers such as Microshift or Sunrace often install in the same way too.
Step 1

Shift the chain into the smallest cog on the cassette. Open the quick release or unwind the thru-axle and take the wheel out of the bike.
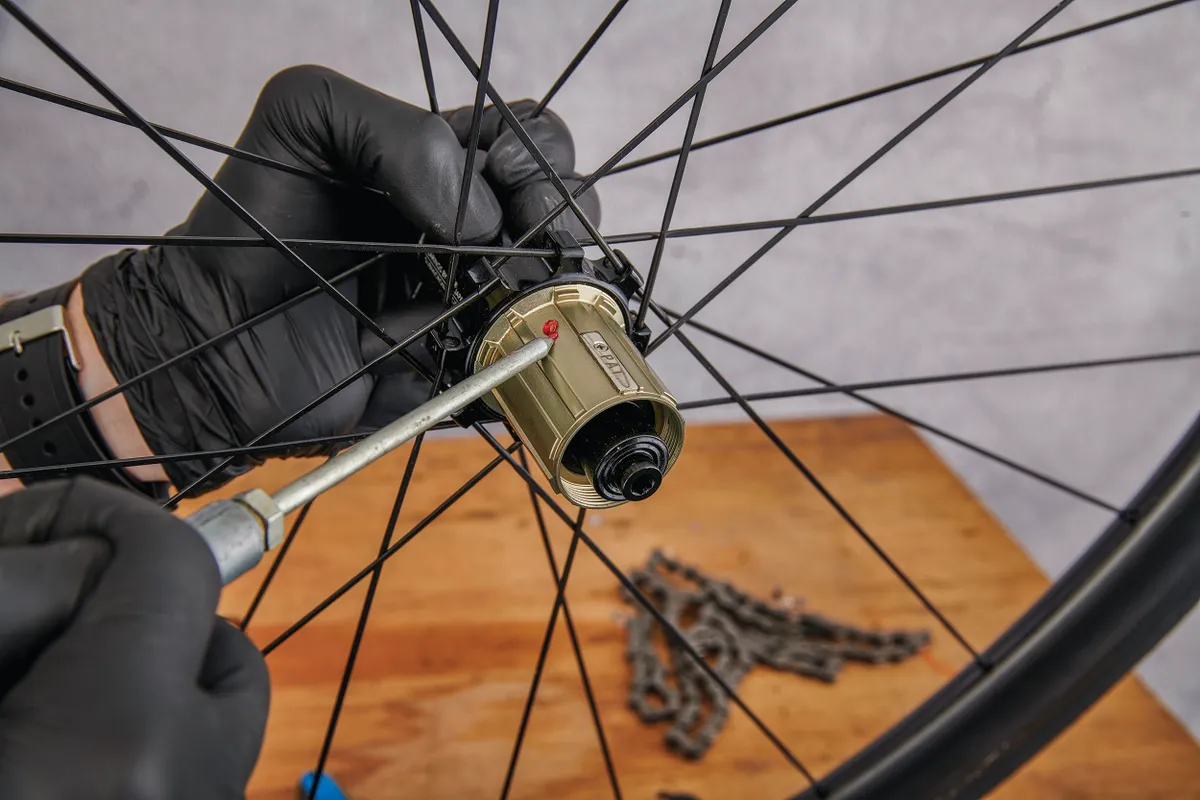
To remove the cassette, you must loosen the lockring. This requires a special splined tool, which is specific to your brand of cassette. Shimano and SRAM share the same lockring tool across both their HG and XD / XDR cassettes. Campagnolo cassettes use a different lockring because they have a different spline pattern.

Because the lockring unwinds in the same direction the freewheel spins, you need to use a chain whip (in this case a plier type is used) to counter the loosening motion.
Removing the lockring will require a lot of force – it’s not something you want coming undone mid-ride.
Step 2
Remove the lockring and then pull the old cassette towards you to remove it from the freewheel. If you want to keep the old one, it’s a good idea to zip-tie it all together in order.
If you are finding it difficult to remove and are using a lockring without a handle, you could use an adjustable spanner for extra leverage. Alternatively, you could use a lockring tool on a socket with a breaker bar.
It’s also a good idea at this stage to check the condition of your freehub. If it has been deeply gouged by the cogs biting into the body, it may be due a replacement, but this is less of an issue these days because most cassettes are mounted onto a wide-bodied cog carrier.
It’s also worth checking the condition of both the freehub and hub bearings at this stage.
Step 3
At this point, it's a good idea to give your freehub a thorough clean and then give the body a very light coating of grease. This can prevent steel cogs from corroding in place on an alloy freehub body.
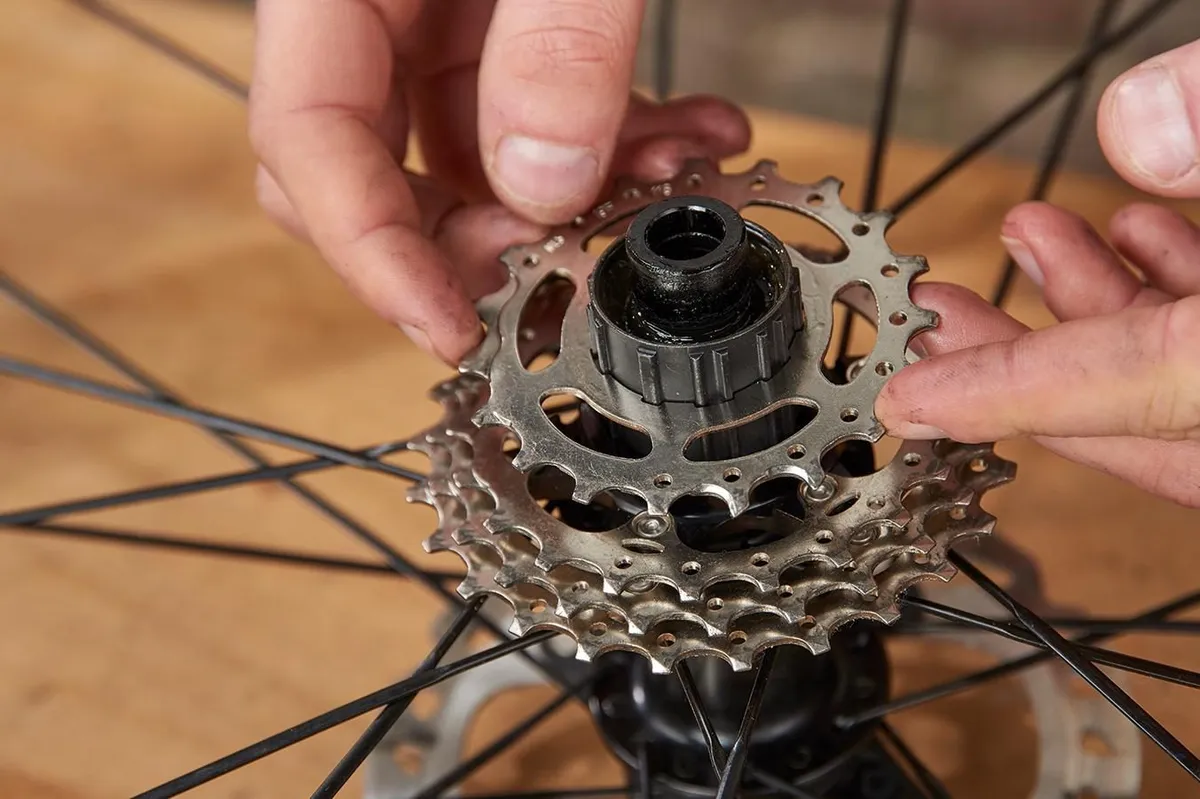
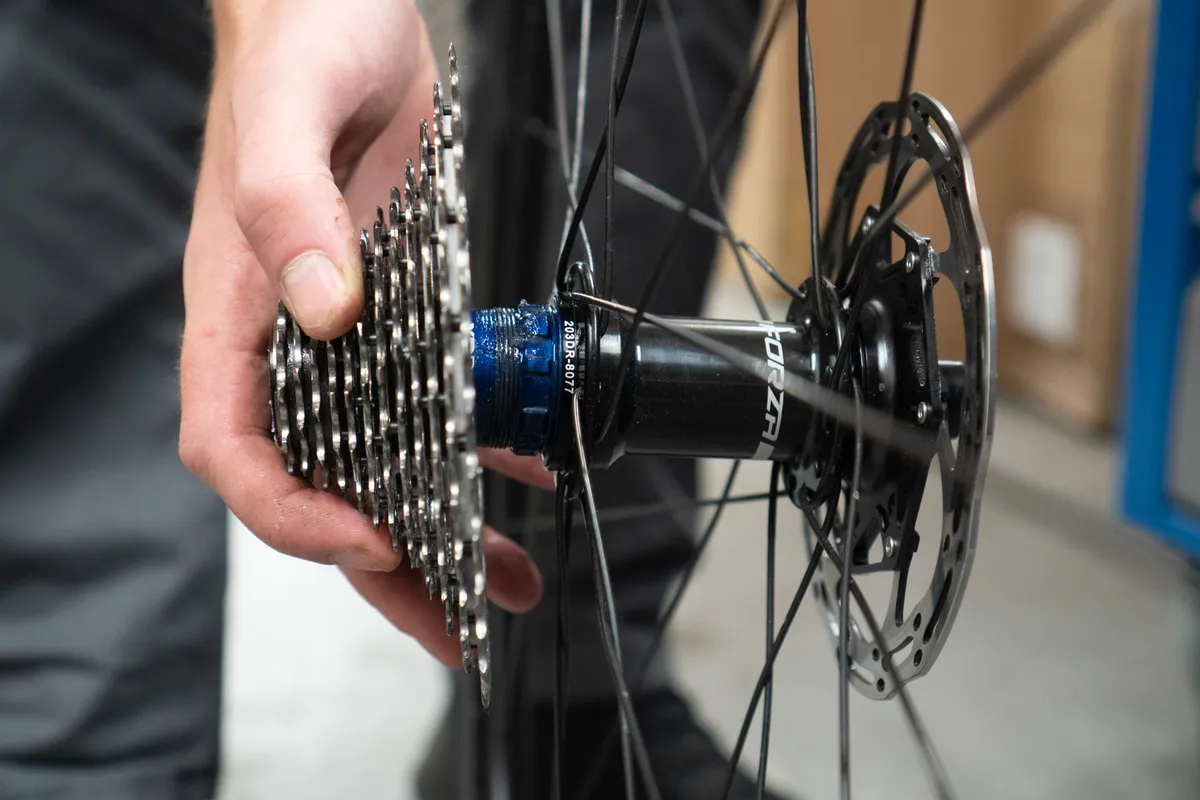
Slide the new cassette on, in order, making sure you line up all the splines.
There will be one wider gap on the rear of each cog, which you need to line up with the double or wider spline on the freewheel.
It’s impossible to incorrectly align a cog because it's designed to only fit in one orientation.
If you are running a cassette with fewer speeds than the freehub is designed for, you may need to install a spacer before proceeding to slide the new cassette on.
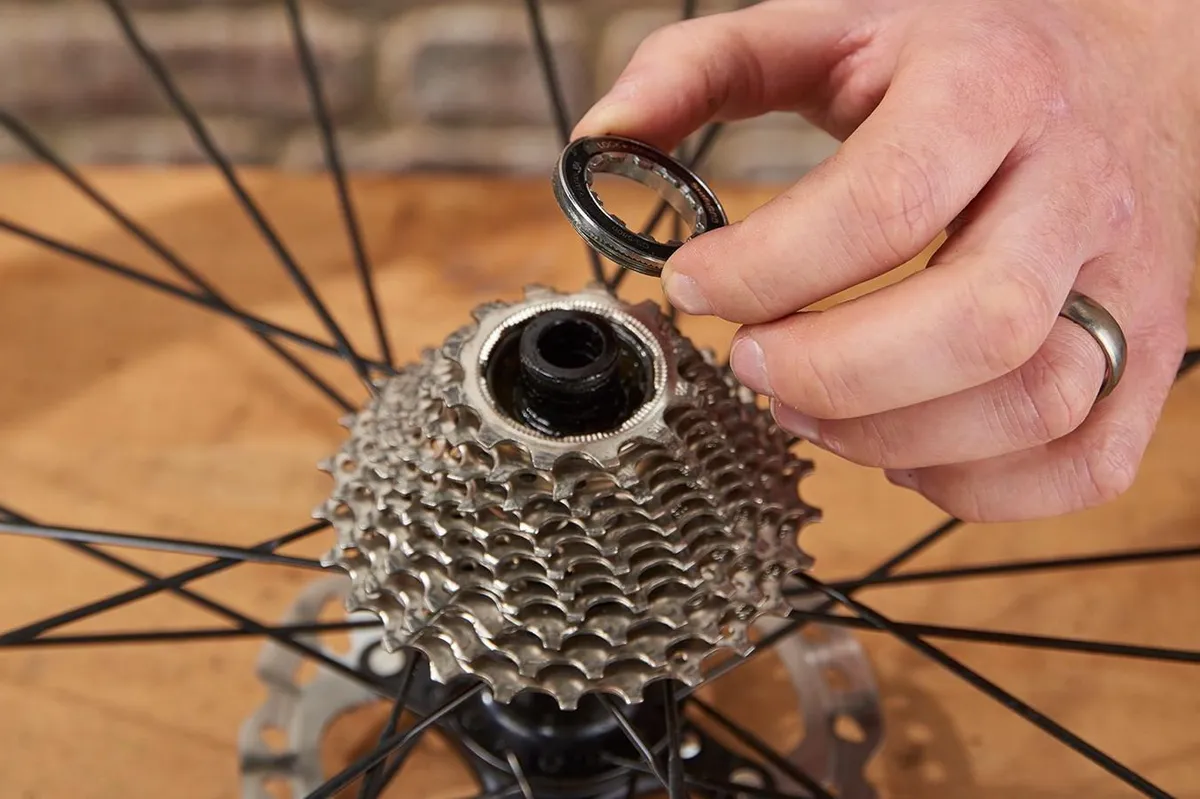
Step 4

Take the lockring and fit it to the front of the cassette. Screw it gently into place by hand initially. Tighten the lockring sufficiently to hold the cassette in place.
It's important to do this step because it's very easy to strip or crossthread the locking with the additional leverage the locking tool provides.
Step 5

You don’t need the chain whip for this step because you will be tightening in a clockwise direction and the freewheel will provide resistance.

Tighten to the manufacturer-recommended torque, using a suitable socket, and don’t be tempted to overtighten because it can damage the freehub body’s threads and you may want to take it off again some day...
How to install a SRAM XD / XDR cassette
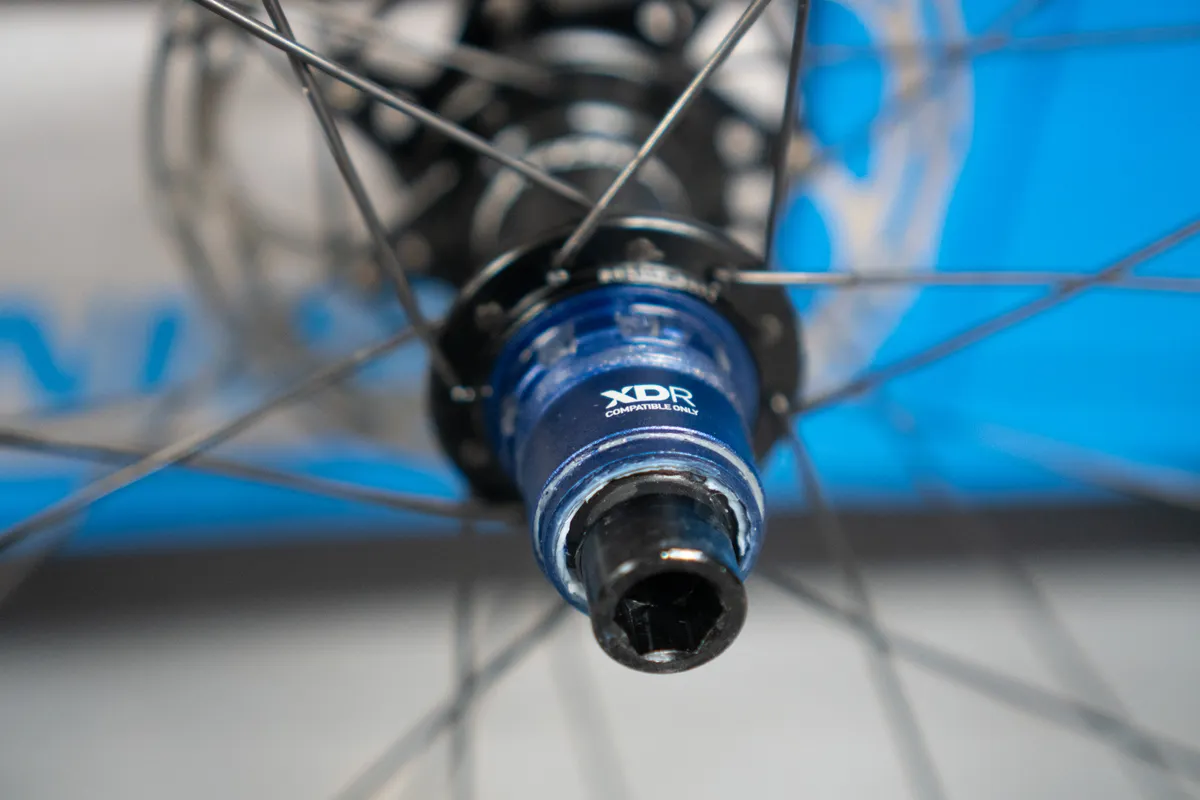
SRAM introduced the XD freehub standard on its 11-speed mountain bike groupsets and later the XDR freehub for gravel and road bike groupsets.
It uses a different design to accommodate the 10-tooth cog. Conventional HG freehubs can only accommodate cogs as small as 11-tooth.

All the tools required to fit a Shimano HG cassette can be used for SRAM XD / XDR too. The difference is that, unlike an HG cassette, a SRAM XD / XDR cassette is one piece.
It slides onto the freehub body, where it then interlocks with a spline system at the rear of the driver before threading into place.

The removal process is identical to an HG cassette, only the lockring is integrated into the cassette.

Before installing the new cassette, it’s imperative to apply a thin layer of grease on the freehub body threads.
Like any threaded interface, a SRAM XD / XDR cassette may seize if this is not greased. This can make future removal very laborious.
Once greased, slide the cassette onto the freehub body and rotate until the cassette engages with the splines.

If you are installing an XD cassette onto an XDR freehub body, make sure you install a 1.85mm spacer first.
Using a cassette lockring tool, start to tighten the lockring. The threads are very fine and easy to cross-thread.

Once you've tightened the lockring, torque it to 40Nm.
Other considerations
You're now good to go. If you've fitted a larger or smaller cassette, you may need to adjust the B-tension on your rear derailleur.
Also, remember you can only fit a like-for-like replacement in terms of the 'speed' of your cassette – i.e. you cannot replace a 9-speed cassette with a 10-speed one.