Getting your mountain bike suspension setup right can make all the difference. Most modern suspension works brilliantly if adjusted correctly, but finding the optimum settings can be tricky with so many adjustments and dials.
It’s worth persevering, though, because getting the setup of your suspension fork or rear shock right will enable your bike to work at its best, improving handling, grip and comfort.
In this guide, we explain the fundamentals of setting up mountain bike suspension. We then examine what to do if your setup isn’t right for you, or if you want to tweak your setup further to suit your specific riding style and terrain.
This guide focuses on setting up air-sprung suspension because it’s far more common than coil-sprung suspension. However, we outline the key differences in setting up coil-sprung suspension at the end of the guide.
Navigation
- How to set sag
- How to set damping
- Suspension tuning
- The effects of different suspension adjustments
- Coil-sprung suspension tips
How to set up mountain bike suspension
The video above shows how our former resident suspension guru, Seb Stott, set up his bikes. It should get your suspension performing well before you even leave the car park.
This video explains how to set your sag, test how progressive your suspension needs to be, and how to fine-tune your rebound damping.
Follow the steps below for more details.
How to set sag

When we talk about sag, we mean how much the suspension sinks into its travel when you sit on the bike.
Not enough sag, and your bike will lack grip; too much, and it will wallow and won’t deal well with repeated hits.
Here's how to set the sag on your mountain bike in nine simple steps.
- Inflate the air spring in the fork or shock to the recommended pressure for your weight. This can be found in the manufacturer’s manual, on their website or, often in the case of forks, printed on the back of one leg. It’s a good starting point
- Check any external compression-damping dials or levers are set fully open
- Bounce on the bike, to ‘free up’ the suspension and help balance the air pressure in the negative spring
- Wearing your riding gear – helmet, shoes, pack, etc – get a friend to hold the bike so you can get into your normal seated (for shock sag) or standing (for fork sag) position. Hold this for about five seconds
- Ensure that the rubber O-ring around the fork stanchion/shock shaft is pushed up against the wiper seal
- Carefully dismount from the bike without disturbing the O-ring
- Measure the distance (in millimetres) that the O-ring has moved up the stanchion/shaft. Divide this by the fork’s travel (eg. 160mm) or the shock’s stroke length (eg. 50mm), then multiply that by 100 to find the sag percentage. Helpfully, this is already marked on RockShox forks and shocks. Bikes with hidden shocks often have a sag meter on the main suspension pivot
- Check the brand’s recommended sag settings, which can be found in the manual, but are usually between 15 and 20 per cent for forks, and 25 and 30 per cent for shocks
- Add air (for less sag) or remove it (for more) to achieve the desired sag percentage. You can adjust these figures to suit your riding, but not by more than a few per cent, because this will upset the bike’s dynamic geometry.
How to set damping
Damping is a typically oil-based system that controls how fast the spring compresses and rebounds.
Many forks and shocks have external dials or levers to tweak this.
These have to cover a wide range of spring rates (air pressures), so there’ll usually only be two or three ‘clicks’ of adjustment you can use to fine-tune things for your weight, riding style and the terrain. Generally, high-end forks and shocks will offer a greater range of adjustment.
Lighter riders will be at one end of the settings range (lower pressures), and heavier folk will be towards the other (higher pressures).
To set your damping, make sure you've got the right sag, then head to a familiar trail that's typical of your riding. Then, follow the steps below.
1. Set your rebound damping

Rebound damping controls how quickly your suspension resets after absorbing an impact and should be set up first. Too slow, and the suspension will feel sluggish and may not extend quickly enough after an impact to absorb the next one. But too fast, and the bike will bounce off obstacles, breaking grip. How fast you’ll want the rebound will depend on your weight, speed, style and terrain.
- Starting with the rear shock (if your bike has one), turn the dial/lever towards the ‘+’ or tortoise symbol, one click at a time, until the shock only oscillates once after a good-sized compression, such as riding off a kerb
- Session the trail section and decrease the damping – by turning the dial/lever towards the ‘-’ or jackalope (hare) symbol – one click at a time until the suspension can track the ground and recover between hits
- Match the fork’s rebound feel to the shock using the same method
Note: if you have RockShox’s latest Charger 3.1 damper, the meaning of the markings is reversed, so turning dials towards ‘+’ reduces damping and vice versa.
2. Set your spring curve

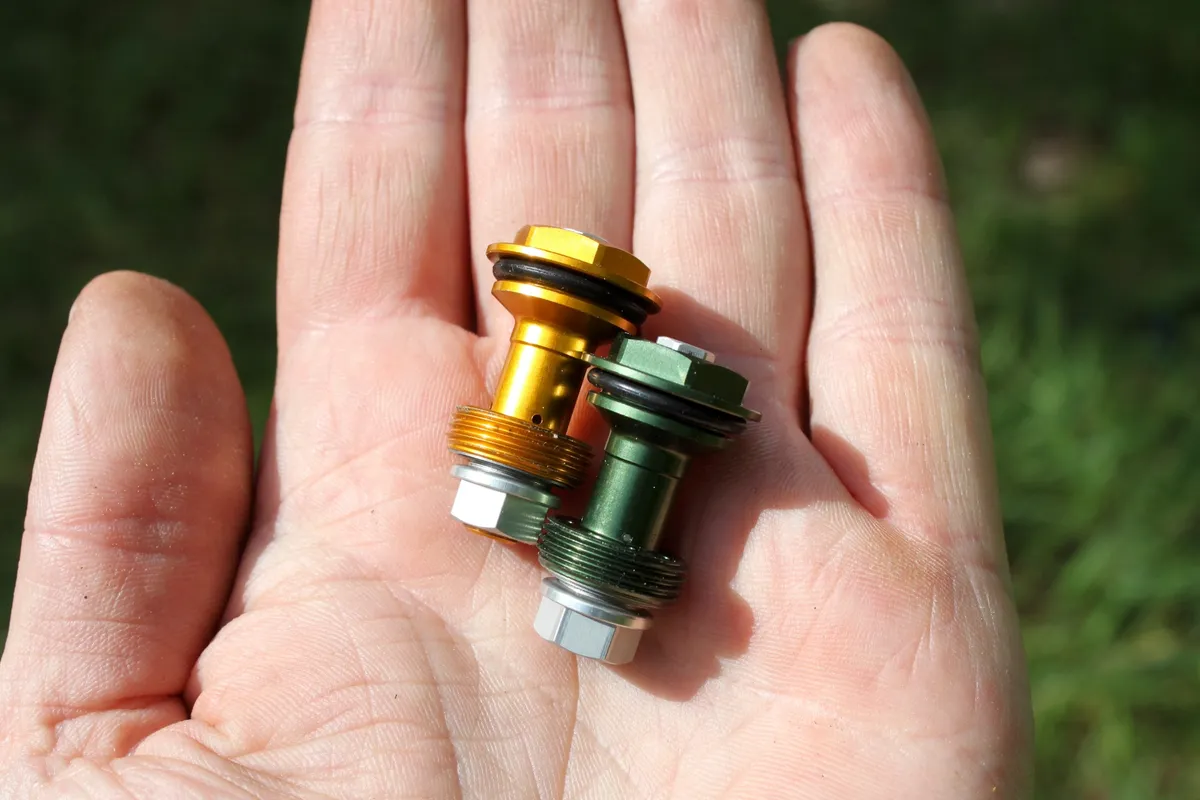
If you’ve got your sag and rebound set correctly but use too much travel too often, you’ll need to make the spring curve more progressive by installing volume spacers.
These reduce the volume of the air spring, making it ramp up more firmly towards the end of its stroke. If your settings are correct but you can’t reach full travel, try removing any volume spacers, one at a time. Remember to record your pressures before releasing any air from the fork or shock, to ensure your sag stays consistent.
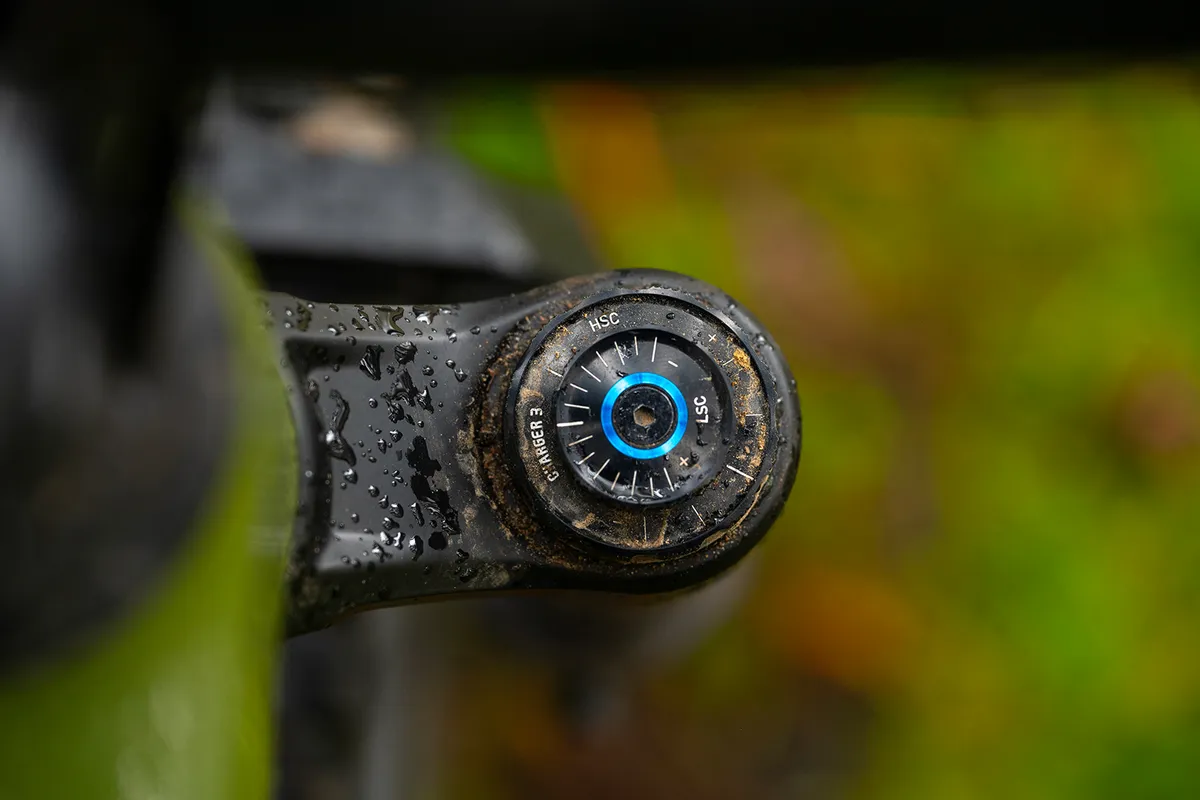
3. Set your compression damping

Now that the spring supports your weight, you can adjust the compression damping. Some forks and shocks only have low-speed (LSC) adjustment, which controls how the suspension responds to pedalling, pumping and weight shifts under braking. Others also have high-speed (HSC) adjustment, which limits how fast it can move to absorb impacts.
- Start with the recommended settings (or LSC in the middle, HSC fully open).
- Session the trail section and turn the dial one or two clicks in each direction until you get the suspension behaving in the way that best suits the terrain and your riding style. Compression damping reduces suspension sensitivity, so only add as much as is needed to increase support.
- Once you’ve done this with the rear shock, do the same with the fork.
4. Final checks

Getting the balance right between the front and rear suspension is vital to get the best performance from a bike.
If the fork is overly firm, supportive or fast compared to the rear end, this will shift the bike’s weight balance backwards, affecting handling negatively.
The opposite is also true – and potentially more dangerous. If you bounce the front and rear suspension together in a flat car park, the fork and shock should offer similar support and shaft speeds under compression and rebound. Adjust the damping until they do.
A certain amount of trial and error will be involved in getting your setup correct. We recommend familiarising yourself with how the adjusters on your specific fork and/or shock work, and taking the time to experience how different setups perform on your favourite trails.
What about suspension tuning?
Modern mountain bike suspension is highly tunable right out of the box, offering adjustment to spring rates, air chamber volume and damping (via the external dials). However, if you want to go even deeper with your customisation, you can tune the internals of your suspension.
You can personalise the damping circuit of your suspension even further through custom pistons, shims and oil, controlling the oil flow and manipulating the suspension’s damping performance. This process is usually done through a professional tuning service.
What are the effects of different suspension adjustments?

Finding the correct suspension setup can be tricky, with different adjustments having knock-on effects on other variables. However, with time and patience, you will learn how your suspension works and how best to set it up for your riding and trail conditions. Use the following section to determine which adjustments will give you the desired results:
Increasing spring rate (related to air pressure or coil-spring stiffness)
- More support, less diving/squatting, higher ride height
- Harder to bottom out
- Harsher over bumps
- Less sag, less traction, higher ride
Adding volume spacers
- Firmer end-stroke
- Harder to bottom out
- Harsher on medium-large hits where less travel is used
- Only adds support towards the end of travel
More low-speed compression
- More stable and predictable feel because the bike is slower to dive or pitch as rider weight shifts
- More to push against in corners and jump faces
- More muted feel because more energy is dissipated in the damper rather than the spring
- Suspension stays higher in its travel during rough sections
- Reduced sensitivity, particularly over small-medium bumps
- Less traction
- More fatigue, particularly hand pain
More high-speed compression
- Less travel used during large impacts
- Harder to bottom out
- Suspension stays higher in its travel during rough sections
- Harsher 'spikey' feel, particularly over medium-large impacts or landings
More low-speed rebound damping
- Calmer, more predictable feel
- Rear suspension more settled on steep descents
- Less chance of bucking on jumps or bouncing on landing
- If set too slow, sensitivity and traction can be reduced
- Suspension may 'pack down' during high-frequency bumps
More high-speed rebound damping
- Calmer and safer feel, particularly when using lots of travel, eg. jump take-offs and landings
- Firmer HSR enables the LSR to be set faster (for better small-bump sensitivity) without getting bucked on jumps
- Slower to recover, especially from deep in the stroke
- Lighter HSR enables the LSR to be made firmer without the shock packing down. This will make the rebound slower in the beginning stroke, so can feel calmer on steep descents.
What about coil-sprung suspension?

To make things simpler, this guide focuses on air suspension because it’s far more common than coil-sprung suspension these days. If you have a coil fork or shock, most of the advice still applies.
The main difference is that instead of adjusting the spring rate by changing the air pressure, you’ll need to swap the coil spring.
Also, if your coil suspension is bottoming out too easily, you can’t add volume spacers to increase the end-stroke spring force like you would in an air spring.
Instead, either swap to a firmer spring rate (resulting in less sag) or increase high-speed compression damping, if possible.
Don't be tempted to use preload to make it firmer. Preloading the coil will result in less sag because it raises the ride height, but it will not affect the spring rate.
Preloading the shock also ruins the beginning-stroke sensitivity of the suspension and can cause it to top out. The preload collar should be just tight enough to stop the spring from rattling.