The headset provides a crucial function, holding the fork in place and enabling you to steer.
If you're experiencing play (unwanted movement) in your headset, or a rough grinding when you turn the bars, it's likely time to service or replace the headset bearings.
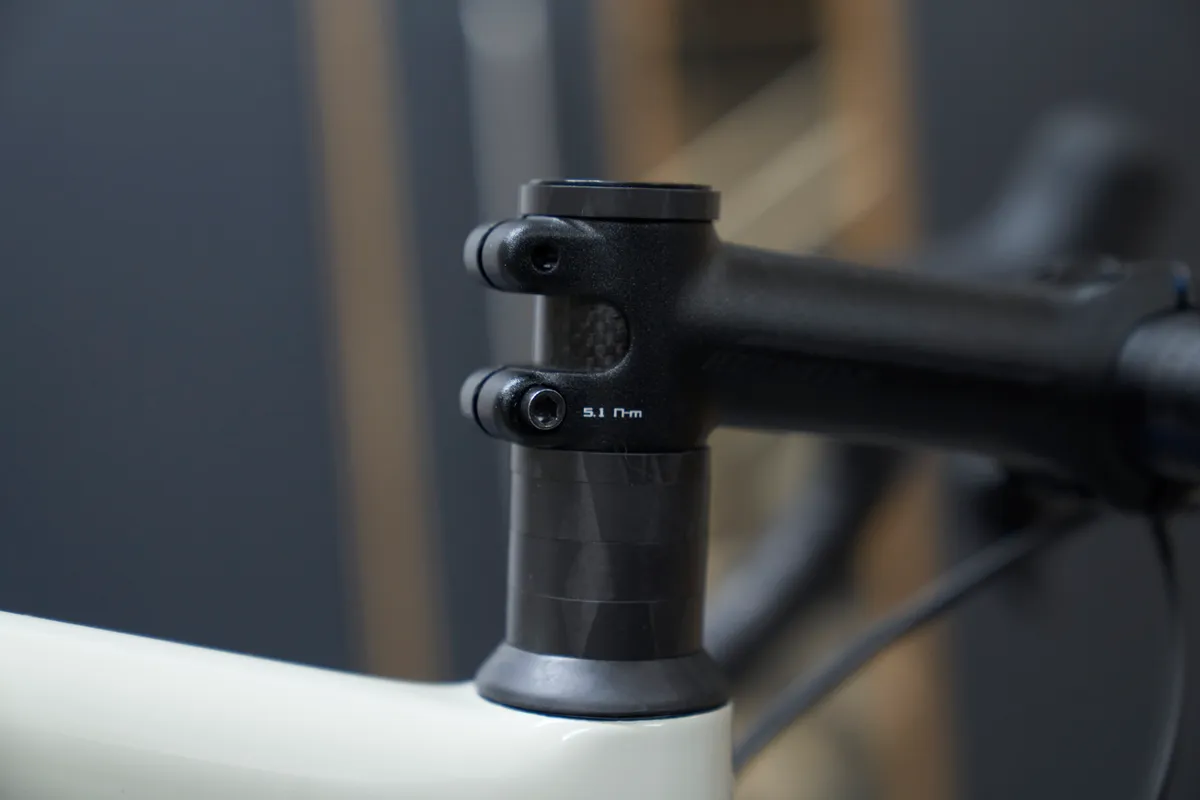
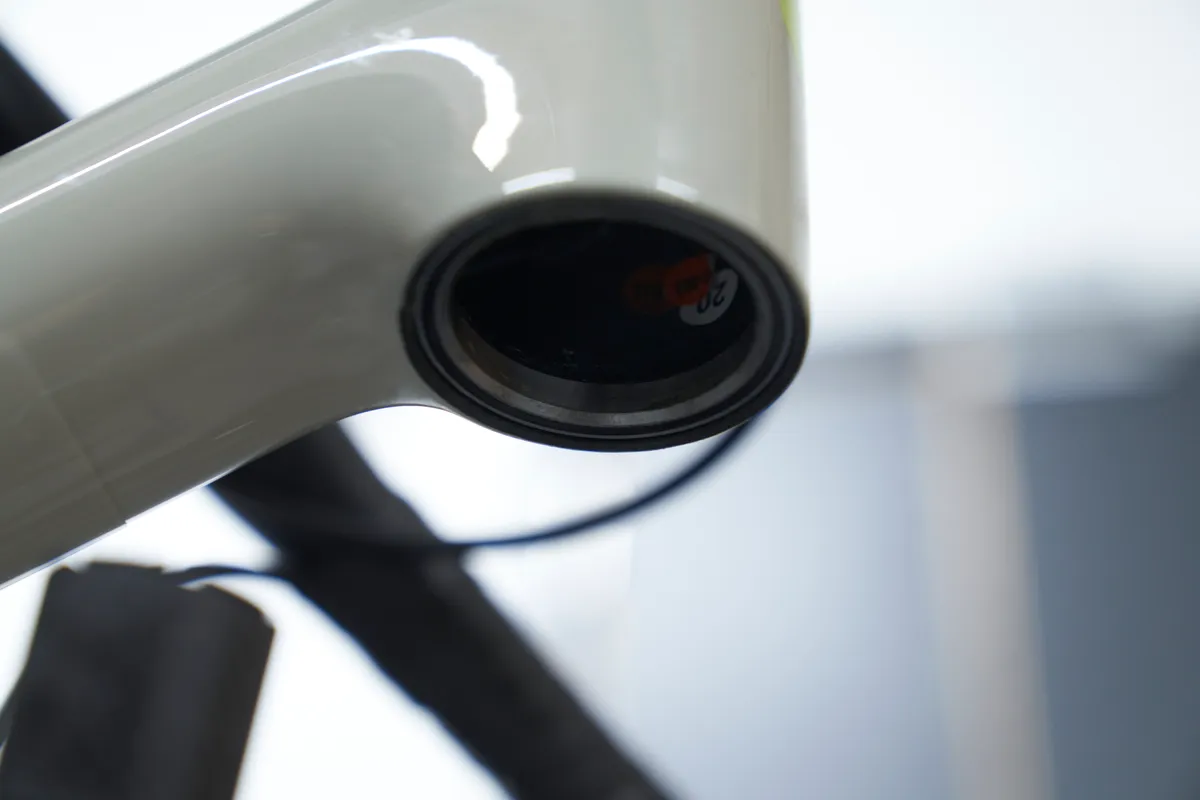
You can quickly diagnose a loose or worn headset by actuating the front brake with one hand and rocking the bike back and forth while resting your other hand over the headset cover. Play or any grittiness in the steering are clear indicators the headset requires some attention.
Most modern bikes use a threadless headset (also known as an AheadSet).
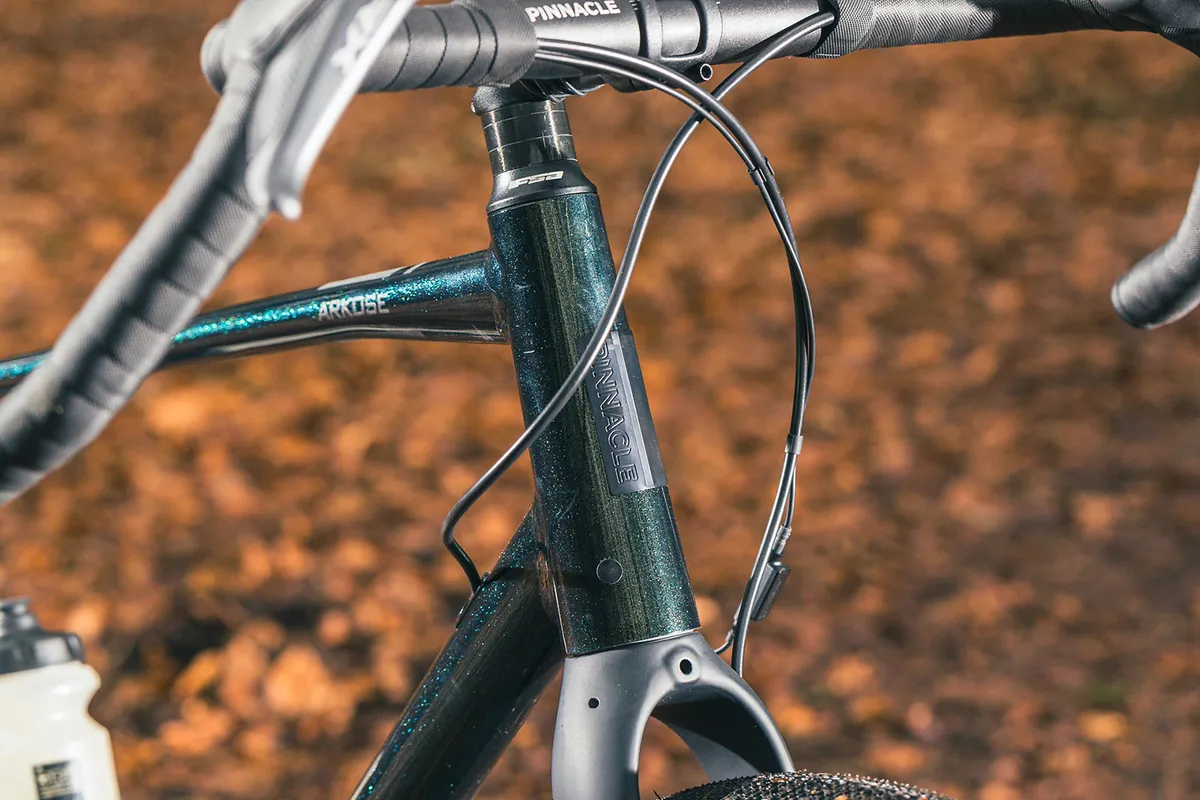
This comprises two bearings positioned at the top and bottom of the head tube, typically installed into pressed-in cups (an external headset) or directly into the head tube itself (an internal headset).
Cartridge bearings are commonly used but caged ball bearings are still often found on cheaper bikes.
Tightening a top cap that sits on top of the steerer tube adjusts the preload on the bearings.
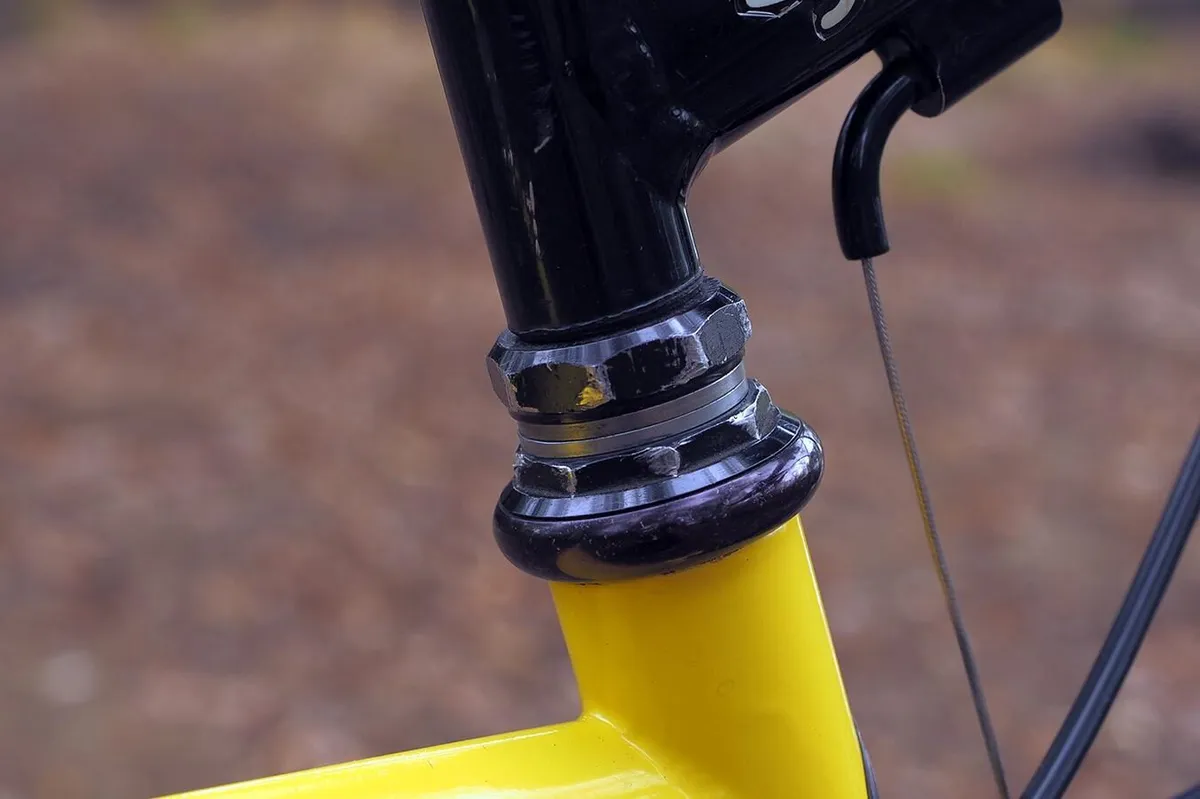
Some bikes – both new and old – use a threaded headset. On a threaded headset, the bearings also sit in cups pressed into the head tube (though integrated threaded headsets also exist, these are few and far between). Threaded headsets use either cartridge bearings or, more commonly on older headsets, loose ball bearings.
The steerer tube of the fork is threaded. Tightening the upper portion of the headset preloads the bearings.
In this guide, we’ll show you how to service both threadless and threaded headsets.
There are many different types of headsets, but the instructions below will cover the most common types. If the following steps don’t get results, or you’re still concerned about safety after the adjustments, then get the job done professionally by your local bike shop.
How to service a threadless headset
Tools required:
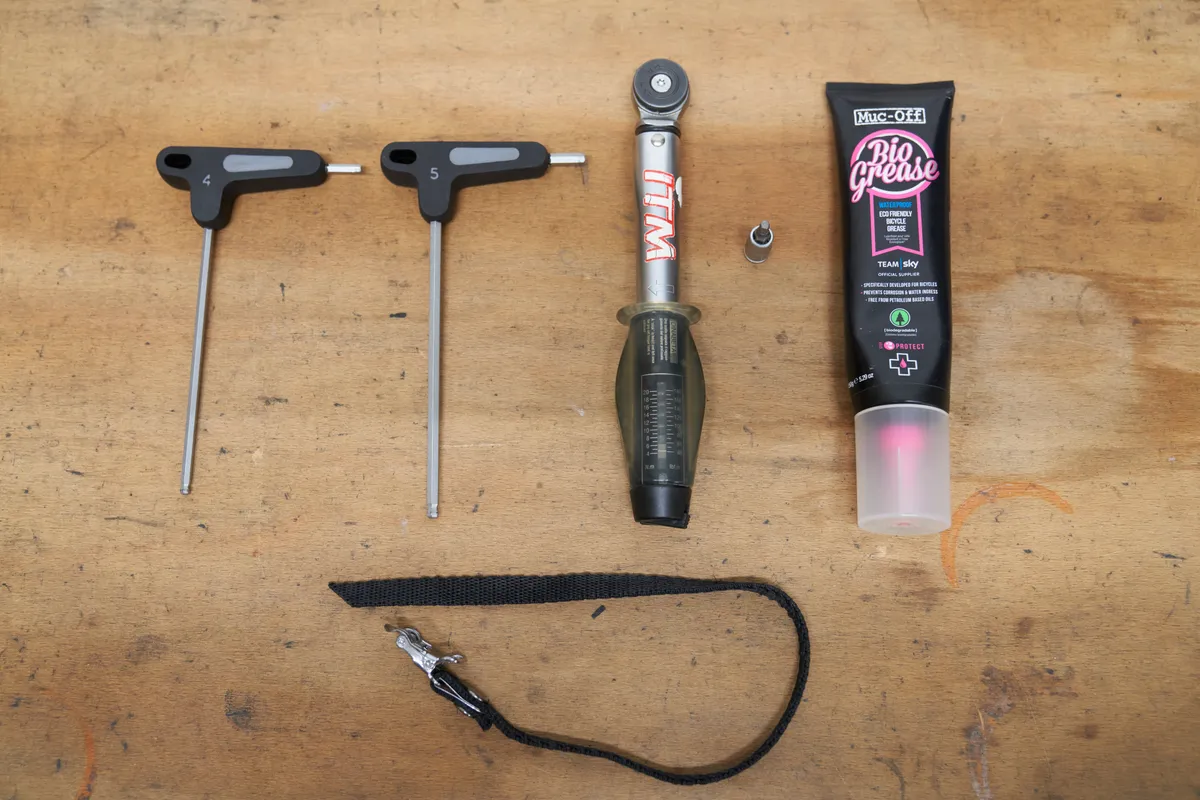
- 4, 5mm or 6mm hex key or T25 torx key to remove the stem and front wheel
- Degreaser
- Torque wrench
- Toe strap (optional)
- Rag or cloth
- Grease
- Crown race remover and setter (if replacing the crown race)
- Rubber mallet (optional)
If your headset has developed play then the first thing to check is that the headset bolt hasn't worked loose.
Step 1
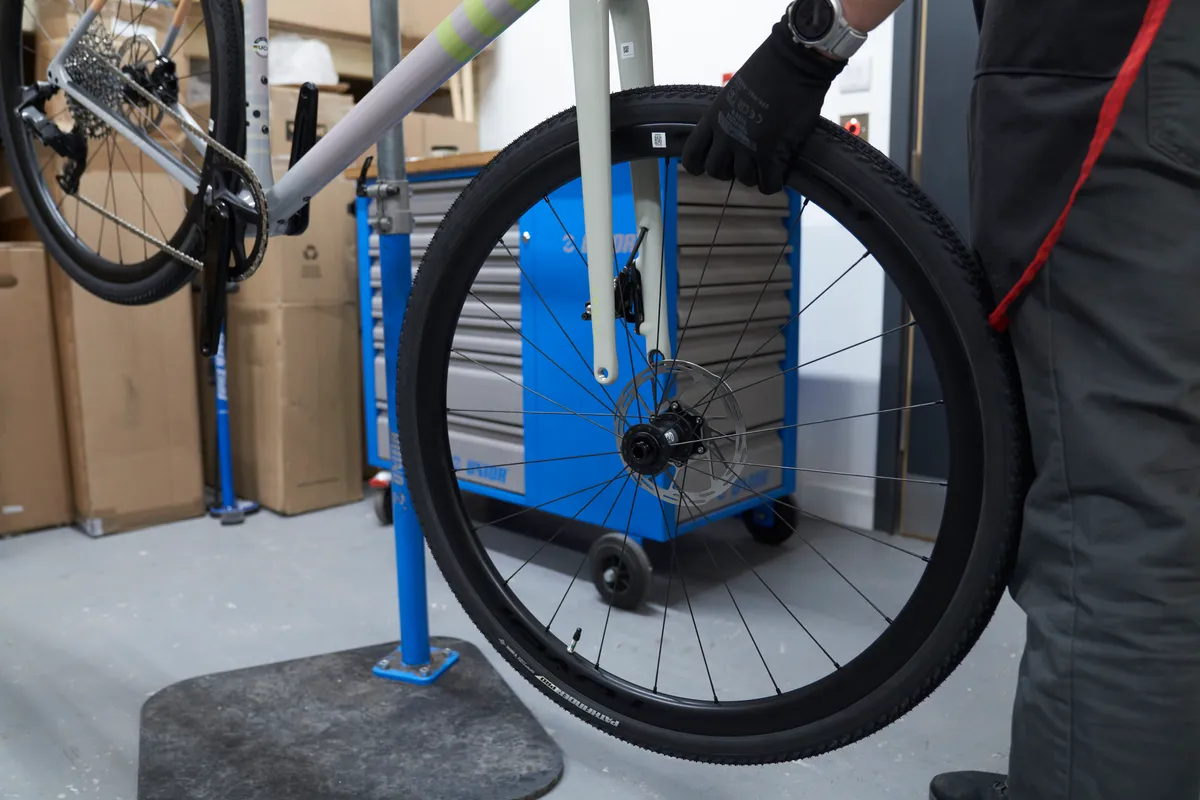
Remove the front wheel.
Because the fork needs to be removed to gain access to the lower headset bearing, keeping the front wheel installed will make the task more difficult than it needs to be.
Step 2
Before removing anything, it’s a good idea to take note of how many headset spacers you are running above the stem. We suggest taking a photo on your phone to refer back to later.
Start by evenly loosening the two stem clamp bolts that secure it to the fork steerer tube. You don’t need to fully undo them – just enough so the stem can move.
Fully undo the top cap and slide the stem and headset spacers off the steerer tube. The top cap sits at the top of the steerer tube and is what preloads the headset bearings.
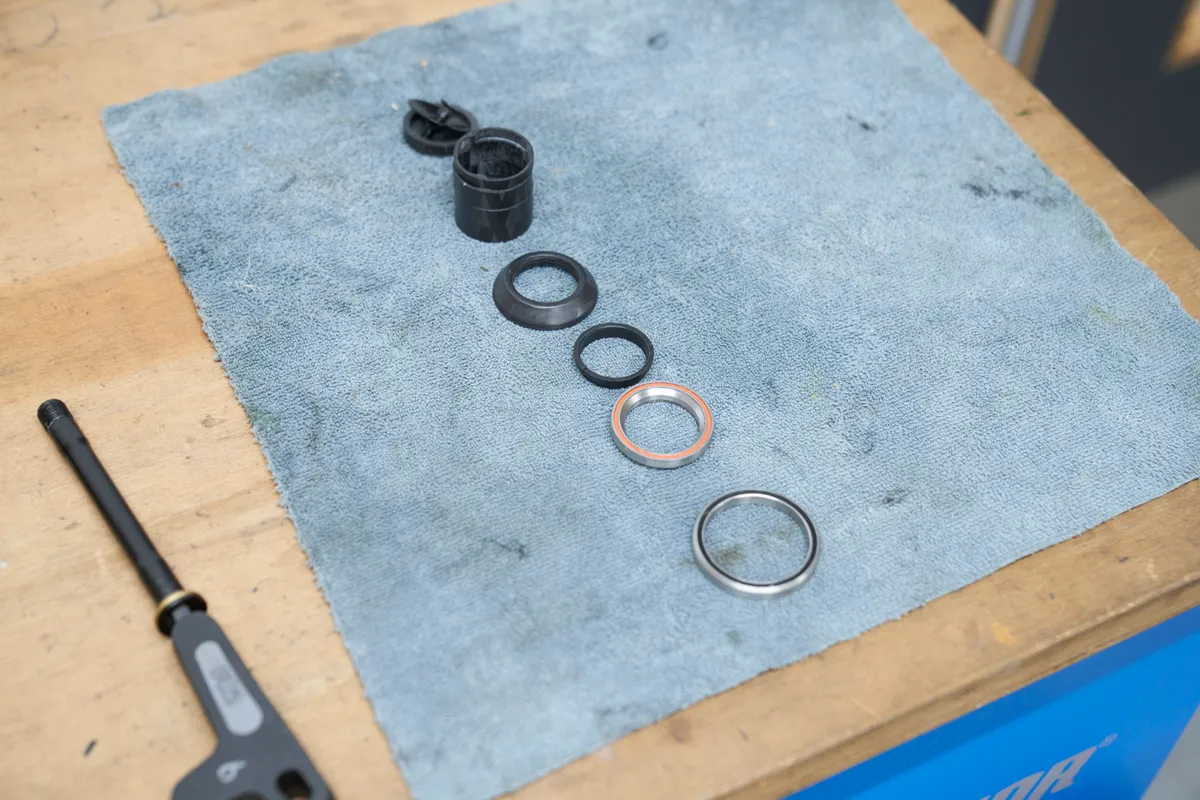
It’s a good idea to keep the components in order to prevent any confusion later on.
To prevent the fork from falling onto the floor, you can install a toe strap between the underside of the fork crown and the down tube of the frame.
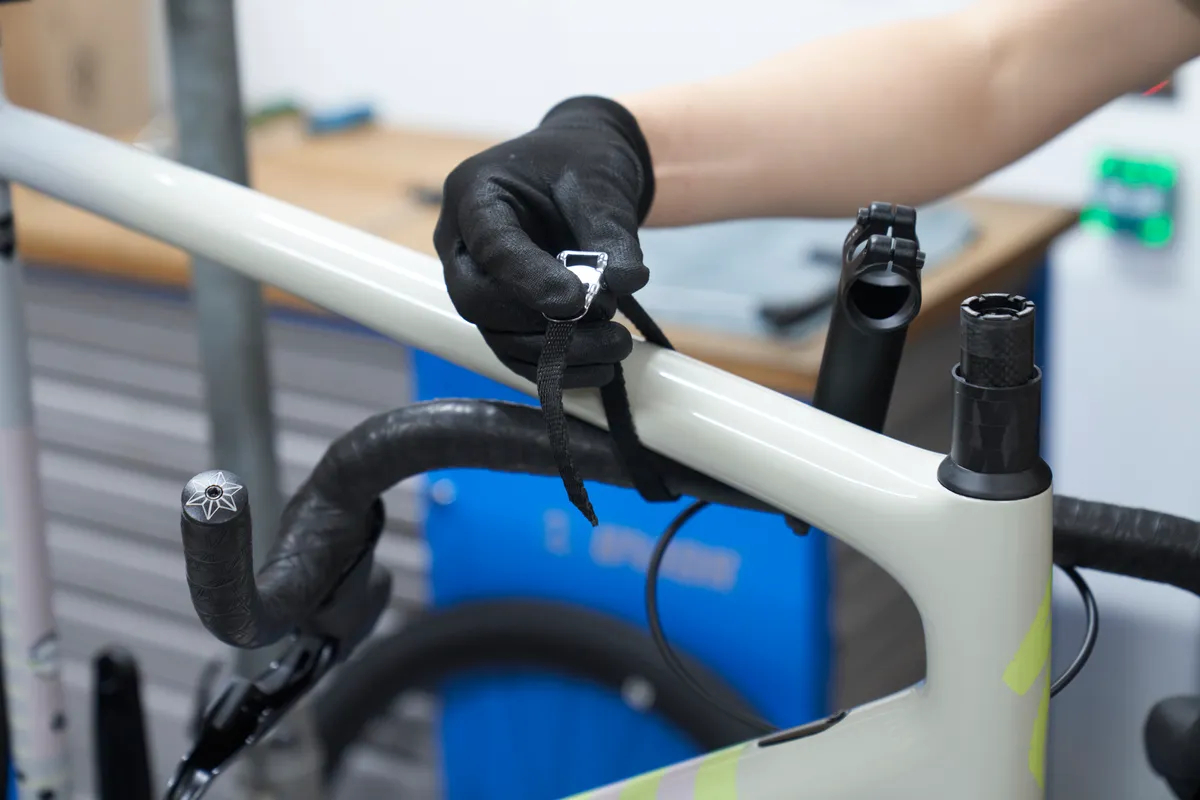
You can also use a toe strap to secure the handlebar neatly to the top tube, resting it by the handlebar tape to prevent marking the paint. Alternatively, a spare pair of hands is useful here.
It’s never a good idea to let the handlebar dangle freely. This will put strain on the brake and gear cables or hydraulic hose, and could kink them.
Step 3
Now remove the headset cover and put it to one side. The cover sits between the spacers and upper bearing, protecting the upper bearing from water ingress and dirt.
If the fork didn’t drop out before this step, it’ll almost certainly drop out now.
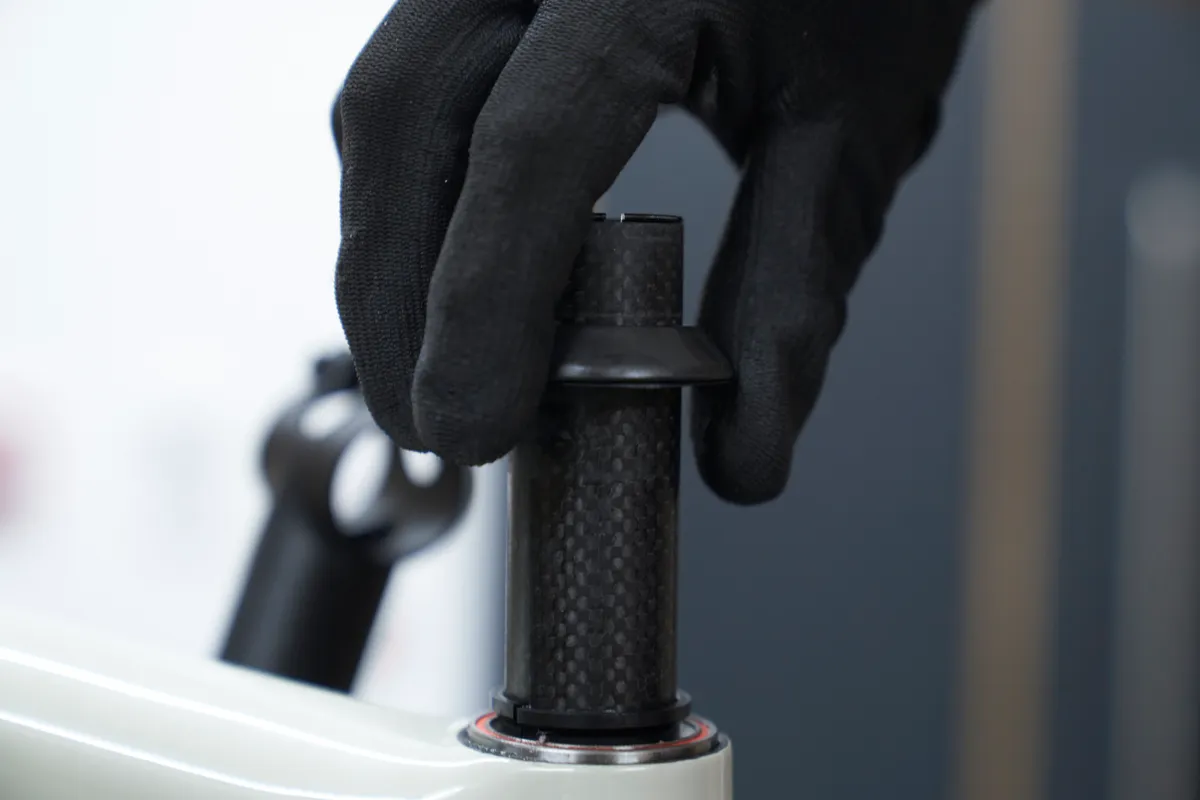
Remove the centring sleeve – this typically conically shaped wedge keeps the upper headset bearing seated in place.
Some headset assemblies include shims or a thin wedge above the headset cover or between the cover and centring sleeve.
Take a note of any of these because they can be crucial to correct adjustment later on.
Step 4
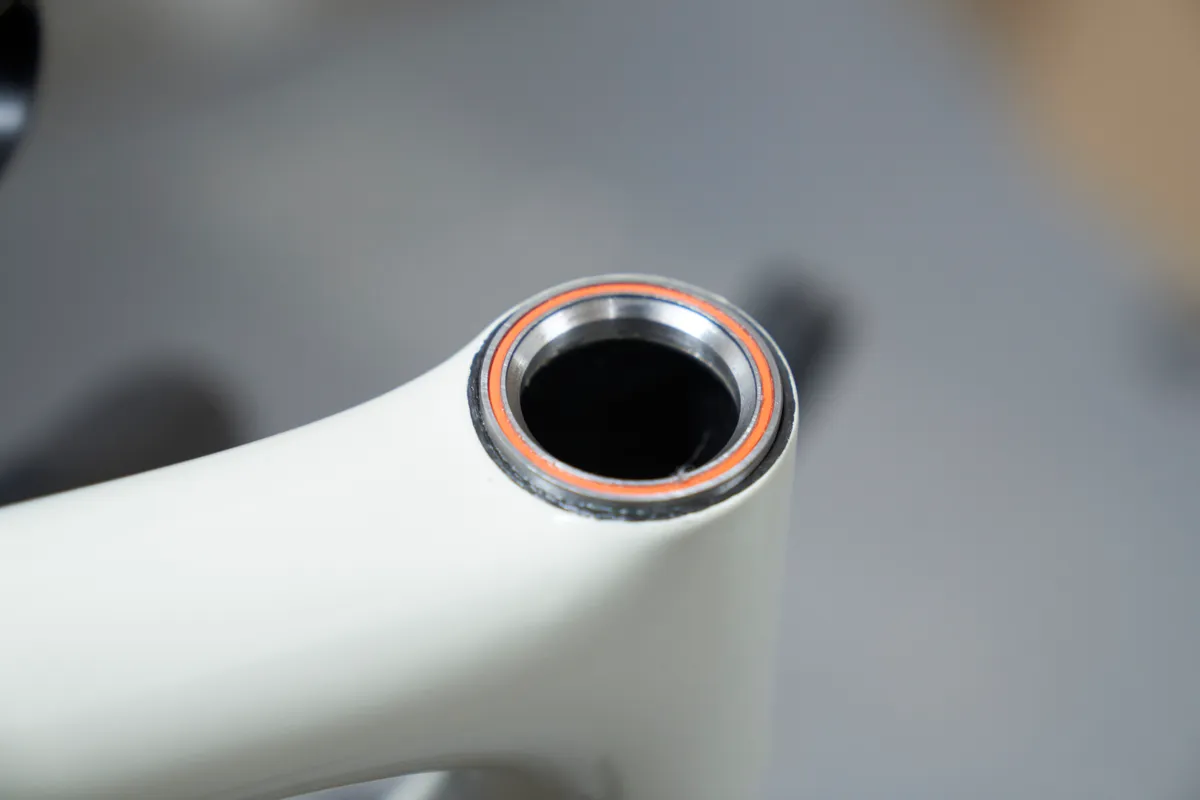
The upper headset bearing should now be exposed.
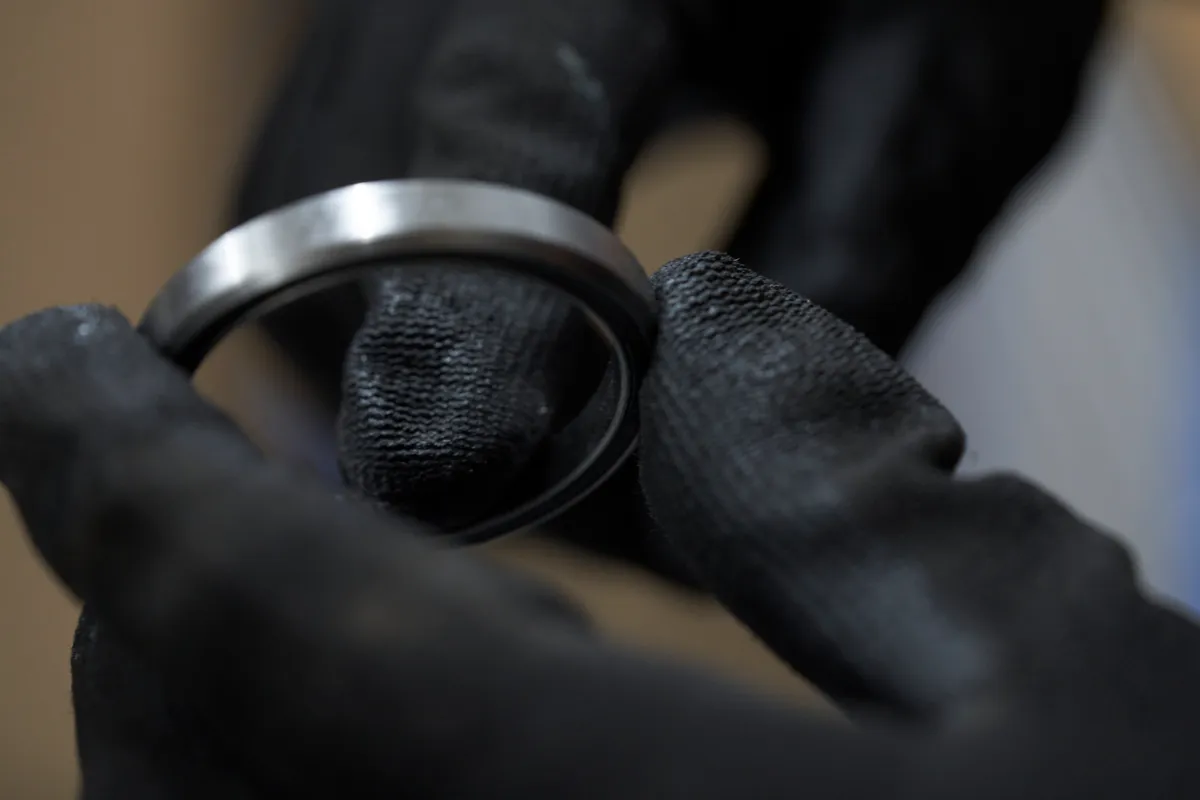
Remove the bearing and inspect its condition – if it is a cartridge bearing, it should be silky smooth and not feel gritty or notchy. It should also be free of corrosion.
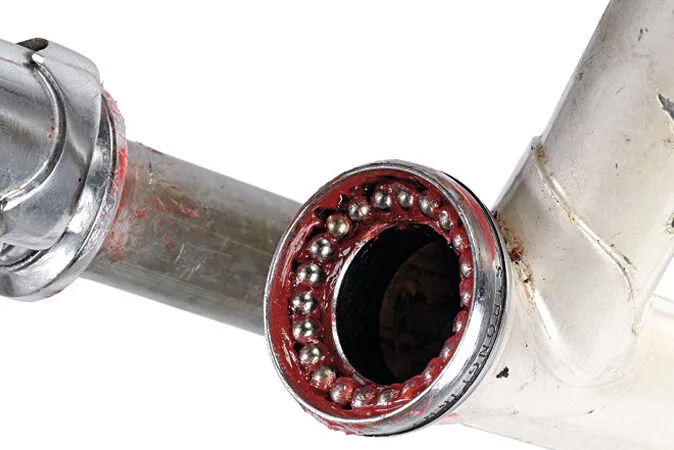
Some cheaper bikes use ball bearings enclosed in a cage or retainer. If this is the case, you’ll want to make sure they are free of corrosion, sufficiently greased and the cage is in sound condition.
Take care to avoid the balls dislodging from the cage and falling onto the workshop floor.
Most cartridge bearings are designed to be replaced when worn. On premium headsets, such as those manufactured by Chris King, Cane Creek and others, the bearing itself can be serviced if it’s not too far gone.
If you’re going to reuse the bearing, give it a thorough wipe down with a rag. You’ll also want to thoroughly clean the cup or seat the bearing sits in too.
Refer to our ultimate guide to headsets if you’re unsure how to measure the bearing before sourcing a replacement.
It’s worth keeping the old headset until you’ve installed the replacement so you can use it as a means of comparison.
Step 5
You can now move to the lower headset bearing.
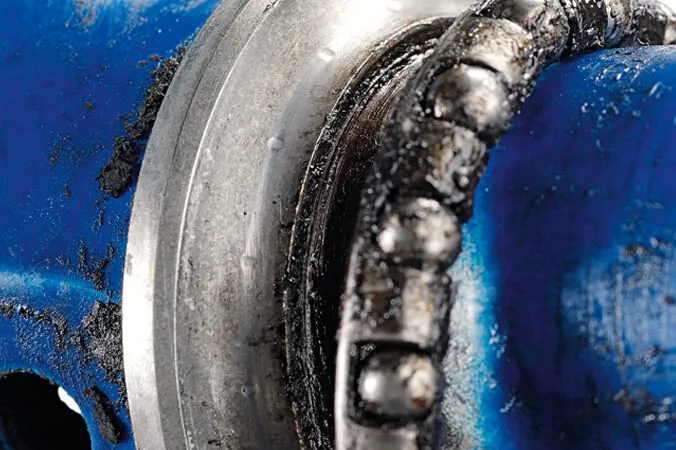
The lower headset bearing tends to wear quicker than the upper because it's in the direct firing line of grit and debris from the road or trail.
There are typically three scenarios as to how you access the lower headset bearing.
The bearing may have come out with the fork and you can simply slide it off to inspect its condition.
The bearing may have remained in its seat in the head tube. If you’re lucky, it’ll remove as easily as the upper. However, given the bearing is more susceptible to the elements, it’s not uncommon for it to be lodged in place.
If this is the case, you’ll want to prise it carefully out of its seat. Try to dislodge the bearing in stages, by working carefully on one side of the bearing before moving to the other and working your way around.
If the bearing’s still not playing ball, there are two options.
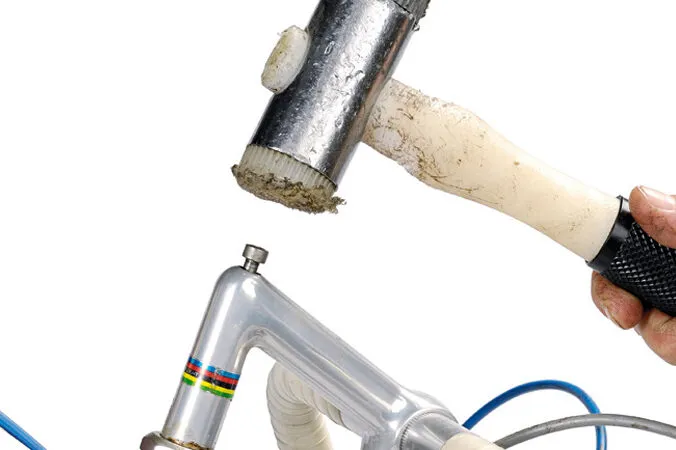
You could spray a penetrating fluid on it and return back to the job once it has worked its magic. Alternatively, using a chisel, you can tap the bearing out of its seat with a rubber mallet, accessing it from the top of the head tube.
You’re likely to damage the bearing by removing it using this method, so it will almost certainly require replacing.
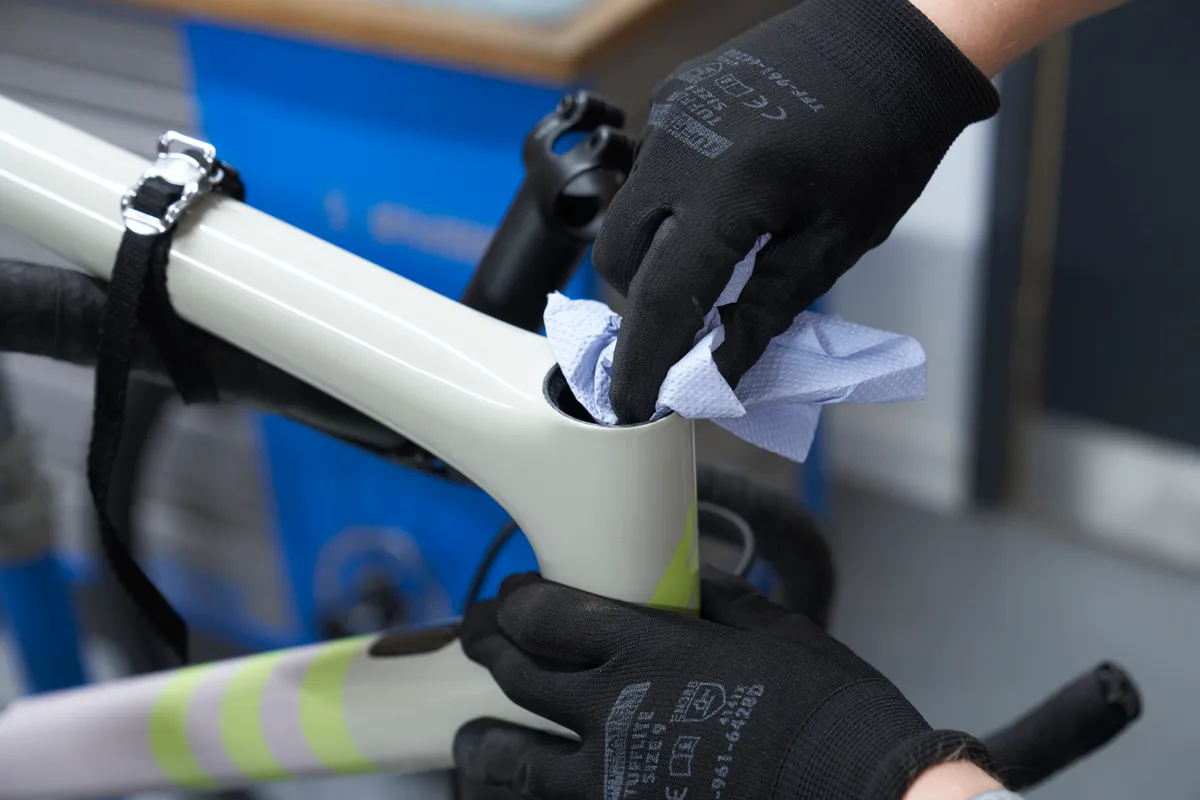
Once the bearing is removed, like the upper, inspect its condition and determine if it requires replacing. Give it a thorough clean if you’re going to reuse it.
Clean the lower bearing cup or seat.
It’s also advisable to give the fork steerer tube and crown race (if applicable) a wipe down and inspect its condition.
Step 6
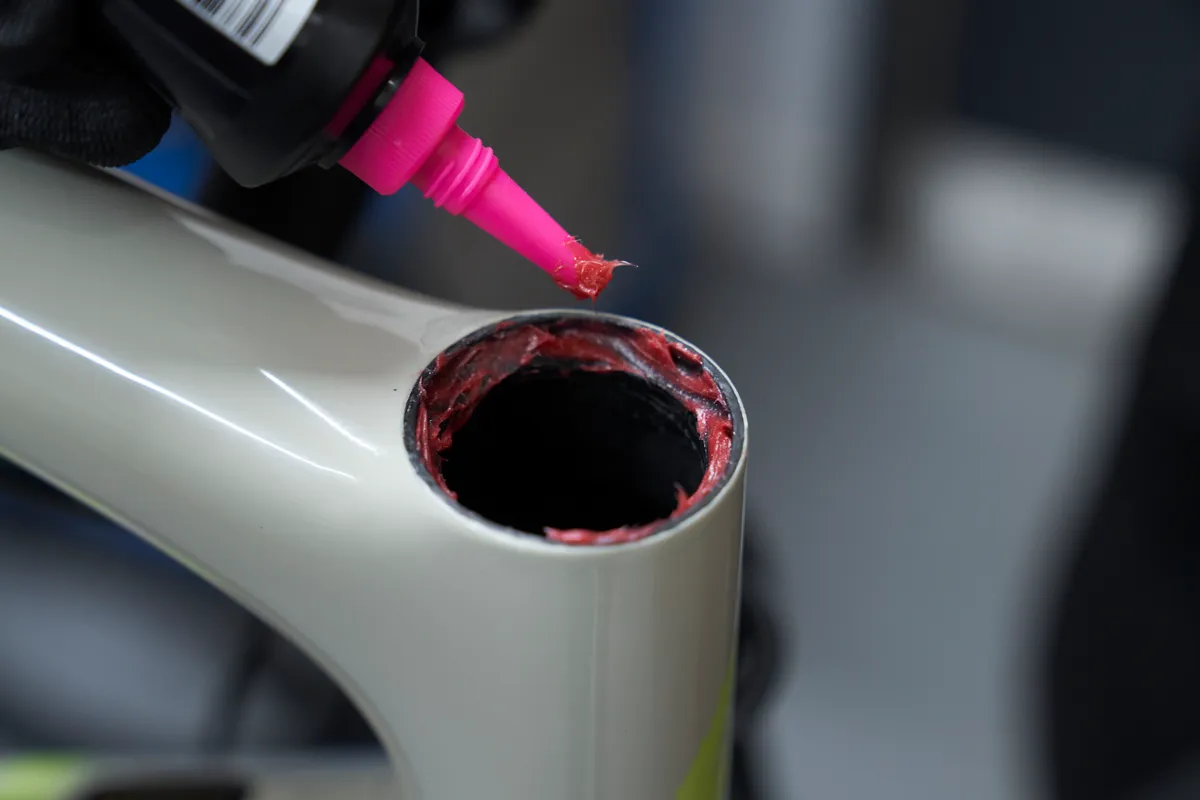
Before installing the existing or replacement headset, apply a layer of grease onto both of the bearing seats.
If the fork uses a crown race, it’s worth installing a thin layer of grease around this too.
It’s a good idea to use a high-performance grease, given the abuse the headset is subject to.
If you ride frequently in particularly foul conditions, consider using a marine grease to further protect the bearing from the elements.
If you’re replacing the lower headset bearing and the fork uses a crown race, the new bearing may be designed to work with its own specific crown race.
You may need to use a crown race remover and setter tool for this job, which are quite costly, so it may be worth heading to a bike shop.
Step 7
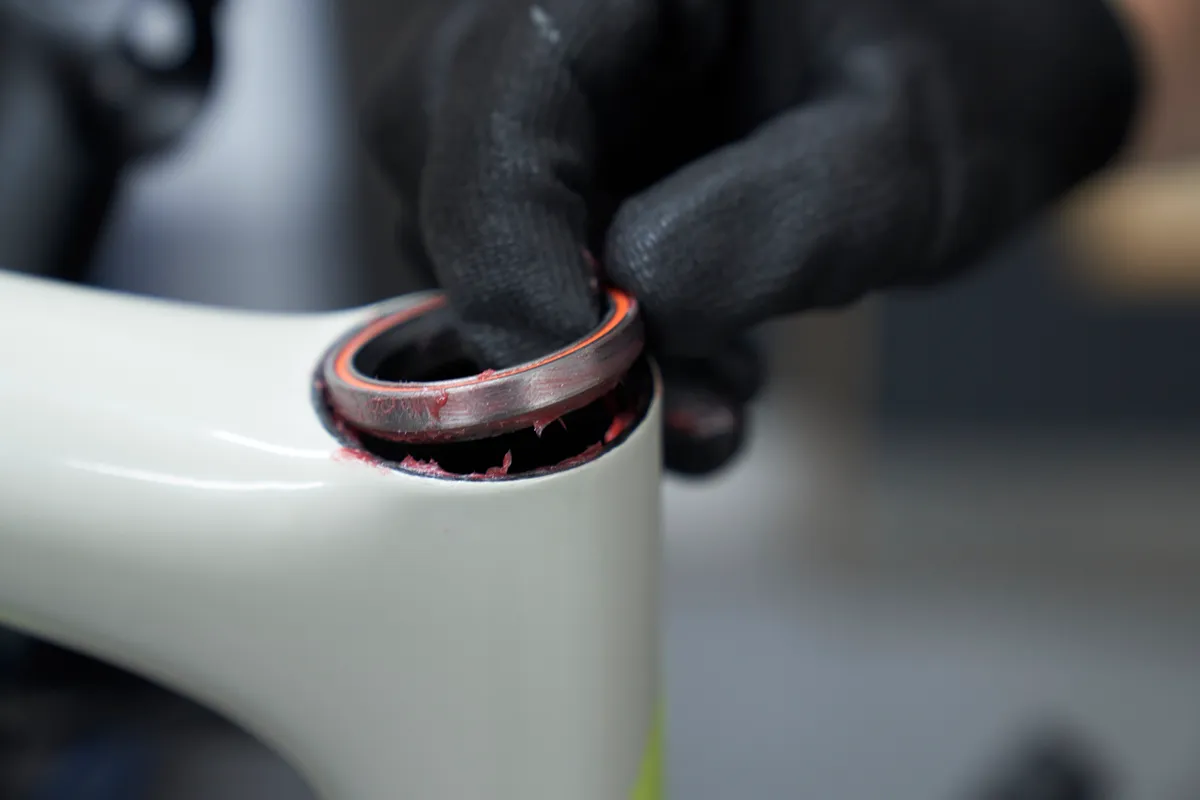
Once you’ve applied a layer of grease to the cup or seat, install the bearings. Providing you haven’t over-greased the cups or seats, consider adding some grease on the bearings themselves.
If you’re replacing caged ball bearings, you’ll want to make sure you pack the race out with grease.
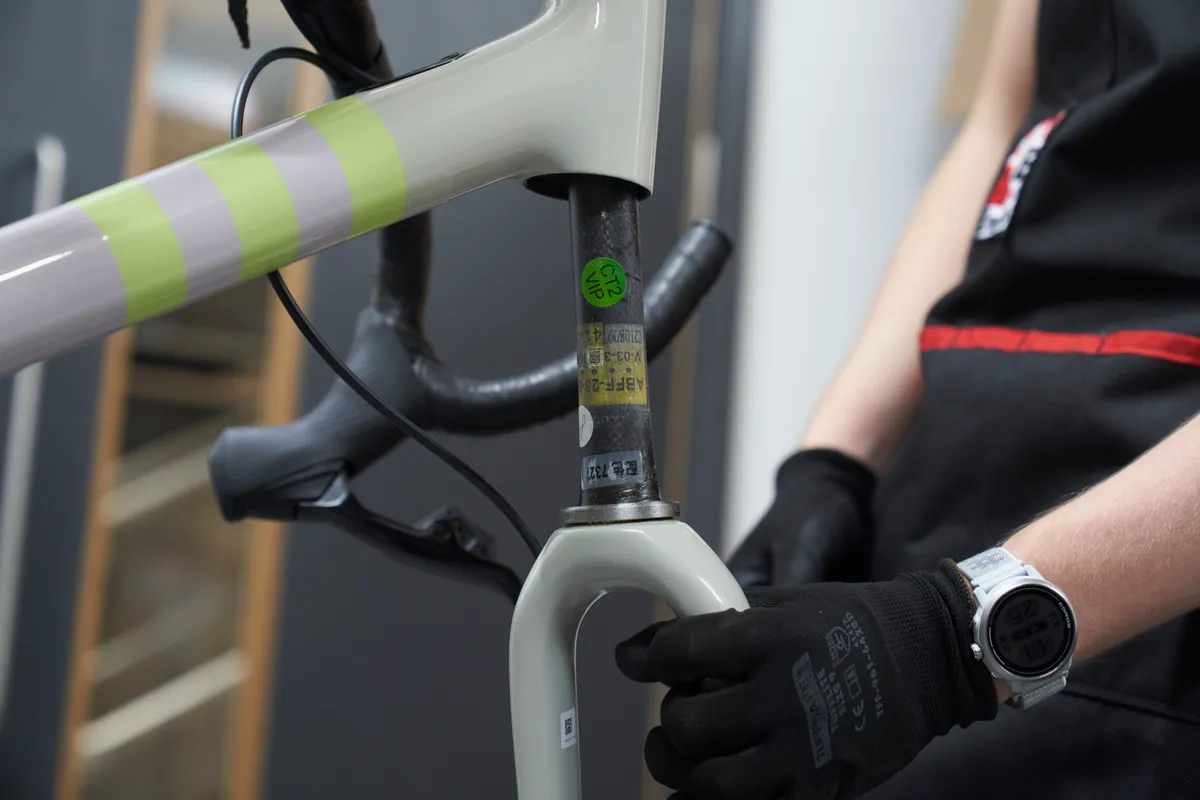
Slide the fork in and wipe away any excess grease. Unless your stem or bike manufacturer specifies you should use grip paste on the steerer tube, it should be completely dry and free from grease.
Step 8
Replace the centering sleeve, headset cover and spacers in the reverse order you removed them in.
Slide the stem onto the steerer tube and any remaining spacers.
Provided you have enough head tube to do so, we’d recommend running at least one 3 to 5mm spacer above the stem – this ensures there will be enough space for the headset top cap to clamp down and preload the bearings.
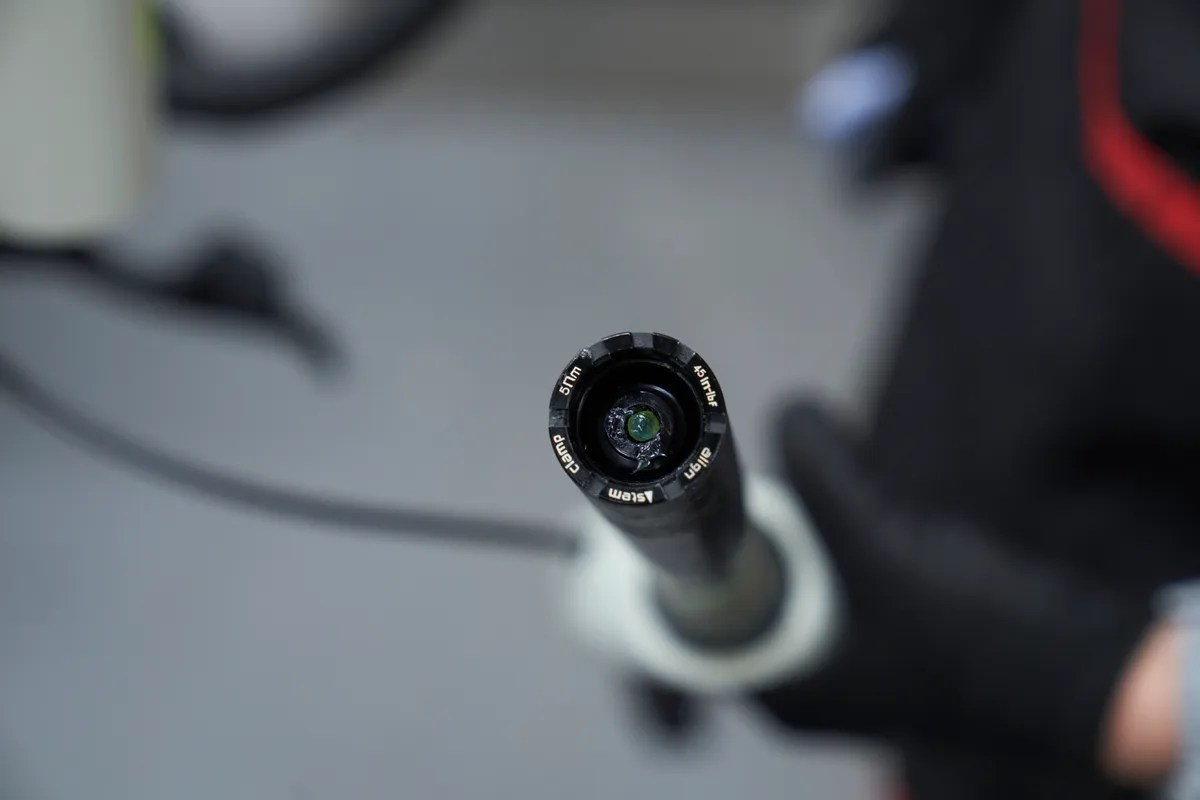
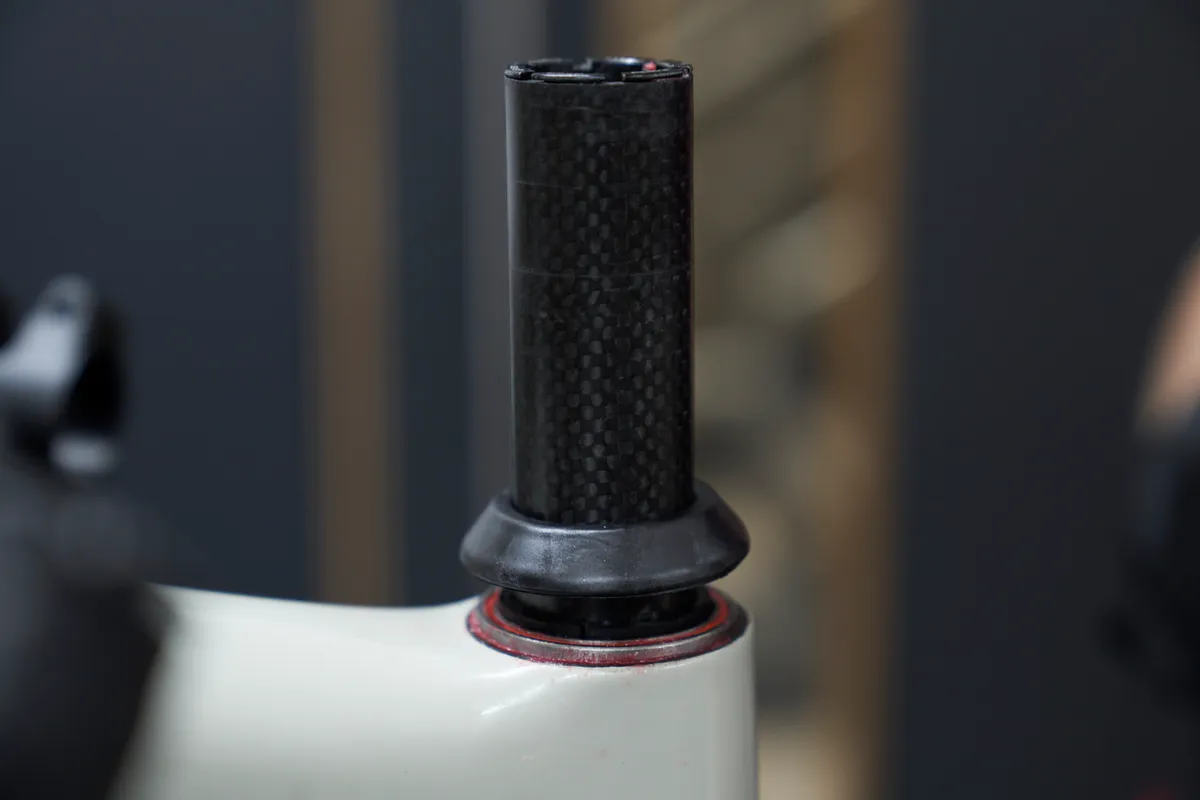
Before installing the top cap, it’s worth inspecting the condition of the star nut or expander plug (also known as a compression plug) in the steerer tube.
Star nuts are used on alloy steerer tubes and can become damaged over time. You’ll also need to fit a new one if you’ve cut the steerer tube down.
Expander plugs are used on carbon steerer tubes. You’ll need to remove and reinstall it if you’ve cut the steerer. It’s a good idea to add some carbon fibre grip on the inside of the steerer prior to installing an expander plug.
Tighten the expander plug to the recommended torque using a torque wrench to take this out of the equation when adjusting the headset later on.
Install the top cap but don’t fully tighten it down. It’s worth installing a thin layer of lithium grease to the bolt so it engages cleanly with the threads of the expander plug.
Replace the front wheel – it is easier to adjust the headset with the bike on the ground than in a repair stand.
How to adjust a threadless headset
Now that you have serviced your headset, it’s time to adjust it.
Step 1
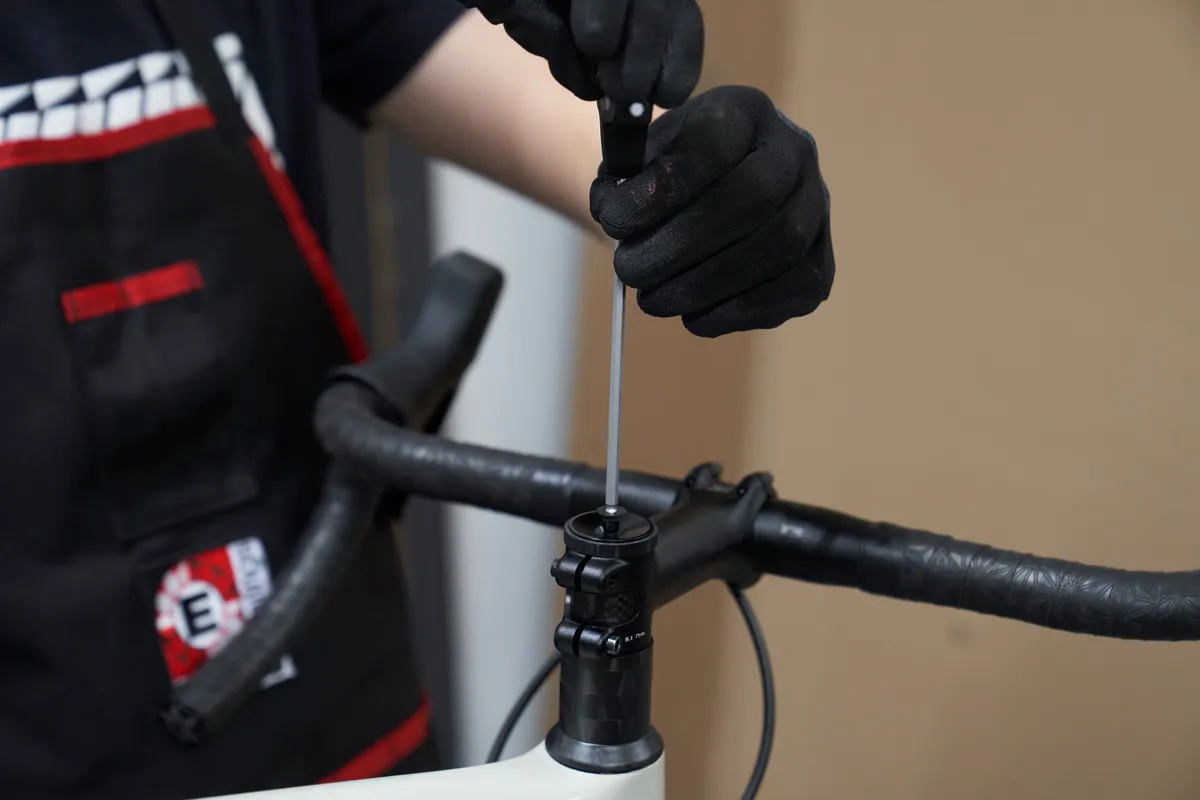
Tighten the top cap until you feel some resistance.
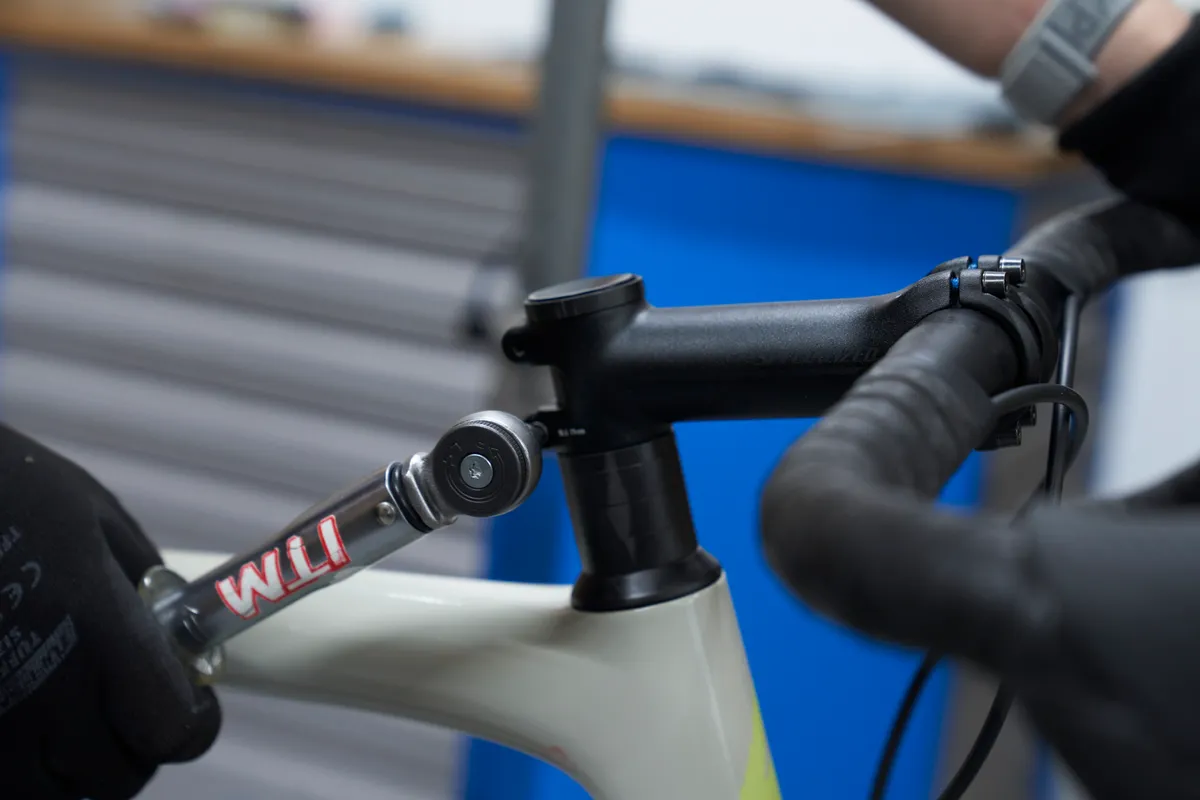
Align the stem with the front wheel and evenly tighten the stem bolts to their required torque – typically between the 5 and 8Nm marks.
It can help to straddle yourself over the top tube of the bike to get the front wheel perfectly centred.
Step 2
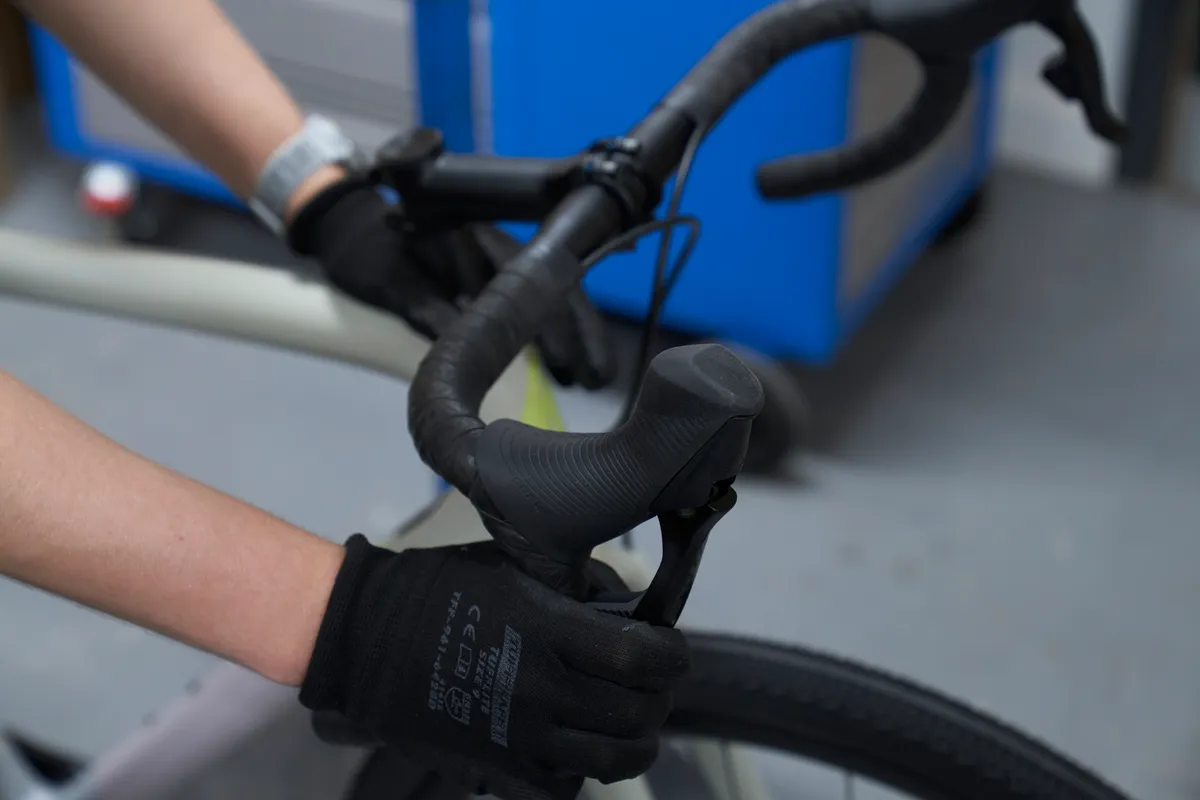
You can now check the headset adjustment.
With one hand, pull on the front brake and place your other hand over the headset cover. Try to rock the bearing back and forth. If the headset is loose, you will feel the bearings rocking or you may even see the headset cover moving.
There shouldn’t be any play at the headset, nor should there be excess resistance.
If the headset is too tight, the handlebars will feel tight to turn.
If there is play at the headset, loosen the stem bolts a little and tighten the top cap slightly. Check your results and adjust as necessary.
When you're happy there is no play, re-torque the stem clamp bolts.
How to service a threaded headset
As with a threadless headset, you first need to establish what is wrong with your headset (if anything).
Bounce the front wheel off the ground a few times. A rattling sound indicates the headset is loose.
If the bars lock in the middle and point straight, it’s either too tight or the bearings are heavily worn.
Tools required:

- Headset wrenches (typically 32 or 36mm)
- 4, 5 and 6mm Allen keys
- Rubber mallet
- Grease and degreaser
- Torque wrench
- Thin threadless headset washers
- 5/32 or 1/8in loose ball bearings or headset cartridge bearings
Step 1
Remove the front wheel to make servicing easier.
Step 2
Next, remove the quill stem.
For older 1-inch quill stems, you’ll need to dislodge the stem wedge first in order to remove the stem.
Using a hex key, loosen the wedge bolt by turning it anticlockwise until it protrudes just enough to give it a sharp blow with a rubber mallet.
It’s worth keeping a few threads engaged to prevent the cone or wedge from dropping into the steerer.
Step 3
Remove the stem and bars, and attach them to the bike’s top tube with an old toe strap so the cables aren’t left dangling.
Drop the fork by removing the brake, and the mudguard if required, then unthread the locknut and upper cup.
The size of headset wrench required will depend on your headset. If you’re unsure of what size you need, measure using a set of vernier calipers across a pair of parallel wrench flats.
Step 4
Remove the bearings and inspect their condition. Thoroughly clean both the bearings and cup with a degreaser and a rag.
If the system uses loose ball bearings in a cage, look closely at the surfaces of the bearing path – if it’s worn, evenly spaced pockmarks should be clearly visible, each little crater corresponding to an individual ball bearing.
When the headset is ridden too tight or too loose over extended periods, each bearing gradually carves out a little nest for itself. The process is greatly accelerated by grit and contamination from wet conditions.
If this is the case with your headset, a way to get around this is to pack in extra bearings during reassembly.
Cartridge bearings are far easier to determine their condition. Run your finger on the inside and if they feel gritty or notchy, they’ll require replacement. Again, some premium options from brands such as Chris King or Campagnolo can be serviced.
It’s worth keeping hold of the old cartridge bearing until after you’ve fitted a replacement in case there are any issues.
Step 5
If you’re replacing the ball bearings, they will most likely be 1/8in or 5/32in in diameter and should be available from your local bike shop.
Add some grease, enough to hold the loose balls in place, and add bearings until they fill the cup, ensuring they’re positioned correctly in the race on the bearing path. The grease should help the bearings stick together so they don’t fall onto the floor.
If you've spotted wear to the bearing surfaces, you could try to pack in additional bearings to bridge the gap to prevent them from further digging in again.
The idea is to end up with bearings occupying the undamaged areas of the cones and cups.
Otherwise, it’s best to simply replace the cups. You’ll need to use a specific bearing press and drifts for this, which can be expensive, so you may want to enlist the help of your local bike shop.
If you’re replacing a cartridge bearing, it’s advisable to add a layer of grease to the bearing surface before slotting the cartridge in. It’s then worth adding some additional grease to the bearing itself.
Step 6
With the bearings replaced or freshly greased, It’s now time to reassemble the system.
Reinstall the fork and thread on the locknut, taking care to replace any spacers there might have been.
The locknut should be snug and just contact the bearing. Fine adjustments can be carried out shortly.
Then, reinstall the quill stem and tighten it to its required torque with a torque wrench.
How to adjust a threaded headset
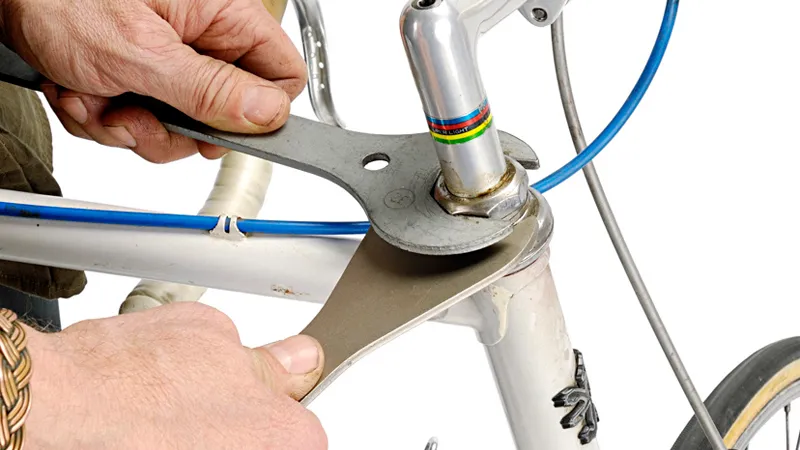
Holding the front wheel or frame between your legs, with the bars as leverage, carefully place an appropriately sized headset wrench over the locknut and turn anticlockwise.
Some headsets will use different-sized spanners for the upper and lower nuts, though this is uncommon.
If it’s particularly tough, try turning the lower cup clockwise to free it, releasing the top locknut.
Adjust the lower cup until there’s no play, but free movement, then lock down the top nut.
This may take several attempts and it’s always best to work in small increments – sometimes even an eighth of a turn is enough to achieve an optimal result.