No product comes into being without some brainy folk gathering round a table and realising there’s a problem that needs solving.
The team at Renthal loved the feel of their Revo-F flat pedals, but wanted to add clipless security in the form of an SPD-compatible mechanism.
Here’s how Renthal went about designing the Revo-DHC pedals.
Step 1: come up with the concept
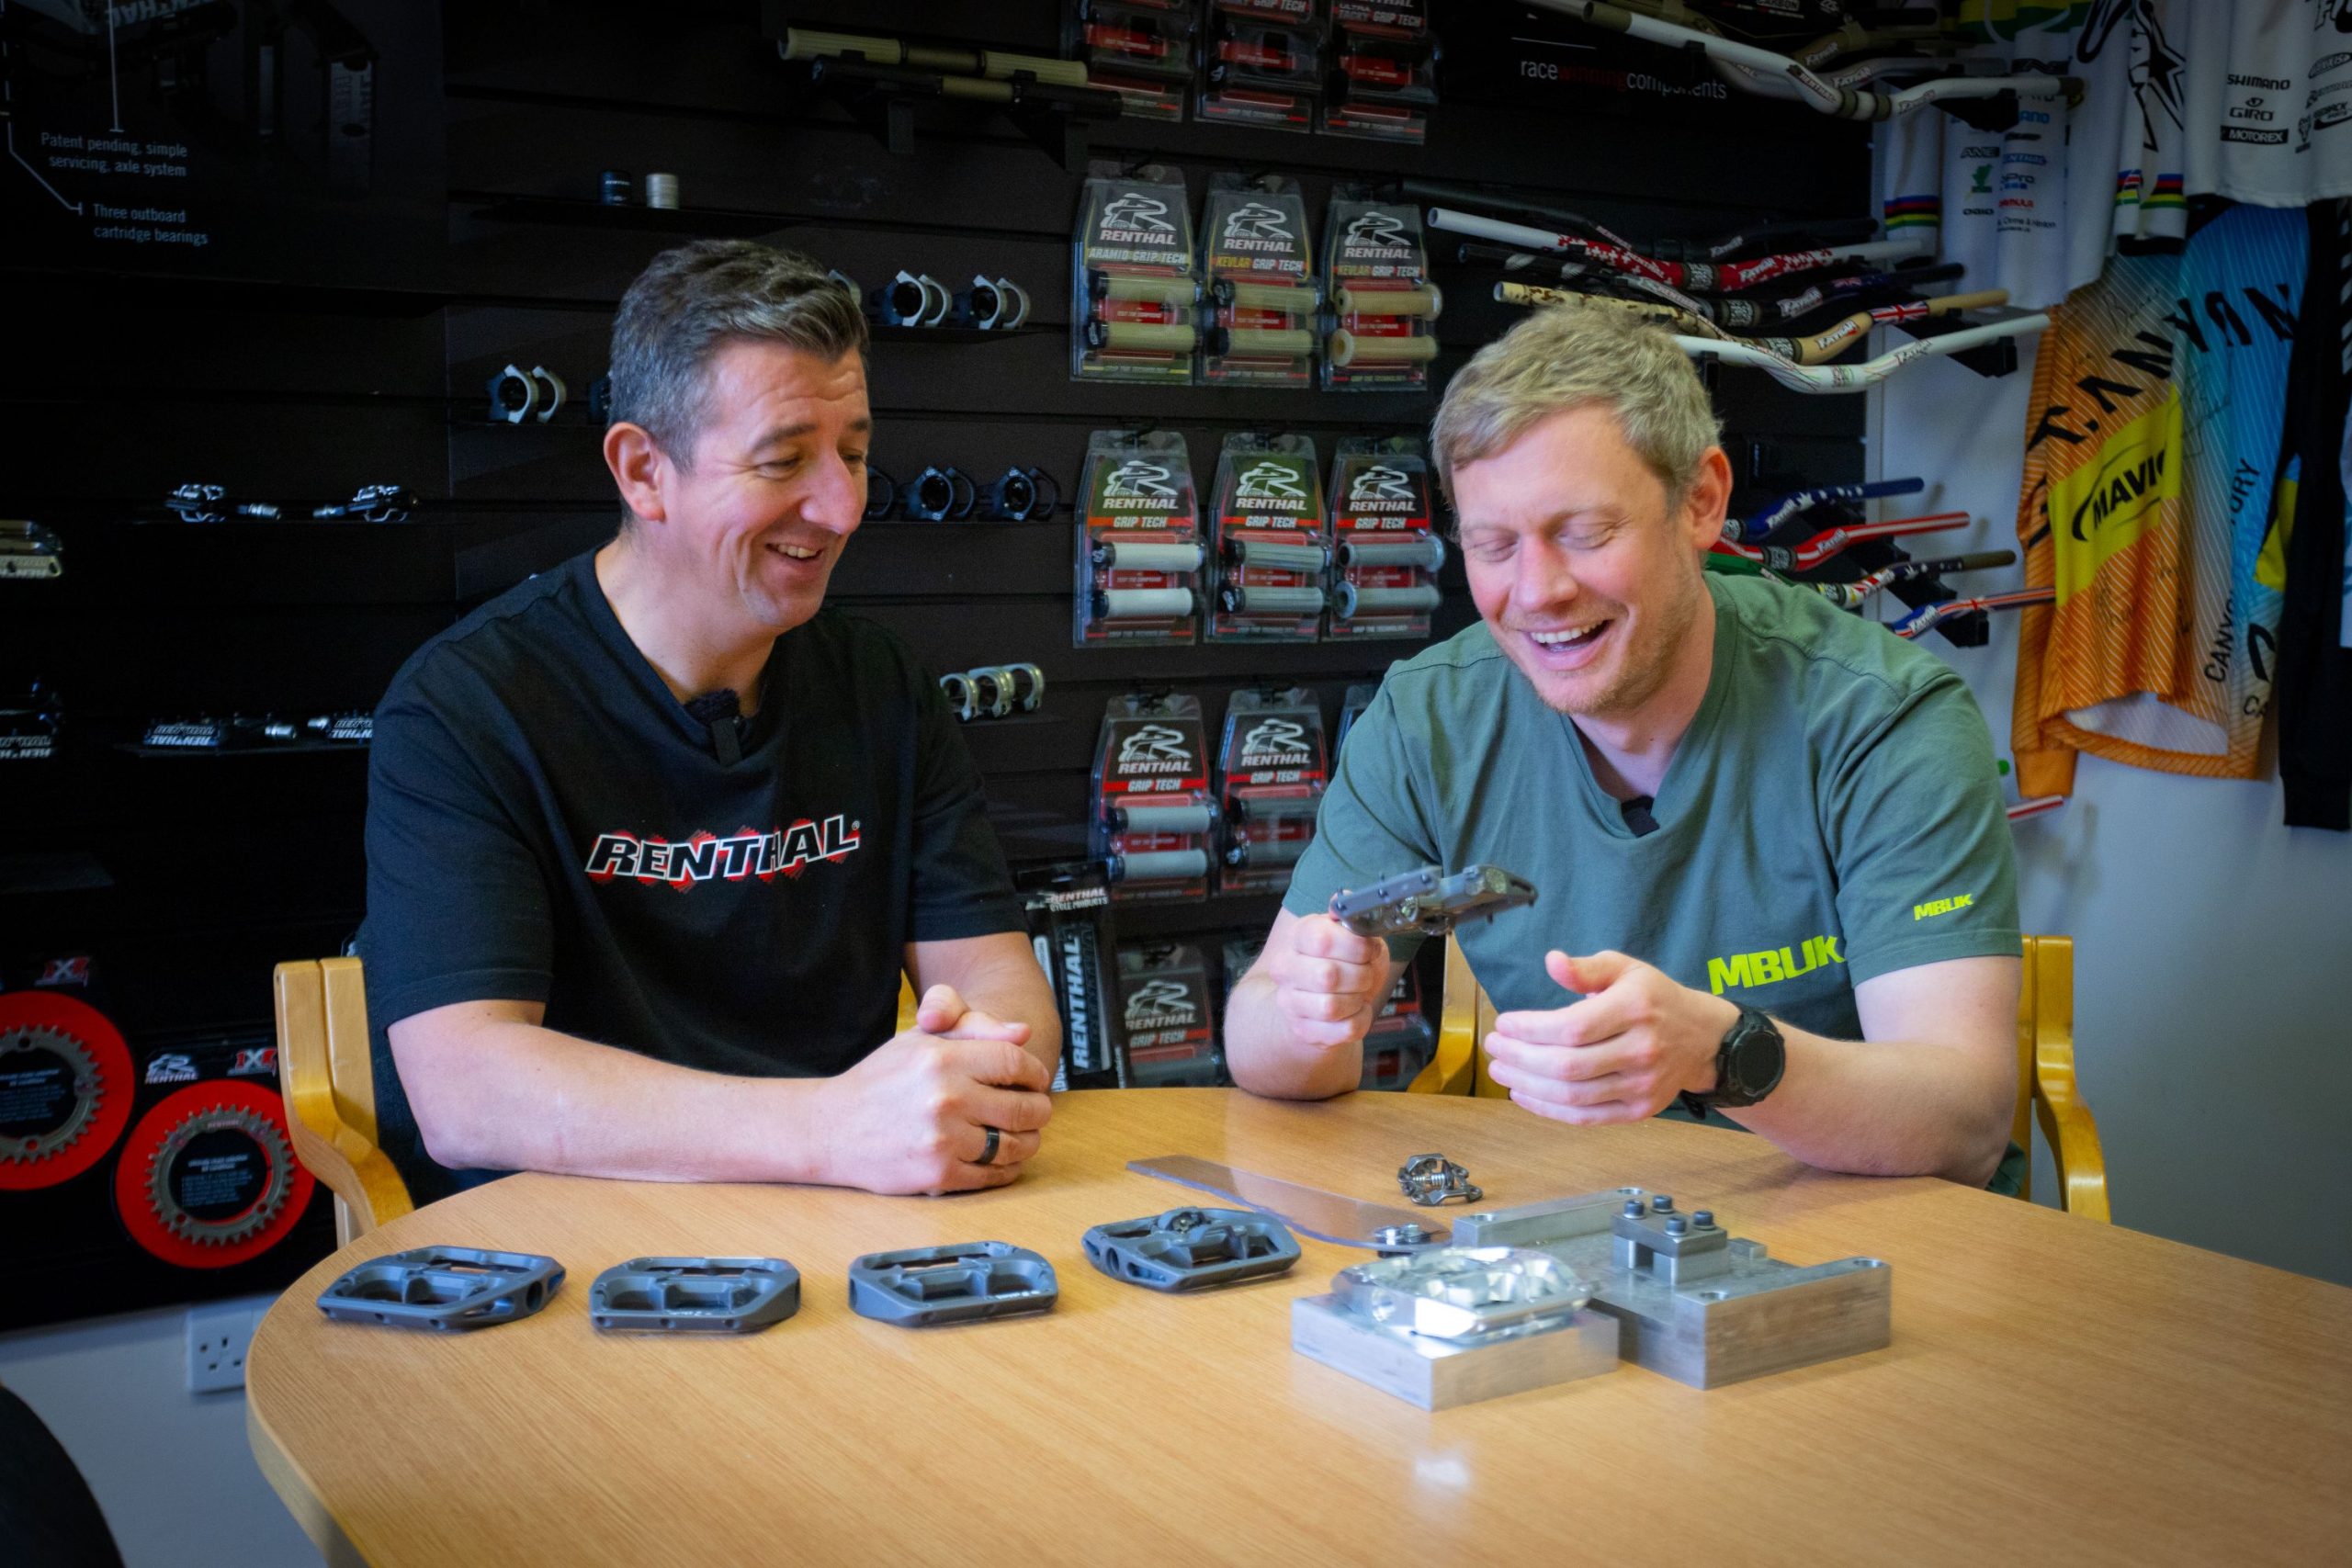
While the team is discussing ideas at its Manchester HQ, a lifesize photo on the wall of Renthal-sponsored athlete Danny Hart racing at the World Championships draws its attention. His feet are visibly hanging off the outside edge of his pedals, unsupported.
Could they build a pedal with the feel of a flat, the security and float of a clipless design, and more foot support than anything else out there?
Step 2: from concept to computer
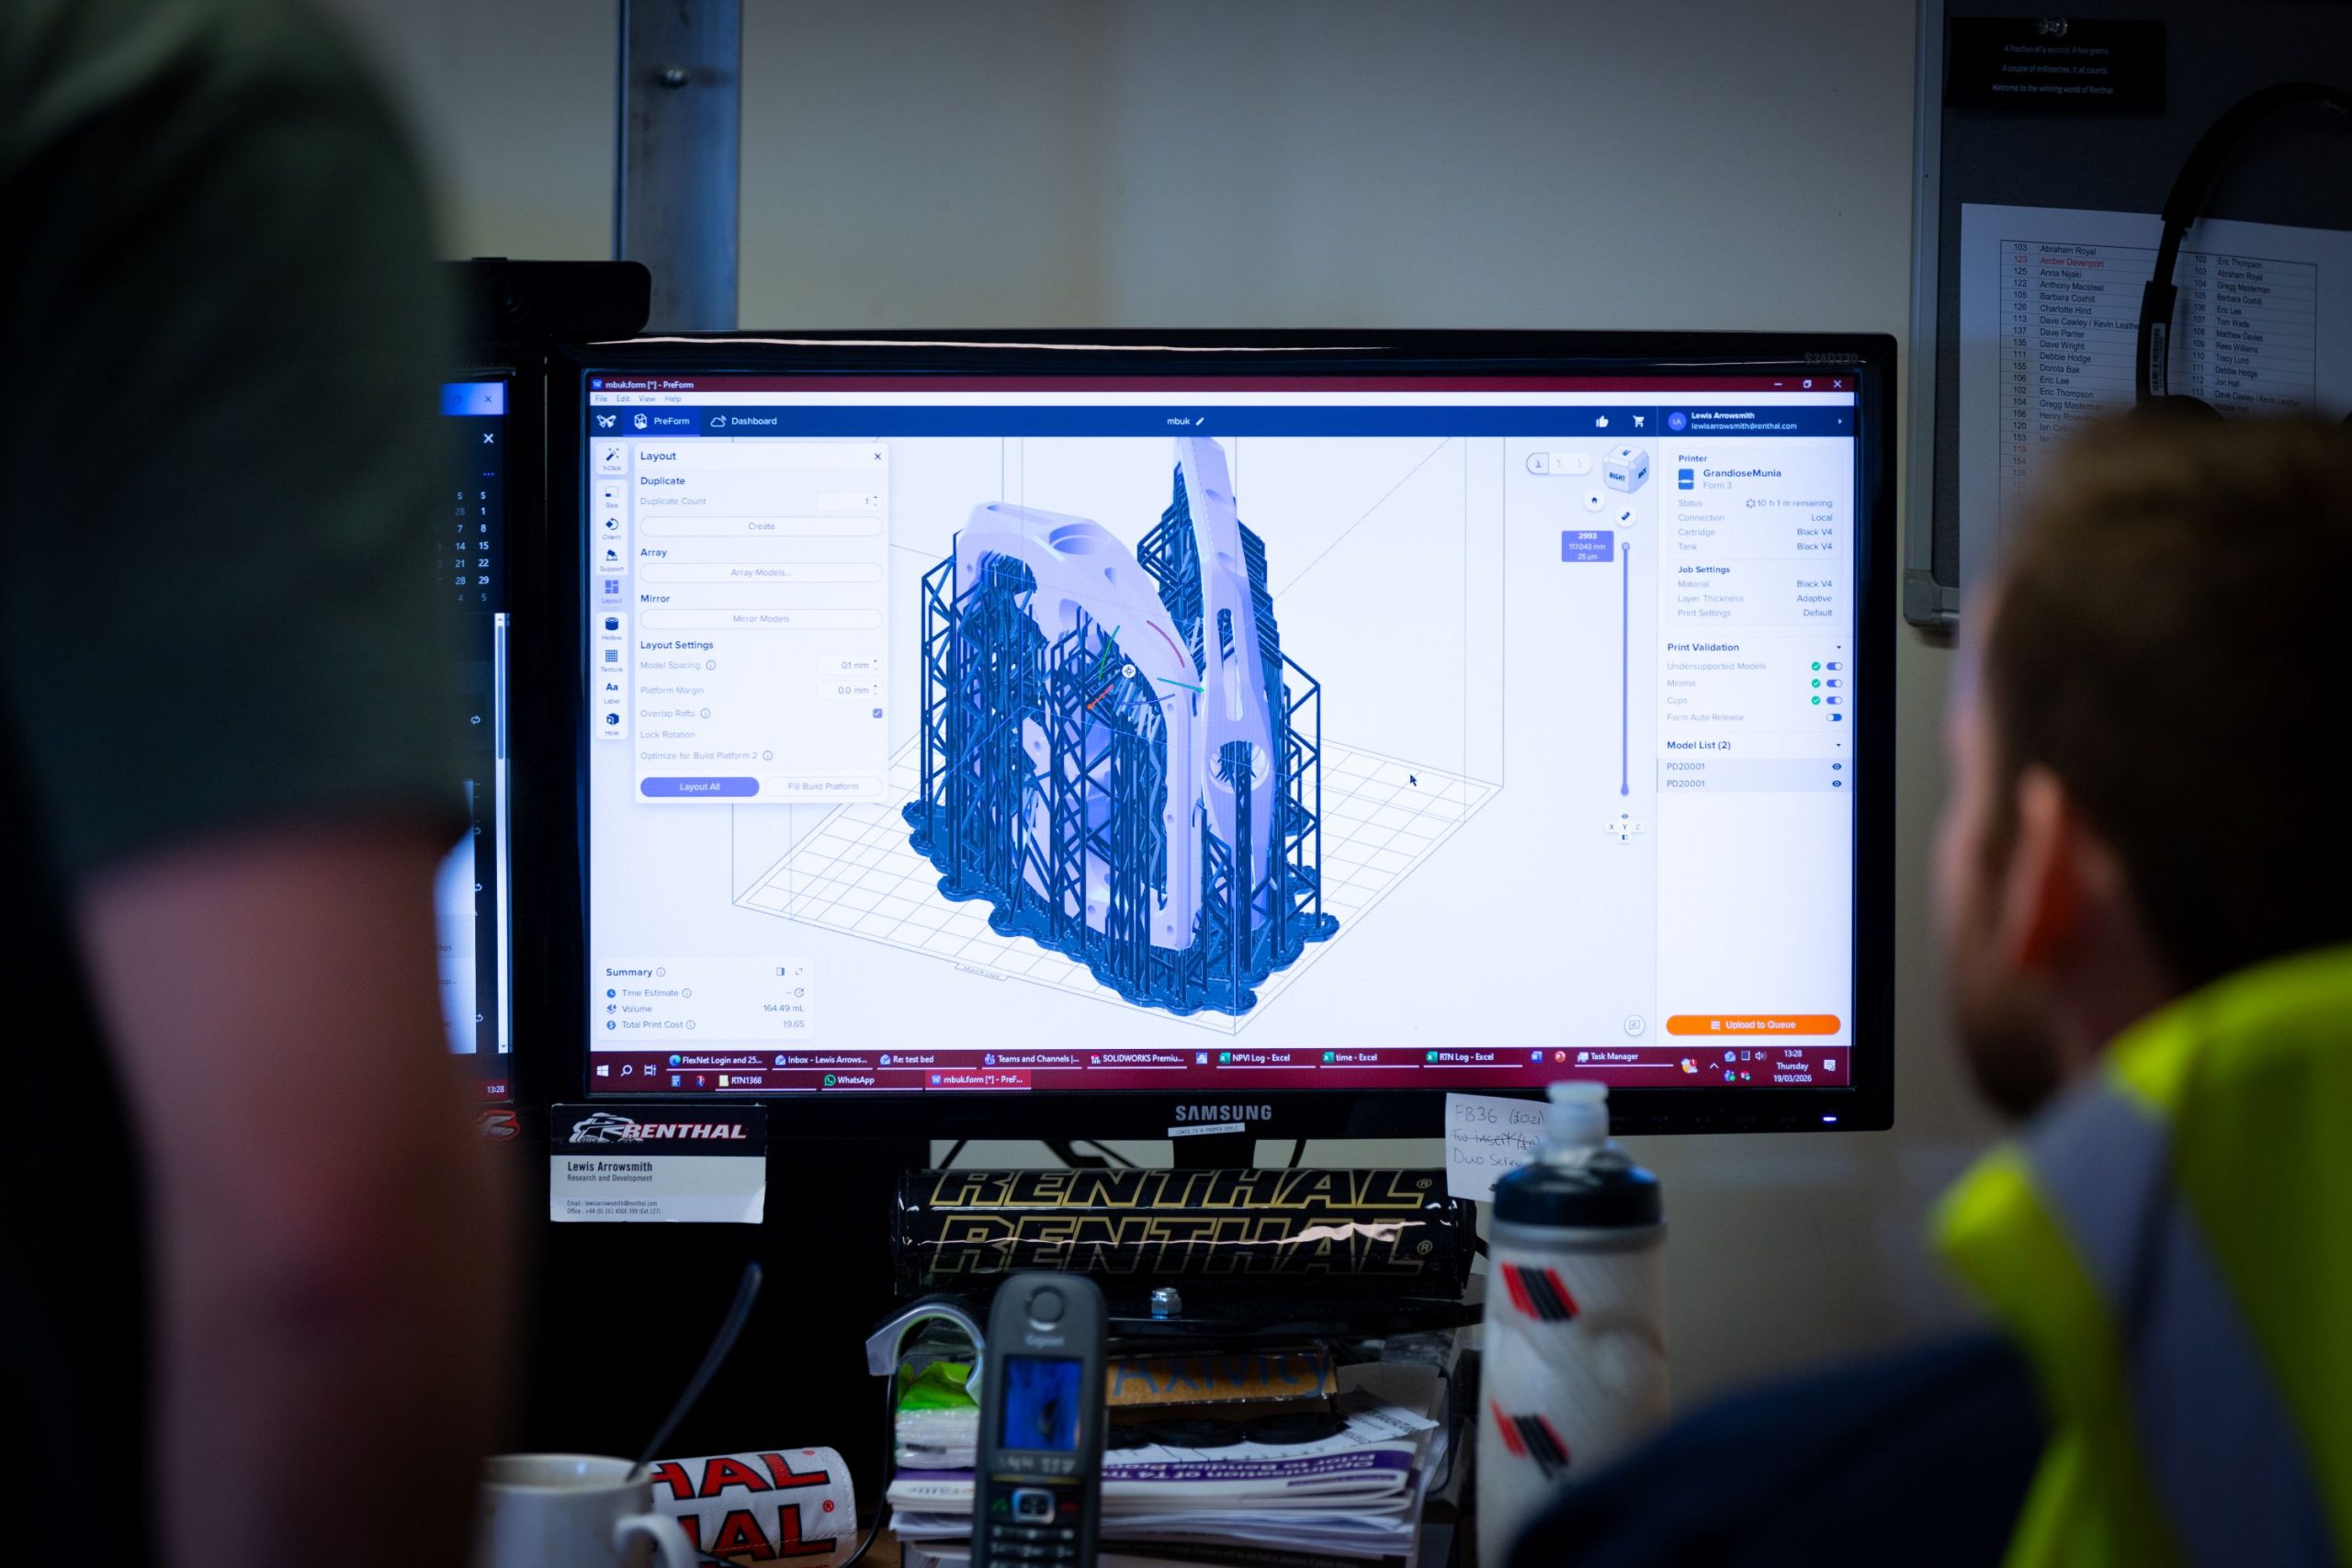
After hashing out the concept and getting a few sketches in shape, it’s time to head to the engineering team, who’re able to translate boardroom discussions into computer models.
Fortunately, a lot of the work is already done, as the Revo-F’s silhouette is one they want to emulate. The outside shape is largely maintained, while the internals – bearings, bushings and axle design – are already race-proven.
Still, the clip mechanism’s location needs sorting. The team settles on a position that looks wildly inboard, but is actually 55mm from the crank arm – the same as on any other SPD-based pedal. The wider platform just makes it look closer to the crank than it is.
Step 3: rapid prototyping
Numerous iterations of the design are built on computer before anything physical is made. But once set, the team has a 3D printer in the design room, enabling it to create mock-ups in very little time – anything from a few hours to a day or two, depending on how high-resolution they want their print to be.
They design the form of the pedal, then the computer program generates the support material required to ensure the plastic rapid-prototype pedal doesn’t fall over in the 3D printer.
Renthal uses an SLA (stereolithography) machine, which utilises a UV-curable resin that’s held in a tank. A laser sets the liquid resin in layers, with the plate growing from below, rather than material being injected top-down.
This process enables Renthal to see what the pedal is going to look like, and then tweak the design to perfect it.
Step 4: fine-tuning
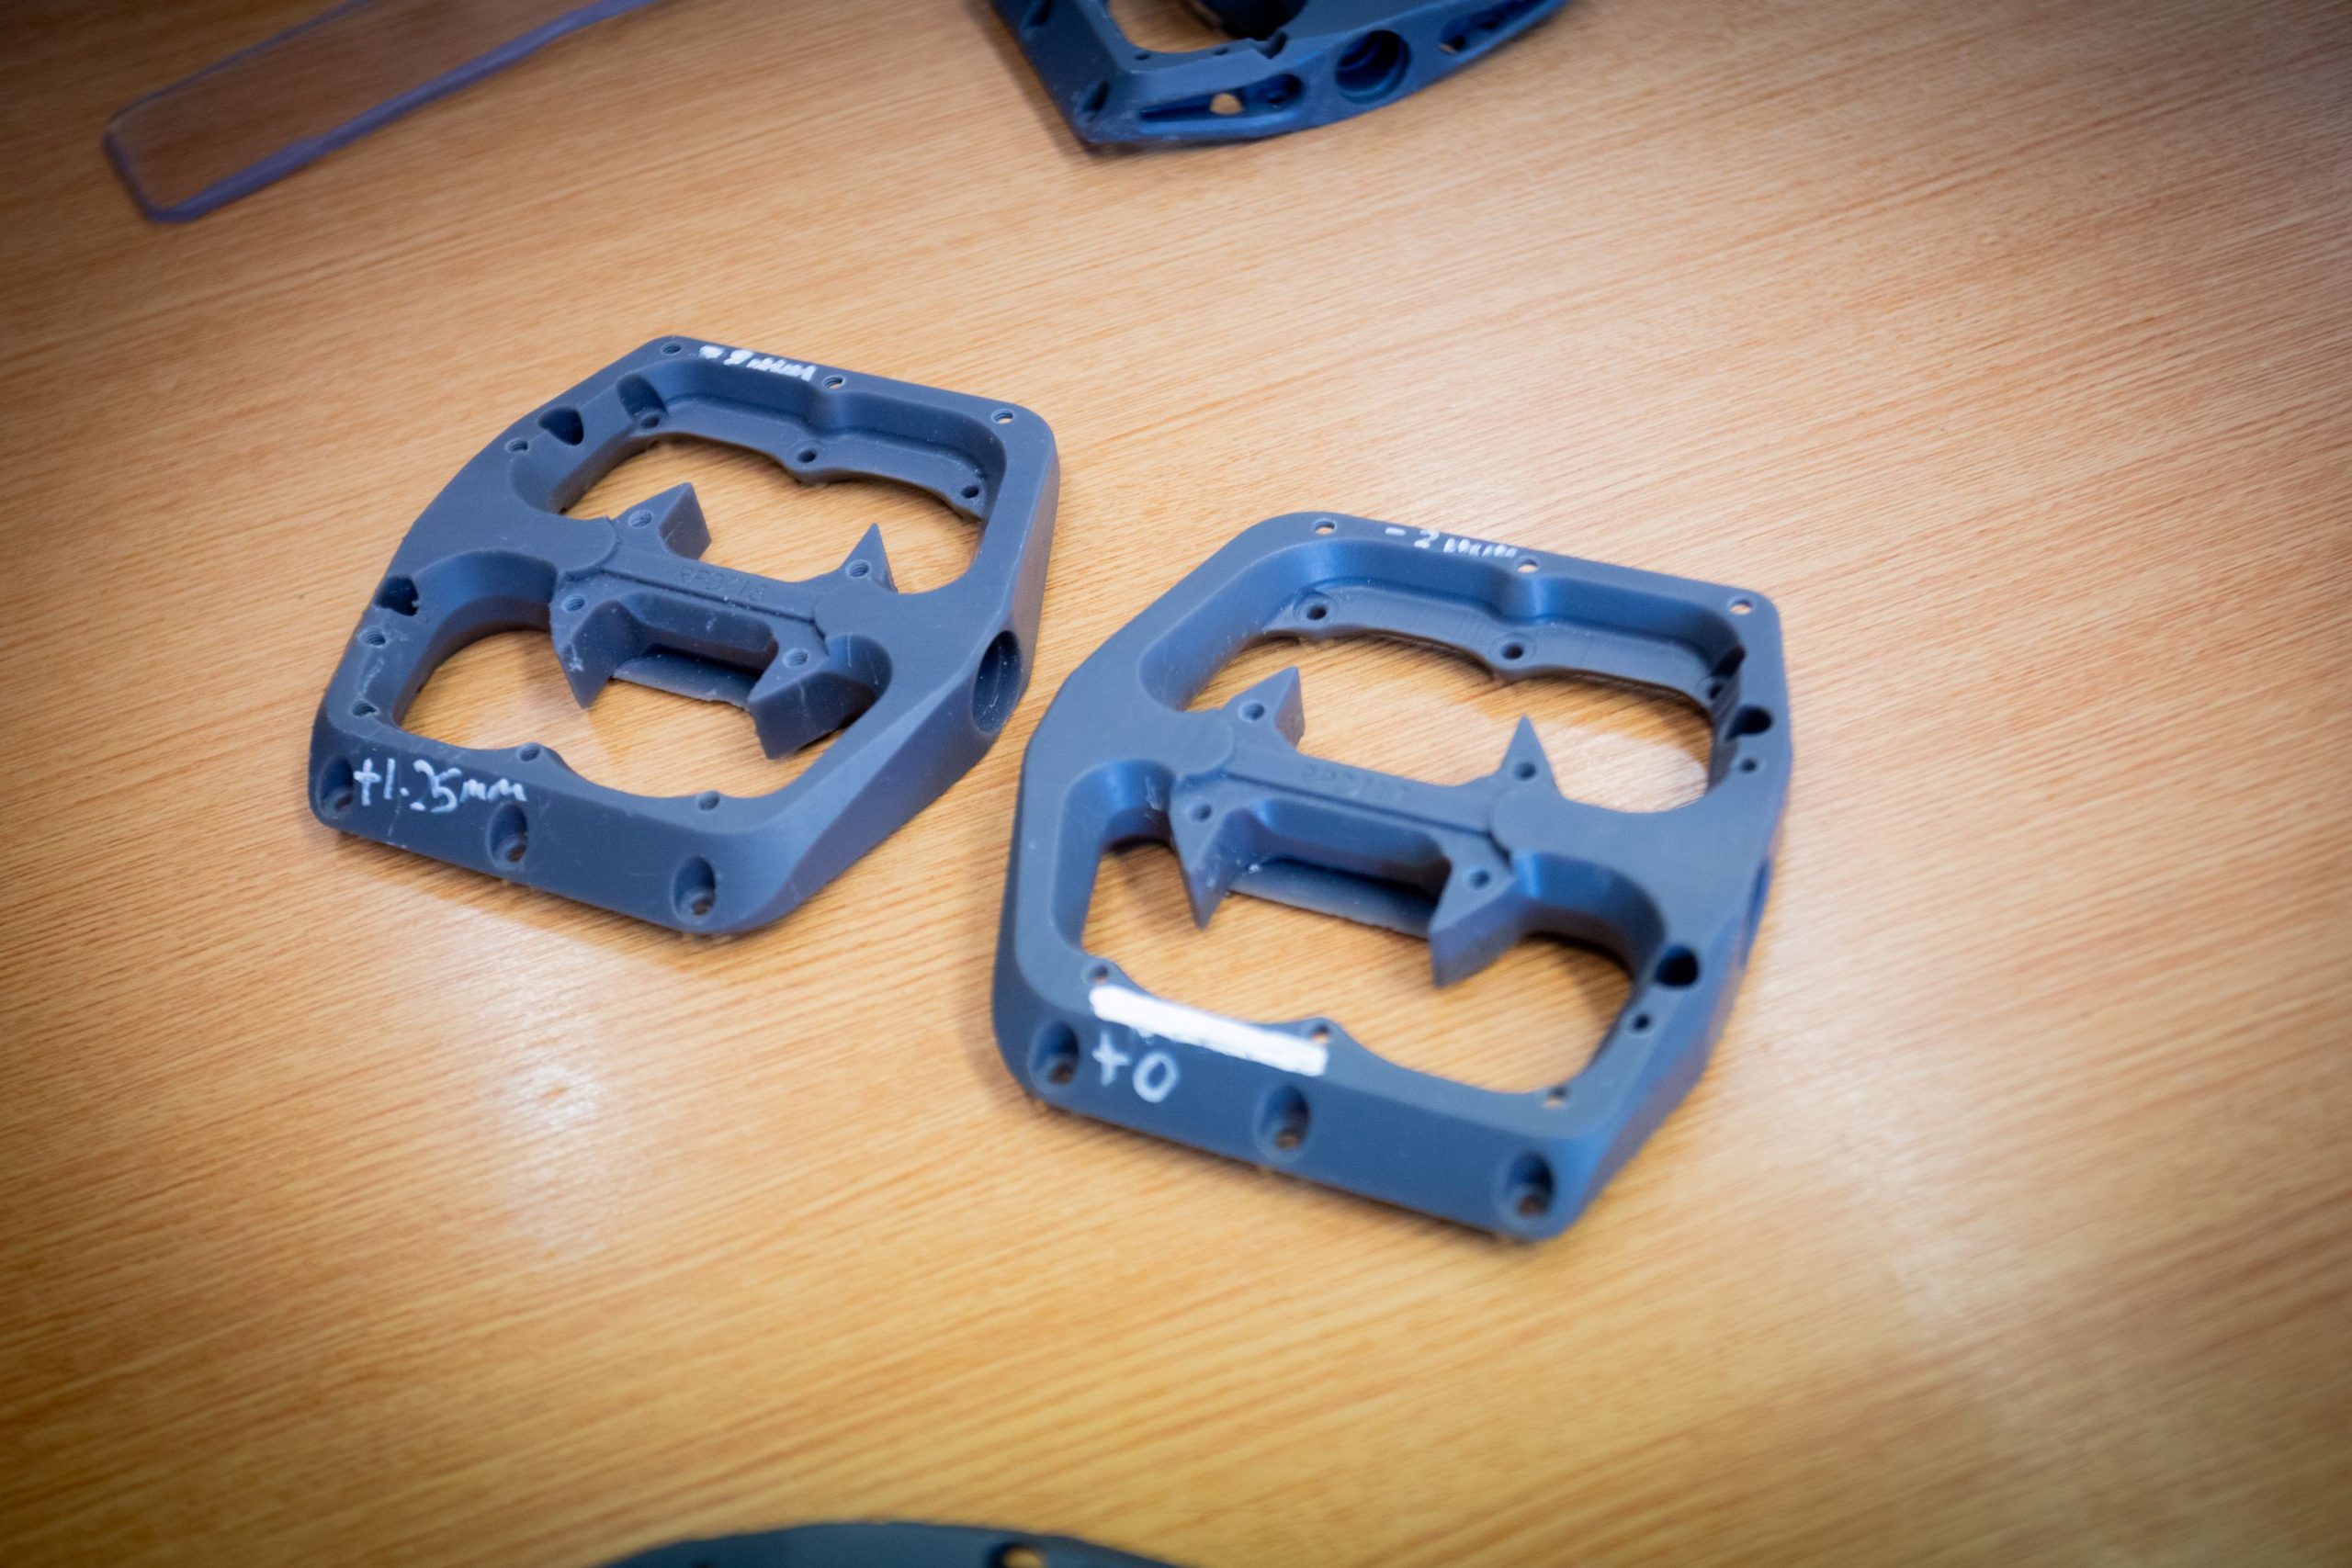
Once the basics are sorted, the engineers and product managers get to work perfecting the pedals.
Shapes are altered in order to find the optimum front and rear profiles that give a flat-pedal feel when used with clipless shoes. Shims are used on a pedal blank to further dial in the geometry of the pedal body, before yet more testing is done.
The Revo-DHC’s special sauce is how the pins interact with shoes. After testing, Renthal believes a 1mm gap should be left between the rear pins and the shoe’s sole, enabling some float. When the shoe is loaded – say, in a corner – the flex of its shank enables the pins to dig into the sole, giving that unshakeable flat-pedal feel.
As the process develops, slightly different materials are used in the 3D printer to create a car-park-rideable sample, to ensure the pedal-to-shoe interface is just how they want it.
Step 5: going deeper
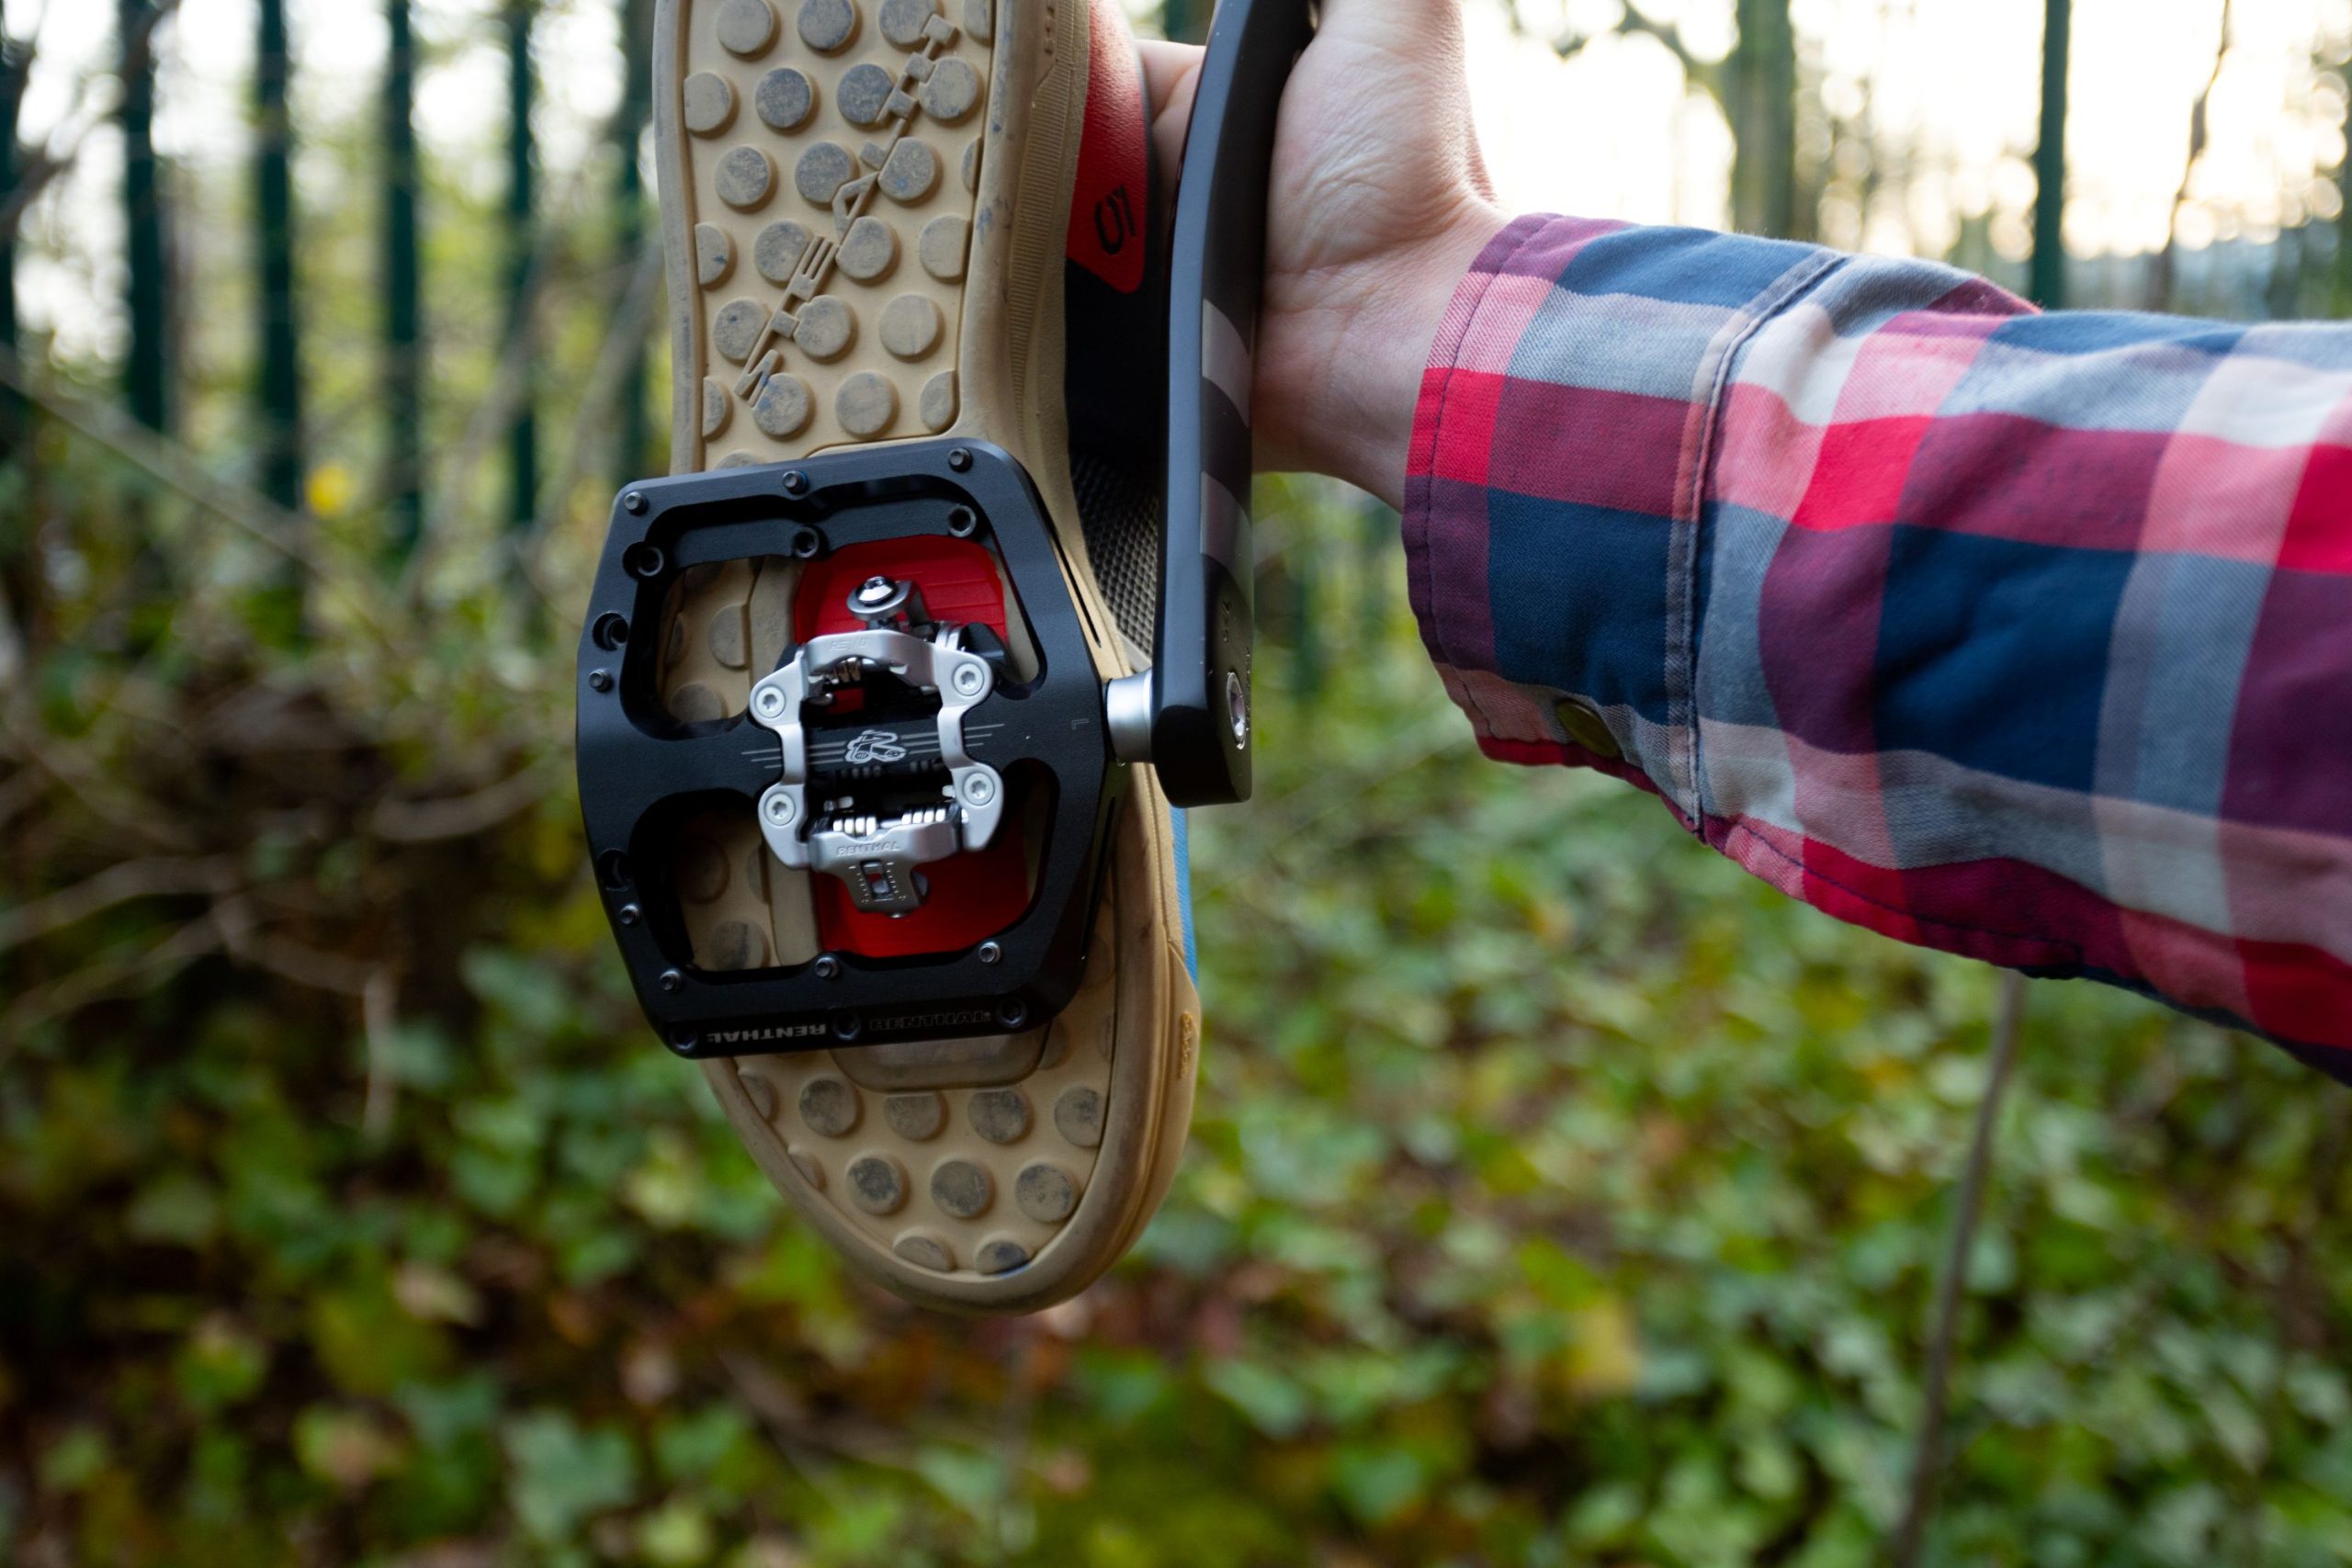
Having decided to use a Shimano SPD cleat-compatible mechanism, like many other pedal brands, Renthal’s engineers decide to see if there are ways to improve upon this classic design.
They mock up a shoe out of clear plastic, attach a cleat to it and watch how Shimano’s binding works as the cleat engages. Noticing that the mechanism’s hook rises and then moves backwards as the cleat is pressed into it, they decide to try altering the location of the pivot.
The result is the Easy Entry Geometry found on the Revo-DHC, which ensures the hook of Renthal’s binding has no upward portion to its arc, enabling a smoother, easier engagement with no loss of security. Think of it as the clipless-pedal equivalent of a high-pivot bike.
Their 3D printer produces quick plastic prototypes, before moving on to properly usable stainless-steel additive-manufactured versions, to ensure the mechanism works as intended.
Step 6: time to test
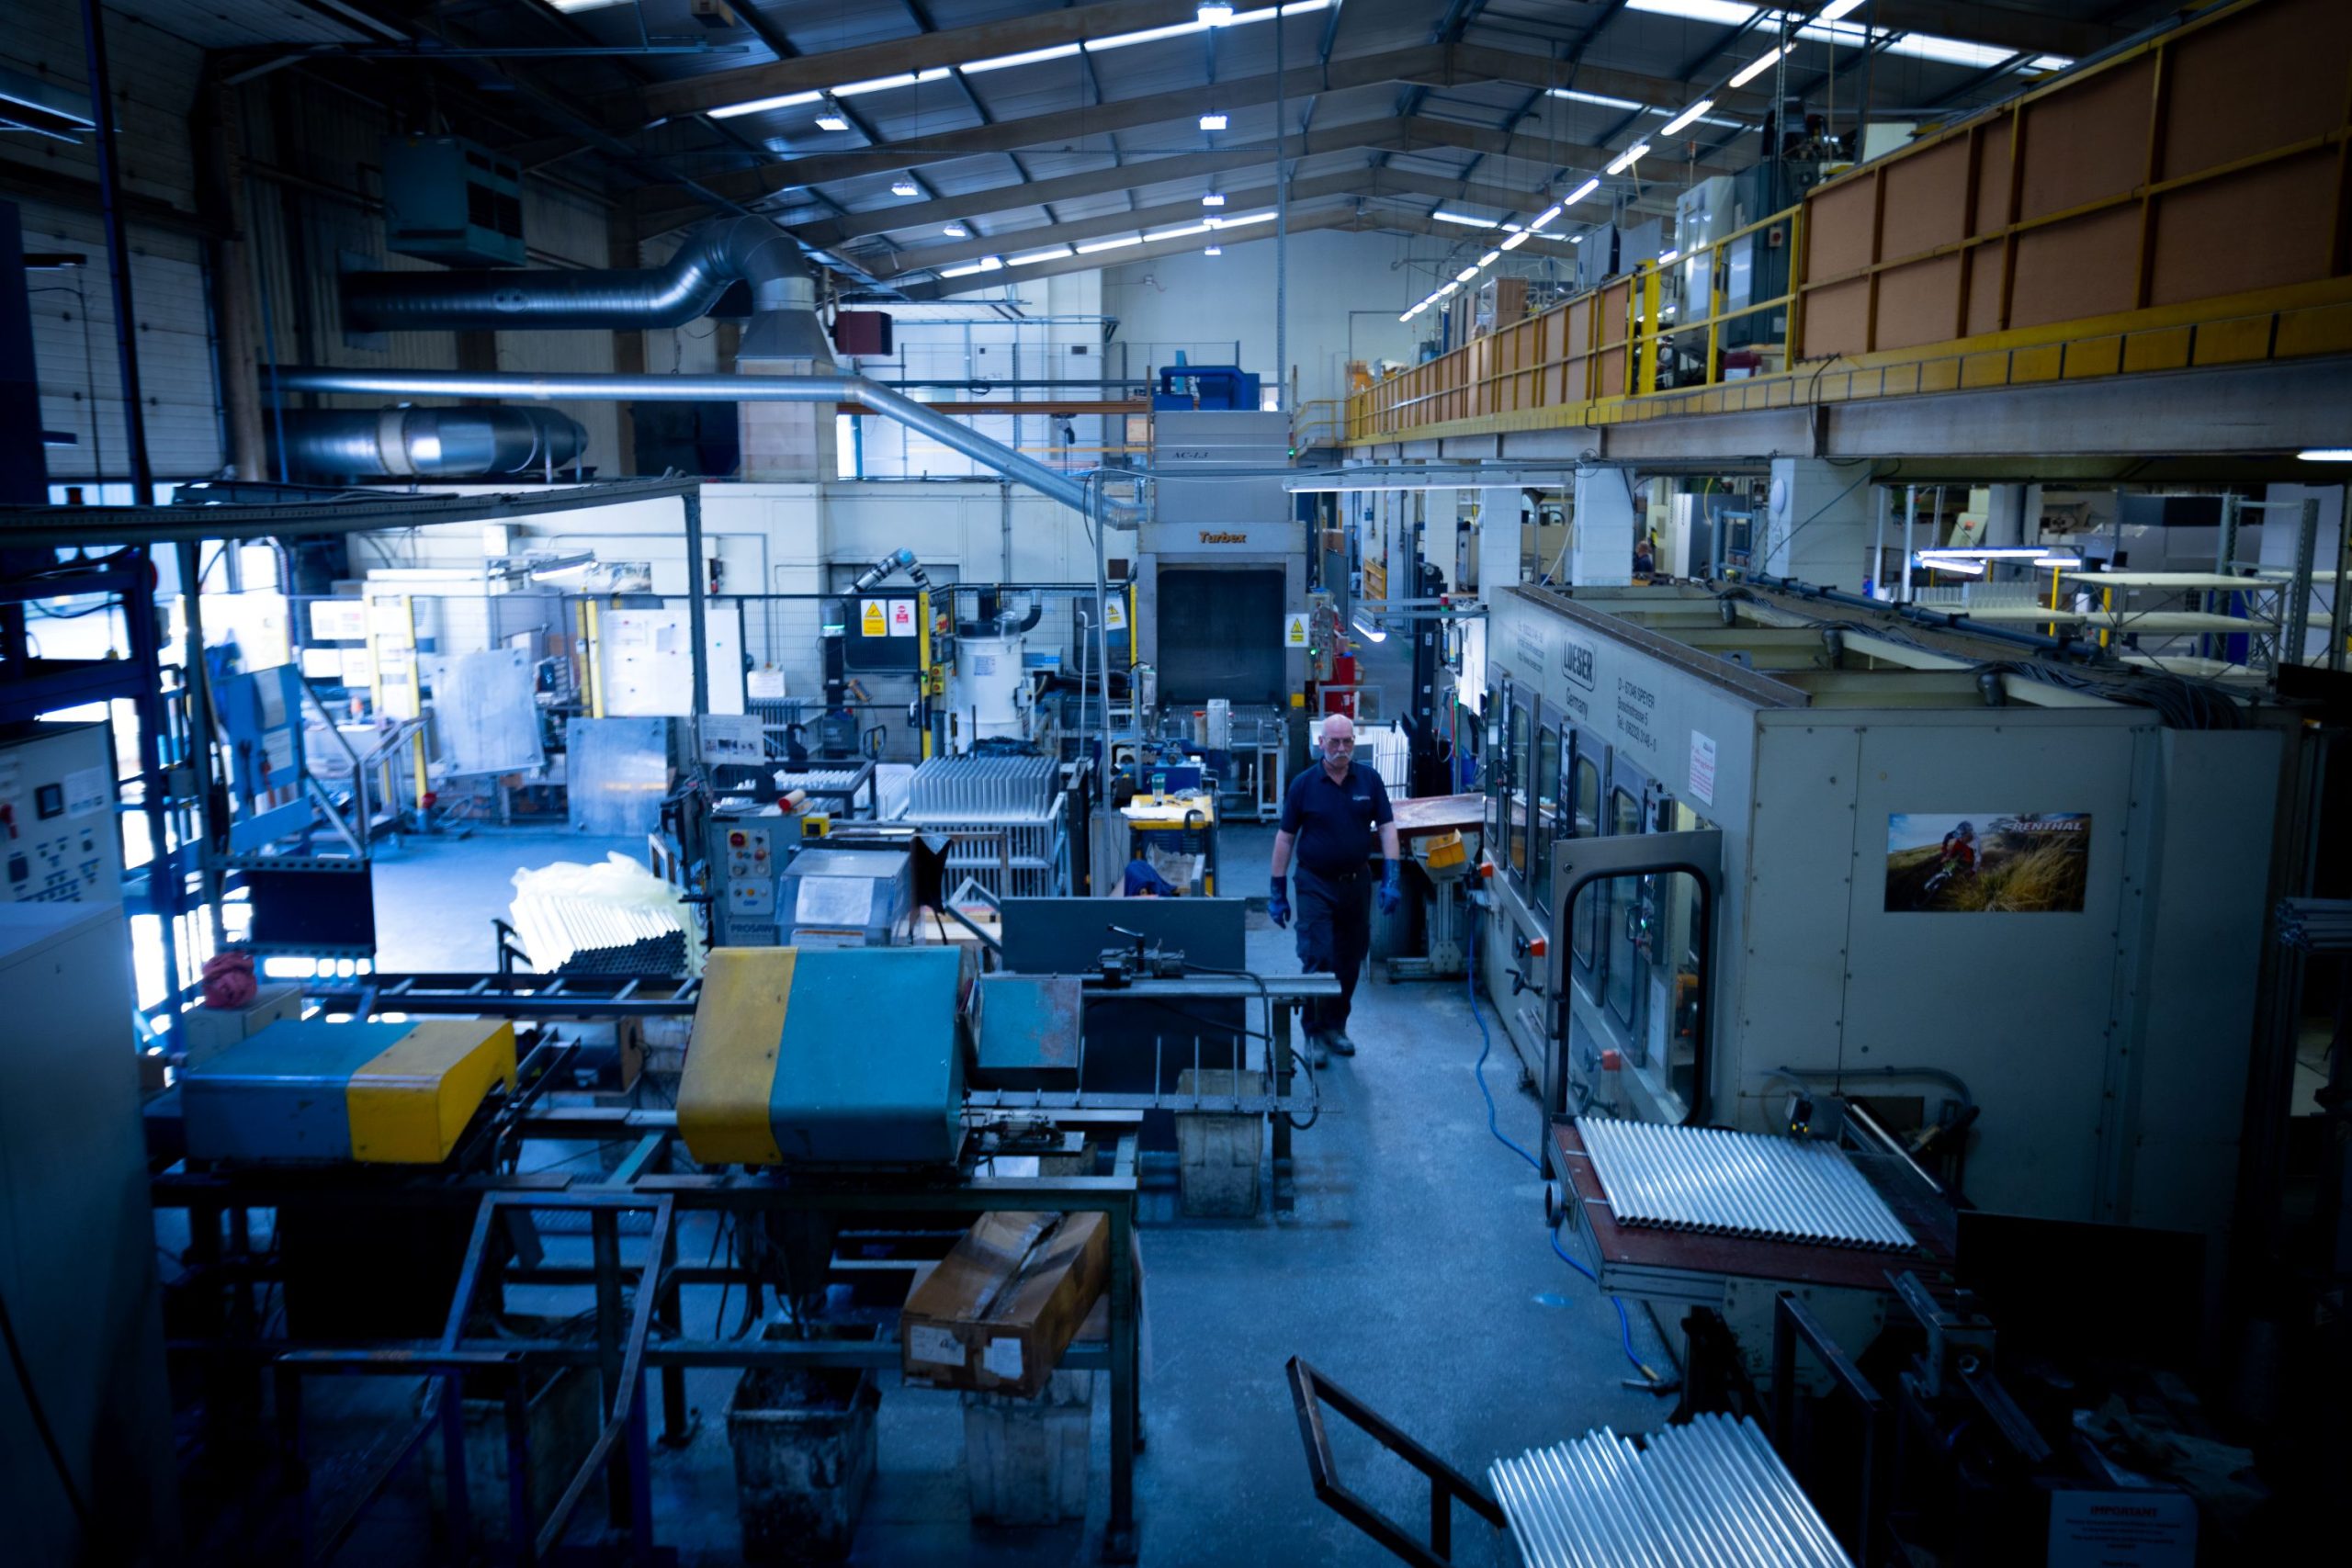
With everything proven in concept, it’s time to put the Stockport factory’s machinery to work. The CNC machines are set up to create rideable prototypes, ready for testing in the lab by the in-house team as well as by pro riders such as up-and-coming World Cup racer Billy Pugh.
These riders put Renthal’s ‘flat-like but safely clipped in’ concept to the test, while in the lab powerful hydraulic pistons press on the pedals to make sure they pass (and very much surpass) industry standards for durability and safety. The mechanism’s wide range of adjustment is also tested by mounting a cleat on a torque wrench.
Small tweaks can still be made, but by this point the pedal is nearly ready to go into production.
Step 7: get them built
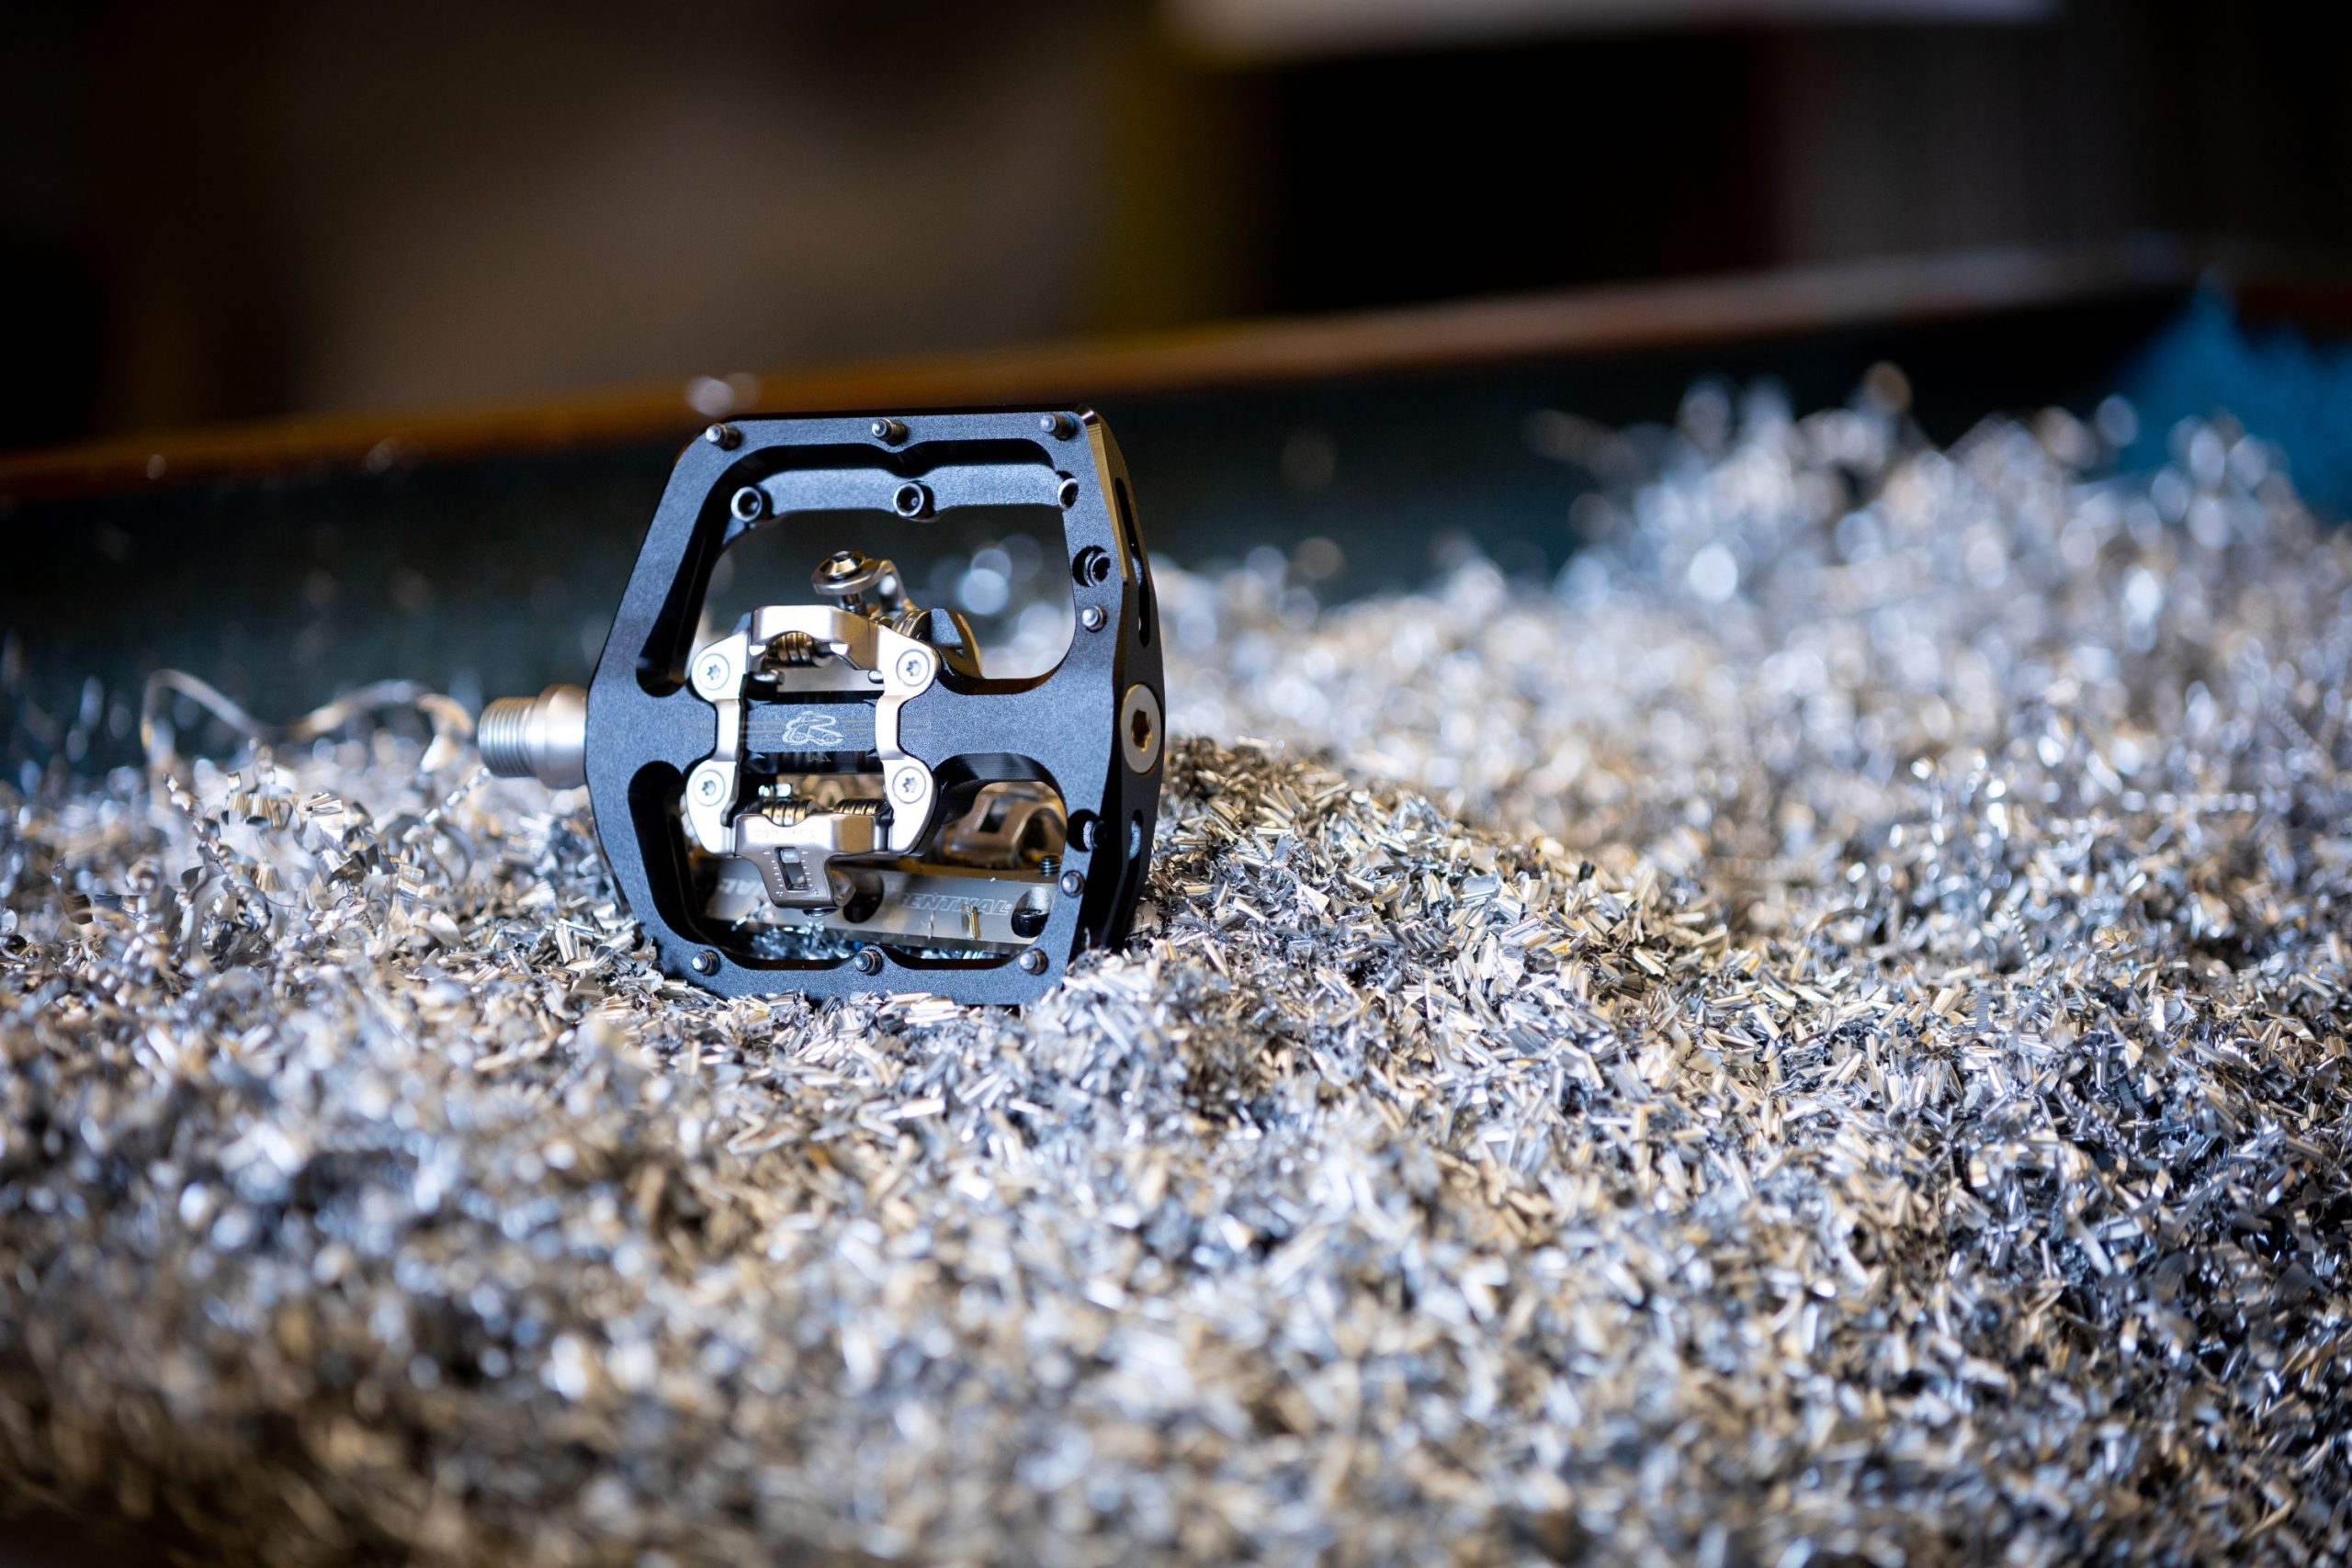
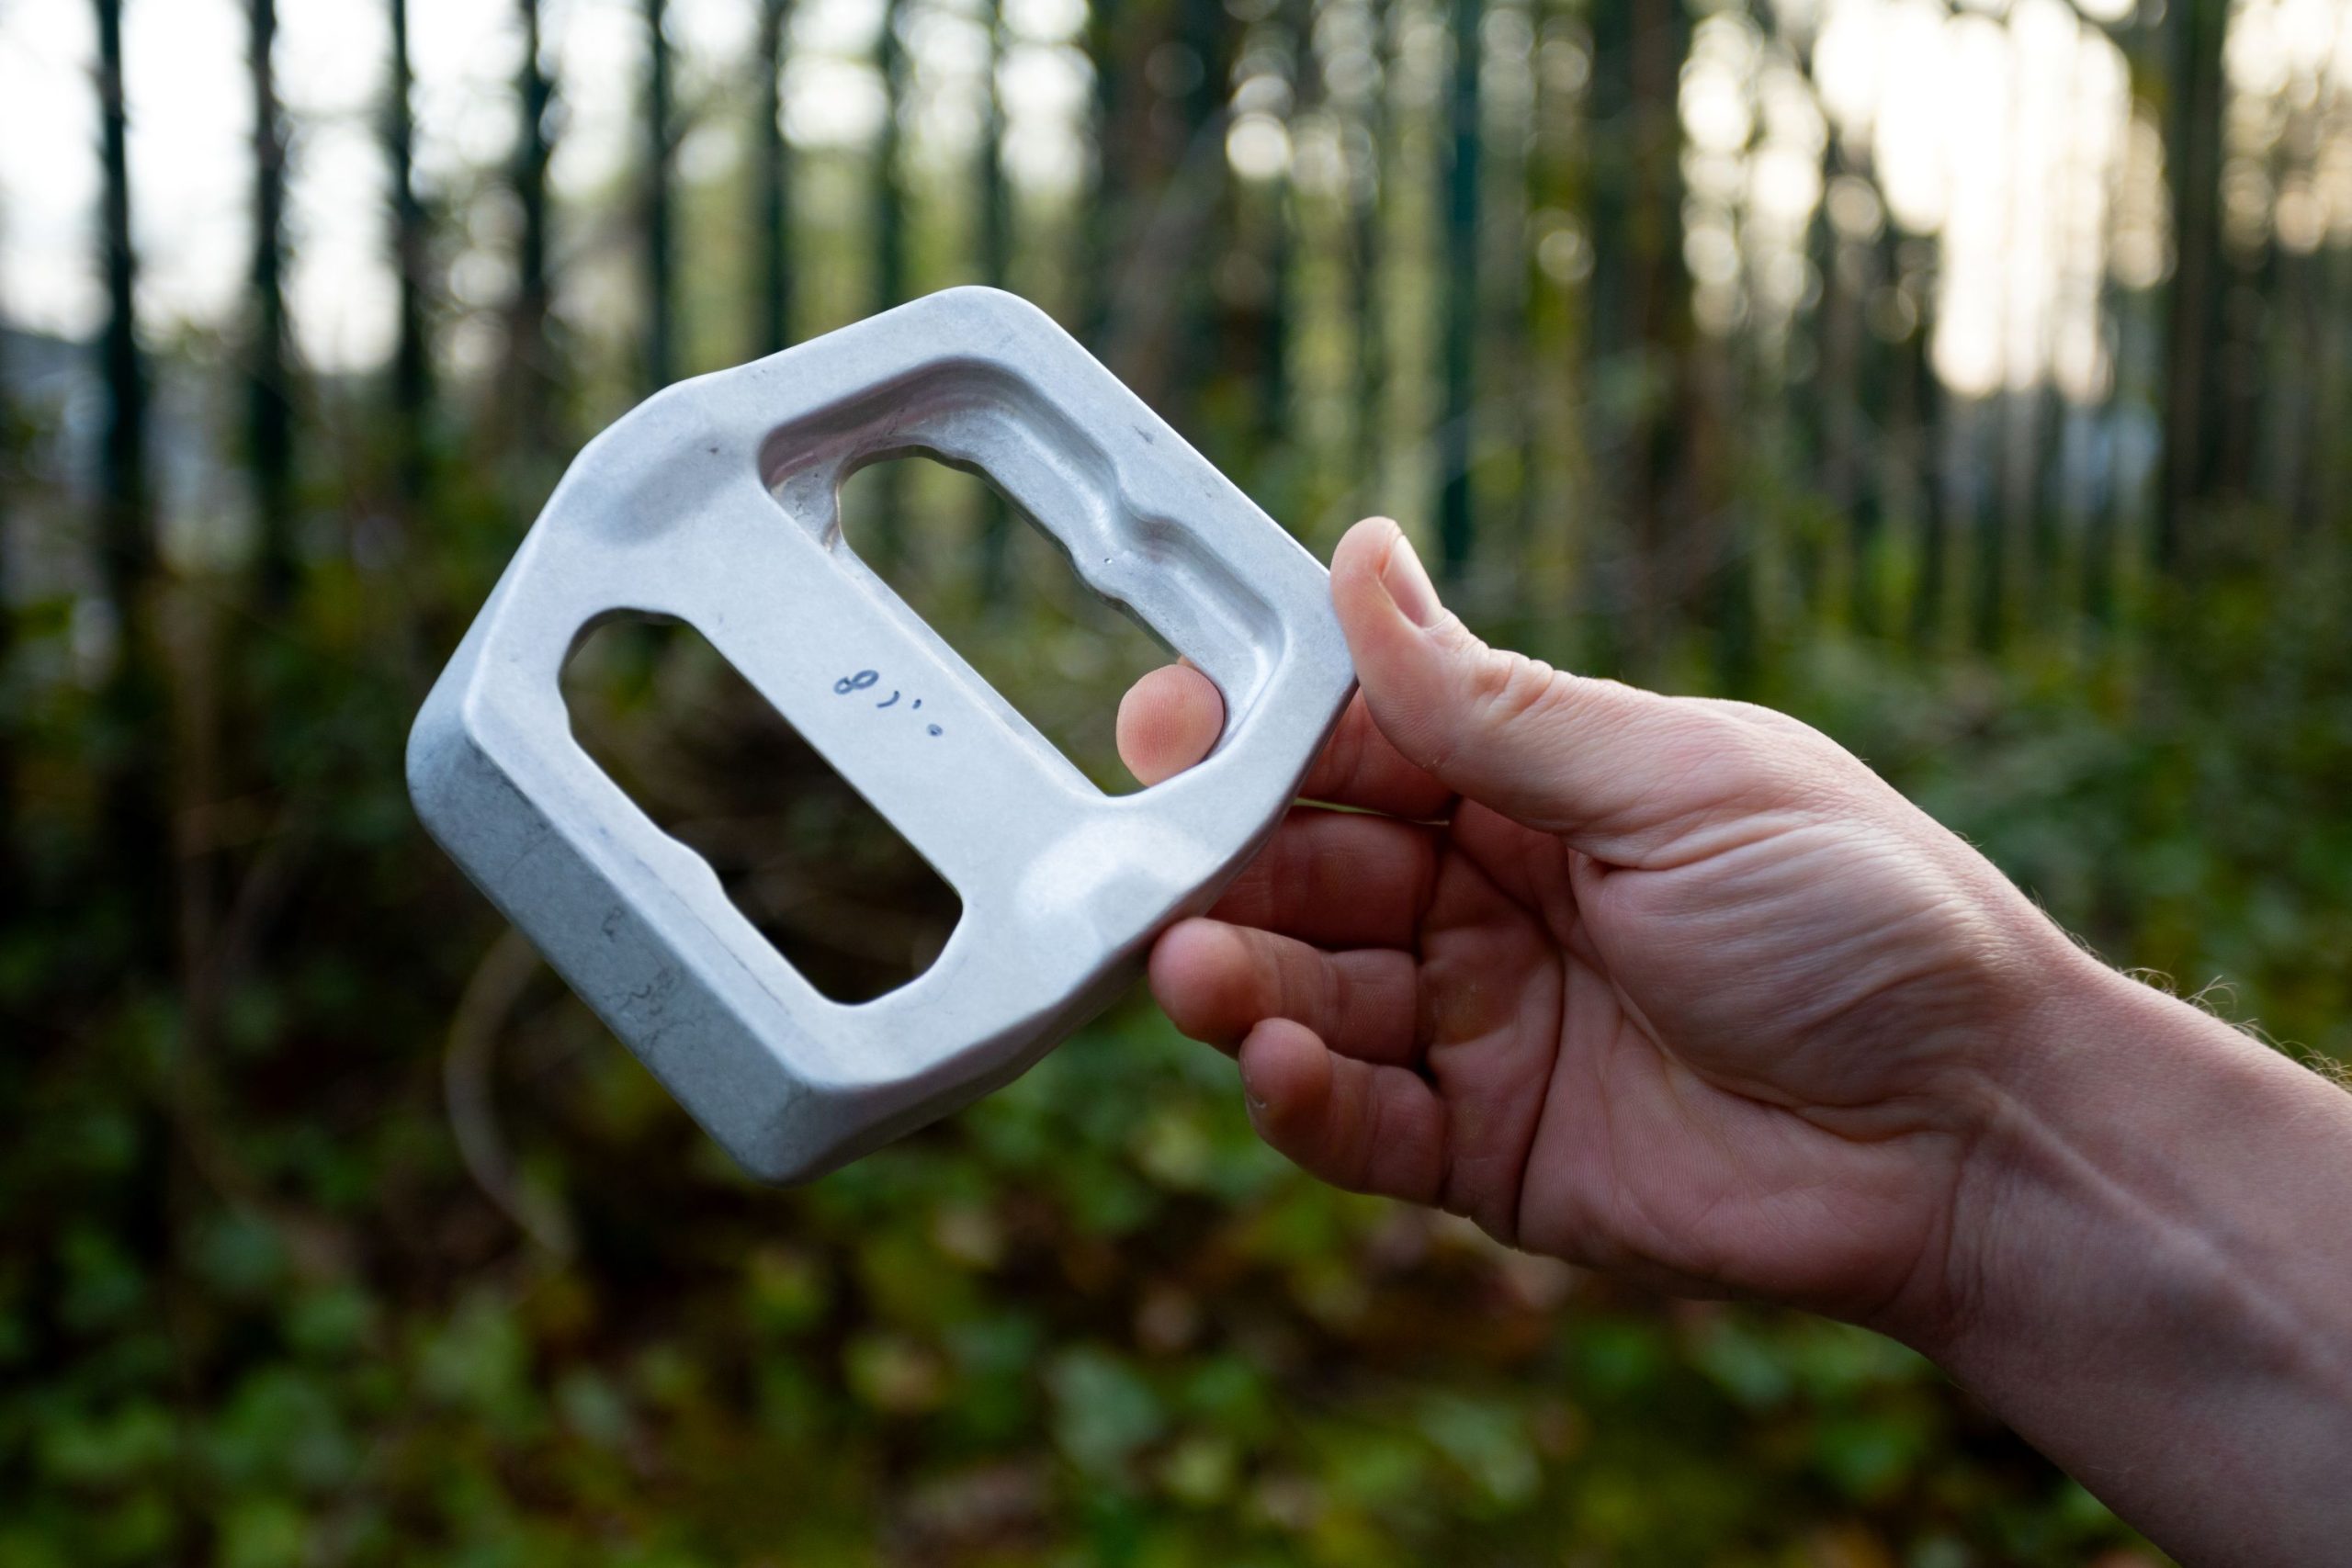
With all development and testing done and dusted, it’s time to hit ‘Go’ on the finished product. Tooling is opened to enable blocks of aluminium, squeezed by a giant press, to come out of the other end as a forged blank.
This is then sent to the CNC machine, where excess metal is removed to give the platform its final shape, as well as adding holes for mounting the clip mechanism and pins. As much weight is removed as is safely possible.
Next, the axle, borrowed from the Revo-F, is installed and pairs of pedals are packaged up ready for shipping and distribution. It’s up to you, the consumer, to dial in which of the four pin lengths you want, to give that flat feel with clipless control.