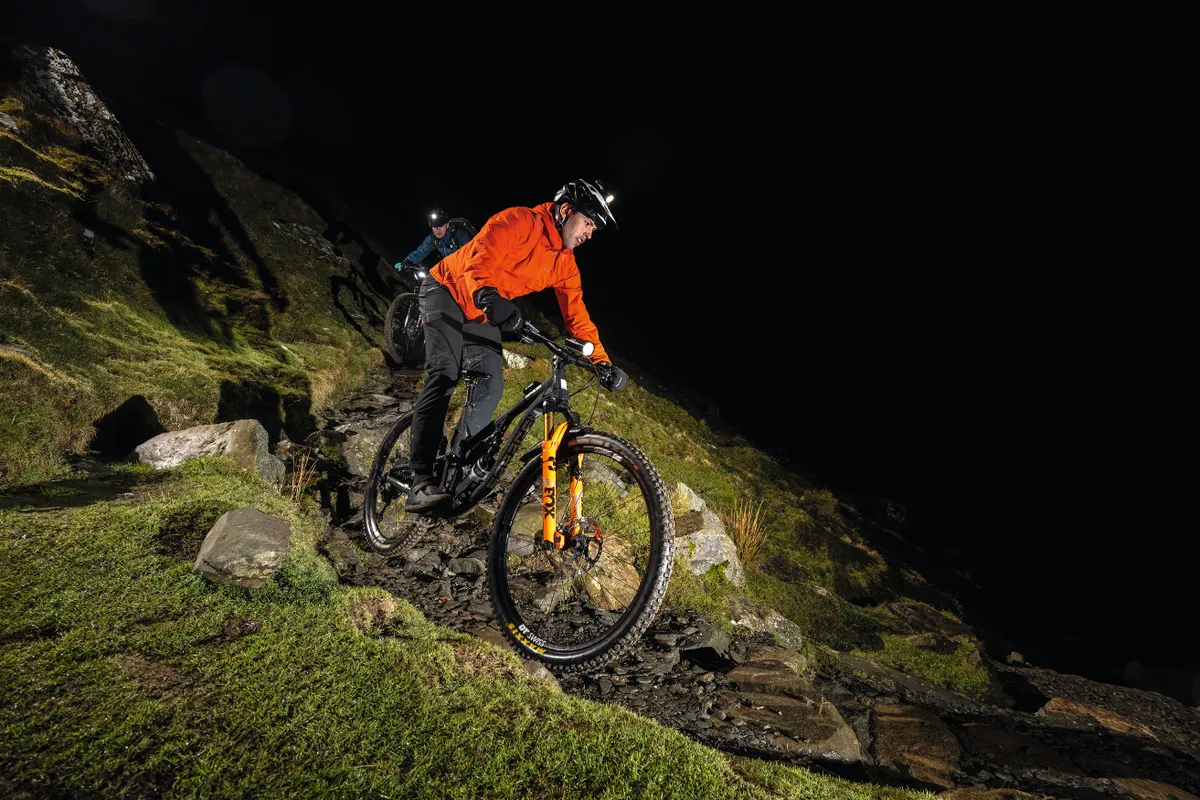
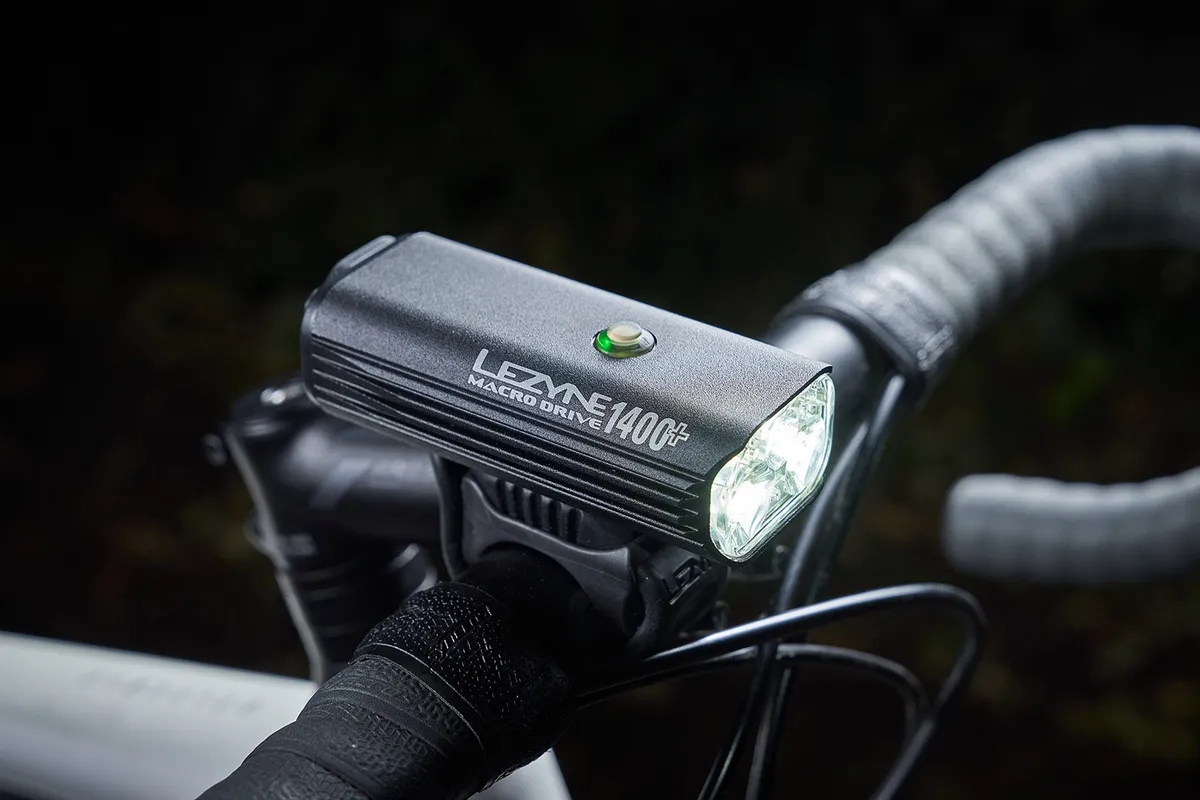
Lezyne’s Macro Drive 1400+ light is a powerful lamp built for the rigours of night riding on off-road trails. But how does a piece of tech such as this come into existence?
To find out, I travelled to Lezyne’s factory in Taichung, Taiwan. This place is serious business, pumping out hundreds of thousands of multi-tools, a million pumps and a million bike lights per year.
Little did I know I was going to be invited onto the production line to get stuck in building my own light. Here’s how one gets put together.
- You may like: The best mountain bike lights for night riding
Step 1: metalwork
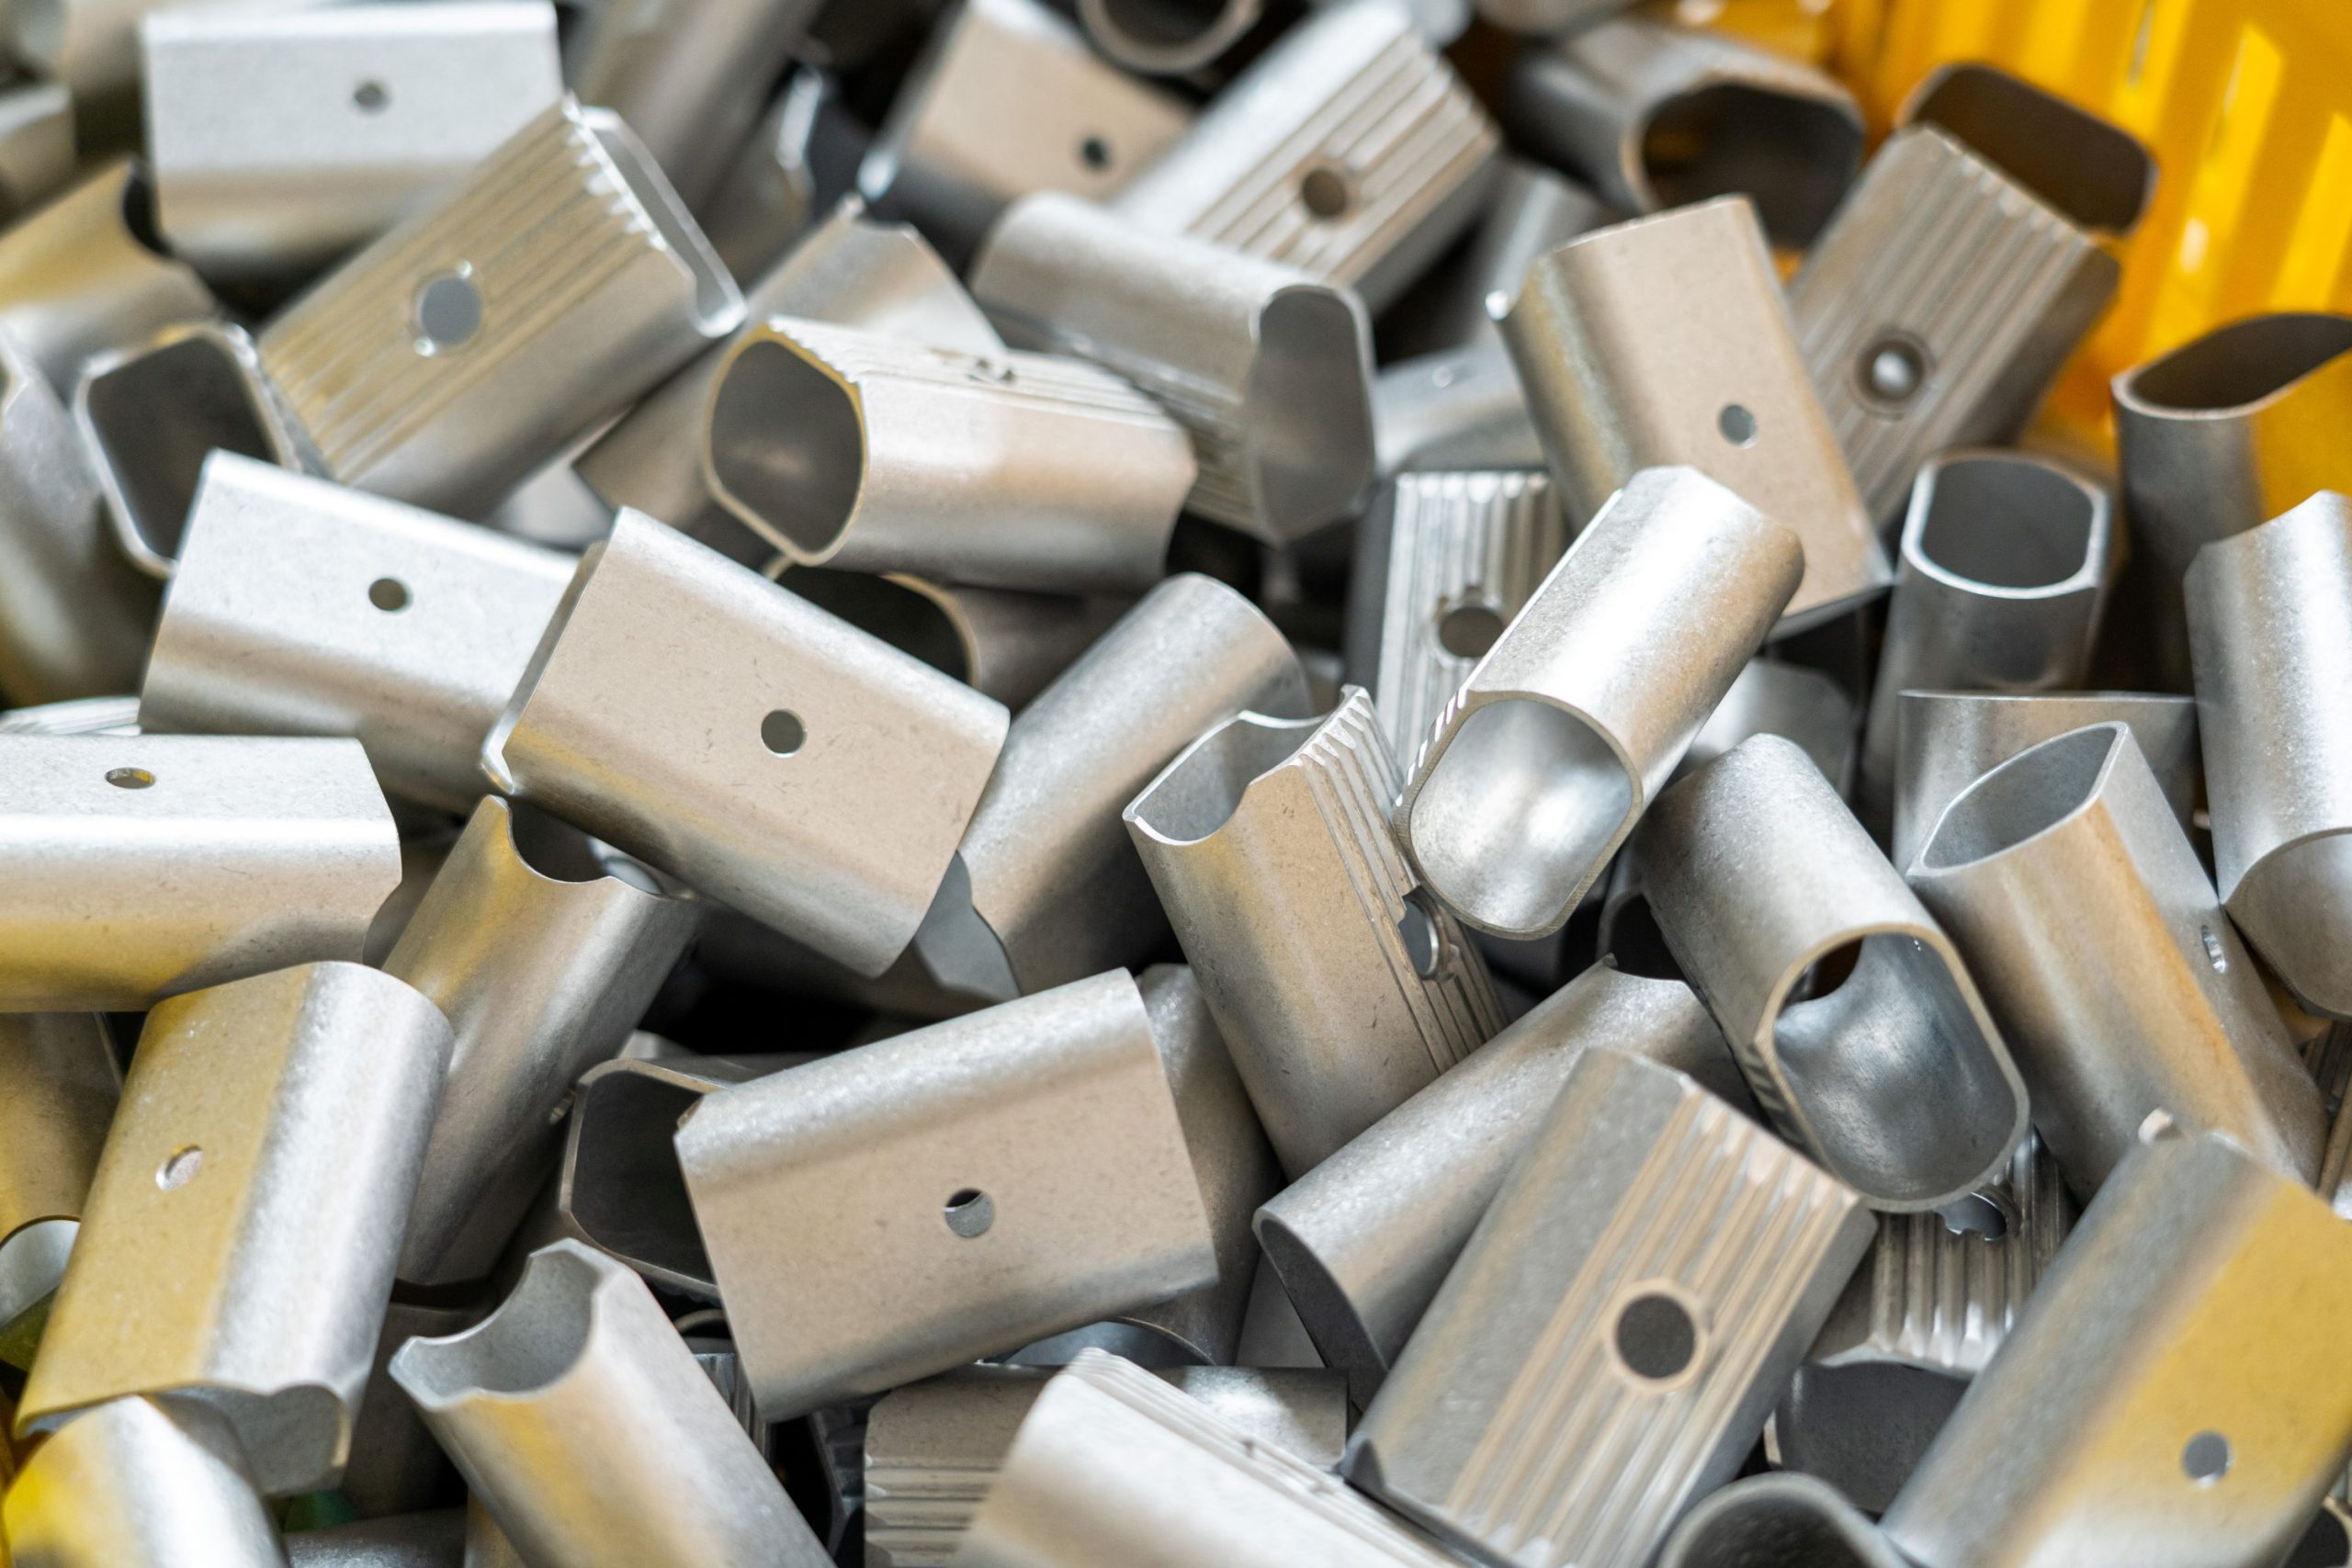
The factory receives long lengths of extruded aluminium alloy, roughly in the shape of the light’s body. (Imagine a pasta machine pushing dough through a die – that’s extruded food).
Included in these extrusions are the fins that run along the sides of the light, ready to help dump any heat generated by the LEDs inside. The extrusions are cut into rough lengths, ready to be refined in the next step of the process.
Step 2: milled to perfection
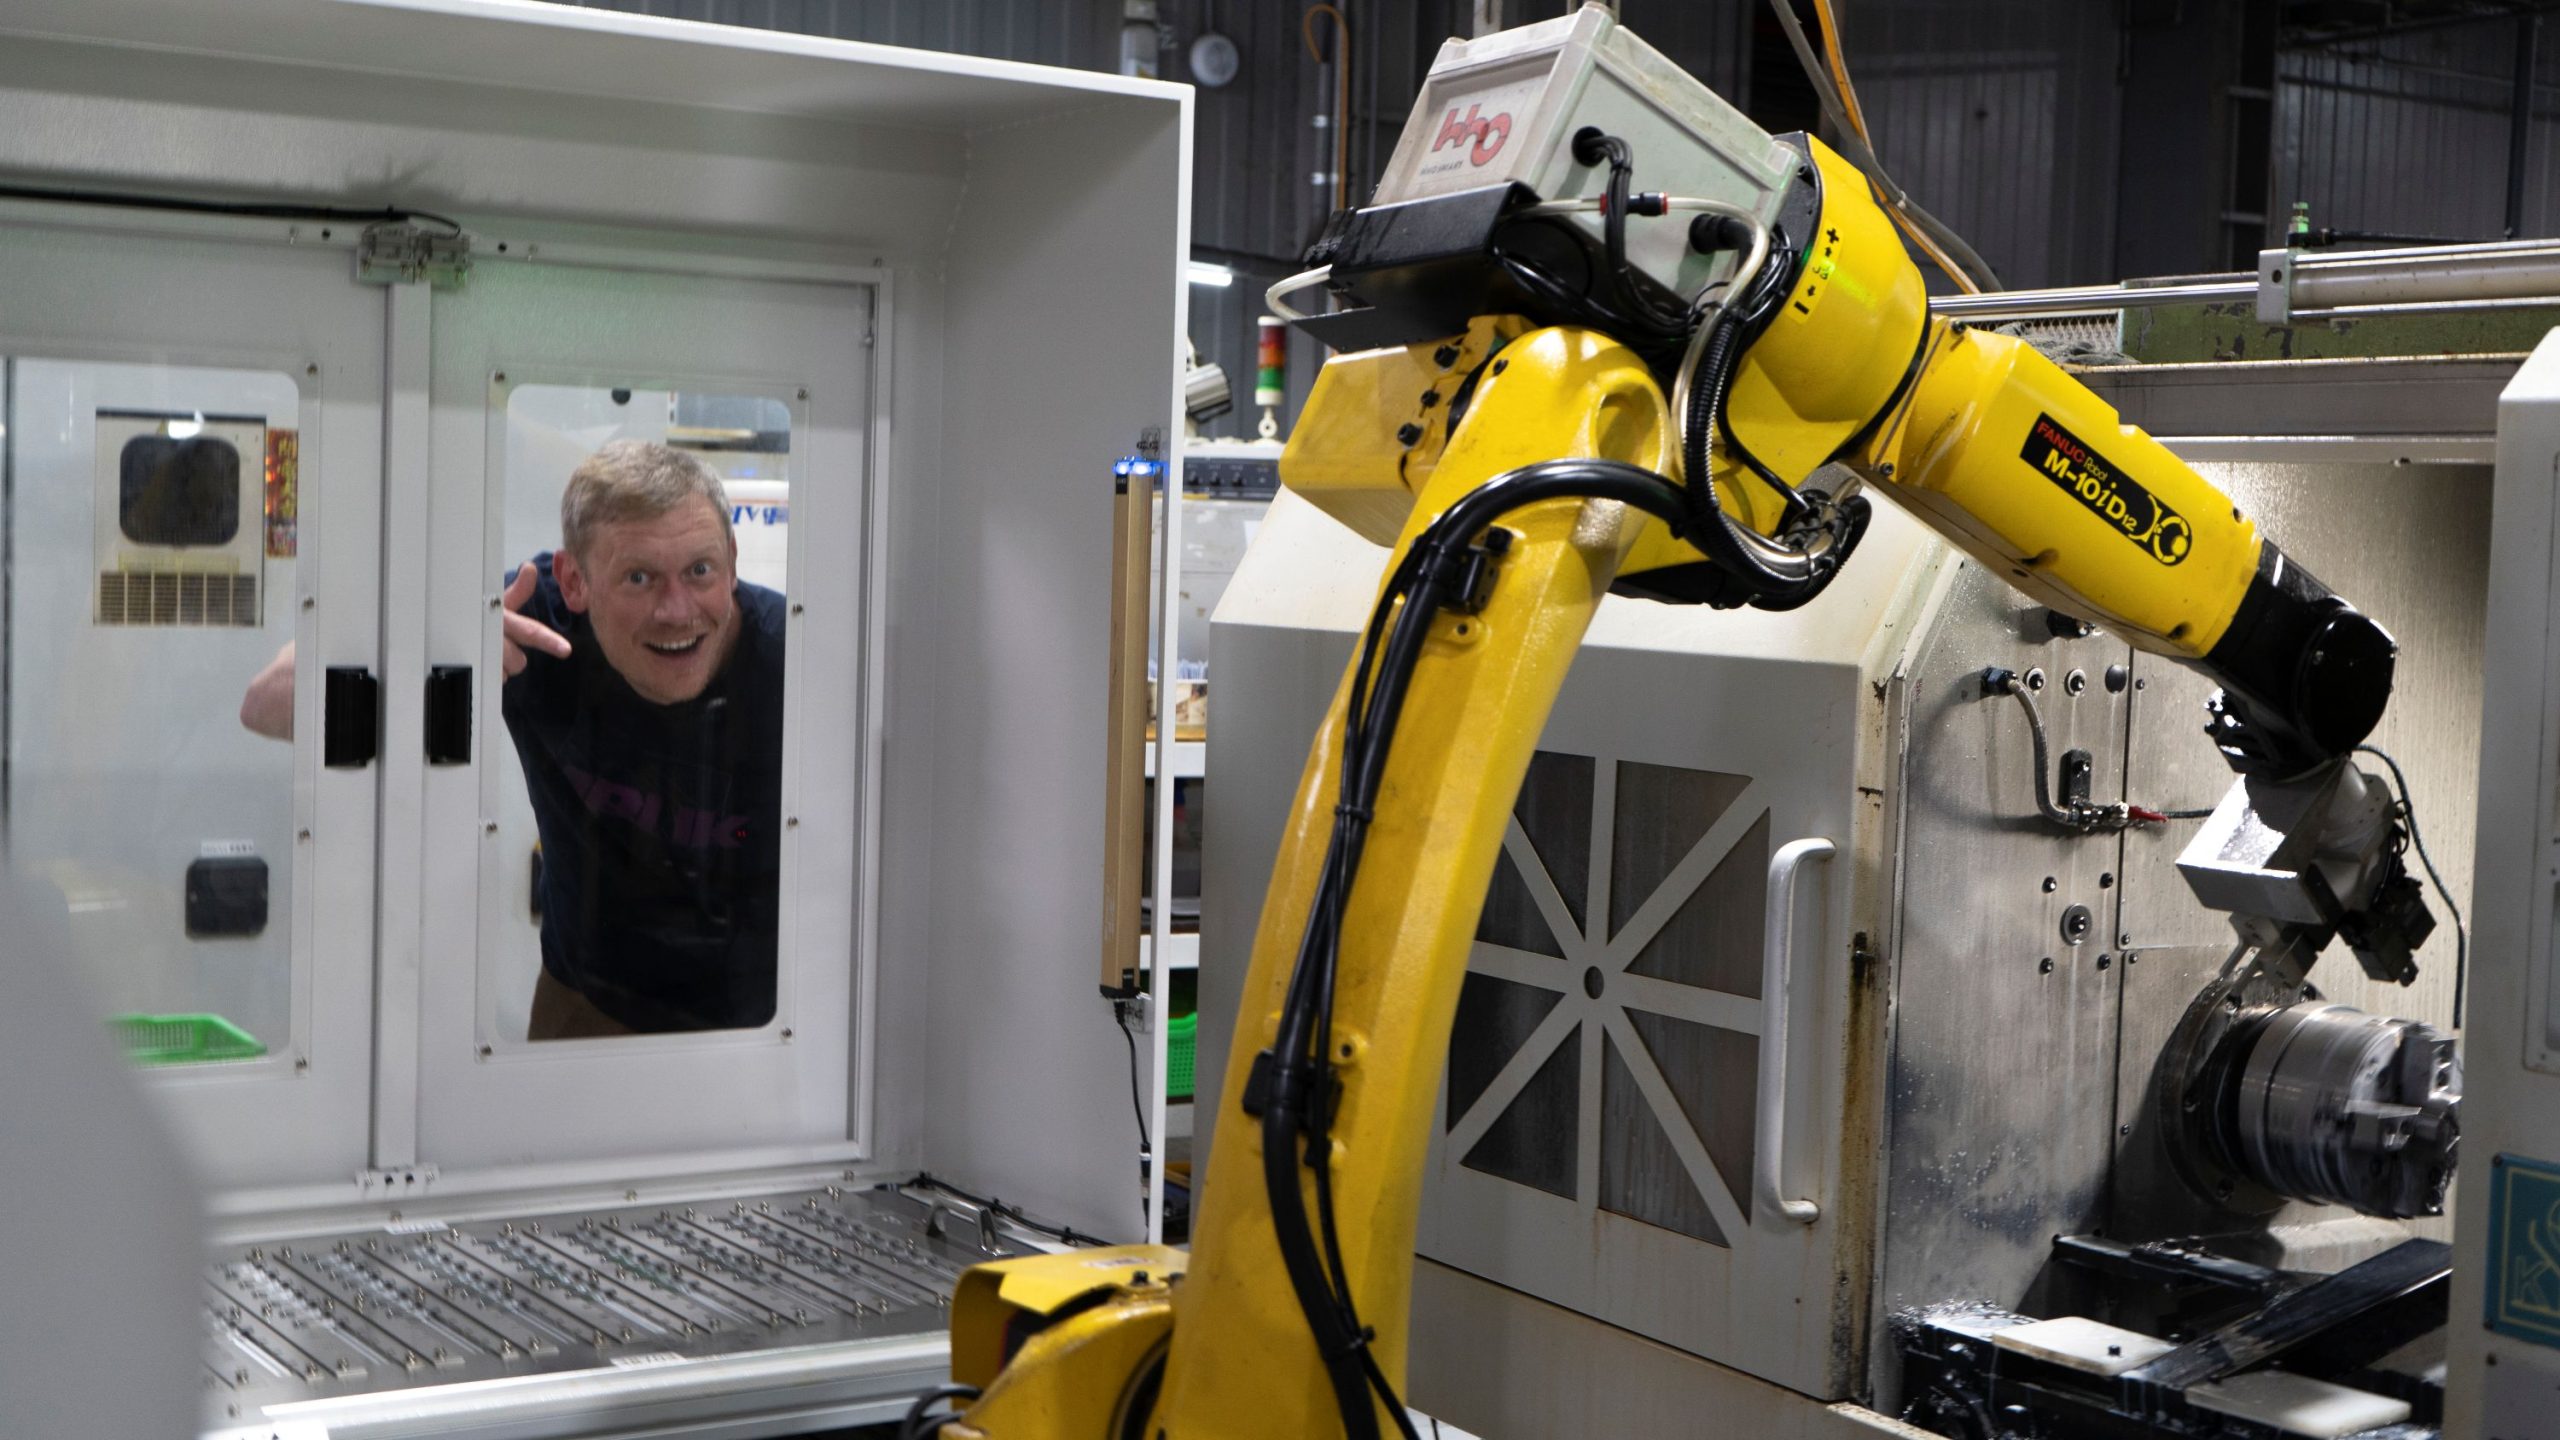
Next, workers load the extruded sections into the four-axis milling machine, to get them into their finished shape. Up to 14 drill bits are held by this machine, and these can be moved on three different axes – up/down, left/right and side-to-side.
The plate onto which the light bodies are carefully bolted down can also move, providing the fourth axis. Lubricating fluid is sprayed over the bits as they work the metal to keep temperatures down and minimise unwanted wear.
Once the machine has done its job, working on four light bodies per cycle, it’s time to blast off the swarf (metal filings) and lubrication fluid with an air gun, then load the next run.
Step 3: blasted with beads
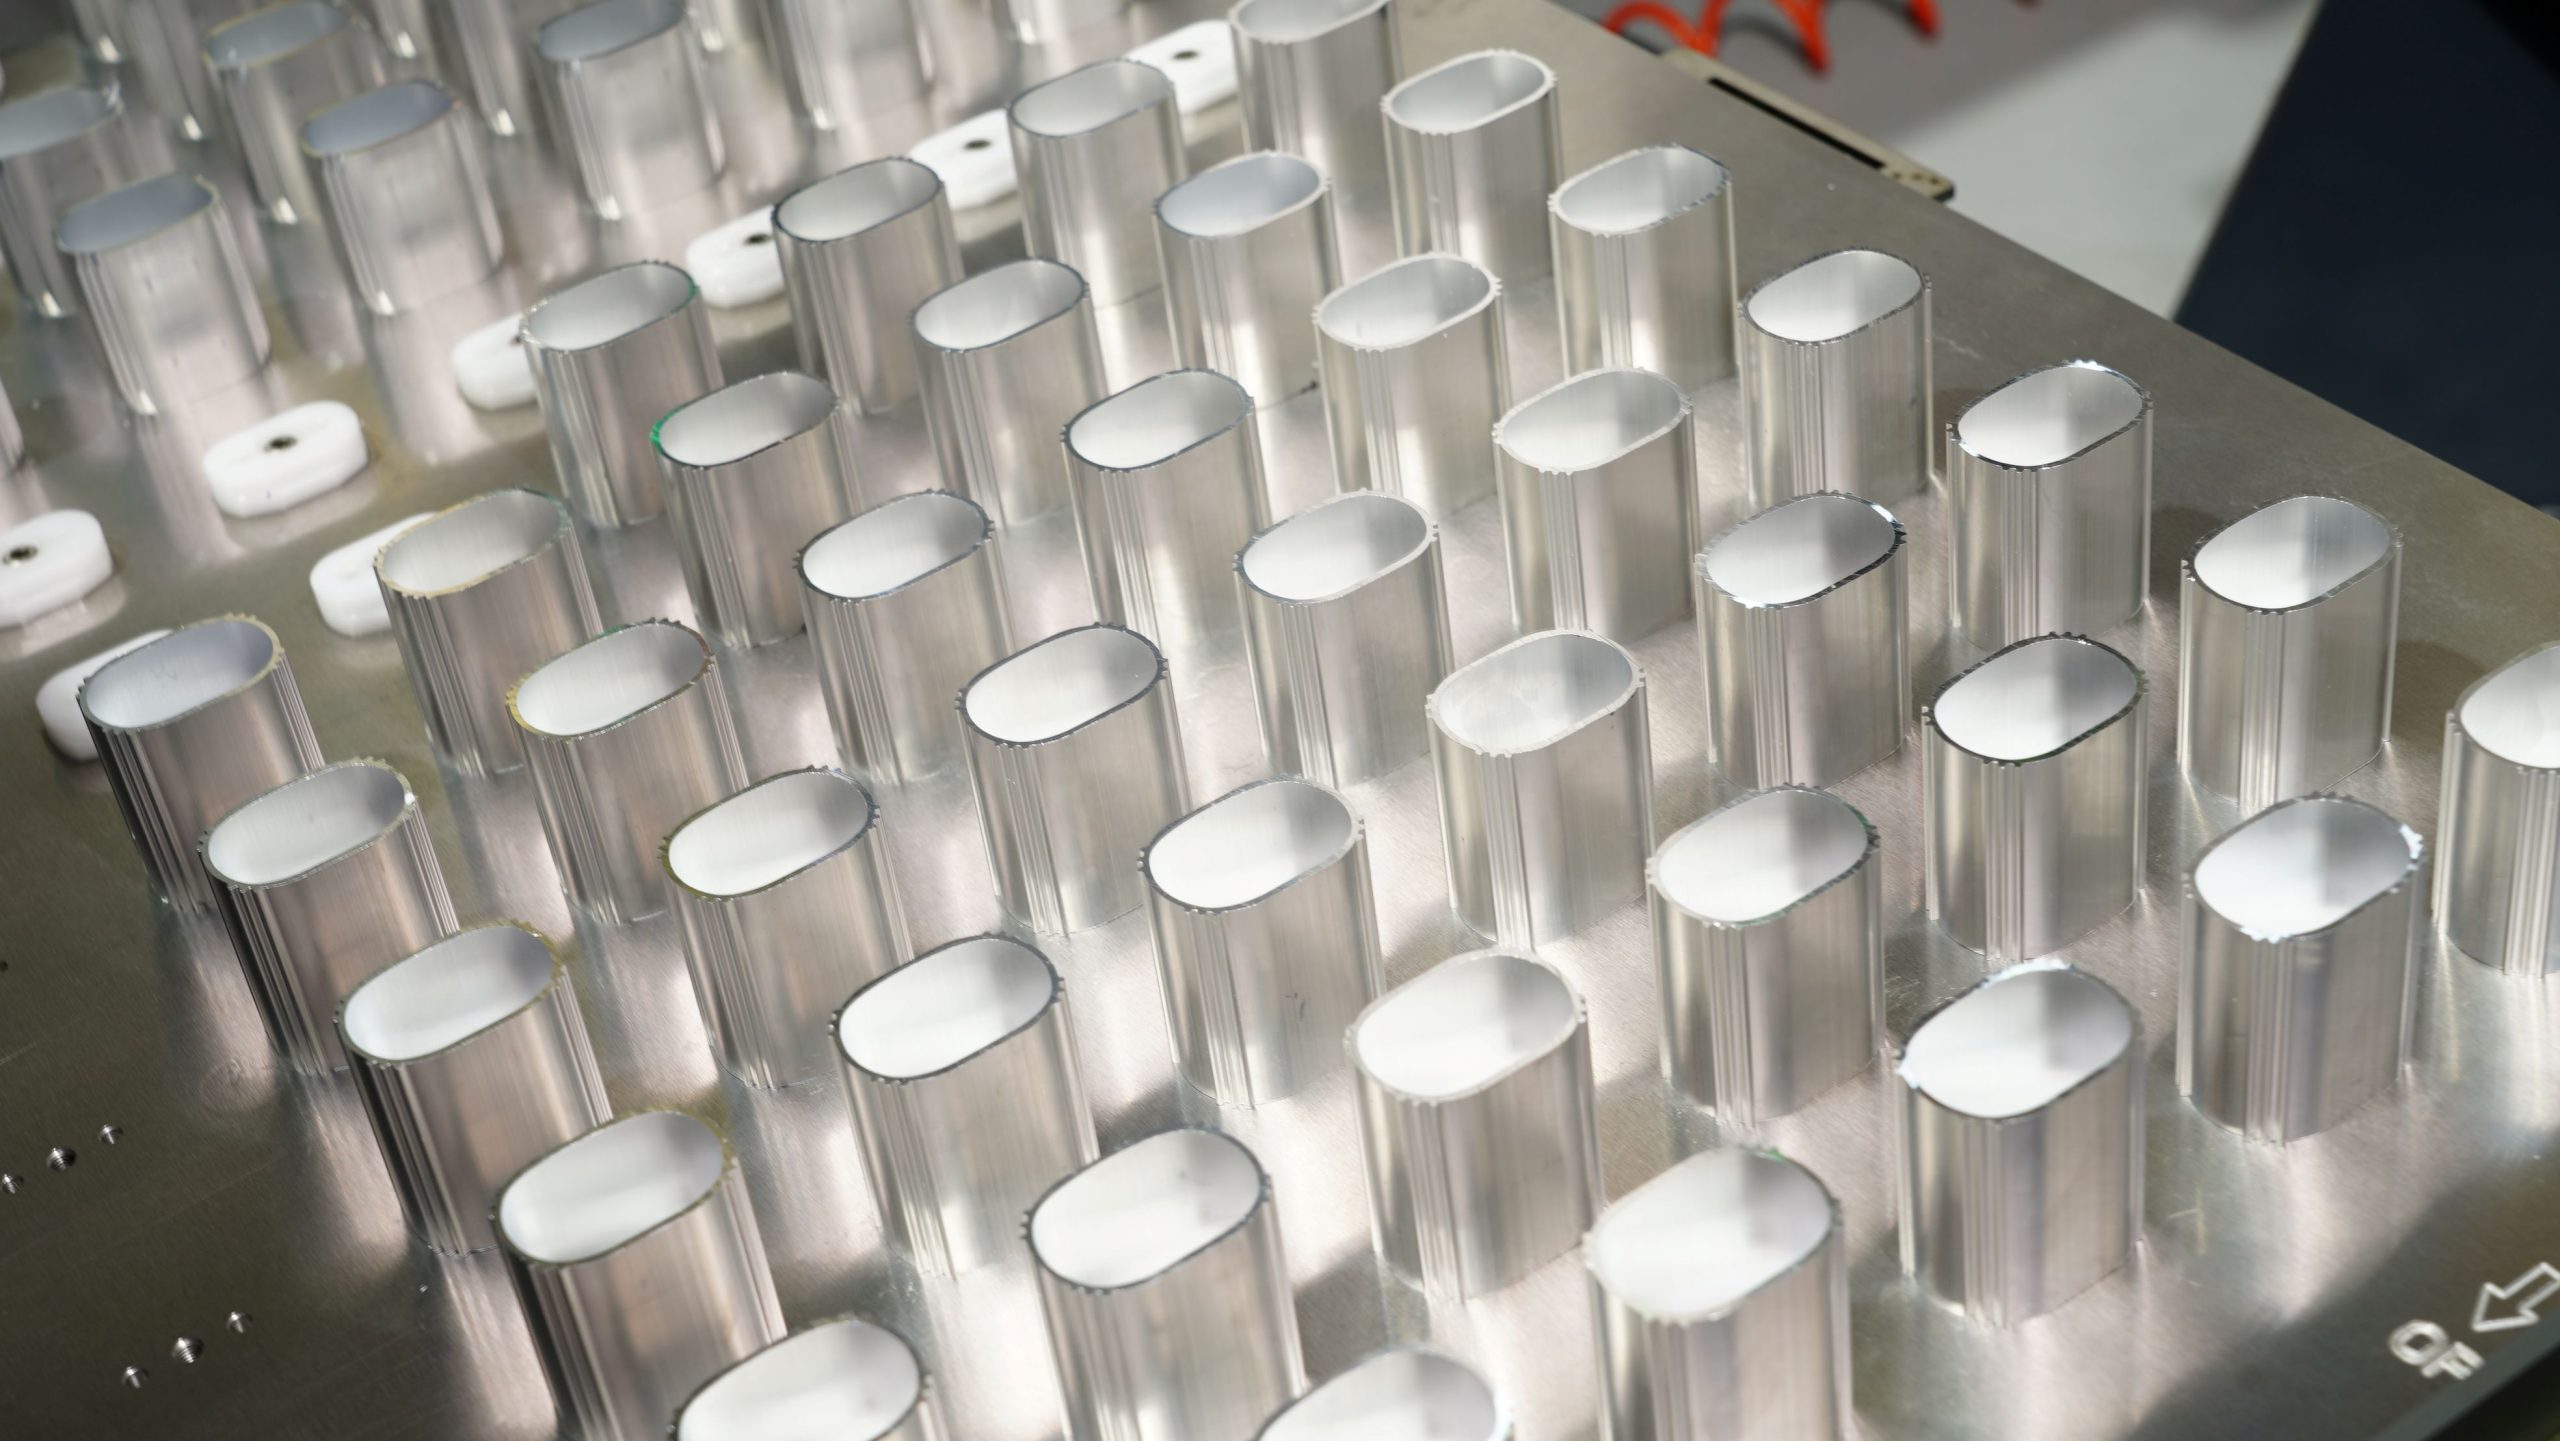
Now that the body has been milled to the right shape, with a cutout created for the lens, and holes for the buttons and mounting bracket, it’s time to give the surface some TLC.
The bead-blasting machine hurls tens of thousands of metal beads at the light. This gives the surface a fine texture, which adds strength and scratch resistance, while looking pretty good too.
Step 4: adding some colour
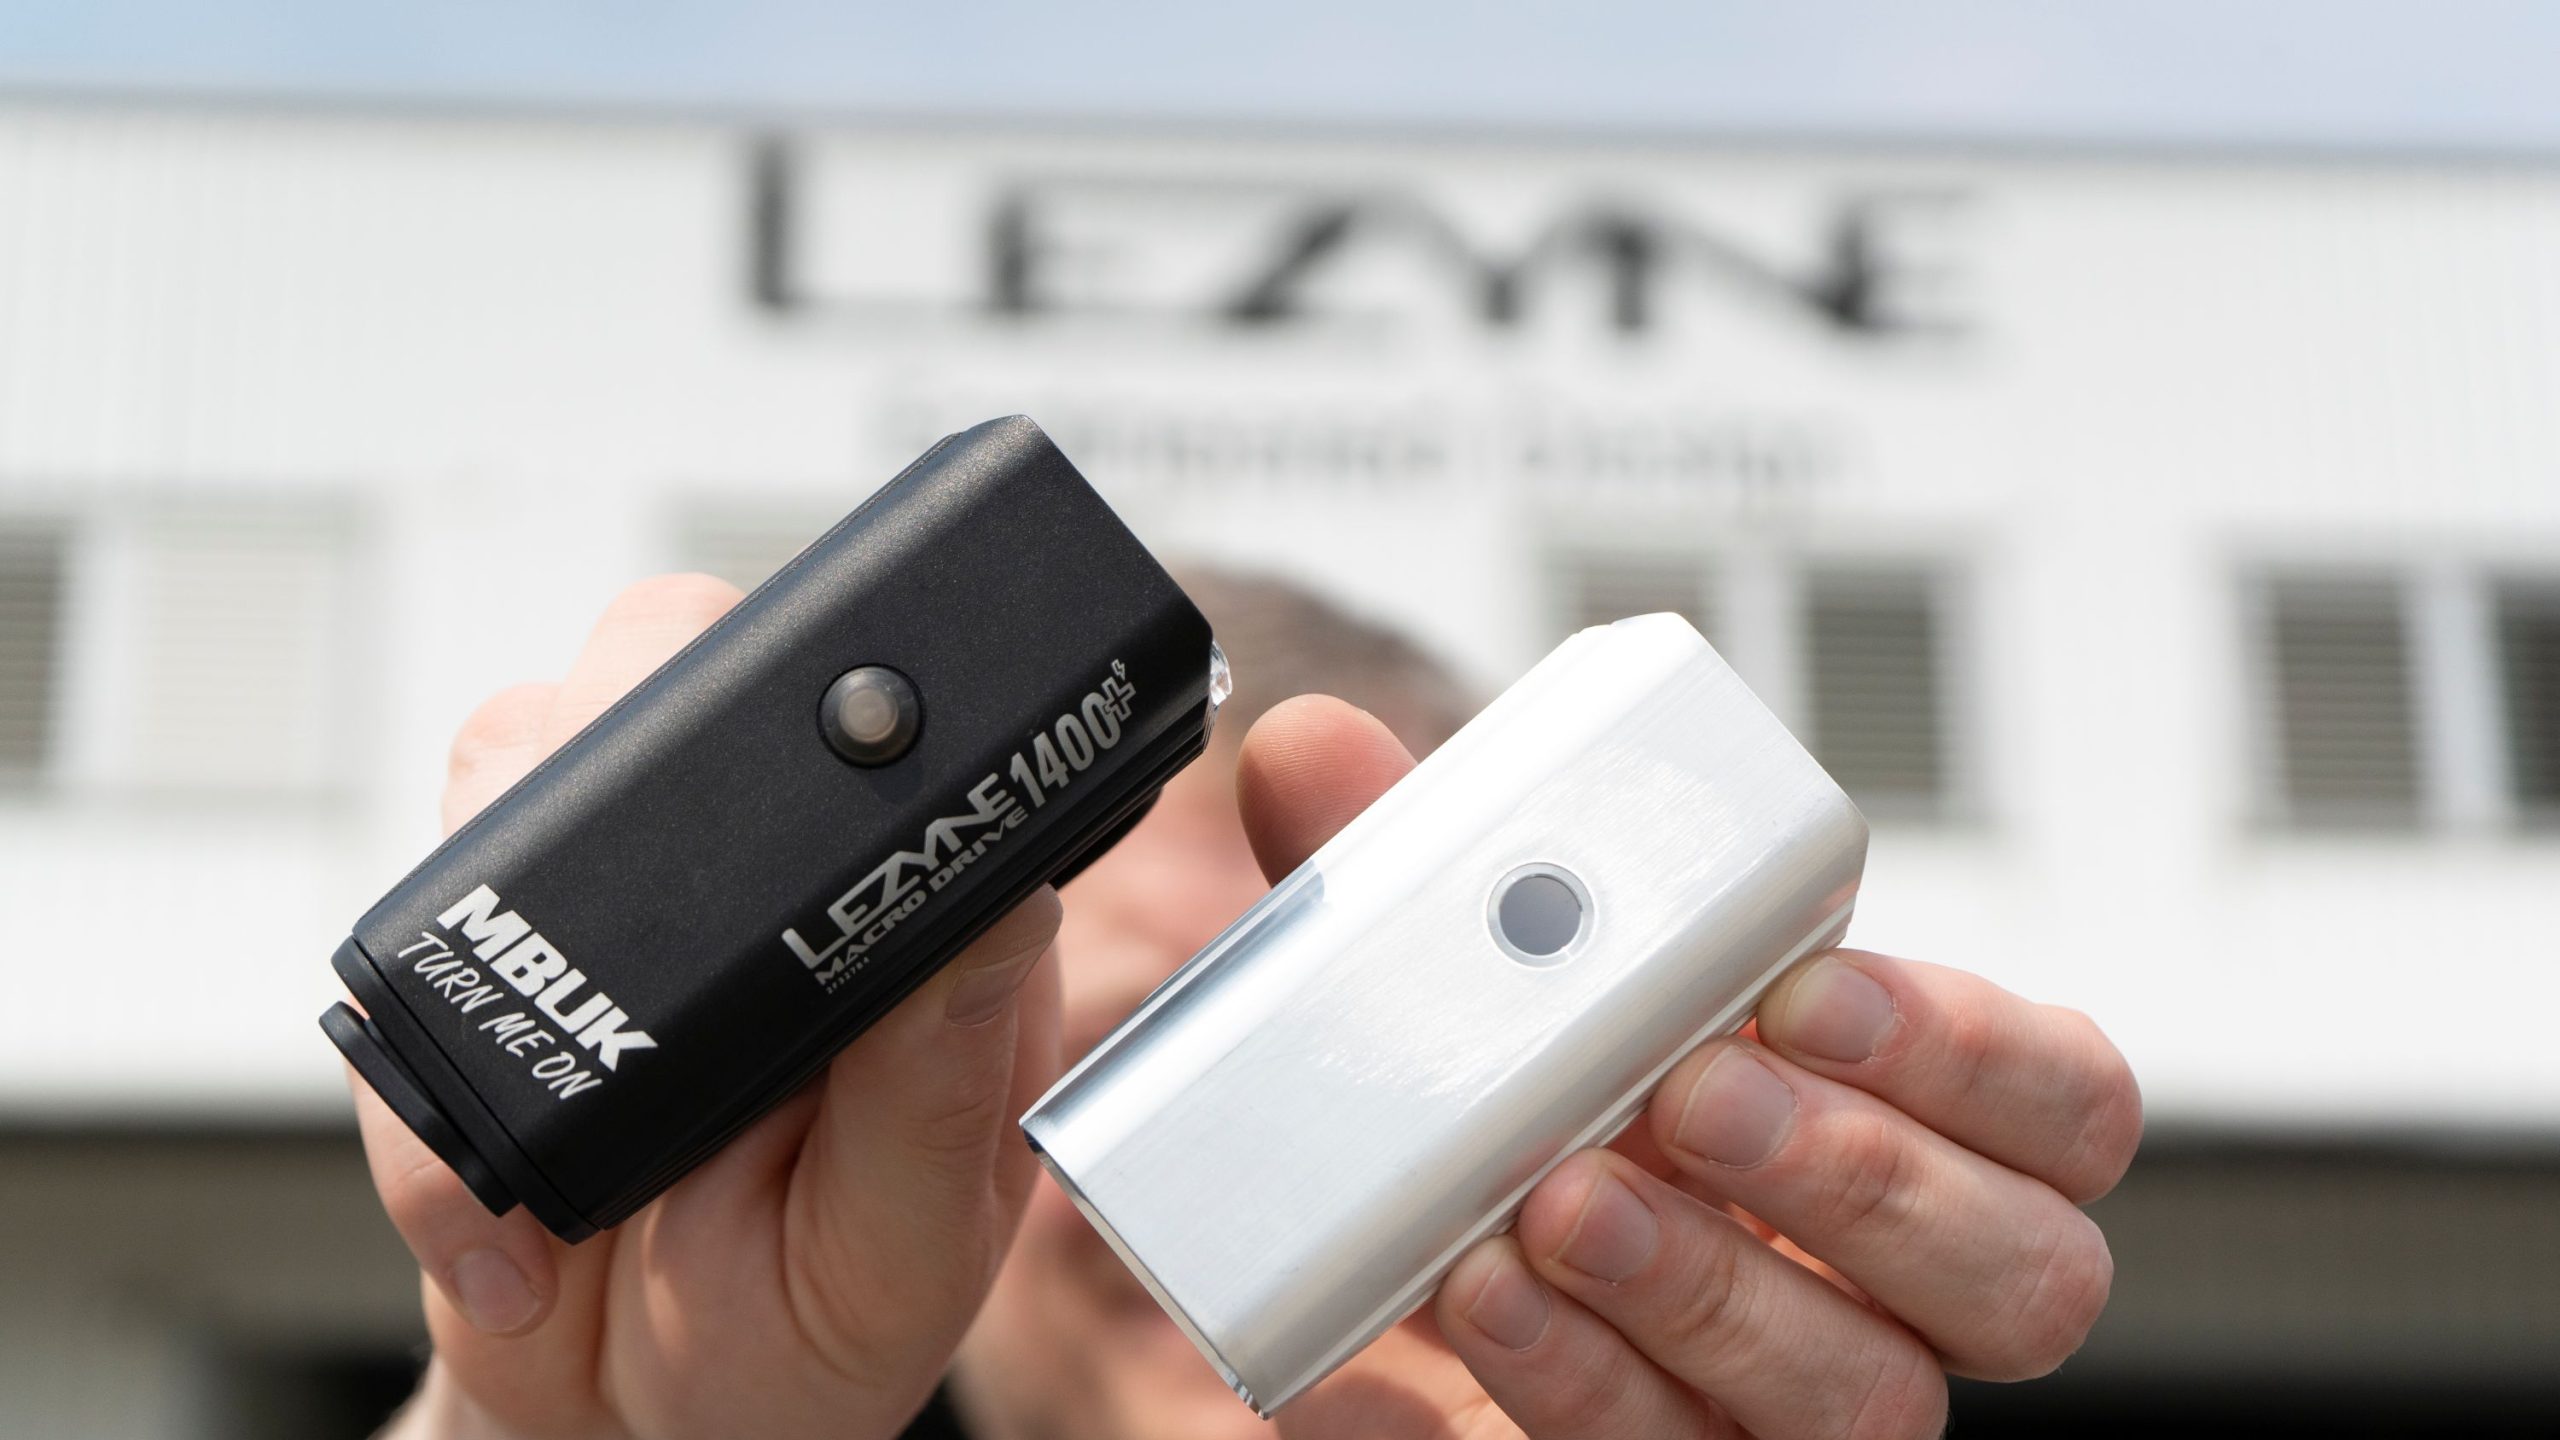
Once the body is sorted, Lezyne sends the light off-site to be anodised. This process involves dunking the metal in an electrolyte solution (nothing like your typical hydration drink), through which an electrical current is passed.
Oxygen ions are released from the solution (typically an acid), which then bond with the surface layer of the light body, creating a coating of metal oxide.
The body is then dropped into a dye bath – black, in this case – where the pores of the medal oxide soak up the colour, before it’s sealed in a vat of hot water. Anodising adds even more surface and corrosion protection, and makes the next step a little easier.
Step 5: laser show
There’s no point spending R&D time developing a light if nobody can identify it.
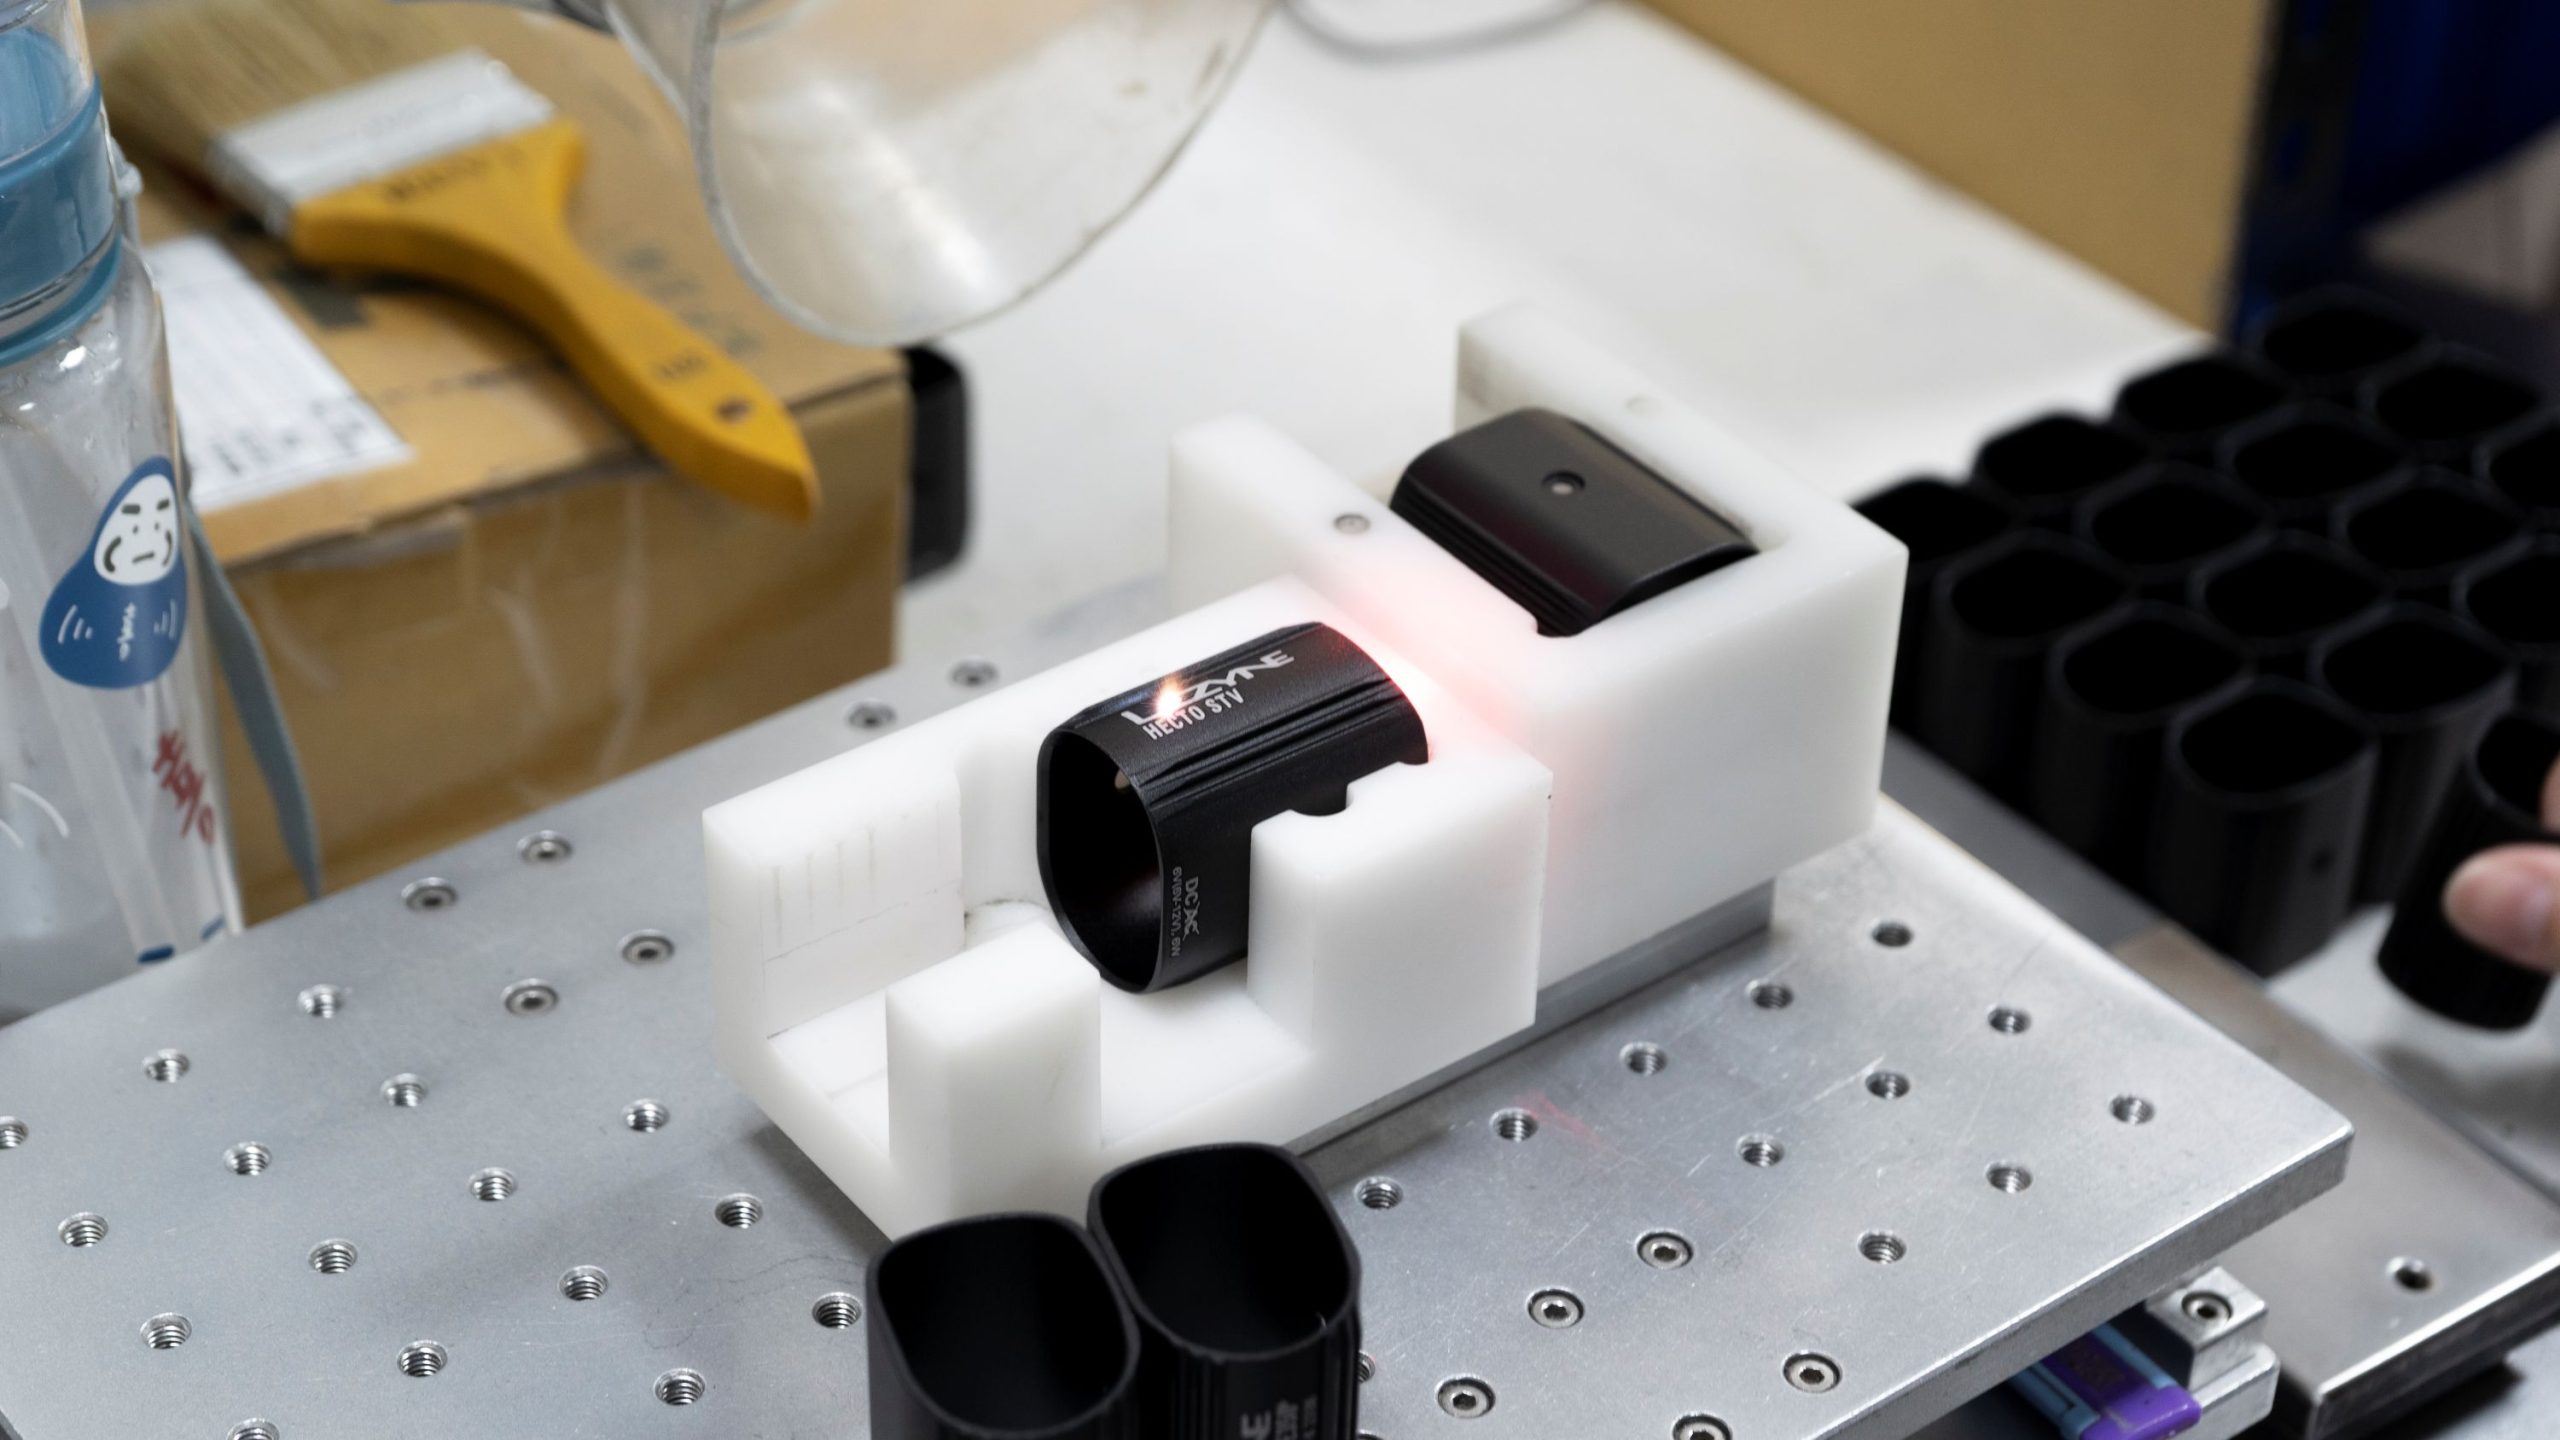
So, the next step is to laser-etch the body with the Macro Drive 1400+ logo – and, in my case, some custom MBUK graphics.
The design is created in Lezyne’s offices next door before being uploaded to the laser-etching machine. This zaps the anodised surface with a focused laser beam, burning off the top 0.001mm and leaving the logo behind.
Step 6: time to test
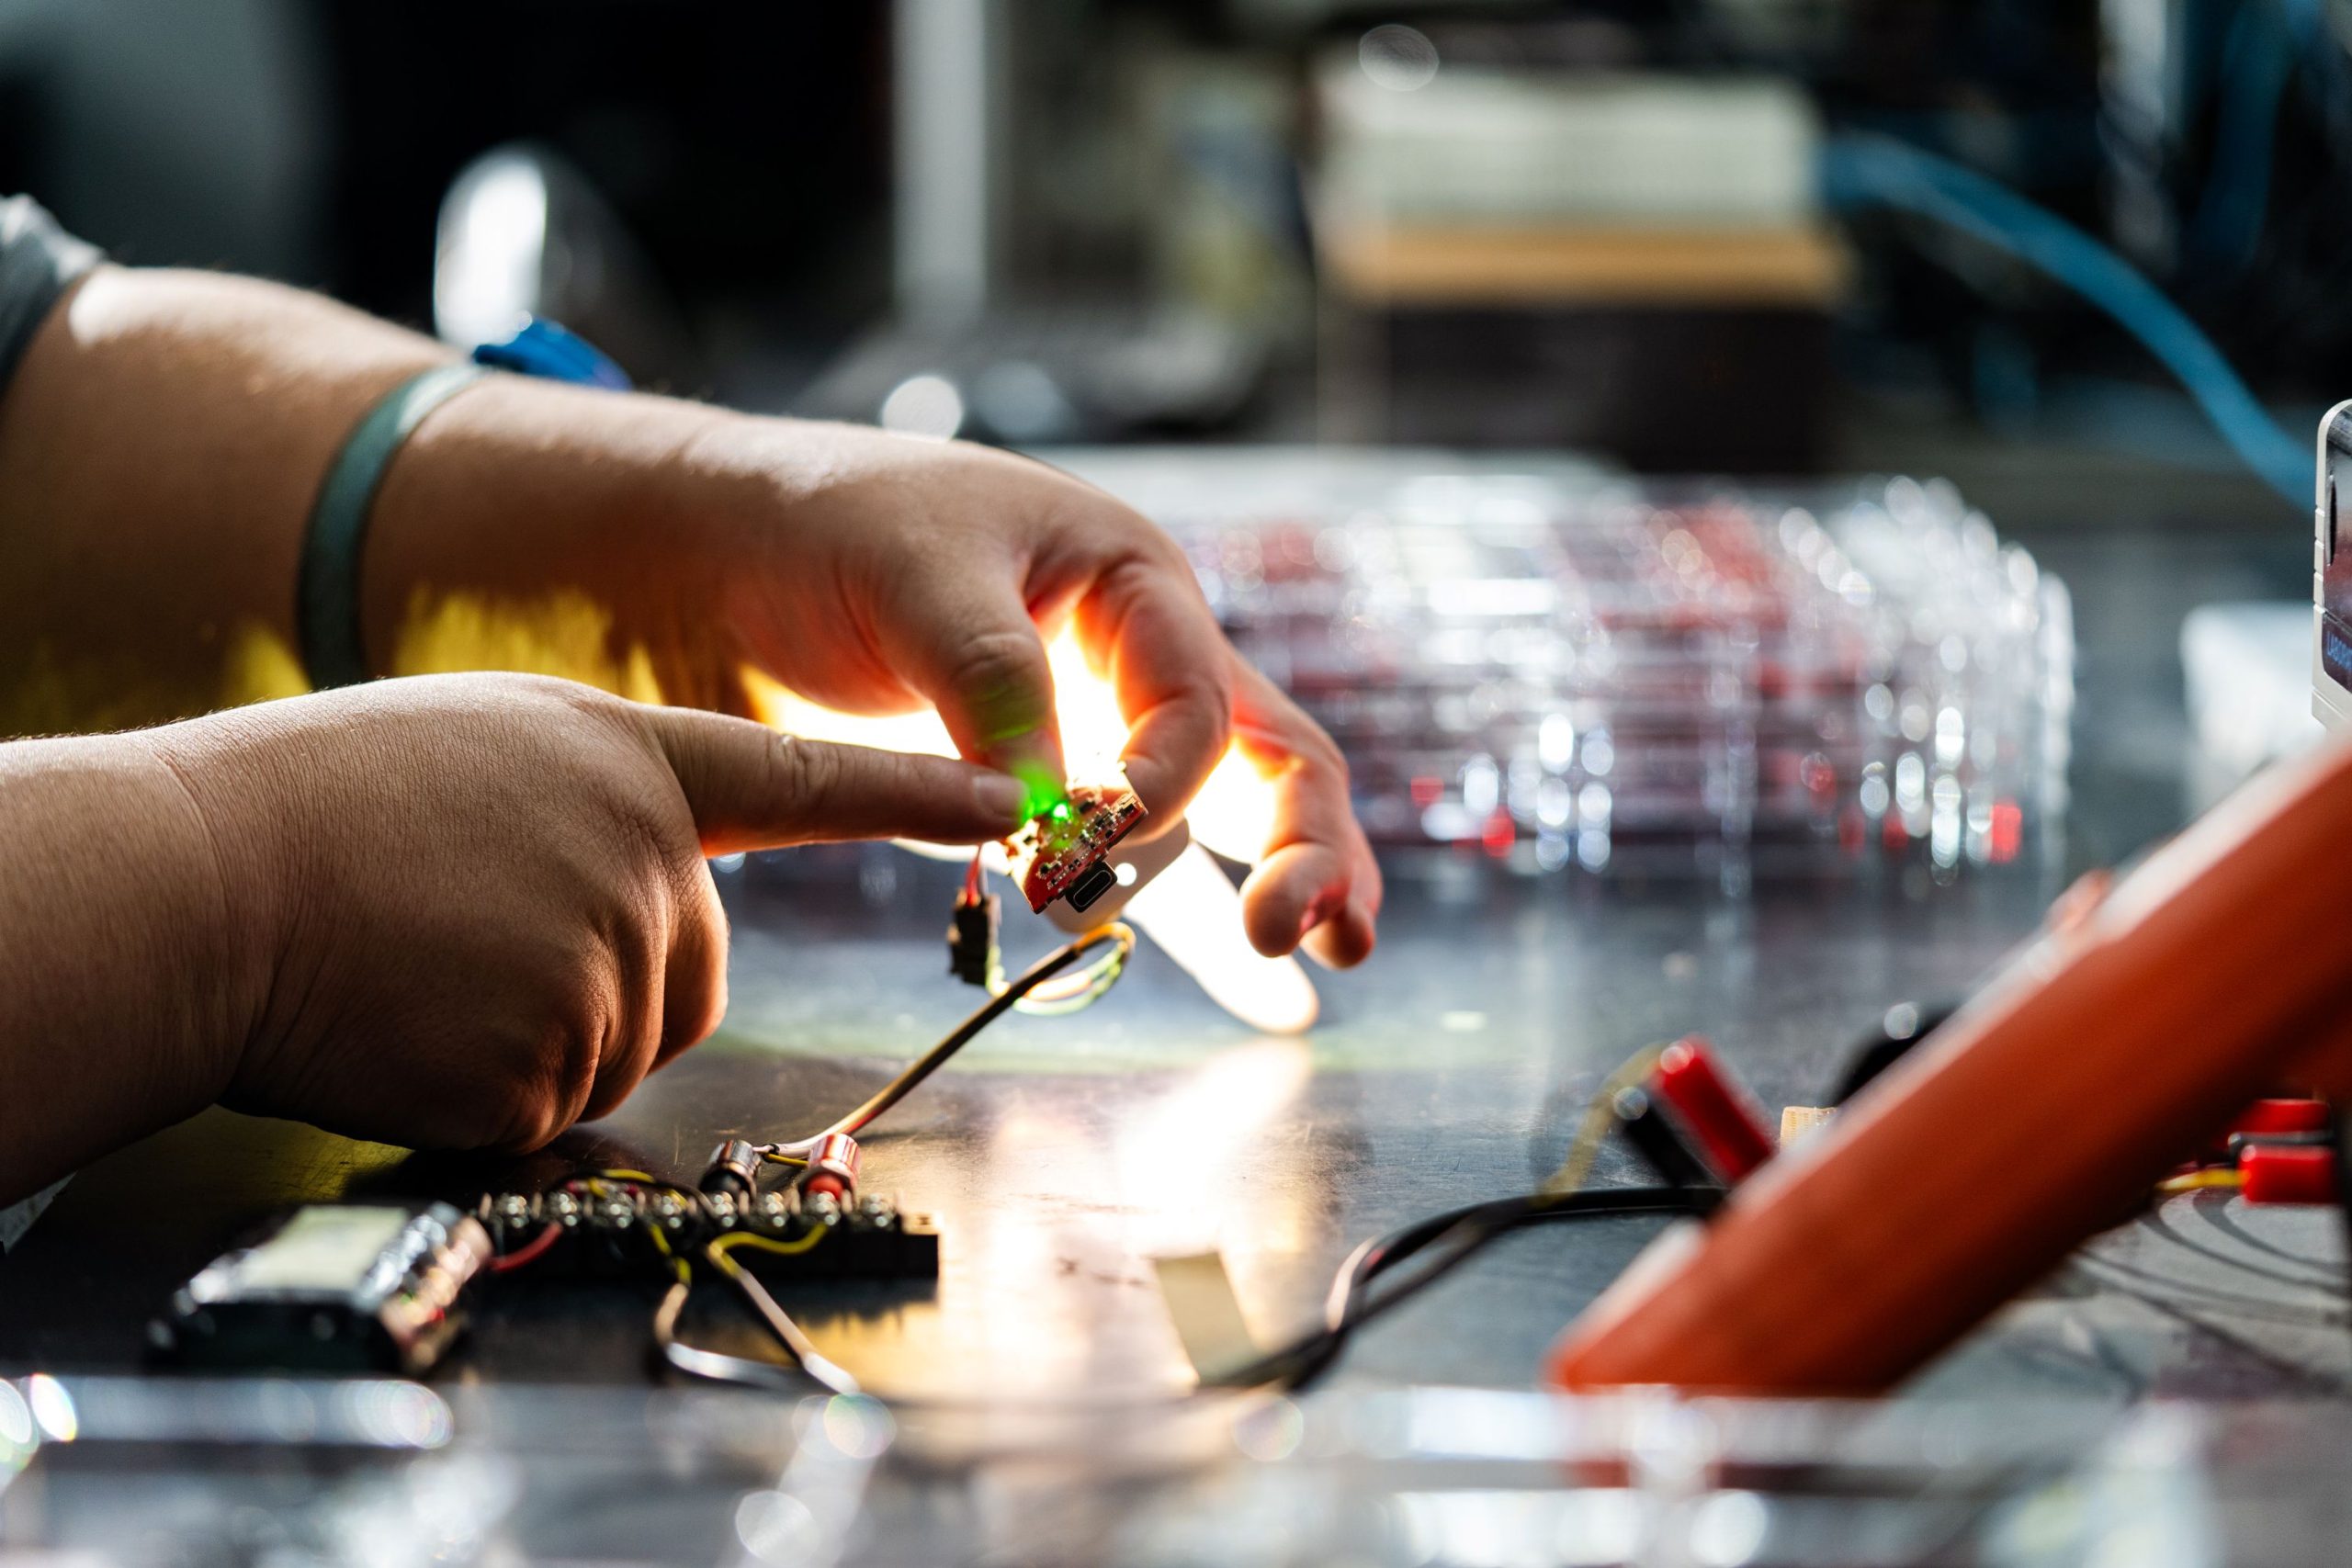
With the body ready to go, it’s time to sort out all the other important stuff.
The LEDs, PCB (printed circuit board – the brains of the light) and heatsink are laid out in a tray ready to go. Then the batteries, which give up to a 300-hour burn time, are attached with a clip-on connector, and each completed electrical system is tested.
Natty sunnies are donned and the light internals are operated inside a dark box to check each mode works properly, along with the LED battery indicator.
Step 7: building blocks
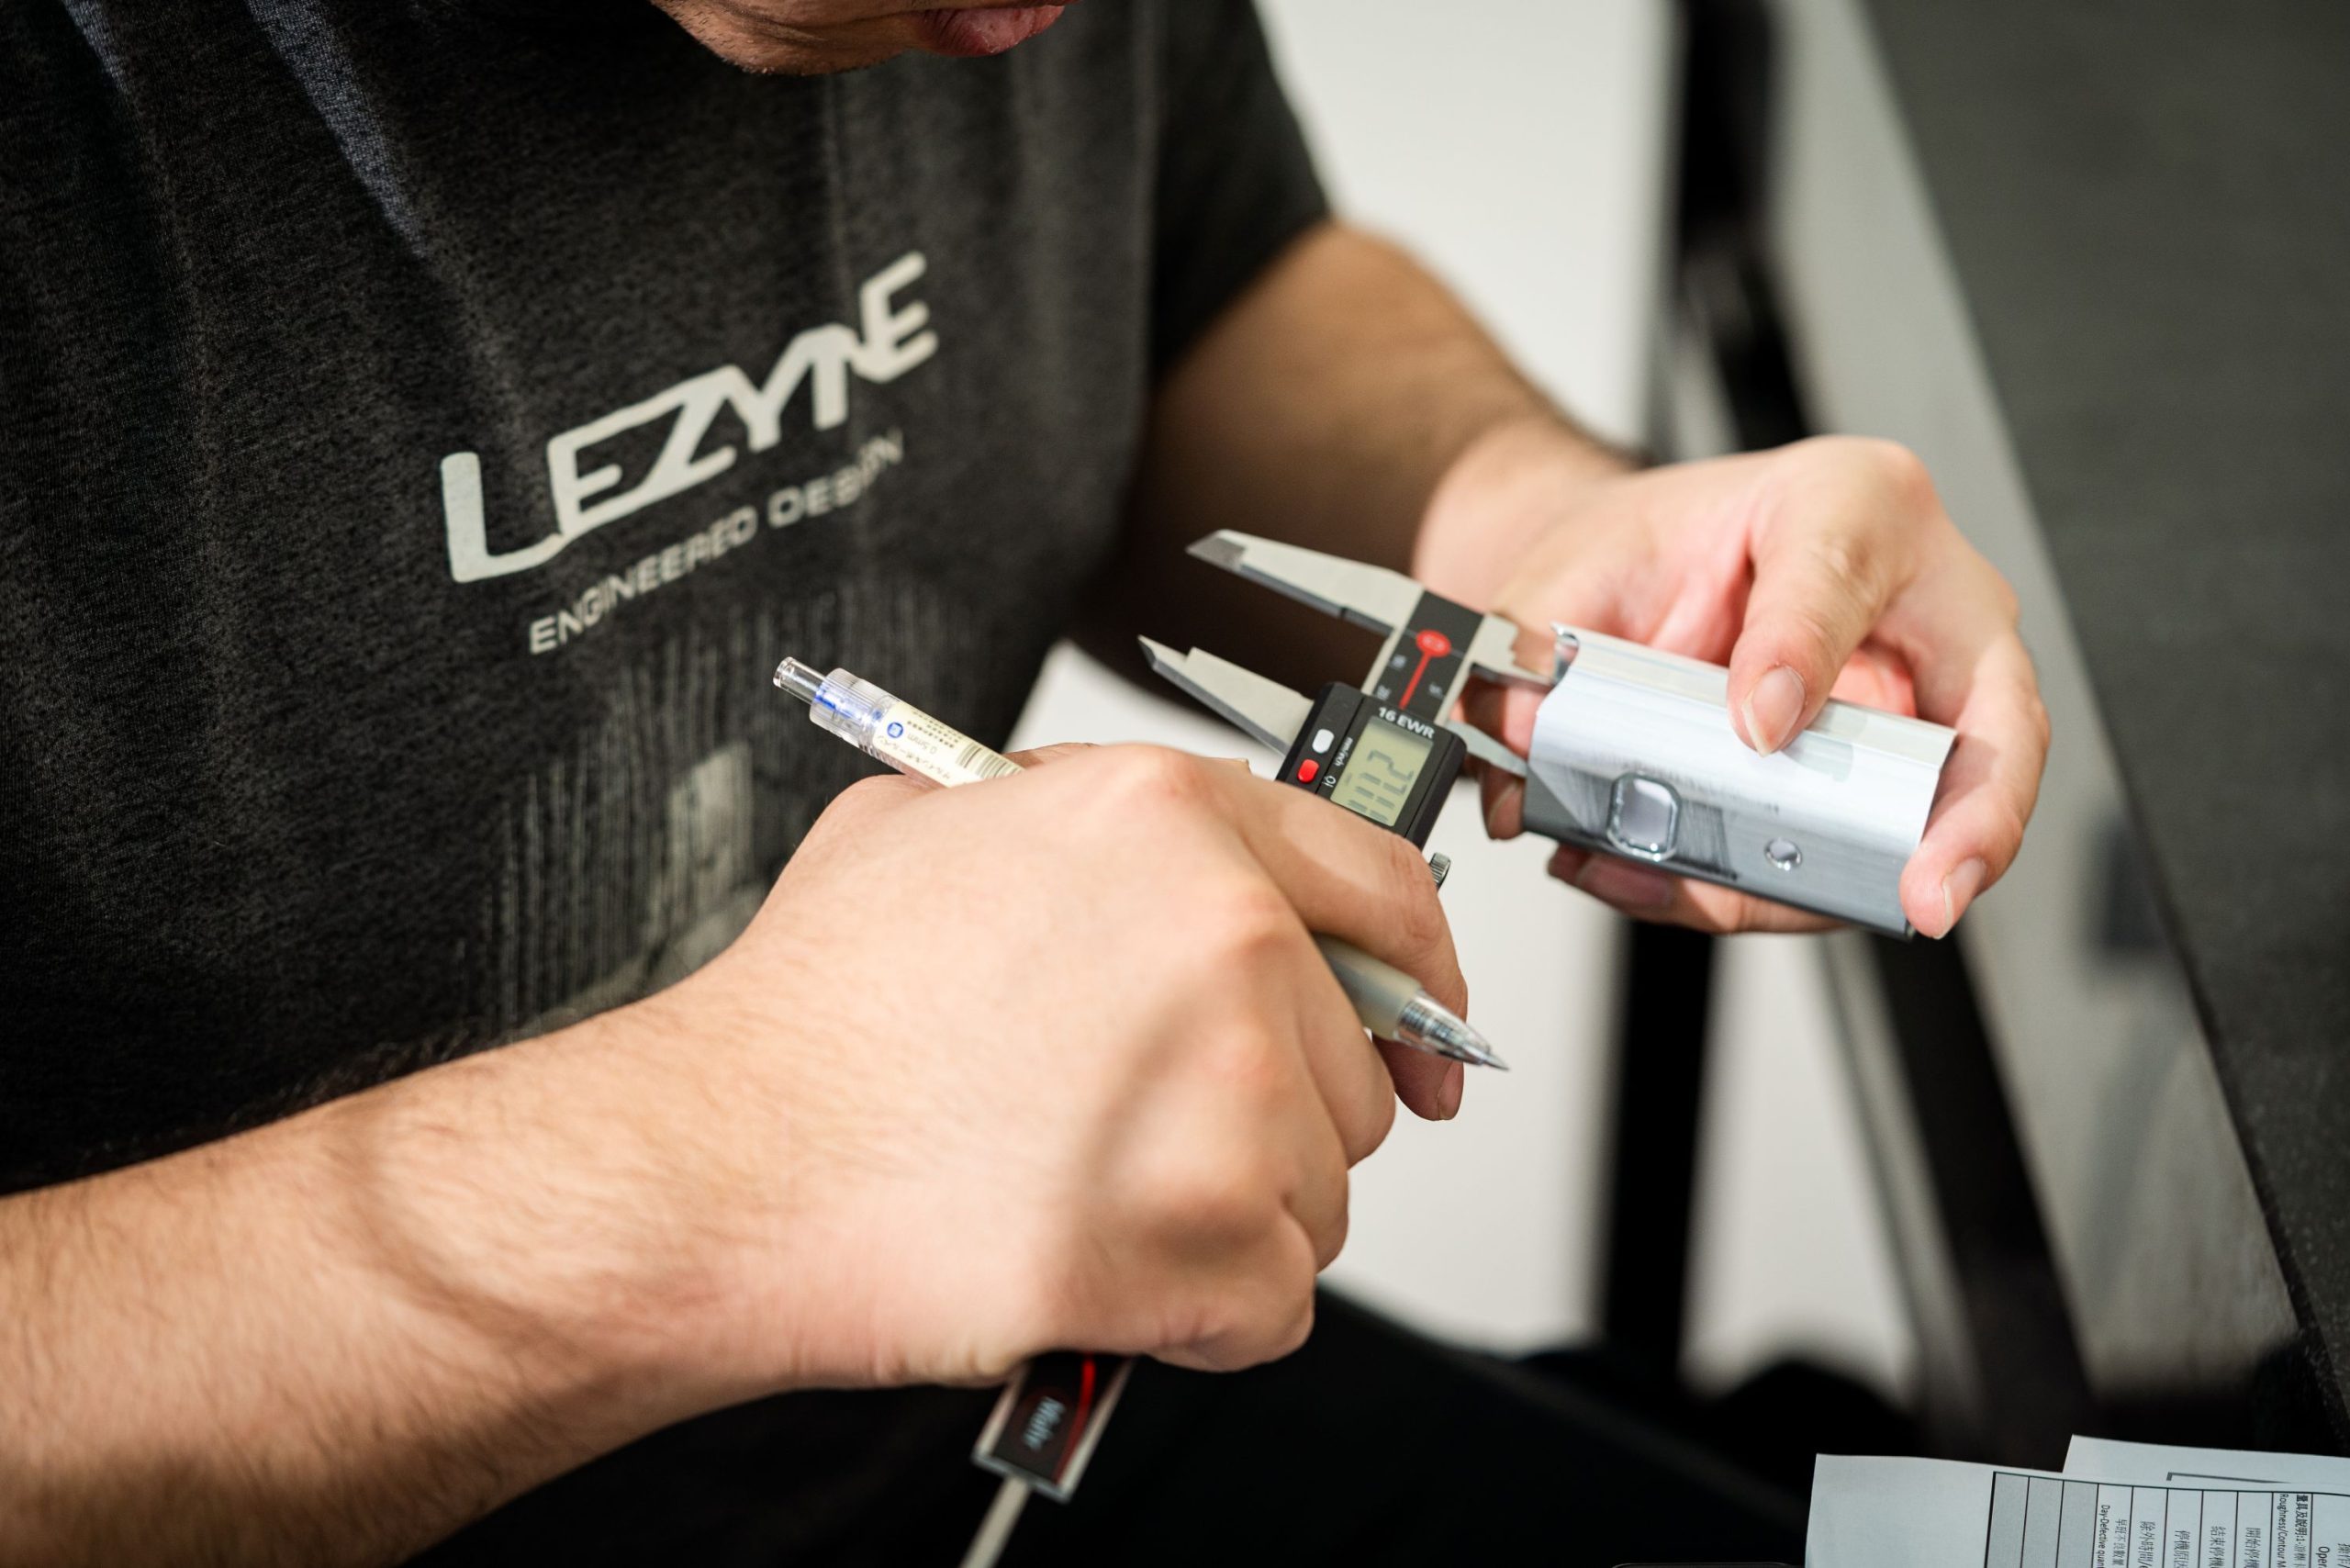
The LED/battery/PCB/heatsink unit then needs to be clipped carefully into a plastic shuttle, which sits inside the metal body.
This job is pretty fiddly. The shuttle is just the right size and shape for it all to be held securely in place, with the battery central, the PCB clipped to the outside and the LEDs pointing forward. Oh, and the wiring loom also has to be squeezed in – space is at a premium.
Step 8: bolt it together
Now it’s time to pair the body with the lighting internals. A small press connects it all together, and then our next bit of machinery comes into play.
An electric driver hangs from the ceiling, preset to a particular torque and with a tiny Torx head installed. With the light held in a clamp, it’s a quick 'zzzzip' as the driver secures the insides to the body with a small screw. Just remember to hold onto the light tightly, because otherwise it’ll fly across the workbench.
Ask how I know…
Step 9: finishing touches
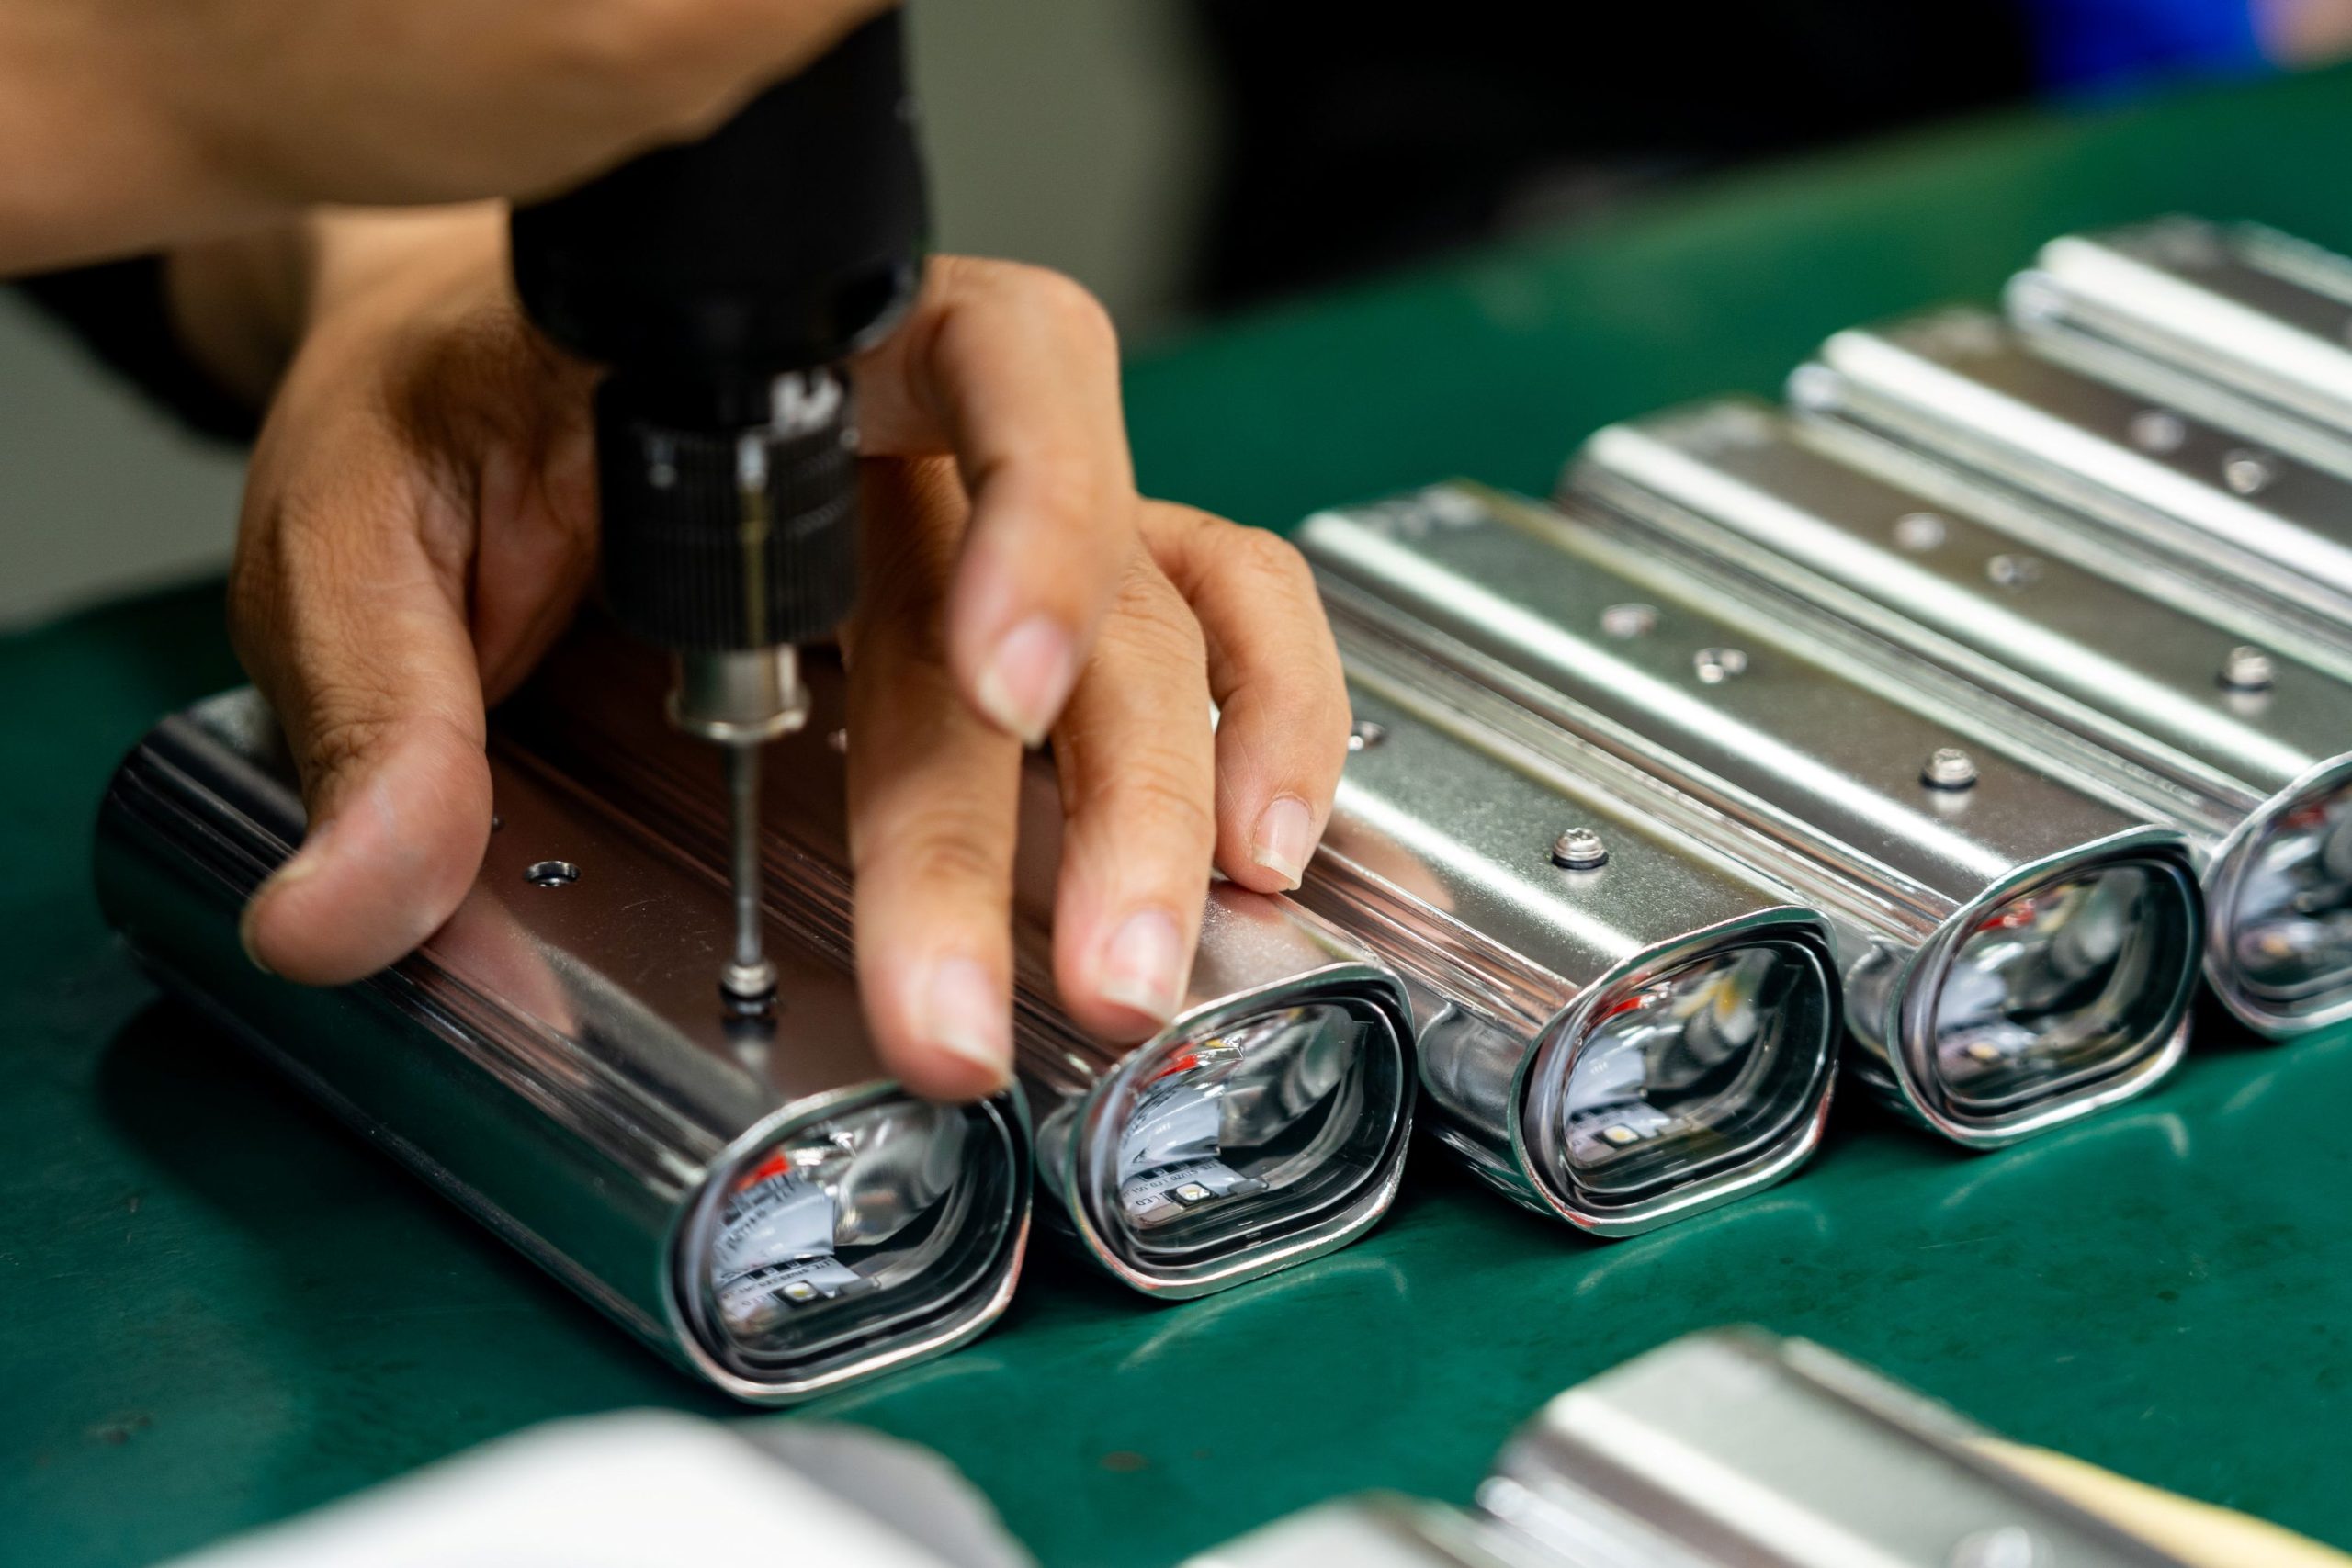
The silicone button-cover is installed, then the rubber bar-mount block and strap are bolted to the body, with a little dollop of glue added to fully seal the unit from the elements.
Much like in the previous step, you’ve got to hold onto the light properly when using the driver that hangs from the ceiling – once again, ask how I know!
There you have it. One complete Lezyne Macro Drive 1400+ light ready for packaging, shipping and selling.