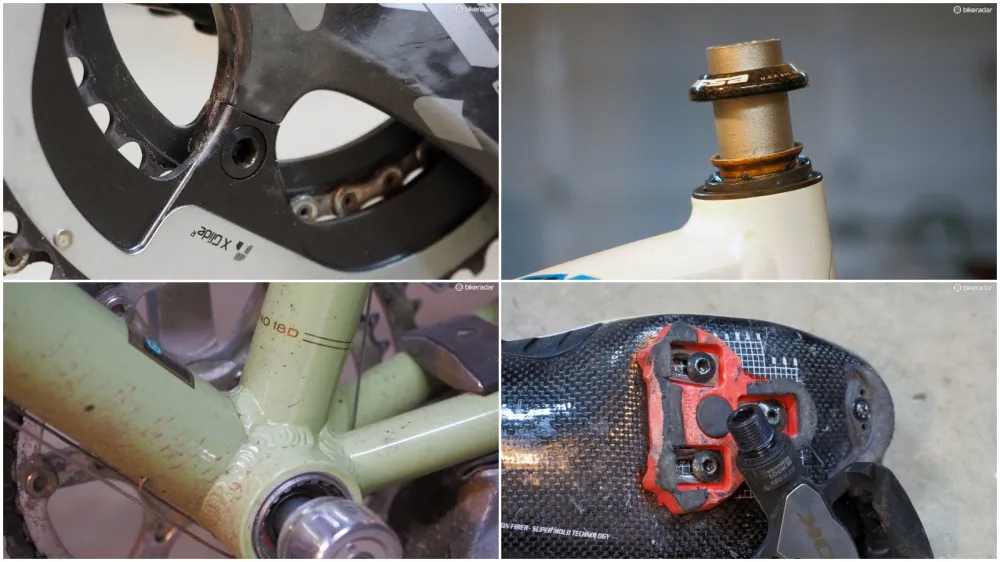

If your bike is audibly objecting to your every pedal stroke and you can’t seem to find the source, here are some areas to check out plus suggestions on how to keep them quiet.
Most of these inspection targets recall my days as a shop mechanic, many of which were spent frustratingly chasing down stubbornly intermittent noises. I’ve also enlisted the help of Jim Potter, owner of Vecchio’s Bicicletteria — a now-legendary service-focused shop in Boulder, Colorado.
“I often say we are noise-attenuation technicians these days,” he said. “People don't always come in because something isn’t working or adjusted, but just to make their bike shut up”.
Potter says that the way modern bikes are built can make creaks harder to track down, too.
“Carbon bikes resonate the sound around more than older bikes," he said. "A creaky Mavic front hub can sound like it's coming from the back.”
Here are 14 areas to check and how to fix them.
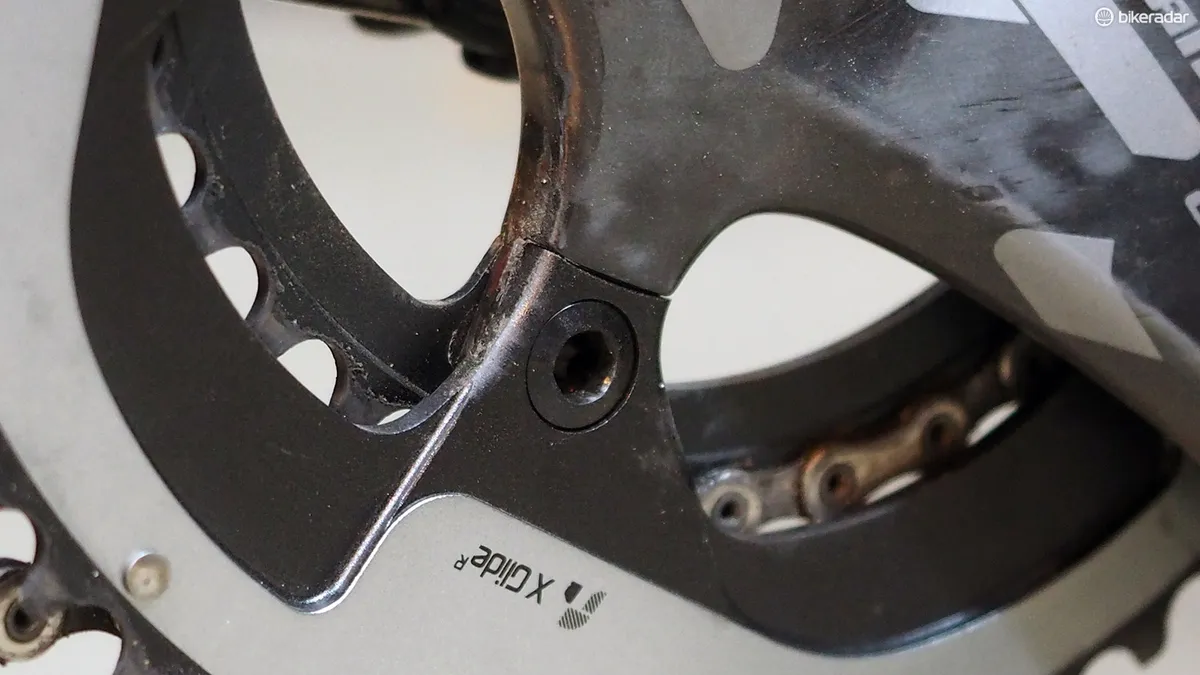
1. Creaking chainrings and spider
Chainrings can move ever so slightly against the mounting tabs, particularly under heavy pedalling efforts. Many new cranks are assembled without grease or thread retaining compounds, which exacerbates the issue.
Undo the chainring bolts and remove the chainrings from the crankarm. Thoroughly clean the mating surfaces between the chainrings and crankarm spider tabs, apply a very thin layer of grease, and then reassemble using either grease or medium-strength retaining compound on the bolt threads and heads.
In addition, many modern cranks now have separate chainring spiders that are either bolted or pressed on to the arm — another potential source of creaking.
For bolt-on setups, undo the bolts, remove the spider and then reinstall with green Loctite 609 (or a similar medium-strength sleeve retaining compound) on the spline interface plus blue Loctite 220 (or equivalent) on the bolt threads.
For press-fit spiders, dribble a bit of Loctite 609 at the interface and allow it to wick into whatever space might exist between the parts. Allow to cure overnight and then reassemble.
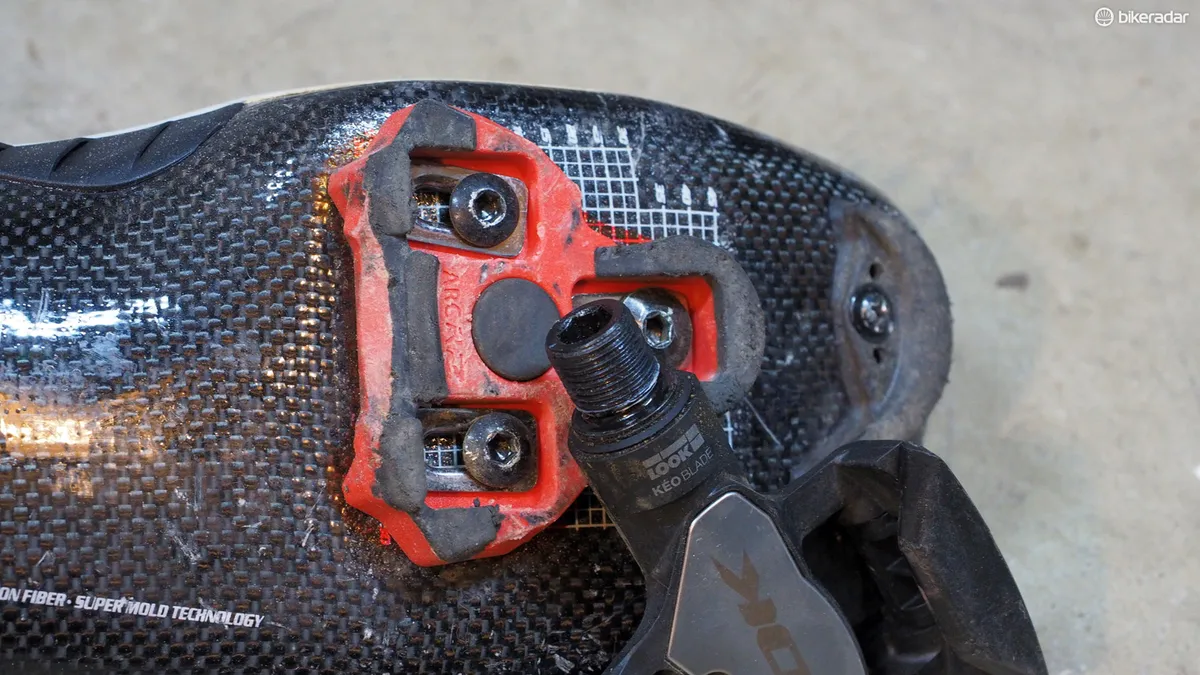
2. Creaking pedals
Pedals aren’t often removed, which makes them a prime candidate for inspection, especially if you regularly (and aggressively) wash your bike. Chances are that whatever grease was originally applied to the threads is long gone.
Simply remove the pedals, clean the threads on both the pedals and crankarm, and reinstall with a fresh coating of grease.
You can also get creaking from cleats. Wipe down both the cleats and pedals with a wet rag, and then spray both with a light coating of silicone spray or wax-based furniture polish.
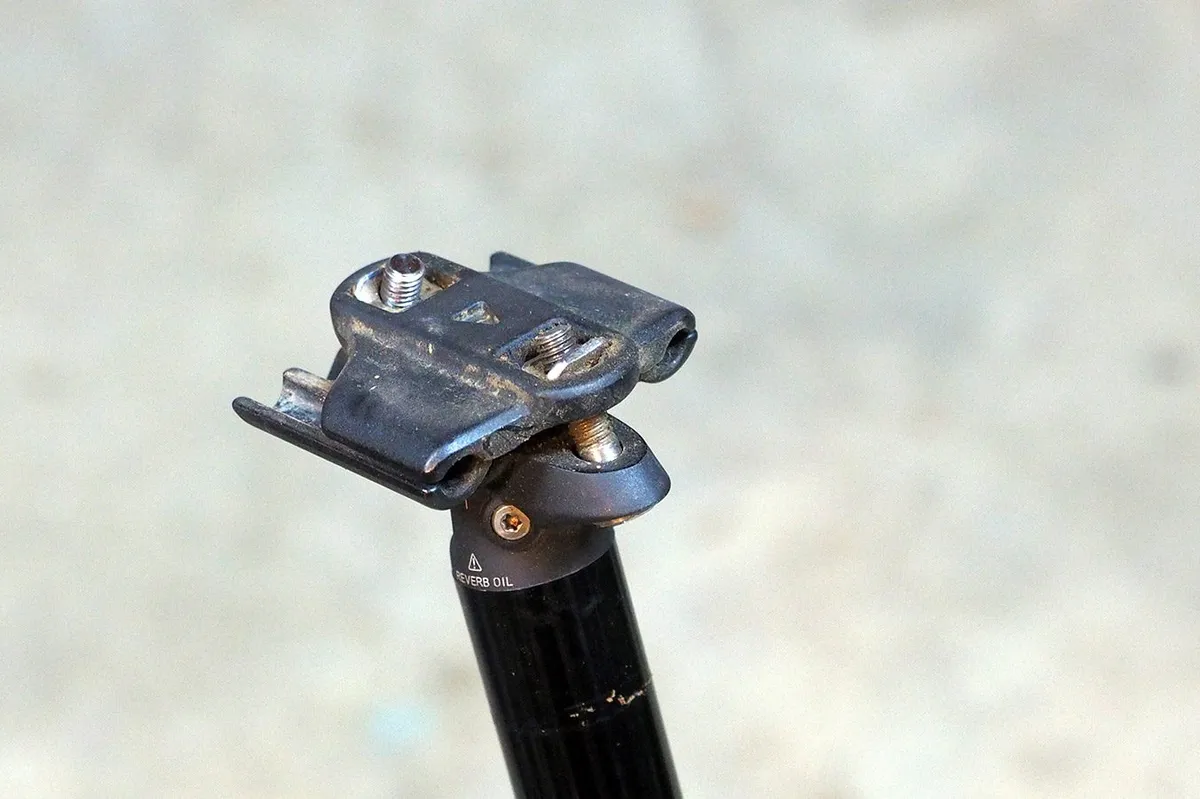
3. Creaking saddle and seatpost head
Does your bike only creak when you’re sitting down? It’s very likely that the noise is coming from up top, not down below.
Mark your saddle’s fore-aft position with a permanent marker and then remove the saddle from the seatpost. Wipe the surfaces clean and then apply a thin layer of grease to the rails and seatpost head. If your seatpost has carbon rails, make sure whatever grease you use won't damage them.
While you’re at it, clean and grease the other interfaces on the seatpost head, including the saddle cradles and bolt hardware (with the exception of Thomson seatposts; the company says greasing the bolt threads is okay but the bolt heads should be left dry).
The saddle itself can also creak where the rails insert into the shell. Turn the saddle upside down and apply one small drop of heavyweight oil (like Phil Wood Tenacious Oil) at each anchor point. Let it wick in for a few hours and that should quiet things down.
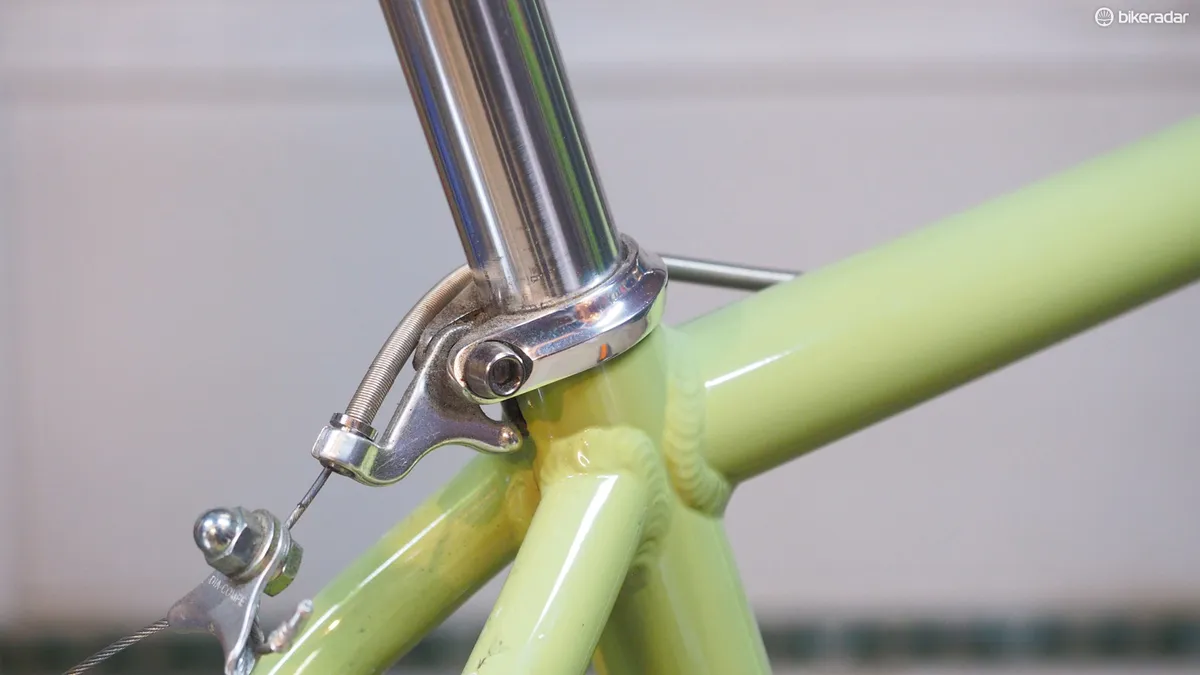
4. Creaking seatpost shaft
If you’re running a long seatpost, but only a small part of it is extending out of the frame, it’s possible that the extension is moving against the inside of the seat tube under load.
To start, mark your seatpost height with paint or permanent marker, remove the seatpost, and then wipe everything clean (including the inside of the seat tube as best you can).
For metal-on-metal contact, grease the inside of the seat tube as far down as the seatpost will reach. If either the seatpost or frame (or both) are carbon fiber, use friction paste instead. Grease the seatpost clamp bolt and then tighten to spec.
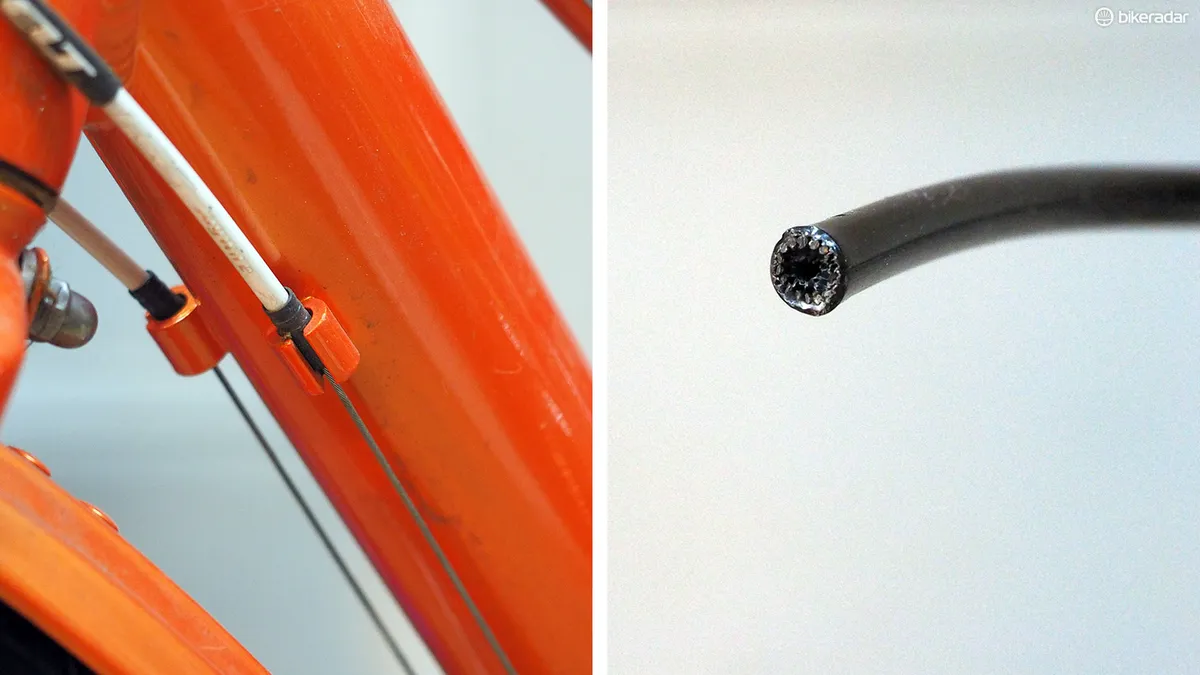
5. Creaking housing caps
This is one of my favorites because it’s among the last places anyone would think to look when sourcing errant noises.
Derailleur housing is especially prone to creaking since the longitudinal wires hidden inside the jacketing can so easily move against metal housing caps. Alternatively, metal housing caps can creak inside the frame stops when you move the bars from side to side.
If your derailleur housing has metal caps, make sure that the housing ends are cut square and then crimp the caps on to the housing so the two pieces can't move against each other. Finally, apply a bit of grease between the frame stop and housing cap.
Alternatively, swap out the metal caps for plastic ones. They’re not as durable but they’re far less prone to making noise.
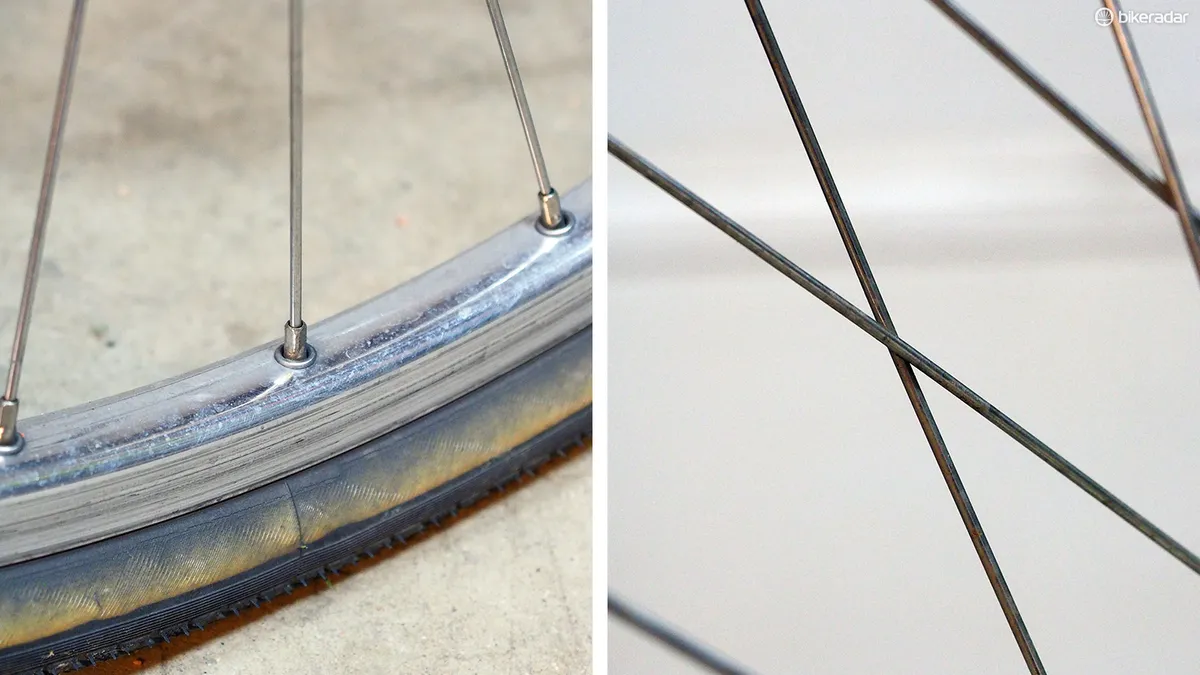
6. Creaking spokes
Spokes can creak where they cross each other, particularly on wheels that aren’t properly tensioned.
Retensioning the wheel(s) to proper spec is the ultimate solution here but a tiny drop of oil at each spoke crossing, rim eyelet, and spoke nipple can help, too.
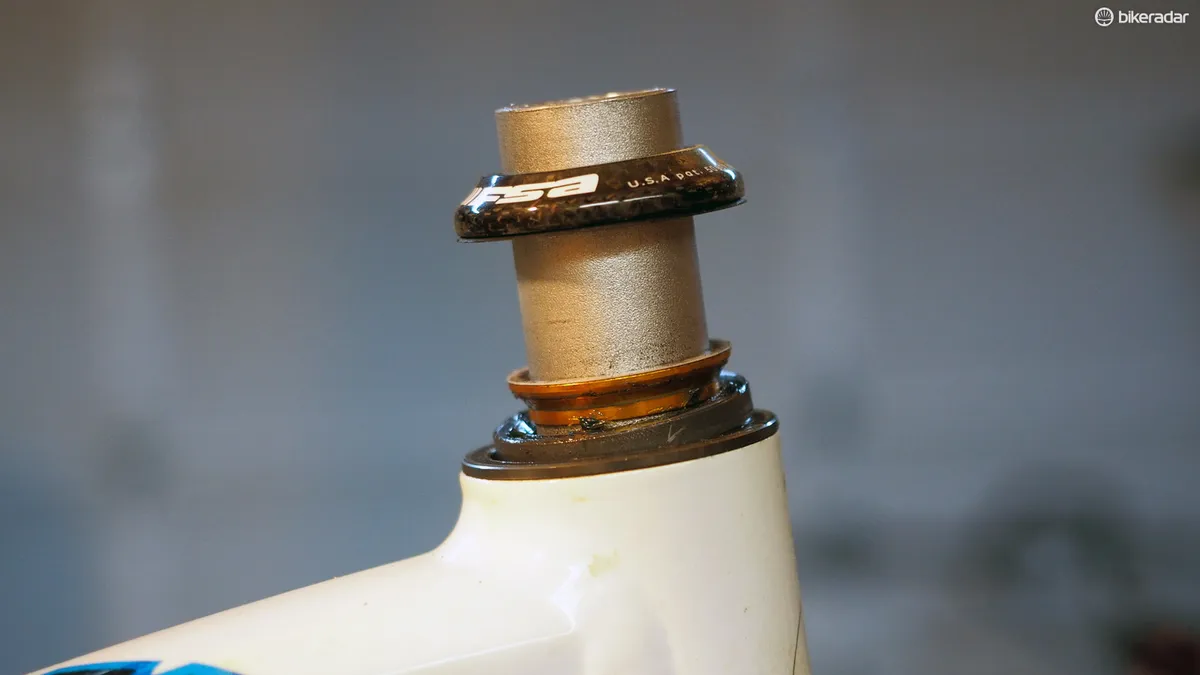
7. Creaking headset
Headsets are rife with metal-on-metal interfaces, each of which is prone to creaking.
To start, slide the fork out of the head tube and then clean and grease all of the contact surfaces. If that doesn’t quiet things down, considering removing and reinstalling the cups and crown race with some grease or green Loctite, too.
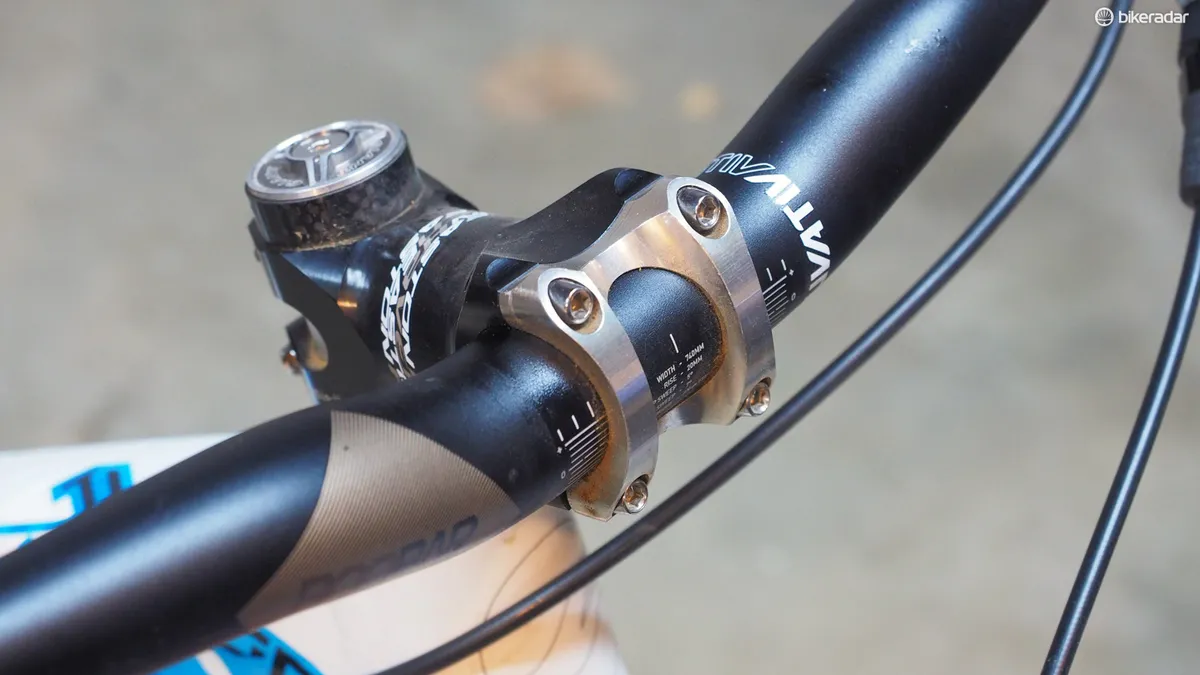
8. Creaking handlebar clamp
If the creaking you hear is often accompanied by a distinct tick coming up through your hands, the problem could be in your handlebars — specifically, where it’s clamped inside the stem.
Mark the bar location with a permanent marker, and then remove the stem faceplate. Wipe all of the surfaces clean and then apply some friction paste to all of the contact points. Clean all of the bolt threads as best as possible, then apply grease or medium-strength Loctite, and then reassemble, torqueing everything down to proper spec.
If you have a really old aluminum handlebar with a sleeved center section, find yourself some Loctite sleeve retainer and apply it to the end of the sleeve, leaving time for each drop to wick in. Let it sit overnight to set and hopefully your next morning’s ride will be blissfully silent.
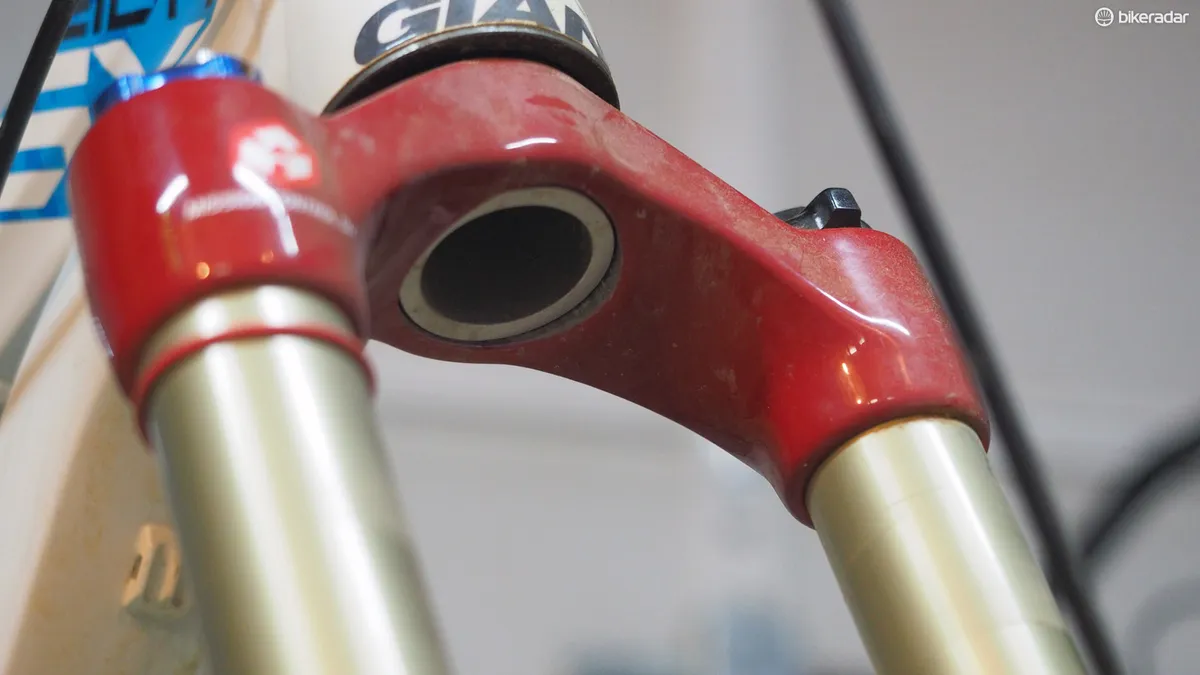
9. Creaking fork crown
Still hearing noises up front? If you’ve got a suspension fork on your mountain bike, it could be the steerer tube and/or stanchions moving inside the crown. Those interfaces are supposed to be permanent (and movement could be indicative of an impending failure) but if you’re insistent on a DIY interim band-aid, you could consider apply some Loctite sleeve retainer at these interfaces, too — but do so at your own risk.
10. Creaking hubs
Yes, folks, hubs can creak, too — especially newer ones with all of their various cartridge bearings and press-on end caps, all of which can make noise under load. The best approach here is to take both hubs apart, grease each and every interface, and then reassemble.
Quick-release skewers can also create problems, particularly ones with external cams that don’t generate as much clamp force as they should. In addition to arguably being unsafe, an insufficiently secure fit allows the hubs to move around under load, which can also lead to creaking.
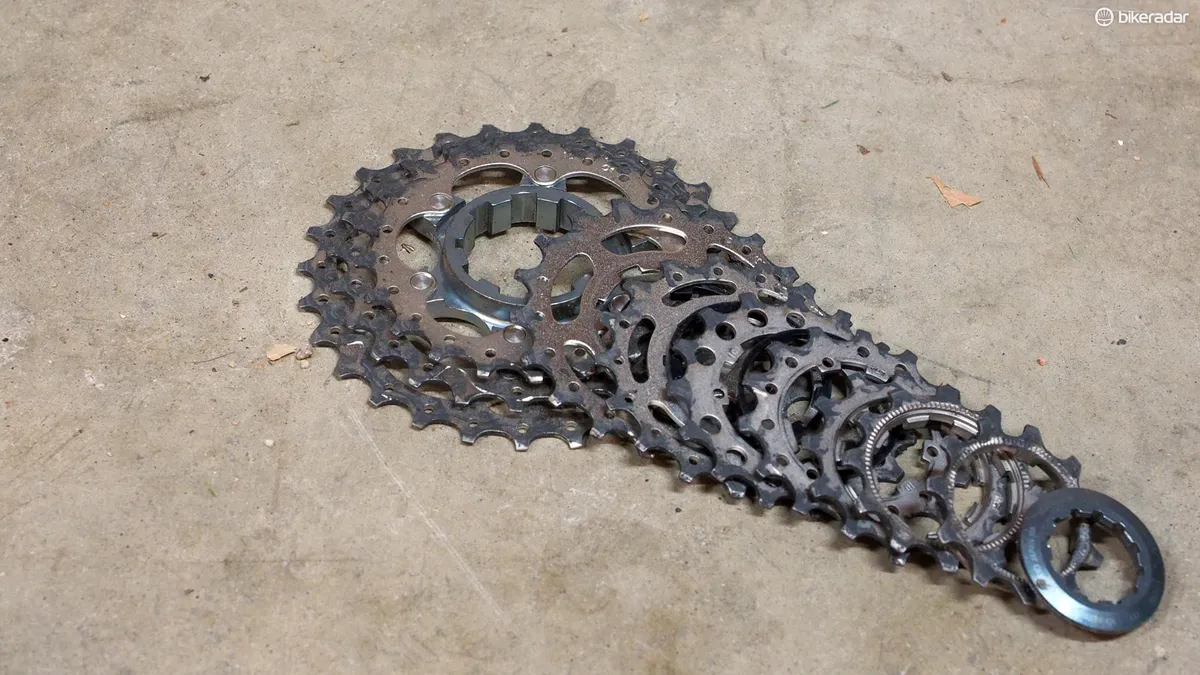
While you’re at it, make sure your cassette is properly tightened on the freehub body. Some new Shimano cassettes with composite sprocket carriers have also been somewhat prone to creaking but proper installation, plus some grease at all the contact points between each cassette segment and the freehub body, seems to help.
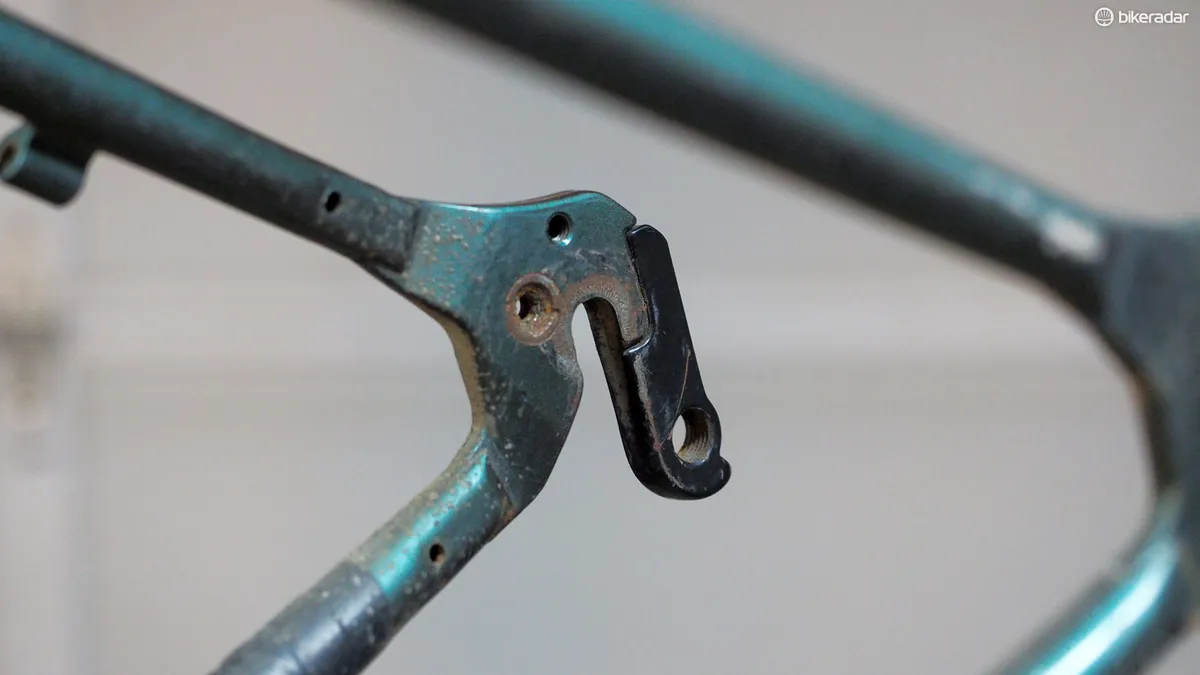
11. Creaking derailleur hanger
Nearly every frame these days has a replaceable rear derailleur hanger — which, yes, is prone to creaking.
Remove the hanger, clean the surfaces, and apply a thin layer of grease to the interface between the hanger and frame. Reinstall, being sure to use a medium-strength thread retaining compound to the bolts.
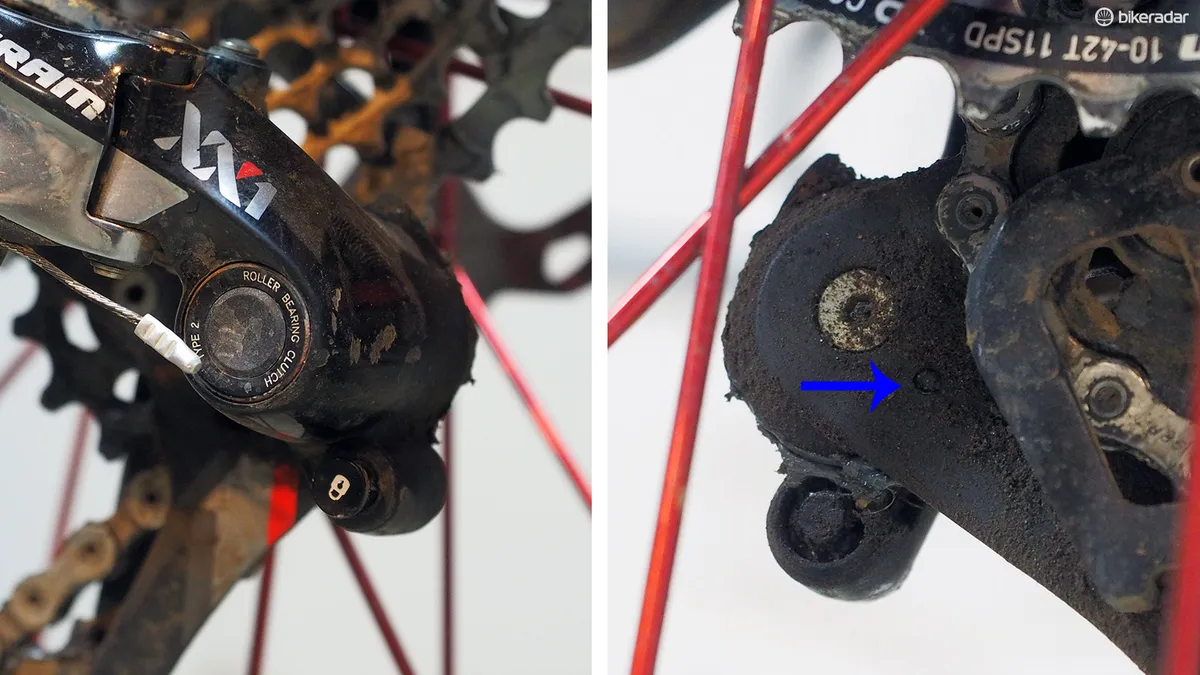
12. Creaking rear derailleur
Having trouble finding a mysterious creak from the rear end of your mountain bike? If you have a clutch equipped rear derailleur and you hear the sound every time the rear suspension compresses a bit, the culprit could be the clutch mechanism itself (particularly on earlier SRAM models).
Thankfully, no disassembly is required here, at least for SRAM derailleurs. Find a grease gun with a pointed tip and inject one or two pumps’ worth of lubricant into the hole in the pulley cage marked in the image above.
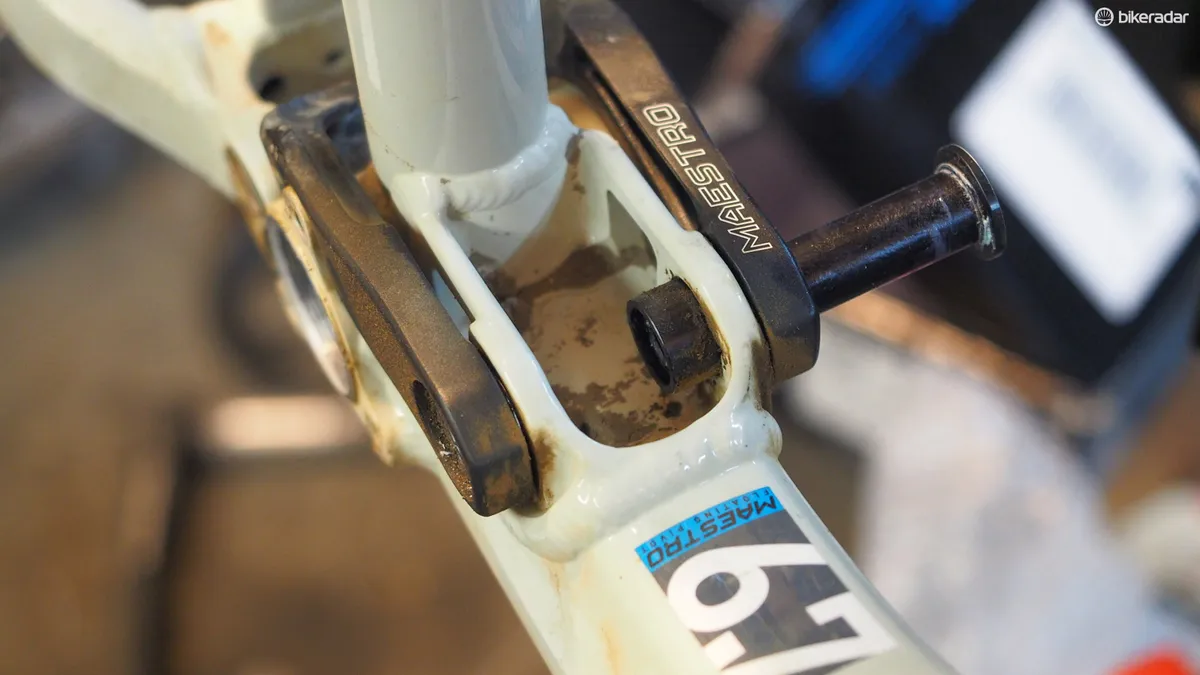
13. Creaking suspension pivots
Modern full-suspension mountain bikes have heaps of moving parts, with each pivot point usually comprising a pair of pressed-in cartridge bearings, some aluminum spacers, a pivot shaft, and one or two bolts holding it all together — and it can all creak, especially on older bikes that have seen lots of hard riding (and subsequent washing).
Usually, all that’s required here is to remove each of the pivot shafts and then reinstall them after a good cleaning and greasing but if you’re going to take it all apart, it’s a good idea to apply some grease to those metal spacers as well. Check the bearings themselves, too. Grease can wash away or wear out over time and a seized bearing is almost guaranteed to make noise.
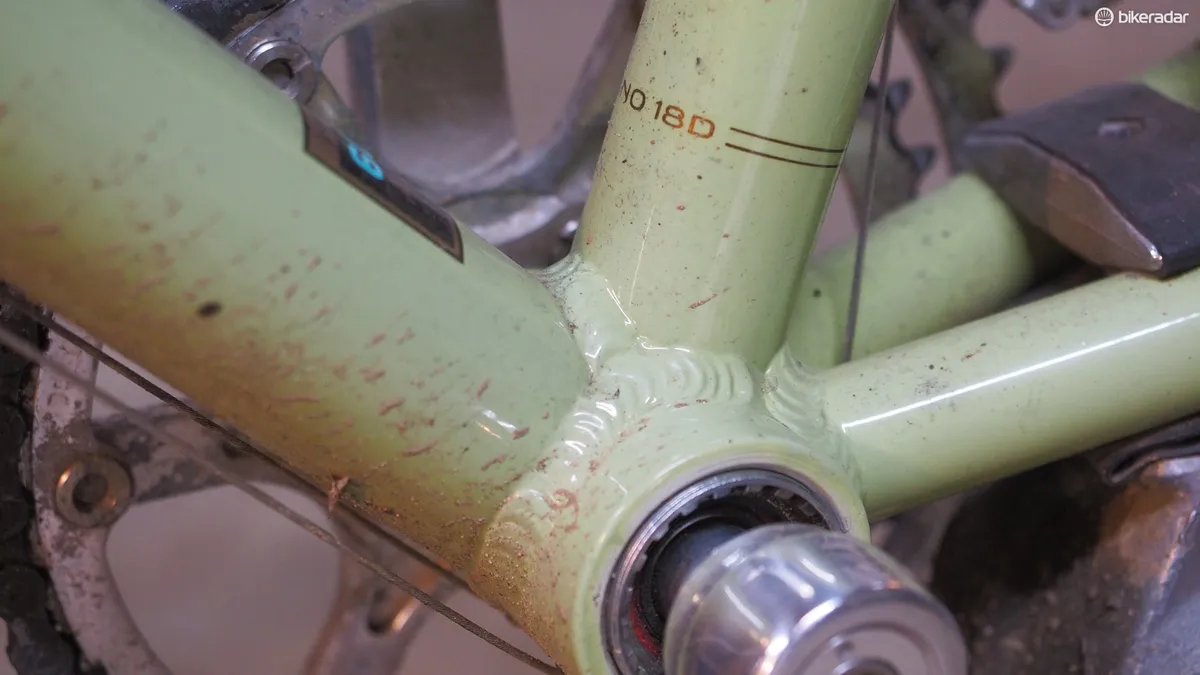
14. Creaking frame
Finally, there’s the frame itself. I’ve only ever encountered this on a welded metal frame where a poorly mitered joint once developed an irreparable creak but it’s something to consider nonetheless. The fix is unconventional and doesn’t always work but it’s worth trying, especially if the noise is seriously messing with your ability to enjoy a ride.
“Years ago, Cannondale recommended I pour hot linseed oil down a seat tube to try and quiet a creaky bottom bracket area with gaps in the miters,” Potter told BikeRadar. “It worked! I’ve used this trick on a couple of Cannondales, an Ellsworth, and a Pinarello — all aluminium frames.”
This article was originally published in May 2015.