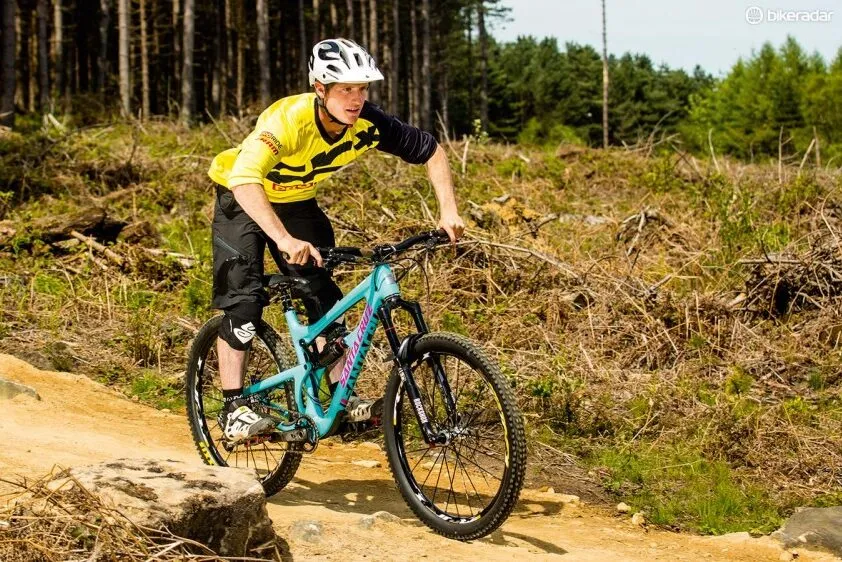
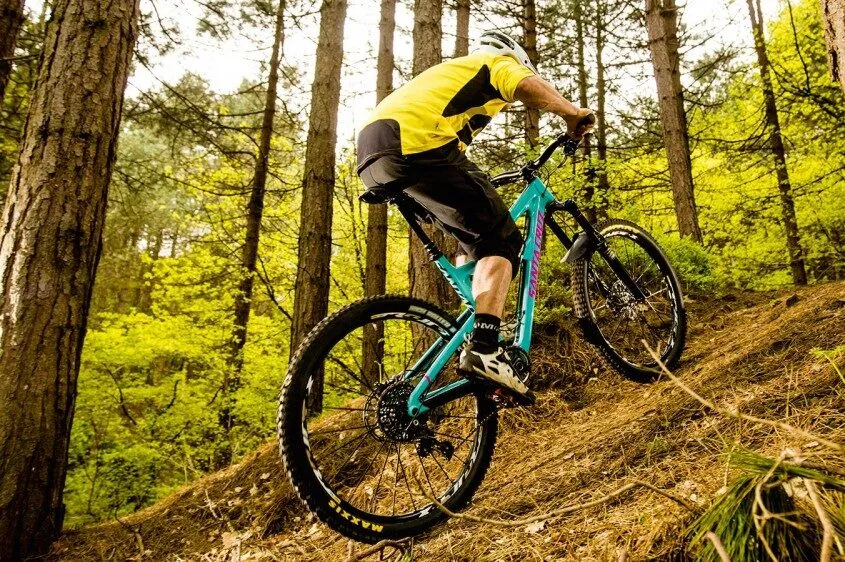
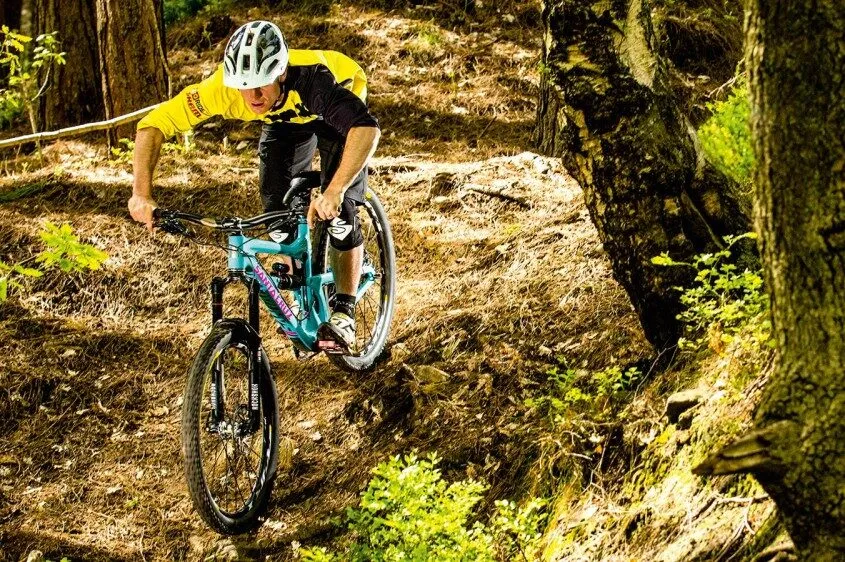
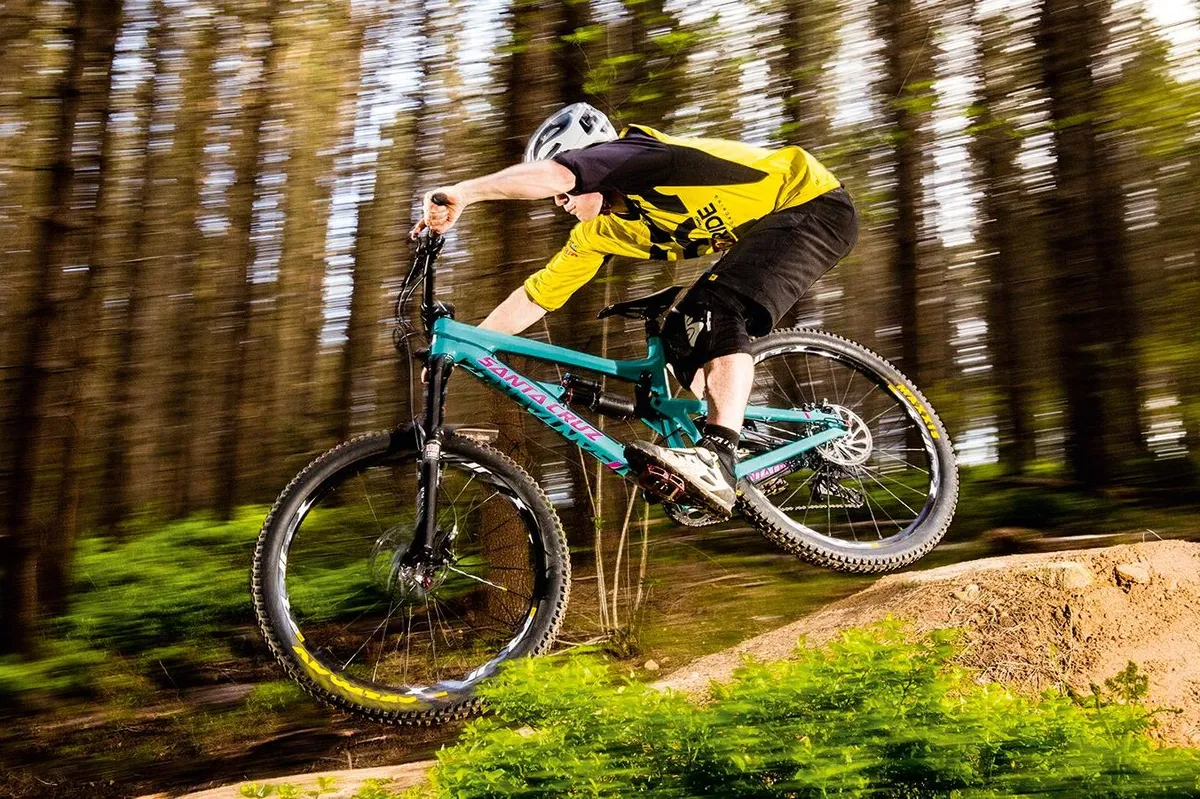
The attack position (sometimes referred to as the ready position) is a fundamental aspect of mountain biking. As with all key MTB skills, getting it right will reward the rider with a more comfortable and controlled ride. Get it wrong and, well, at best you'll be uncomfortable on the bike and at worst you run the risk of crashing.
When the trail gets rough your bike will start to buck and move around. The idea of a good body position is to isolate your core mass (head and torso) from this chatter so you can stay smooth, in control and in balance.
Use these tips to put yourself in a position where you can let the bike move beneath you, so you can stay in balance and relaxed.
1. Your basic 'ready' or 'attack' position

Loosen up
If you’re in balance, you can loosen up and allow the bike to move around underneath you and track the terrain. Use your arms and legs like suspension by absorbing undulations on the trail.
Stand up
It goes without saying that if you sit down on rough terrain you’re going to feel like you’re riding a bucking bronco! Stand up, lower your chest, and keep a slight bend in your knees for extra control. Drop your saddle to get it out of the way, if you're bike has a dropper post.
Weight distribution
Drop your heels and support your core mass with your legs and not your hands. This will get your weight low at the bottom bracket, which is stable, and free your arms up for control and steering, rather than taking all your weight. Think heavy feet, light hands.
Heels down
With your cranks perfectly level, place the ball of your foot on the pedal axle or just in front of it, in a mid-foot position, and drop your heels towards the ground.
Head up
Your head position affects your balance so get your chin up and focus on the trail ahead. Try not to look down at the front wheel because this will unbalance you straight away. Look down the trail, where you want to go.
Elbows up
Bend your elbows and hold them up so you can use your arms to control and lean the bike.
Engage your core
Try not to round your lower back like you’re slouched in a chair because it isn’t good for power and efficiency when it comes to more advanced skills. Stick your backside out and engage your core muscles.
Cover your brakes
Always keep your anchors covered with one finger just in case you need to scrub speed or stop quickly.
2. Your climbing position

Having a good body position, in combination with managing your power output, can make climbs more manageable, whether long ascents or short, sharp rises.
The aim is to balance your weight between the front and rear wheels, so you have traction at the rear and maintain a bit of weight on the front wheel to stop it from lifting or wandering.
Get low
Lower your chest towards the bar, move your hips forward on the saddle, tuck your elbows in and look up. If your hands feel light and you’re not hanging off the bar then you’re probably in the right place. Getting your chest low will keep some weight on your front wheel so you can maintain your steering.
Sit… or stand
In most cases, it’s more efficient to sit, but you may want to stand for a break or if you need to put more power down. On rough terrain hover just above your normal seated position so you can absorb bumps and the bike can move around underneath you.
Manage power output
It’s important not to burn yourself out quickly, so relax and try to maintain a good average power for the whole climb, rather than sprinting then freewheeling. You’ll need to carry as much momentum as possible into short steep climbs, so make sure you put the power down early.
Gear selection
On long climbs, aim to spin your legs for better efficiency. If you need extra traction on loose terrain, over-gear slightly by using a higher gear so you don’t spin out.
3. Body position riding downhill

The core principles of your basic body position remain largely the same when riding downhill. Effectively the front wheel has pitched away from you, so you need to lower your chest in order to keep bent elbows, which lets the bike move around.
The most important thing is to keep your heels down and your core mass over your feet and not in your hands. Do this by moving your hips back towards the rear tyre.
Look ahead
Look as far ahead as you can down the trail to spot obstacles in good time. Lifting your head will help you do this.
Bend your elbows
Bent elbows make you ready to absorb hits and manipulate the bike. Don’t overbend though, or you’ll run out of ‘arm travel’.
Keep your heels down
Dropping your heels gives you more control – your bike is pushed into your feet, putting more weight on your pedals.
Cover your brakes
Powerful brakes help you stop with ease. One finger on the levers is enough and won’t compromise your grip on the bar.
Stay loose
The looser you feel on the bike, the more relaxed you become. This helps you absorb hits with your elbows and knees, which lets the bike track the terrain.
4. Your braking position

Braking effectively and at the right time will help you ride safely and smoothly while maintaining speed.
Use both brakes smoothly and equally, on the whole, to control your speed. When you brake, your body position will move forwards and onto the bar, so counteract this by dipping your heels.
Try to avoid constantly dragging your brakes because your suspension won’t work effectively when you do and you won’t be able to stay loose.
Stay smooth
Braking affects your body position and suspension, so try to brake before technical or rough sections of trail if you want to ride smoother.
Look for traction
Spot grippy surfaces to brake on. Try to avoid braking on loose and slippery terrain because it will unbalance you.
Brake straight
Scrub your speed before corners, when you can brake in a relatively straight line. Try not to brake around corners because you risk losing traction and it will prevent you from leaning the bike.