


After a short hiatus for the Spring Classics and Sea Otter, Budget Bike Tech returns with a quick, simple and yet thorough way to prevent rain and road (or trail) spray from seeping into your frame. Total cost for this project is less than US$5 and the total time expenditure is just a few minutes.
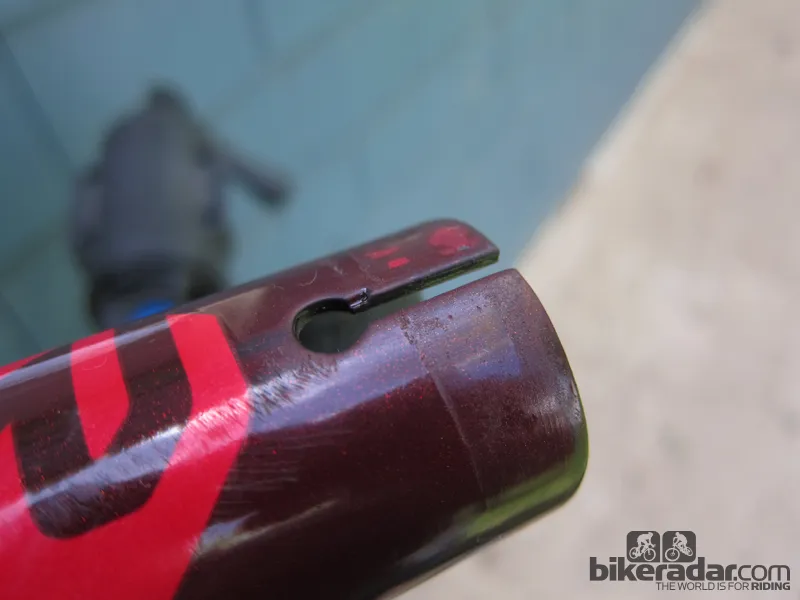
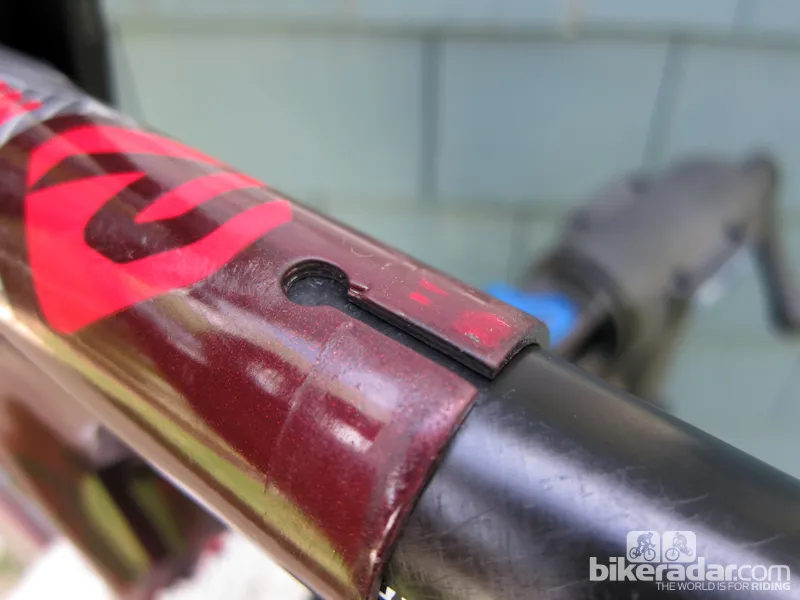
Far and away the most common point of entry for water into your frame is the seat tube. Spray coming off of your rear wheel, or even just rain falling from the sky, runs down the seatpost and into the tiny gap between the outside of the post and the inside of the seat tube – or the not-so-tiny gap depending on the accuracy of the fit and where the slots at the top of the seat tube are situated.
Grease is traditionally the most common way to seal out water but it's only good for metal-on-metal interfaces and has to be checked and replenished regularly. Likewise, friction paste used on carbon seatposts and frames quickly dries, leaving only a residue behind, and wrapping the top of the seat tube with a scrap of inner tube still leaves a vulnerable gap where the seat collar sits.
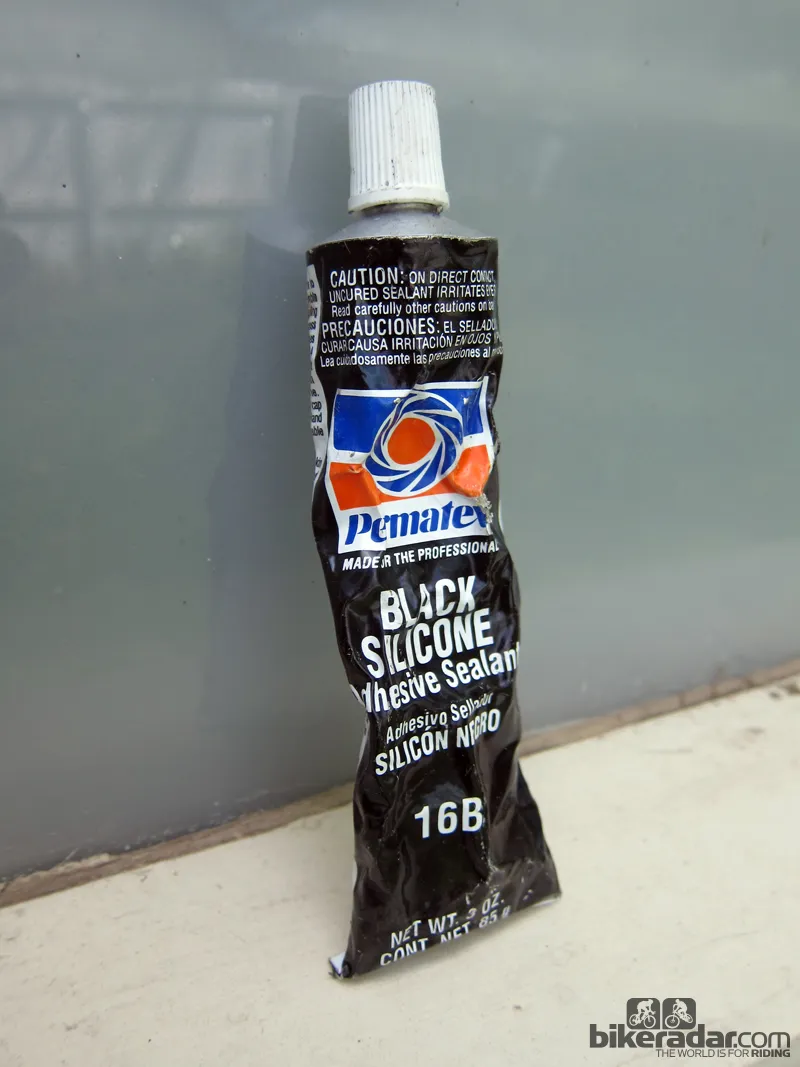
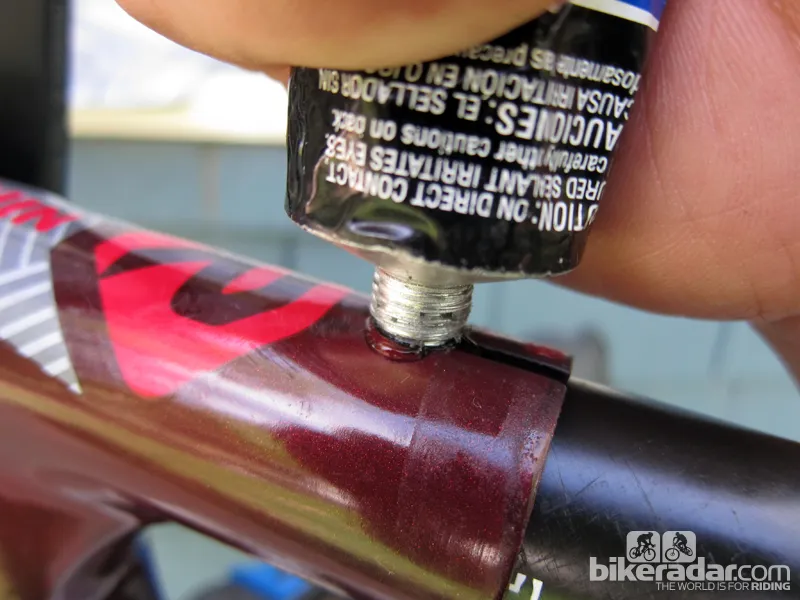
Instead, we recommend a more comprehensive solution using silicone adhesive or caulk. The steps are simple. First, mark your seatpost position and remove it from the frame. Thoroughly clean the outside of the seat tube around the slot and the slot itself with isopropyl alcohol to ensure a clean surface. Leave a very thin layer of grease on the seatpost or, if there isn't one there already, rub a bit on with your finger.
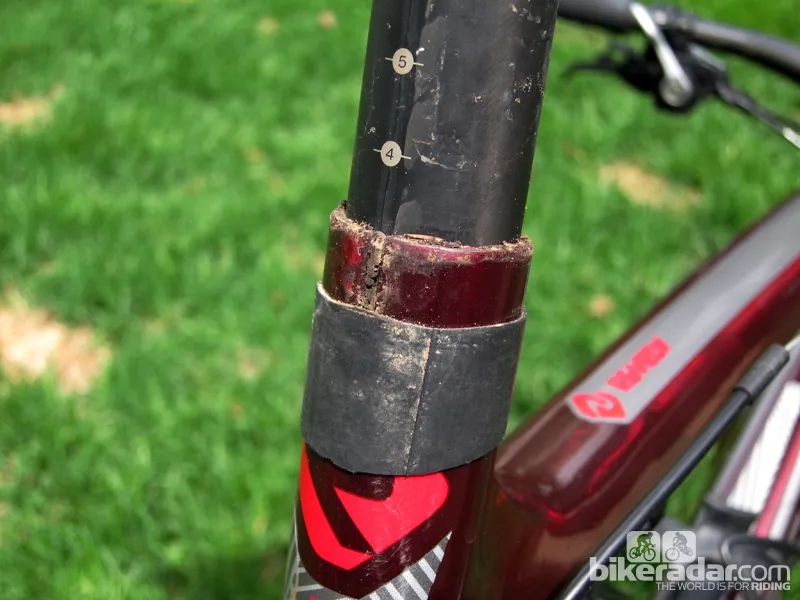
Insert the post into the frame just enough so that the seat tube slot is obscured. Grab your tube of silicone glue, hold it tightly against the bottom of the slot, then squeeze adhesive into the void and gradually work your way upward until you've completely filled the gap.
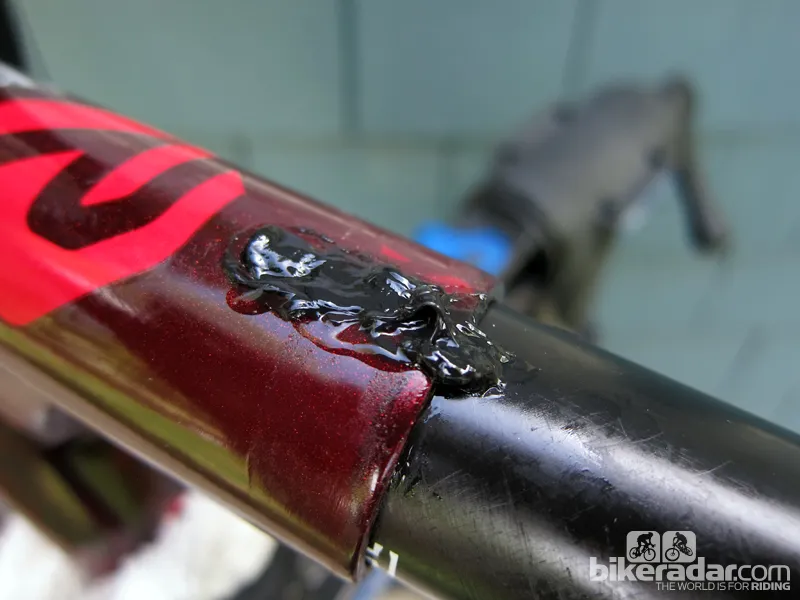
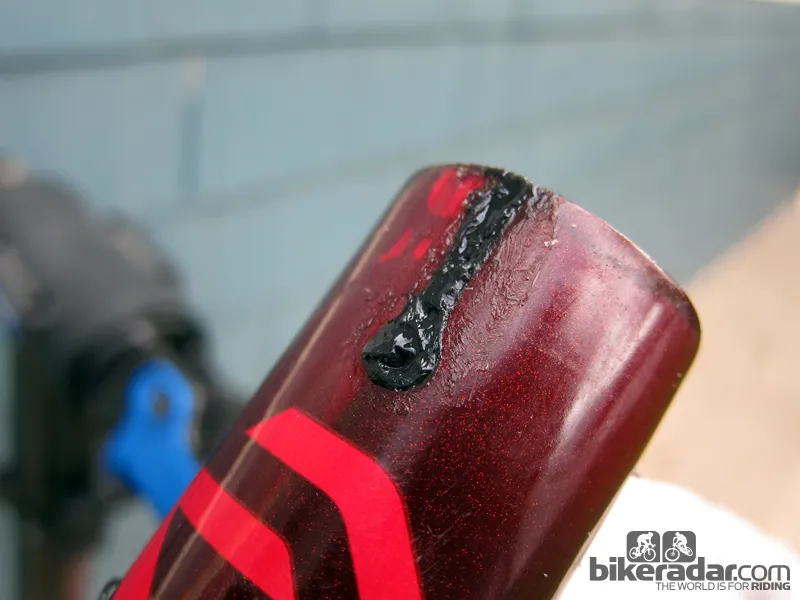
At this point, you can choose one of two methods to clean up your work: use a straight edge to scrape off the excess silicone while it's still wet or wait until it's cured, then use a very sharp razor to trim off the flash. Either way, wait until the glue is cured before attempting to remove the seatpost. If you've done it right, the glue won't have been able to bond to the seatpost surface and you should be able to slowly twist it out, leaving your new silicone gasket firmly in place.
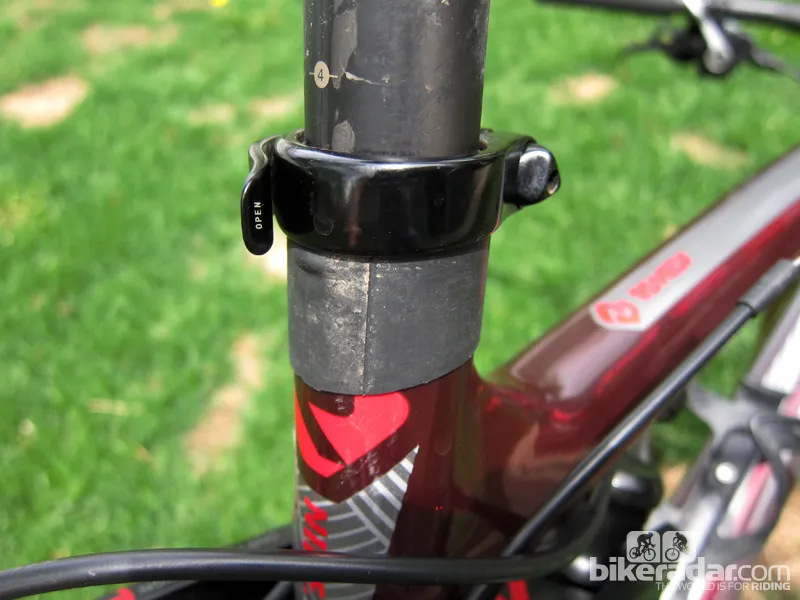
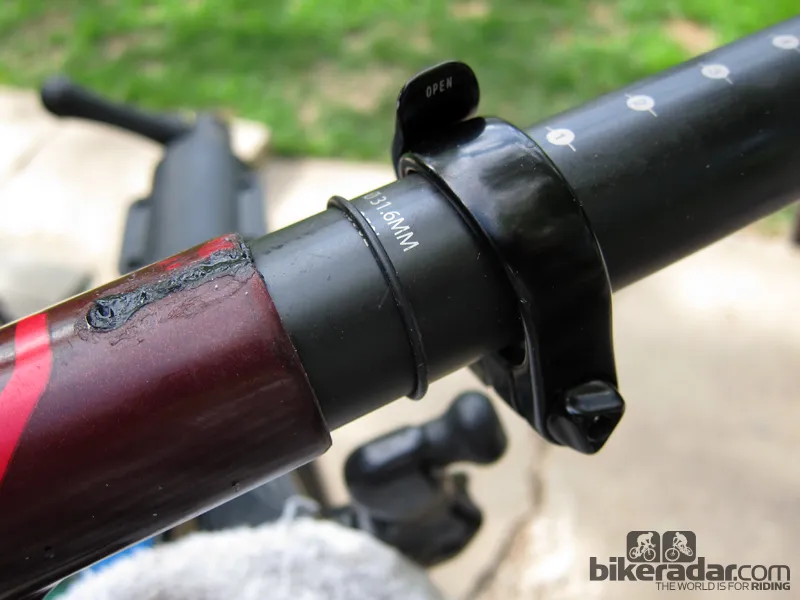
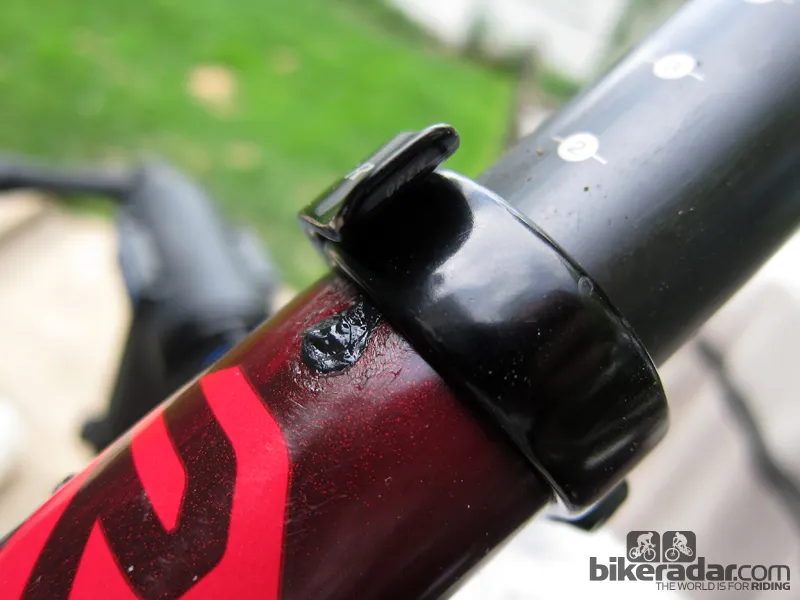
The final step is to seal the top of the seat tube. Head to your local hardware store and get an O-ring with an inner diameter just slightly smaller than your seatpost but with a width that's slightly thinner than the seat tube wall. Slide your seatpost collar on to the post first, then roll the O-ring on. Insert the post back into the frame using your previous mark as a guide (apply grease or carbon paste as necessary, though now it'll only be to prevent seizing or increase friction, depending on the materials), slide the collar down on to the frame and over the O-ring, and secure everything as usual.
Voila! You're done. That entire area is now sealed from the elements and provided you've used a high-quality silicone adhesive that won't degrade over time, you likely won't have to repeat the process ever again.