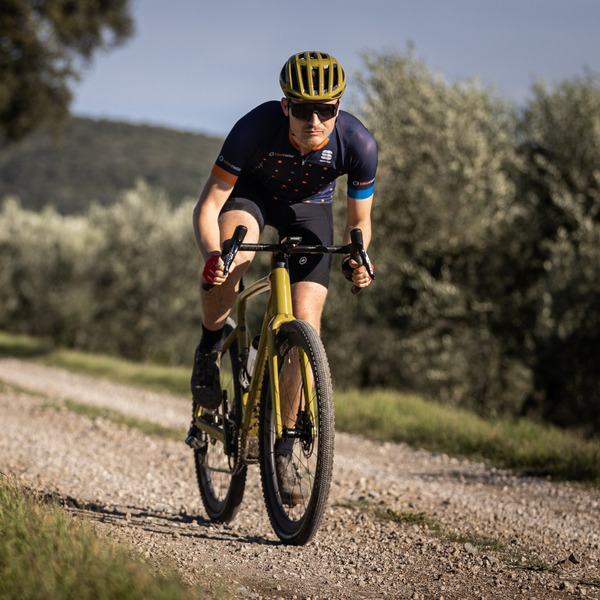
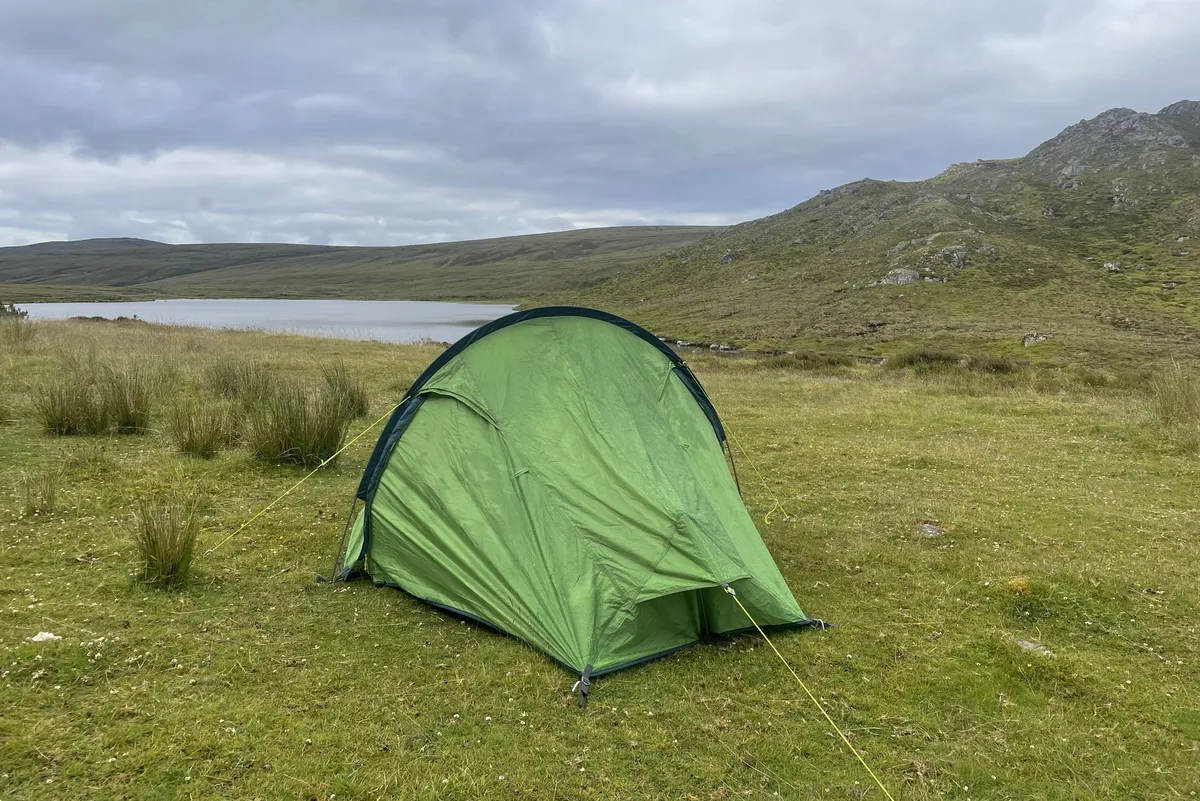
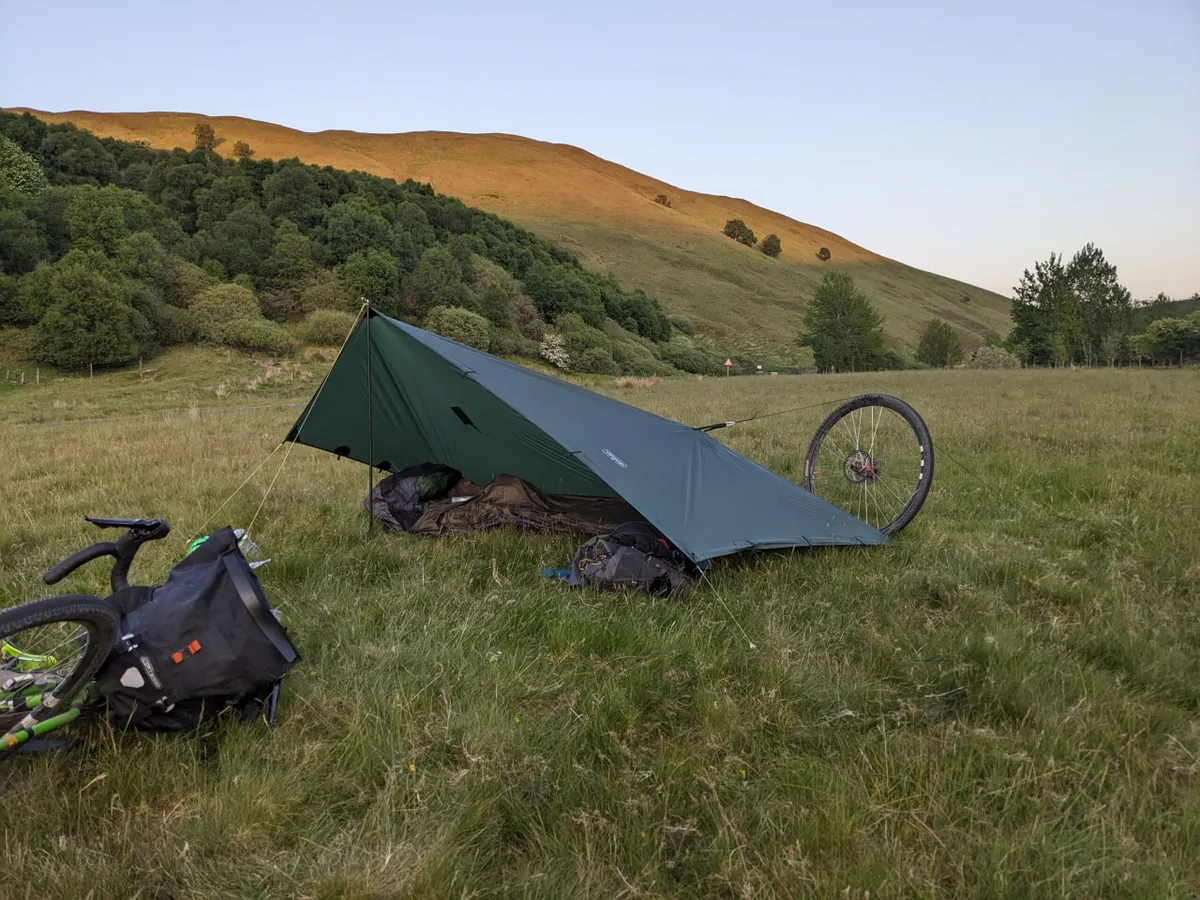
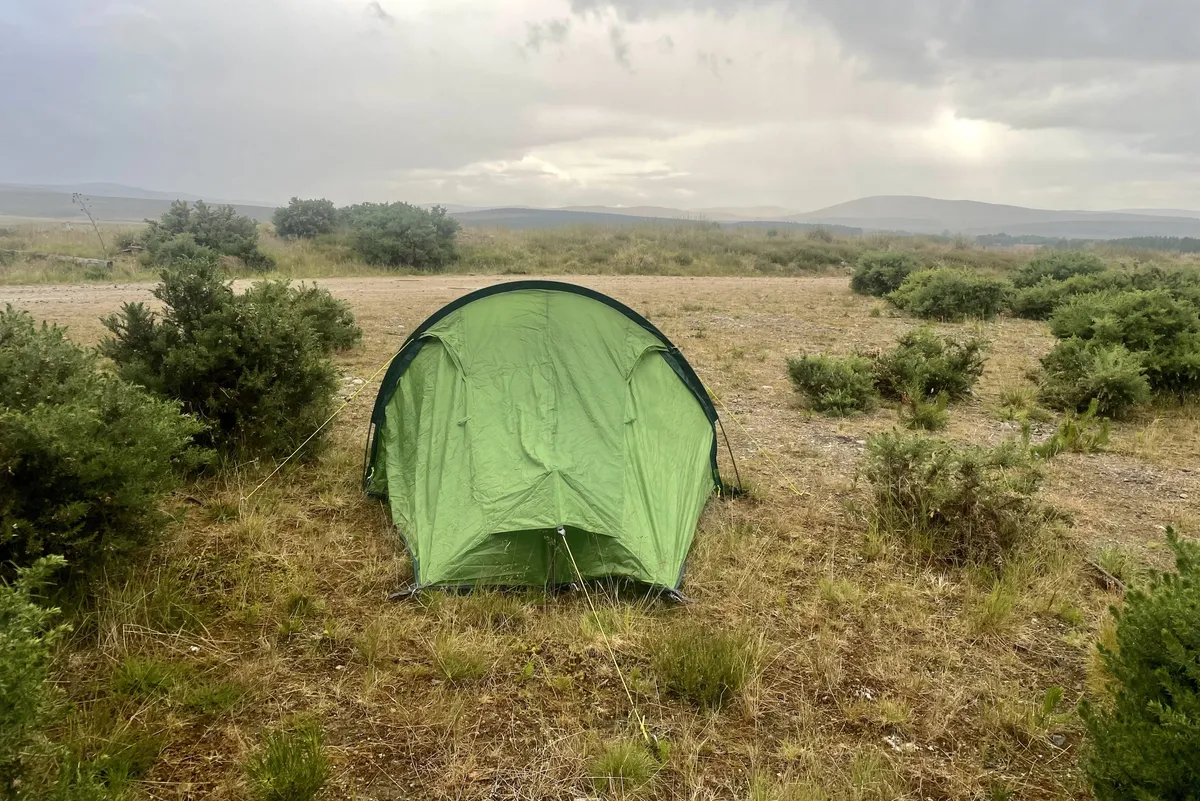
Tents can be a freeing way to fully immerse yourself in the outdoors when bikepacking or cycle touring, with no need to worry about making it to pre-booked accommodation.
Bikepacking tents are typically small and lightweight. They can be assembled easily, stashed in compact bikepacking bags and provide you with a safe weatherproof shelter.
In this guide, we’ll take you through the features to look out for in a bikepacking tent, the different types and how to carry them on your bike, then outline how much you should expect to spend on a tent.
What is a bikepacking tent?
Most bikepackers choose to use a backpacking, or other form of lightweight tent, for their bikepacking adventures.
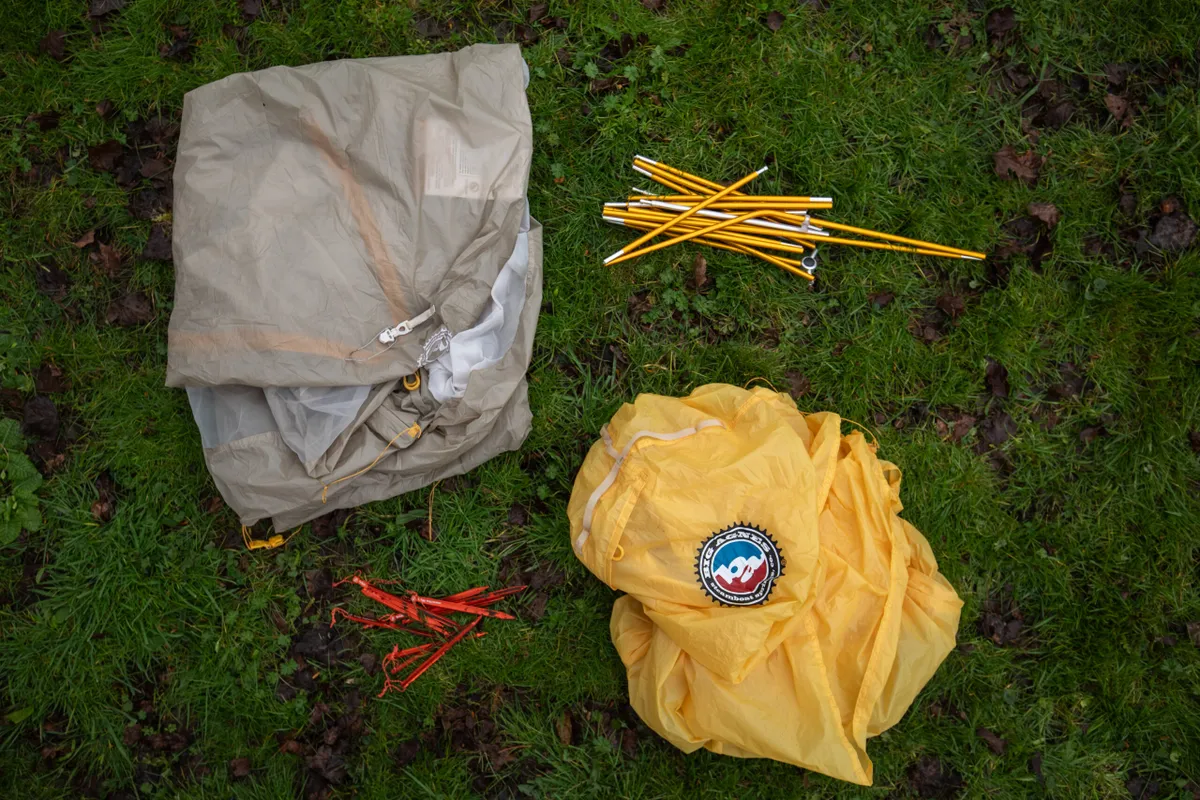
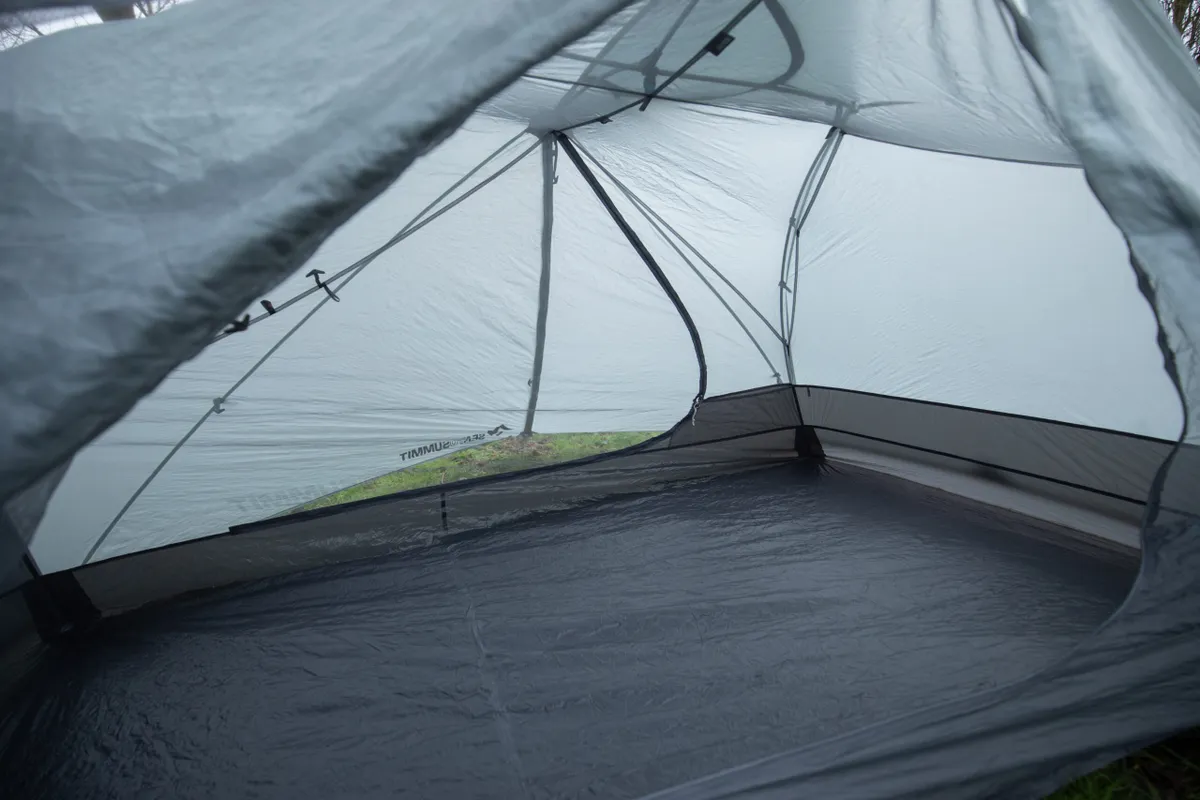
Lightweight tents are typically composed of five parts – the tent body, a fly, poles, stakes (pegs) and a footprint.
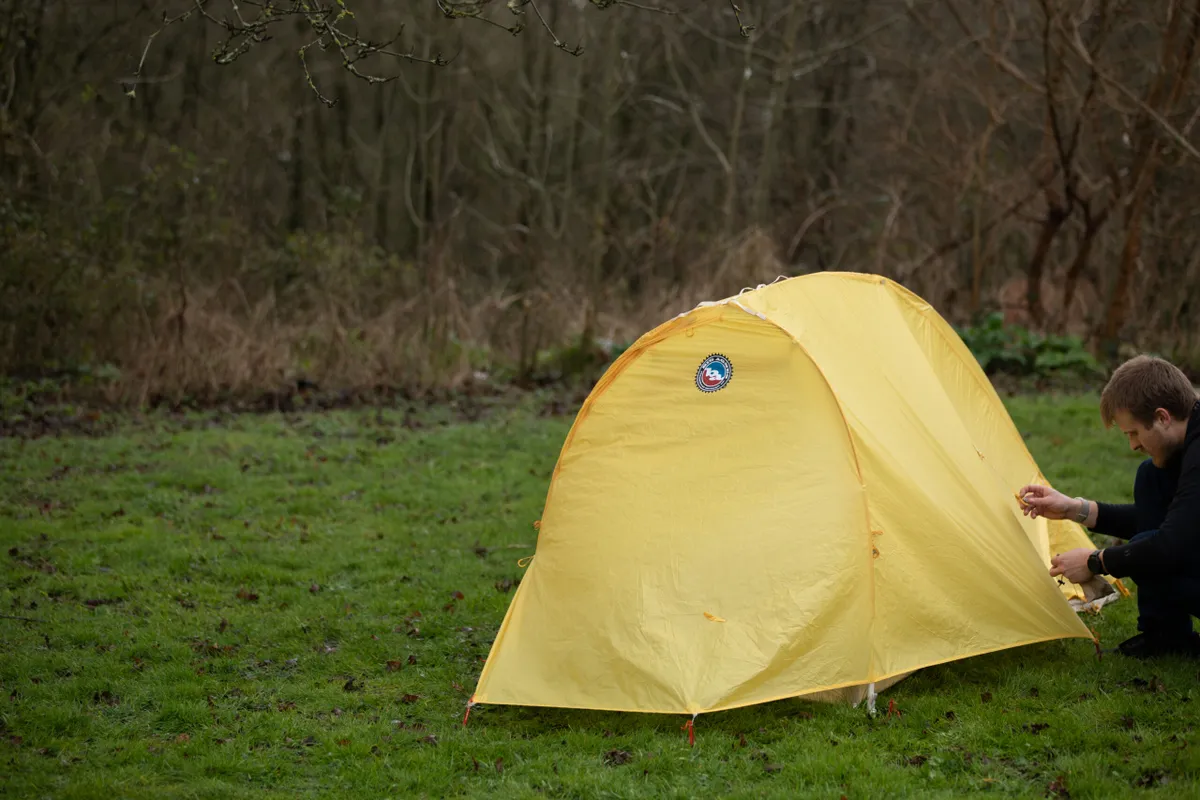
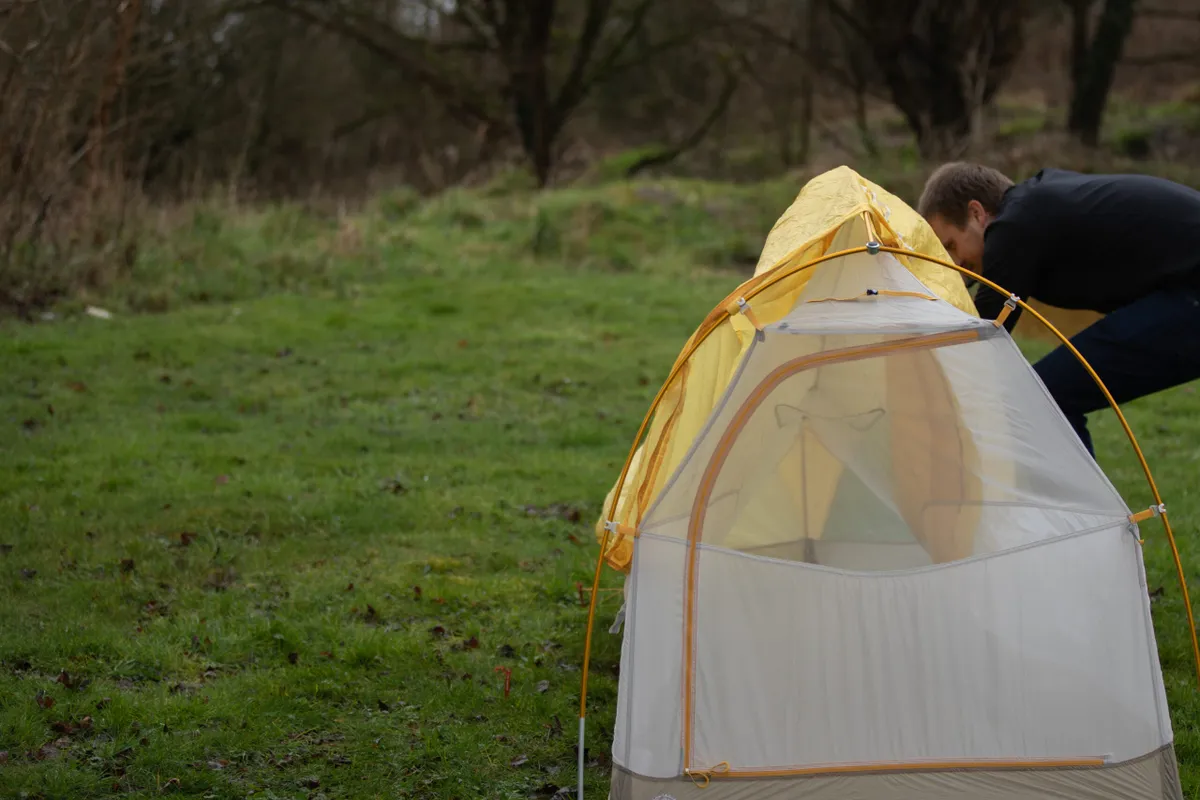
A bikepacking tent is a bike-friendly version of a backpacking tent. The basics are usually the same, but they often pack down into smaller sections for easier on-bike stowage.

The tent poles are typically shorter and the tent’s profile smaller, so it’s easier to carry. General backpacking or more generic lightweight tents will use longer poles, and therefore won’t pack down as compactly.
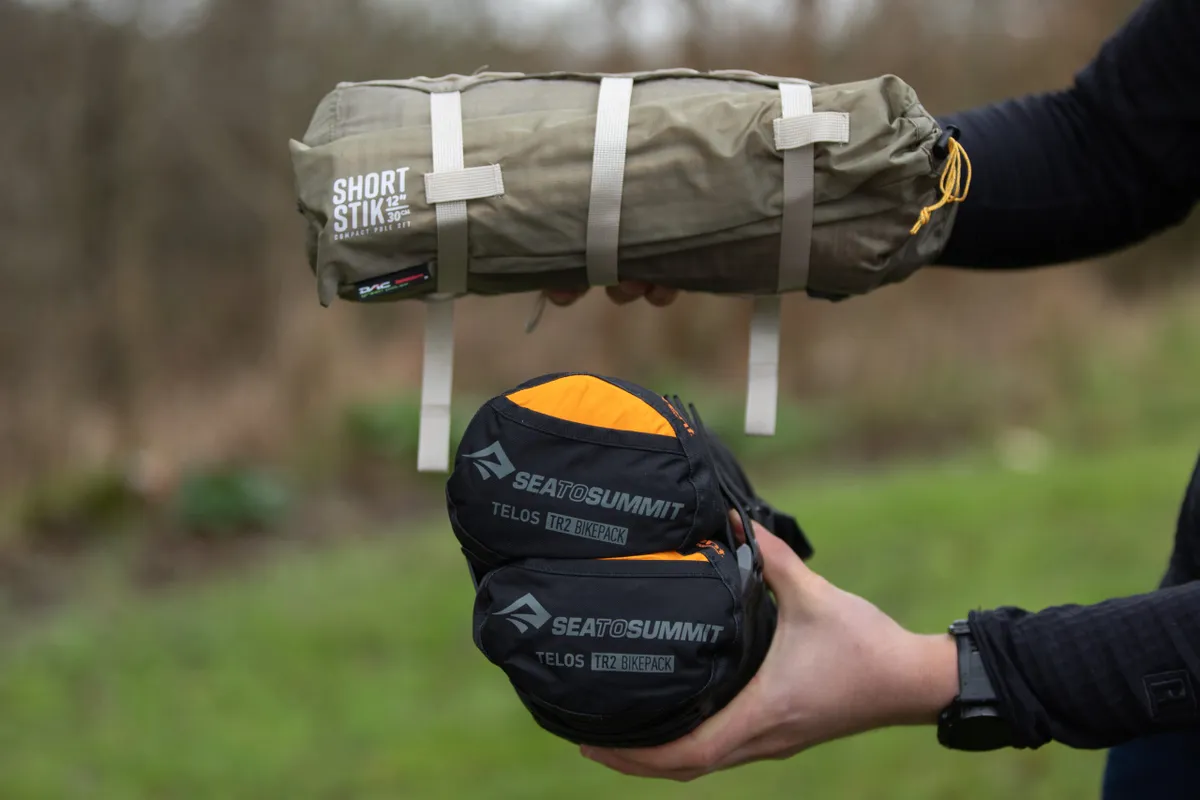
For example, Big Agnes uses a 12in Shortstik Poleset on its bikepacking tents over the DAC Featherlite NFL and NSL pole system found on its backpacking variants. The resulting difference in pack size between the bikepacking and standard variants of the Copper Spur HV UL2 is 15cm / 6in.
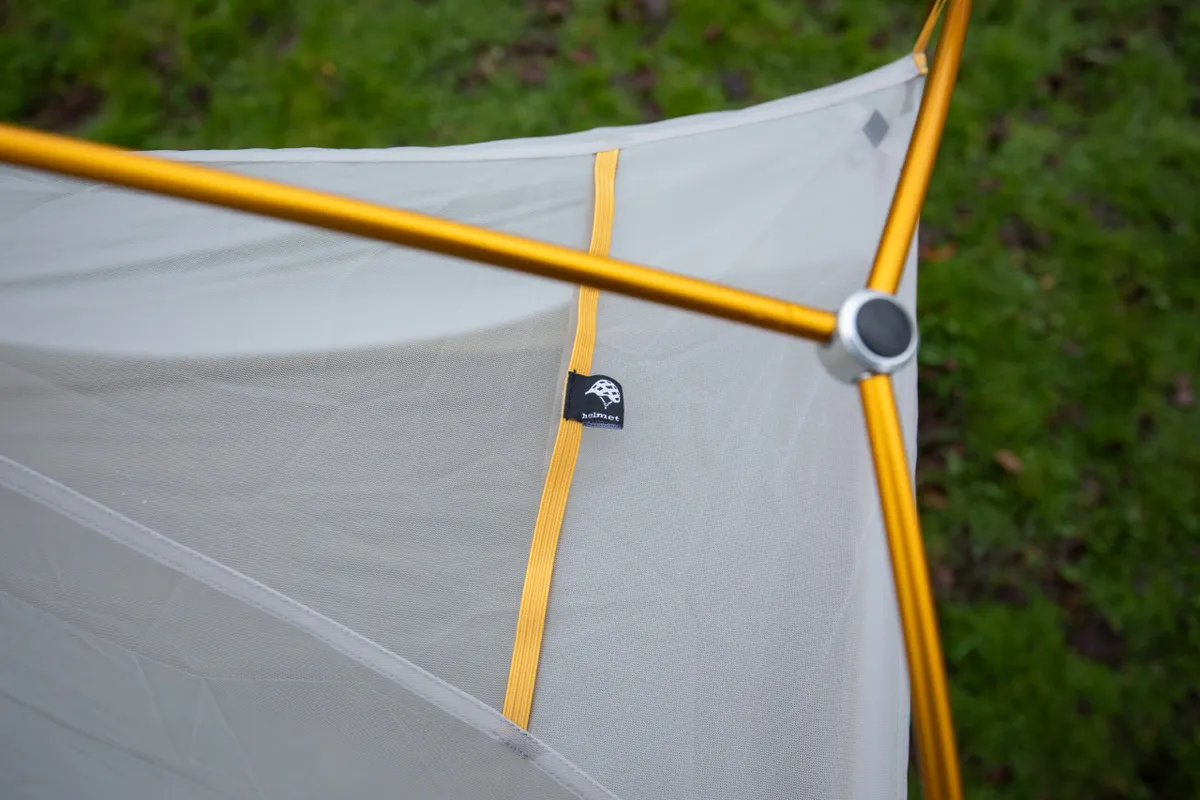
Big Agnes also incorporates some more cycling-friendly features, such as a helmet holder on the outside of its tents and daisy chain webbing to hang clothes off.
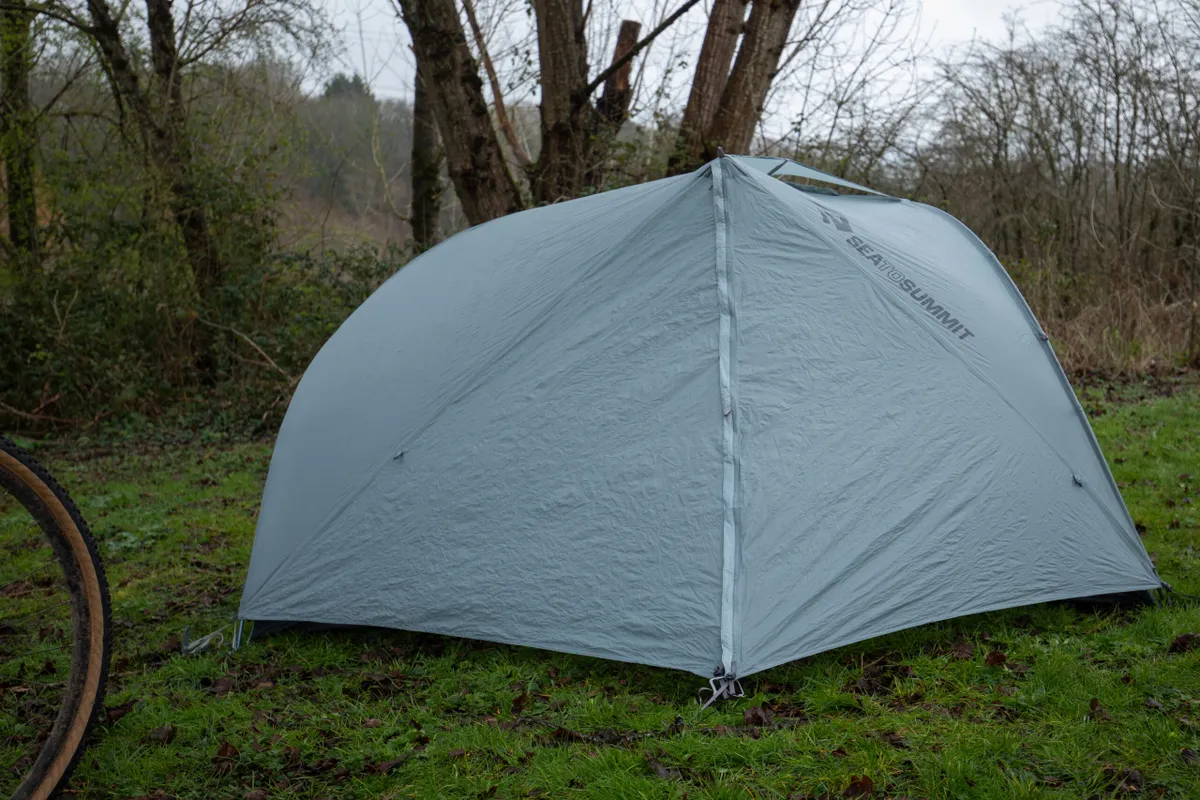
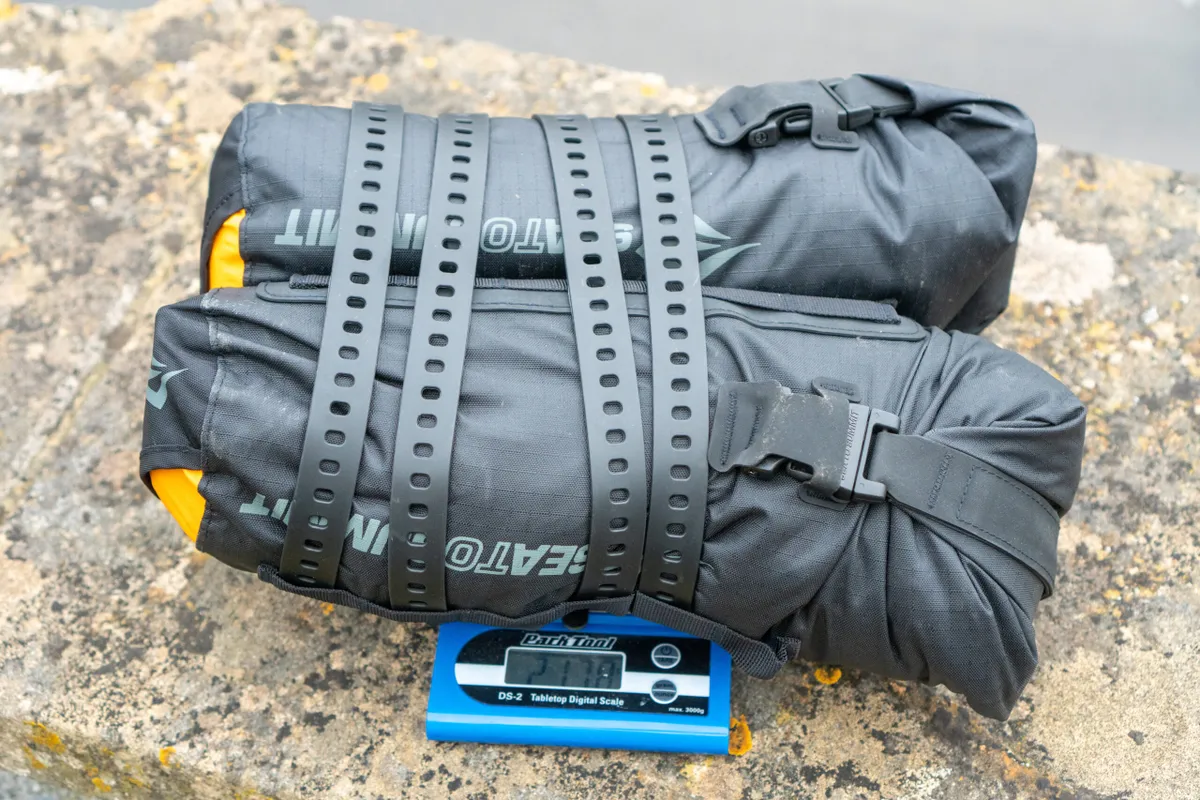
Sea To Summit’s Alto and Telos bikepacking tents not only use shorter poles, but they also come in different packaging.
The tent pieces are stored across two roll-top bags (over the single mesh bag of the backpacking equivalent) so they can be split, making strapping them to the bike easier.
If you’re riding in a group, you can always split the contents between you.
The different types of bikepacking tent
Freestanding tent
A freestanding design means the tent can stand upright without being pegged out with stakes and guylines. This can be particularly useful on rocky terrain, where there’s a flat spot but nothing to peg it to.
You tend to get more head space in a freestanding tent too, improving liveability.
There are also many semi-freestanding tent designs, where the internal architecture is freestanding but the tent can be staked out for additional support.
Pegged tent
This traditional design of tent requires the tent body to be staked out, so you’ll need to take care where you set it up.
Ultralight tent
Ultralight tents are designed to be as light as possible, making them perfect for ultra-races, such as the Silk Road Mountain Race, where you're away from civilisation.
These tend to have one door and rely on featherweight materials, such as Dyneema fabric, to shave weight.
What to look for in a bikepacking tent
Seasonal use
Bikepacking tents will almost always come with a season rating and will typically either be three or four-season.
A three-season tent is suitable for all conditions outside of winter. A four-season tent should be suitable for use in the winter months.
Consider when and where you are going to use the tent – are you realistically going to be using it in colder (or wetter) weather?
Four-season tents are heavier because they need to use stronger and more robust materials.
Waterproof rating
The tent’s waterproof rating is measured in millimetres and indicates the amount of water pressure a fabric can withstand. Most tents tend to have ratings from 1,000mm and 10,000mm.
We’d recommend opting for at least a 3,000mm rating for the tent body. The groundsheet will need to be higher in order to stop seepage.
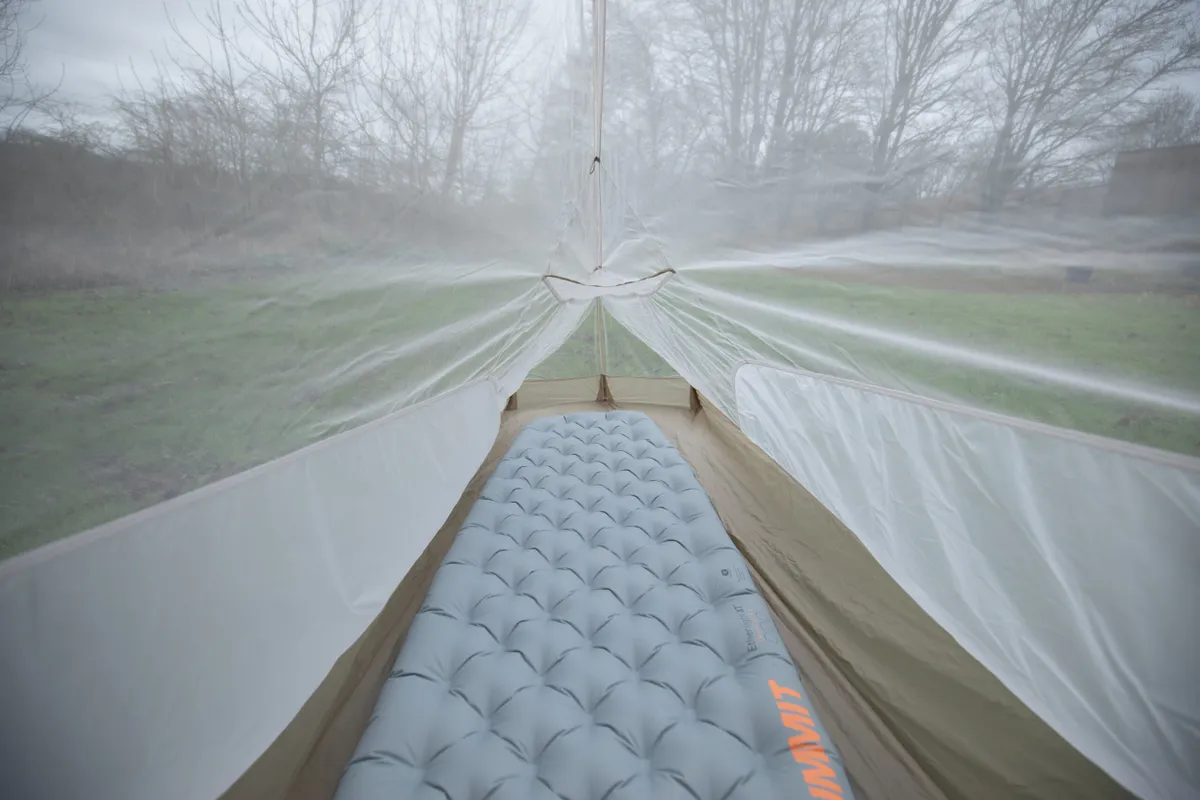
Groundsheet
As well as needing to prevent water seepage, take a look at the design of the groundsheet. Bathtub designs are best because the elevated sides prevent water ingressing more effectively.
The groundsheet tends to take more abuse than the rest of the bikepacking tent because you’re moving around on it, often on uneven or rough terrain.
Some choose to pitch their tent on top of a separate footprint to provide an additional layer of protection. This is especially important if using a lightweight tent.
Footprint
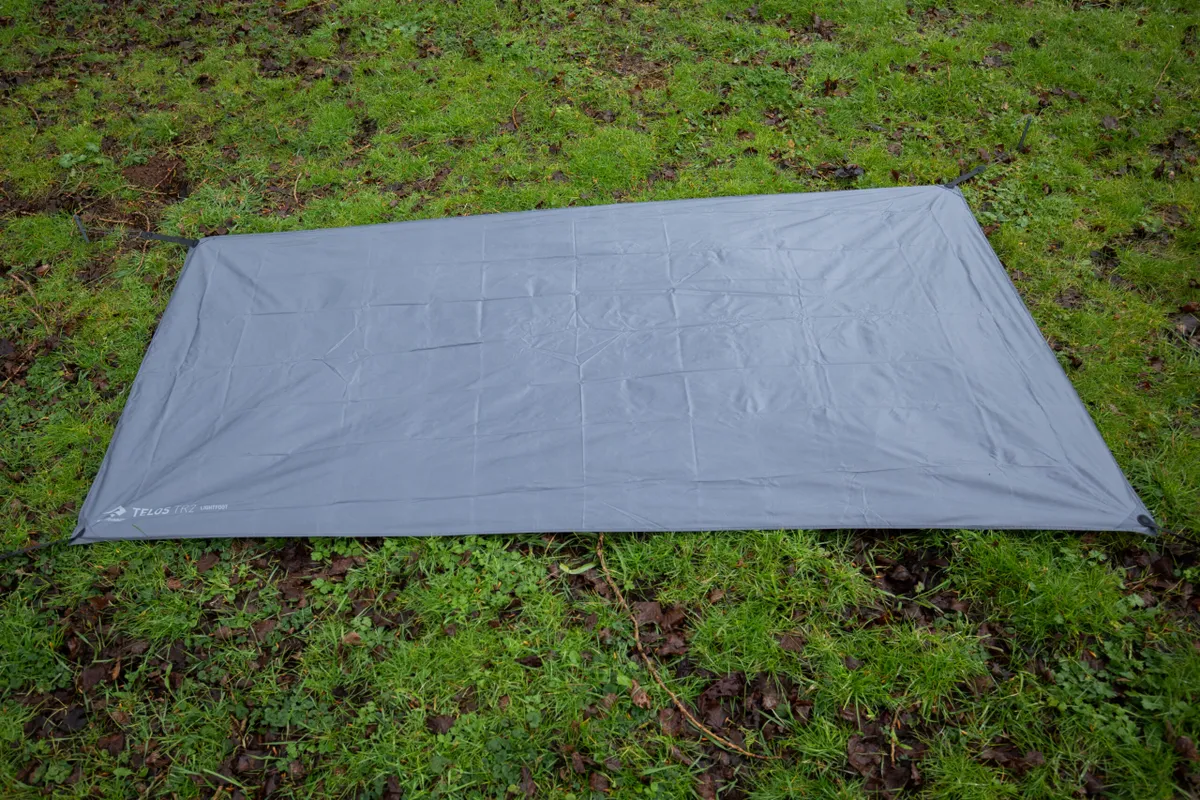
Footprints are a great way of protecting the groundsheet of your tent.
However, if you want to save weight and you know where you’re going to camp won’t be rocky, you could forego it. Some footprints are larger in area than the groundsheet, offering increased space outside of the tent – perfect for storing muddy cycling shoes off the wet ground, for instance.
How many people are going to use the tent?
Bikepacking tents are typically sold as one, two or three-person.
However, the definition of what counts as a full human can be rather generous on some models.
Provided you can stomach the (modest) increase in weight, we’d recommend those riding as a pair opting for a three-person tent – you will be thankful for the extra space when stuck in the rain frazzled after a hard day’s riding.
If you do go for a two-person tent, it’s worth setting up two sleeping mats on the floor to check there's going to be enough space. Remember you’ll need space to store your kit too.
The way in which tents are designed is also important. Quite often, there’ll be a head-end of the tent and a tail-end. If there are two of you, and you sleep top-to-tail, the person’s head at the tail-end might be uncomfortable and you’ll have to be comfortable being in close proximity to one another.
If you're touring with lots of kit, consider a tent with a generous vestibule (also known as a porch). These rarely add signicant weight and provide you with a place to store kit out of your living quarters.
Above all else, prioritise buying a tent that’s a comfortable place to hang out for a couple of hours and at night.
How to carry a bikepacking tent
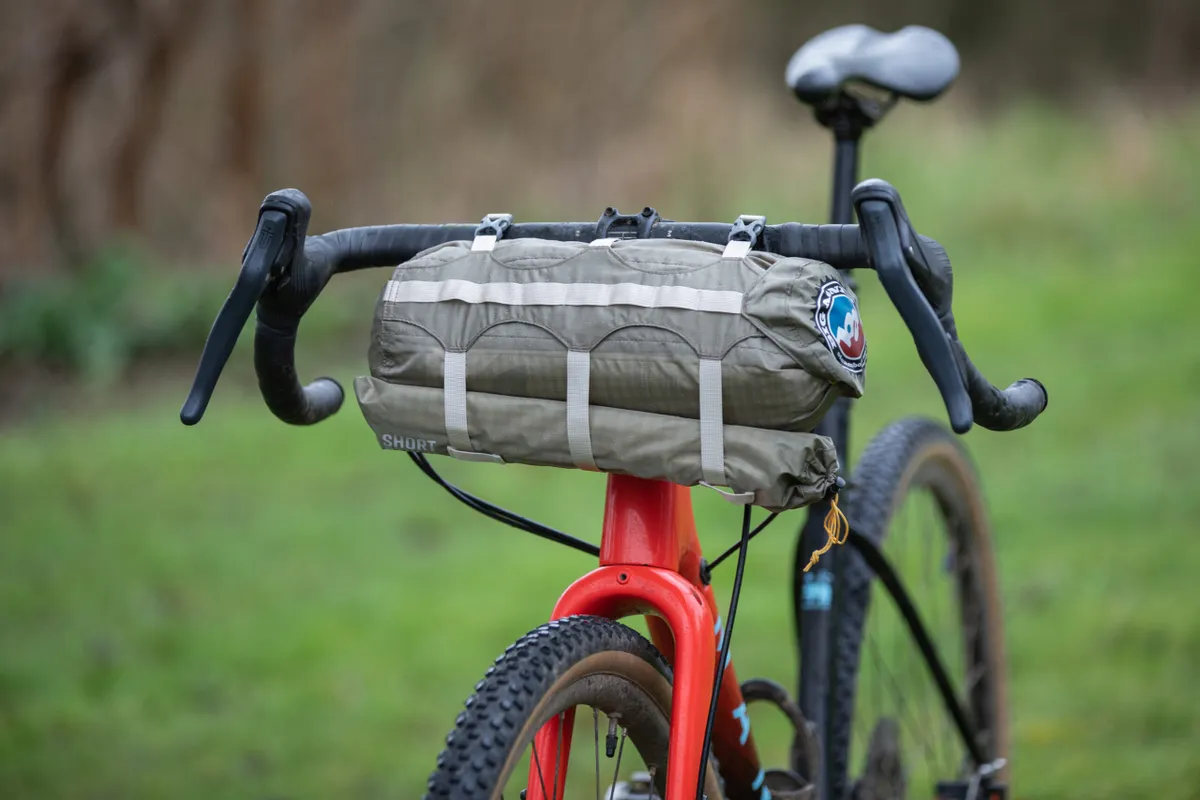
Not all bikepacking tents are designed with mounting to the bike in mind, but the ones that do typically mount in front of your handlebar.
Others, such as the Sea To Summit Alto and Telos are modular and can be split so you can run half of the tent on either side of the fork racks. They can also be combined and mounted in front of the handlebars or under the top tube.
If your tent doesn’t specifically mount to the bike, you could consider stuffing it inside a bikepacking bag or splitting the contents of it between several bags. Poles are, generally, the hardest element to pack. Consider strapping these to the underside of your down tube or top tube if you can’t fit them inside a bag.
How much do bikepacking tents weigh?
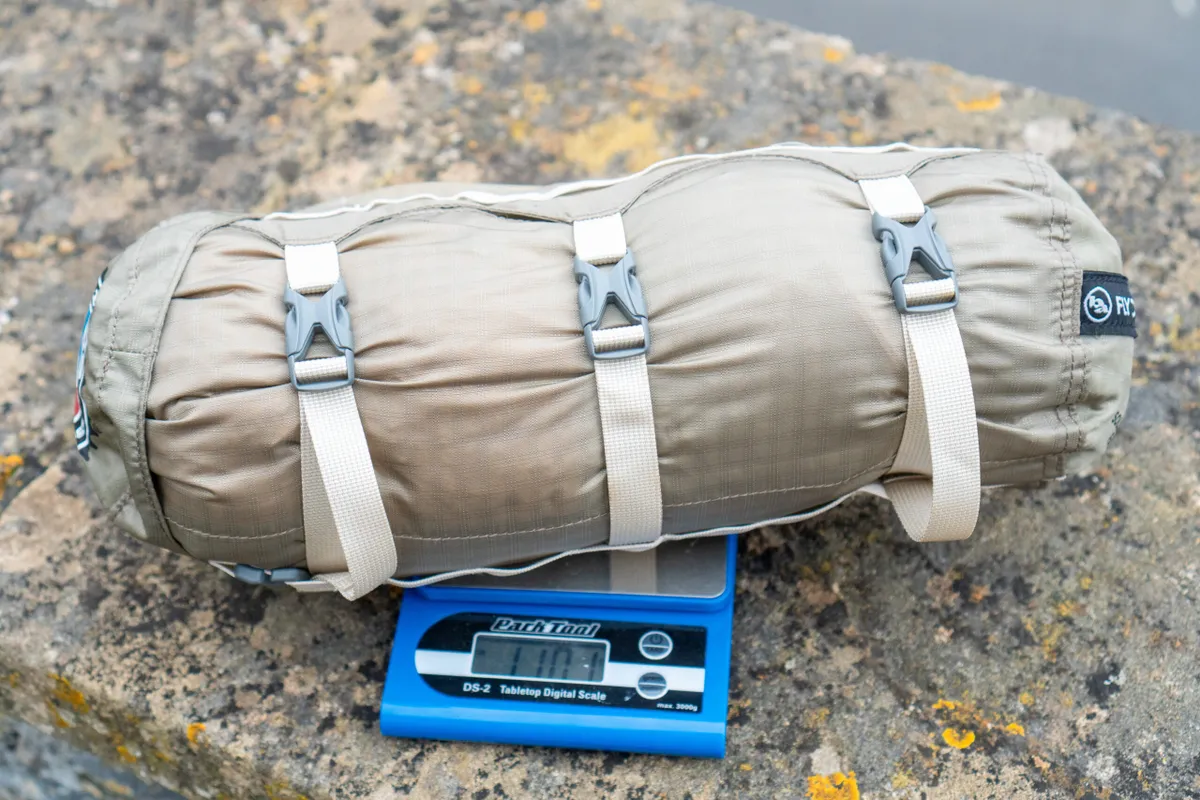
A good bikepacking tent will typically weigh less than 2kg, with ultralight options hovering around the 1kg mark. Generally, the cheaper the tent, the heavier it will be.
The lightest tent of interest to bikepackers is the Nordisk Lofoten 1 ULW at a claimed 490g, whereas something more robust such as the Big Agnes Fly Creek HV UL1 Solution Dye comes in at a claimed 1,077g.
Bear in mind that, in the context of a full rider and bike system, a few hundred grams extra on your tent will not be noticeable. And if those extra grams come with better weatherproofing, they’re worth carrying.
However, if going as light as possible is your objective, expect to shell out for the luxury.
Bikepacking tents vs bivvy bags vs hammock
If you don’t want the additional weight of a bikepacking tent, a bivvy bag or hammock could be another option.
Bivvies are great for their simplicity and size but they take more bravery (or a higher discomfort threshold) to sleep in because you’ll be more exposed to the elements.
At its most basic, a bivvy bag is a breathable sack you slide your sleeping kit into, with your face exposed to the elements. Hooped bivvies are simple, compact single-layer tents with room around your head, providing more comprehensive cover.
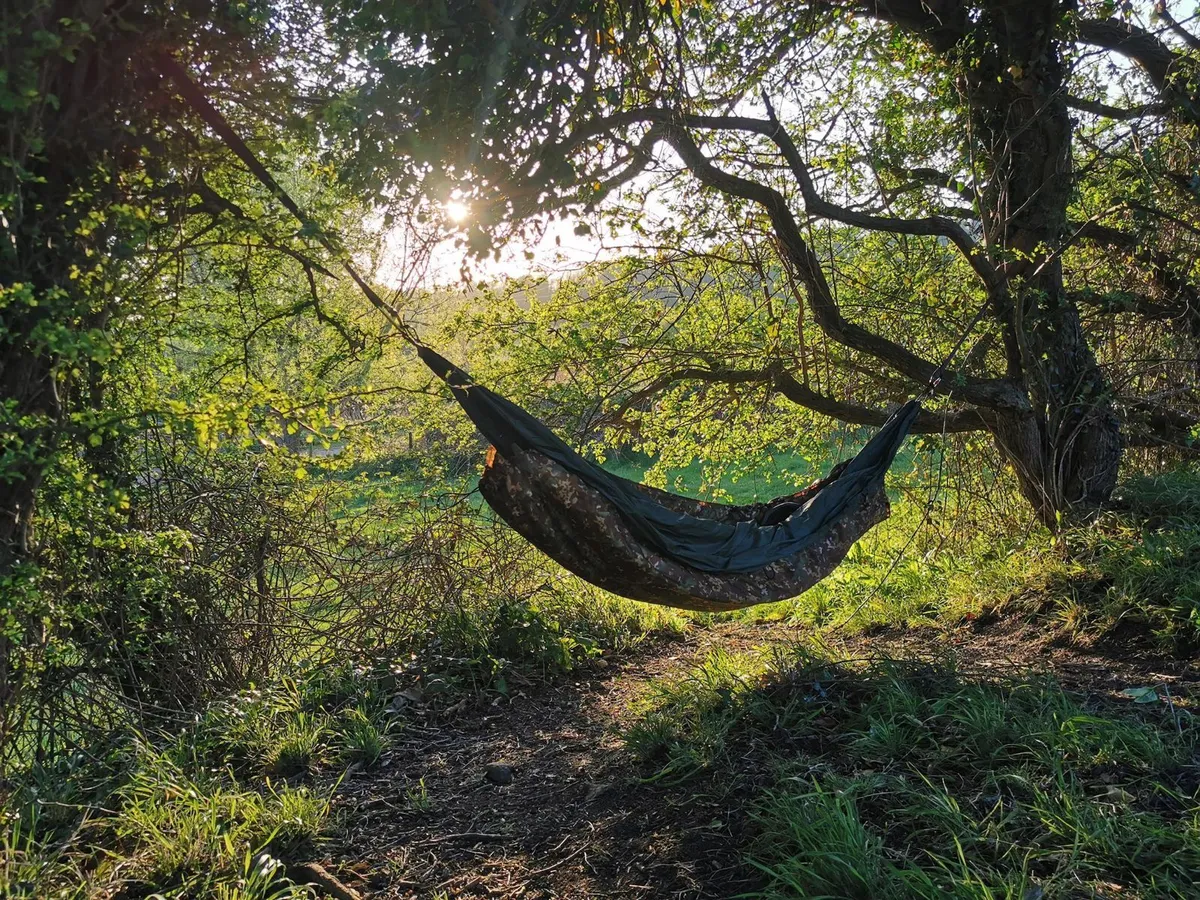
Hammocks are also popular with bikepackers. They can provide a comfortable sleep and are very lightweight. They do, of course, rely on there being two poles or trees close by.
How much do bikepacking tents cost?
Bikepacking tents will generally start from £100 / $100 / €100 and can easily rise to £1,000 / $1,000 / €1,000.
As you spend more, you’ll find the tents tend to be made of lighter materials and are better designed for hanging on the bike.
It goes without saying they’re also more feature-rich – some tents have multiple doors, better thought-out storage inside or can be set up in different permutations.
For example, there are five possible setups you can have with the Sea to Summit Telos.
Have a deep think about how often you're going to use the bikepacking tent and if you would benefit from spending more. Remember, if you don’t have these already, you’ll also need to invest in a sleeping mat, bag and pillow.
The worst-value products are the ones you don’t use, so if you’re going to spend the money make sure you know you’re going to use it.
How to care for a bikepacking tent
- As with any tent, always make sure you dry it out after your bikepacking trip to prevent mould growing on the inside. This is best performed on a dry day and you simply leave the tent set up to dry.
- It’s also a good idea to turn your inner inside-out to shake out any debris. Once packed tightly, small stones could wear a hole in your tent.
- If one isn’t commercially available, consider making a simple footprint for your tent. Tyvek is a popular choice because it’s very lightweight, waterproof and cheap. Cut a panel slightly smaller than the overall footprint of your tent and lay flat before pitching.
- Don’t forget to bring a pole repair and patch kit with you. Most high-quality tents will include this as standard, but generic repair kits can be purchased cheaply online.
- Like your bike, tents need maintenance. Reproof your outer and footprint based on the manufacturer’s recommendations.