In recent years the century-old art of building wheels by hand has almost died out. A skill which has been around since the first bikes, it has been usurped by mass produced, machine-built wheels.
Like a connoisseur of the best wines or a sartorialist who knows that a hand-crafted suit requires the right pair of equally fine shoes, the custom wheel builders are still out there to be found by riders who want the best. The tradition of the bespoke has been marginalised but is alive and well.
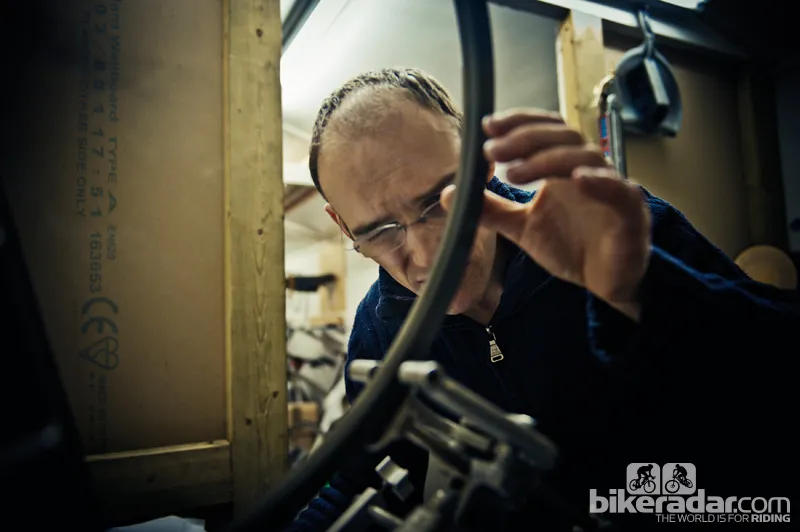
The recent growth of urban cycling has seen more riders returning to the skilled hands of the artisan wheel builder. Normally found in small, dark workshops, they build using their experience and their senses, feeling the tension in the spokes as the perfect wheel is born in their hands. Every pair carries a piece of the builder’s soul.
The impeccably balanced marriage of rim and hub can turn a sluggish bike into a rocket. Many people claim to be able to create such a unison but there are only a few who have the Zen Master-like skills to build a truly optimised pair.
Matt Gibbons is one of the gifted, a natural talent at wheel-building. Based in rural Dorset, Matt has a sixth-sense for building wheels. He explains, “I have been building wheels since I was 14 years old. Back then I would ride my dad’s bike around the forest. This was before the days of mountain bikes and naturally the wheels took a beating.
“One day I needed to replace the wheels’ rims. I sat down on the floor of our lounge and took one wheel apart, changed the rim and re-laced it following the pattern of the other wheel. It took a while but eventually I got it built and was soon riding again. I rode those wheels for another three years before selling them. I heard that the person who purchased them rode those same wheels for four more years and they never went out of true.”
Wheel building takes a great deal of patience and thoroughness
From there Matt continued to learn the craft, working in numerous bike shops and also for the Animal sponsored Professional Mountain Bike Downhill Team, before setting up Spire Cycles.
The skills of an artisan wheel builder known, the next question is, what makes a good wheel build and why would you bother with the hassle of a handbuilt pair?
Matt says, “A set of wheels built by someone who knows what they are doing will ride better than any factory-built pair. With the development of rim and hub technology you can choose a build which will be lighter than most mass-produced wheels. Plus by sourcing rims and hubs which are widely available, when one part wears it can be replaced.”
Building custom wheels opens up the choice of components, allowing a selection to be made that suits the rider perfectly.
Matt says, “The process of wheel building is always the same. I prefer to start by talking to the rider, finding out what they want, then I can recommend a rim and hub. Some combinations will not work; there are only so many different spoke lengths. The experience of the wheel builder comes in from the very beginning, with the right choices here making the build easier and the finished product better.”
What is that process? Urban Cyclist was lucky enough to witness it first hand as Matt worked.
Step 1
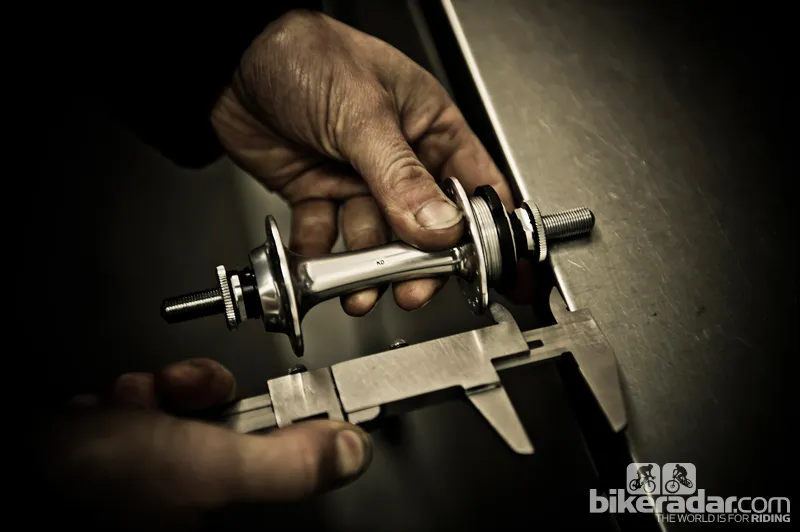
Measuring up, lacing design and spoke length. The hub and rim are only two components of a wheel; the first thing that needs to be calculated is the spoke length.
Matt explains, “The spoke length is the key to a good build. If this length is not correctly calculated then the wheel will not be strong. The wrong spoke length will lack a full interface between the spoke and the nipple (the threads will not engage fully), resulting in a wheel that cannot be correctly tensioned.
“Tension is fundamental to how the wheels ride and their strength. I always take my time to measure the offset, diameter of the flange, total width of the hub and the distance the nipple sticks out of the rim.
The extremely large flange of this Chub rear hub tested Matt when he did our build
“With these measurements I can calculate the correct spoke length. I used to guess the length by just looking at the rim and hub combination, which had varied results. With the thousands of wheels which I have built I now prefer to rely on two different online calculators to get the length correct. I find it helps me later in the build.
“Spoke length is determined by the hub and rim combination. Many people do not realise that there are literally hundreds of different spokes to choose from but certain sizes do not exist. This means that some hubs and rims will not work well together, if at all. I tend to advise people to choose hubs and rims which I know work, ones with which I can get the optimum tension, resulting in the best ride.”
Step 2
Lacing. As with all artists, the finished product is the focus throughout the build. Matt continued to explain, as his hands moved with a controlled, fluid and rapid pace, slowing weaving the wheel into shape.
“The next step is equally important in the build. I lace the wheel starting at the valve hole. The valve hole is the only datum on the rim so I start there and work around one rotation. With this being the first set of spokes to lace I do every other hole on one side of the flange and thread them into every fourth eyelet in the rim. It does not matter what lacing style you are using, this is how a wheel is built. With one side done I flip the wheel over and do the opposing spokes.
“Next I rotate the hub within the rim so that I can start to thread in the pairs of spokes on either side. You always have to make sure that you rotate the hub the correct way or one spoke will be too short and the other too long. Again this is something which comes with experience.
“Then I thread in either side’s matching spoke pairs, all the time making sure that I screw each nipple onto each spoke the same amount. If not then I will have a lot of trouble later on, not only with the spoke tension but also when making sure that the hub is concentric to the rim.”
Step 3
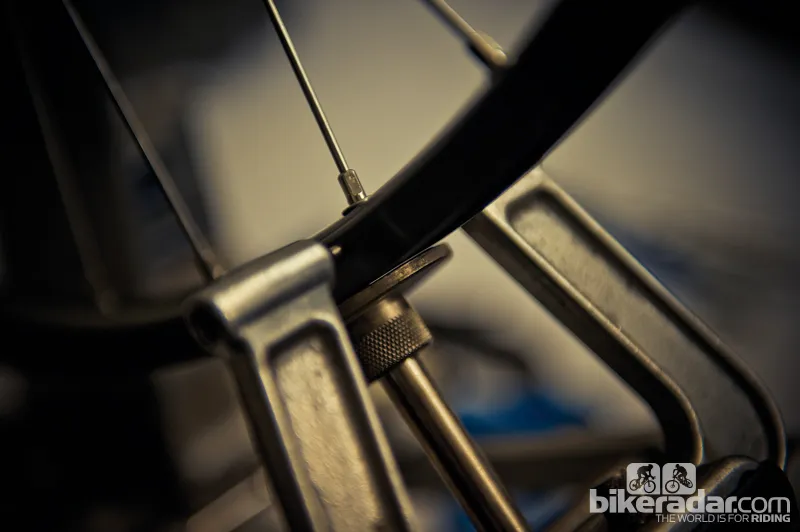
Tensioning, truing and concentricity. For the last stage the wheel is put into a truing stand where Matt dials it in, continuing his explanation as he does so: “This is the final part of the wheel building process but the one which will determine how the wheels ride. I slowly tension the spokes in three stages: firstly to screw the nipples to the end of the threads, secondly adding more tension by one complete turn on each nipple.
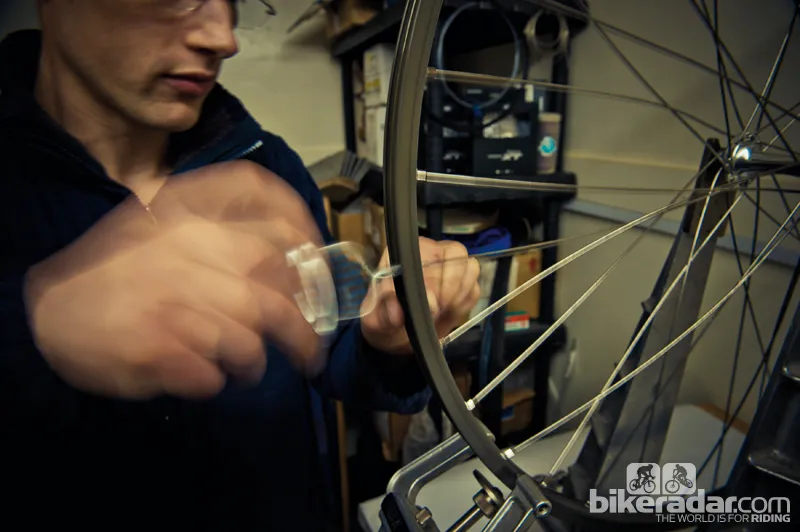
“Before and after each of these stages I check that the wheel is running true, dished correctly and concentric. Every time you adjust one spoke you potentially change all of these measurements. To make sure that the spokes and nipples are seated correctly, I de-stress the wheel using my hands on the spokes and then my using body to twist the rim.
Matt tests concentricity to 10/1000th of an inch
“The third and final tension takes the most amount of time. This is where I get out my tension meter to check that the spoke pairs average out at the same tension. If not, there is the risk of the wheel going out of true when ridden (because there’s more force on one spoke than the other), or even spokes snapping.
“I increase the tension up to the recommended level, which depends on the spoke thickness (22Nm for these), always checking that the wheel is true, concentric, dished correctly and de-stressed.”
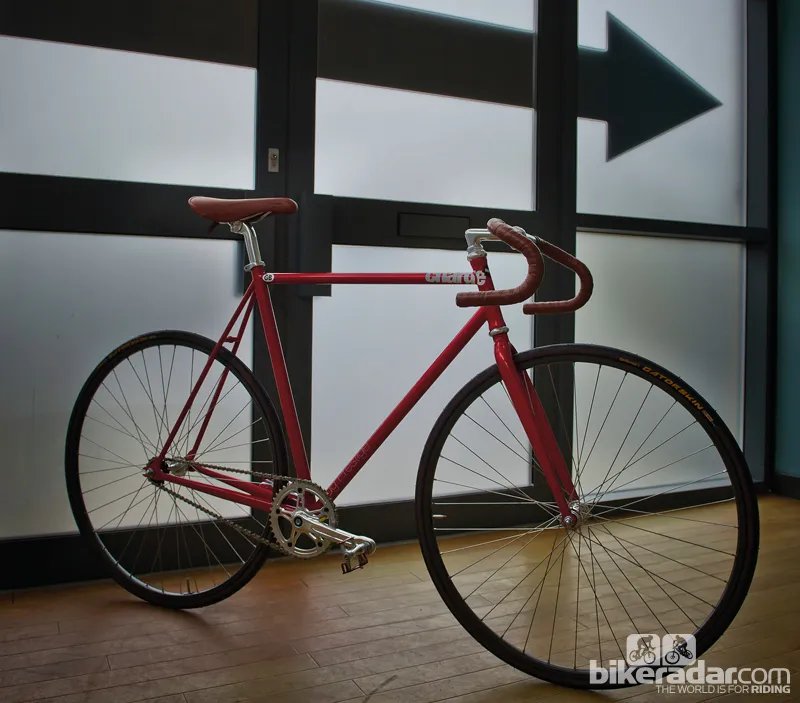
Matt built two pairs of wheels for us to observe and, later, test ride. He started with a ‘modern classic’ pair – H Plus Son TB14 box section rims built on Shimano Dura-Ace small flange track hubs. The low profile of the rims made it easy for Matt to lace the wheels rapidly in a three-cross pattern.
He commented, “This is a really nice set of wheels. I like Dura-Ace hubs very much. I’ve never used H Plus Son rims before but I’m very impressed. They are well built, well balanced and I know they will ride well when completed.”
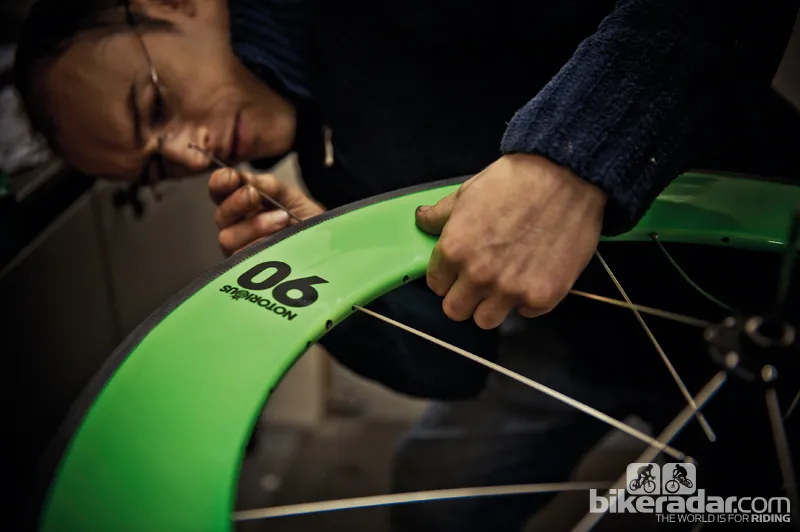
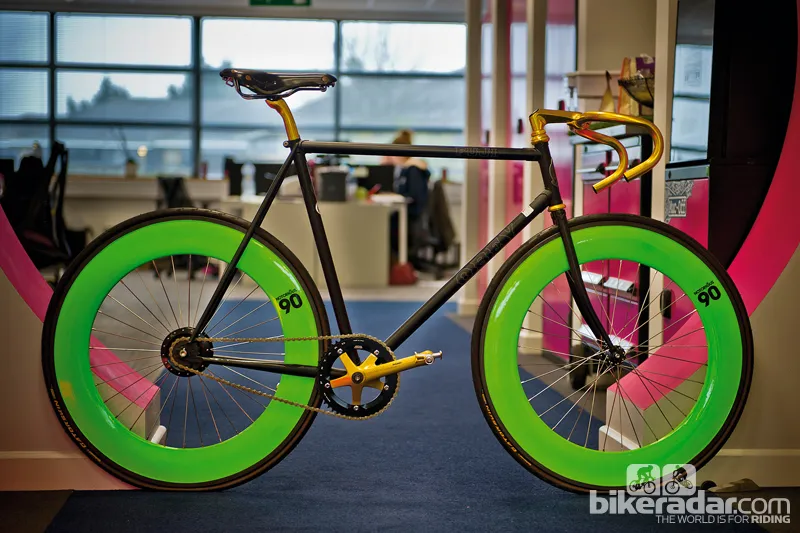
The second build is an ‘extreme’ set – 90mm, fluorescent green, carbon fibre Notorious rims built on Chub’s vast Fixed rear hub and Road front hub. These loud wheels were a test for Matt due to the unusual spoke lengths and the deep rims requiring each nipple to be precisely inserted.
Matt explained, “When I heard the combination of the second build my eyebrows raised, knowing that we were going to stumble onto some issues with spoke length.”
He started with a plan for four-cross but the spokes blocked each other at the flange. He then re-threaded it radially which looked incredible but is for show only, not riding.
Matt said, “It is a great real life example about spoke lengths. I can thread and build a wheel in 16 minutes if needed, which it often was when I worked for the Animal Team. Normally I take more time to get it right – around 40 minutes per wheel – but certain wheels just take more time. This pair will take a lot of time but it’s a challenge! I’ll need some special spokes to finish them.”
With the fluoro hoops built but not finished Matt returned his attention to our classic pair, taking the rear wheel out of the jig and spinning it in his hands, happy with the results. “And that’s it – you have a pair of wheels ready to ride.”
With his deft hands the wheel builder takes a pile of components made out of aluminium, carbon, brass and steel, and creates a pair of wheels.
“The secret to a good pair of wheels is finding a good wheel builder. With their help you can get wheels that are strong, light, comfortable and snappy. When I first started to build wheels I thought I was great. Nnow I know that it takes thousands of pairs of wheels to learn the fine art of getting these to feel the correct tension,” says Matt, tapping his thumb and forefingers together.