
With the battering your bike takes on the trails or on rough roads, there's no problem more common than a loose or broken spoke.
Often a loose spoke can simply be tightened back into place but if you've got a damaged or snapped spoke then it's time to replace it.
Thankfully swapping out a spoke is both an easy and cheap fix, and with BikeRadar's video guide you'll once again be rolling at full count in no time.
How to replace a spoke
Video: How to replace a spoke
This video is part of the Park Tool Maintenance Monday series. You can purchase the Park Tools used in the video at a number of dealers across the UK and internationally. For more maintenance videos, subscribe to the BikeRadar YouTube channel.
Tools for the job
- Spoke key
- Tyre levers
- Flathead screwdriver
- You may also need a cassette lockring tool, chainwhip or torx wrench, depending on where the broken spoke is located
- Spare spoke
How to replace a spoke
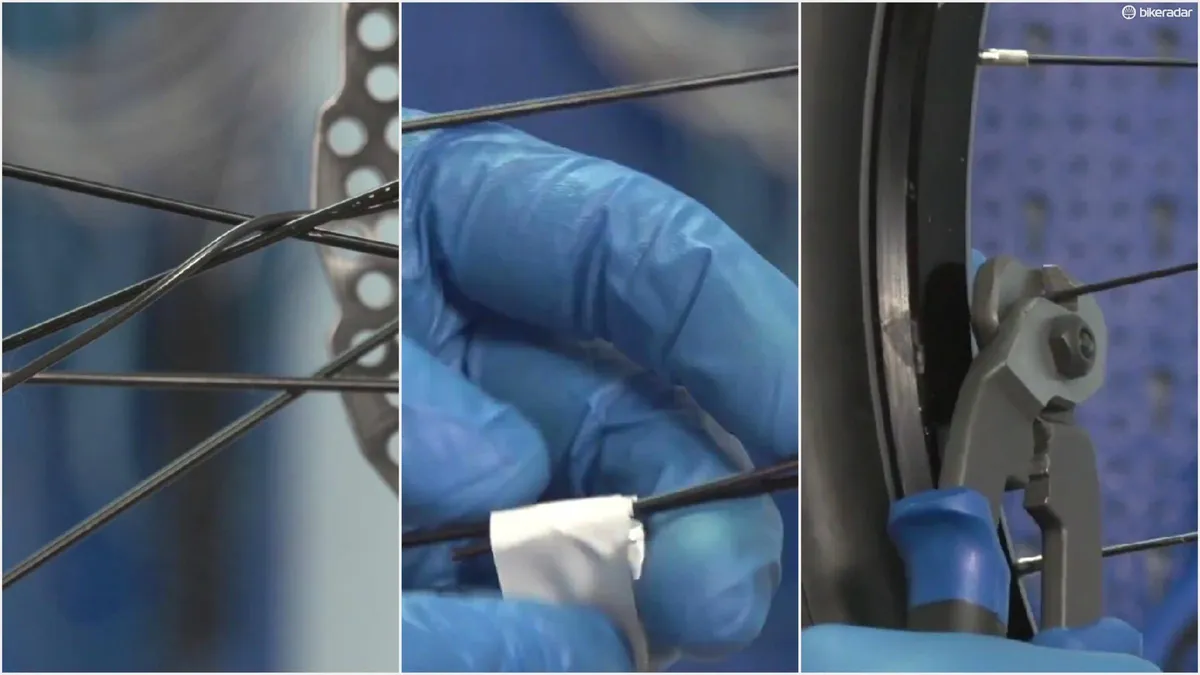
1. When a spoke snaps it’s unlikely it will come free of the wheel, so you'll need to secure it or remove it to get yourself home. You can either twist it around a neighbouring spoke, wrap some tape around it or - if you have a suitable multi-tool to hand - snip it off.
If it’s a driveside rear spoke then in many cases you’ll going to need to remove the cassette before you’re able to access the hub eyelets. For full instructions, see our video guide to removing and replacing your cassette.
You may also need to remove the disc rotor. To do this you will usually need a torx key rather than a regular hex key. Be careful when removing these bolts and make sure you apply Threadlock or anti-seize compound when you return, them to prevent them getting stuck.
2. Deflate the tyre and remove the inner tube, if you aren't running tubeless. Lift up the rim tape and remove the old nipple and remaining spoke from the wheel. Locate the corresponding eyelet on the hub and remove what’s left of the other end of the spoke.
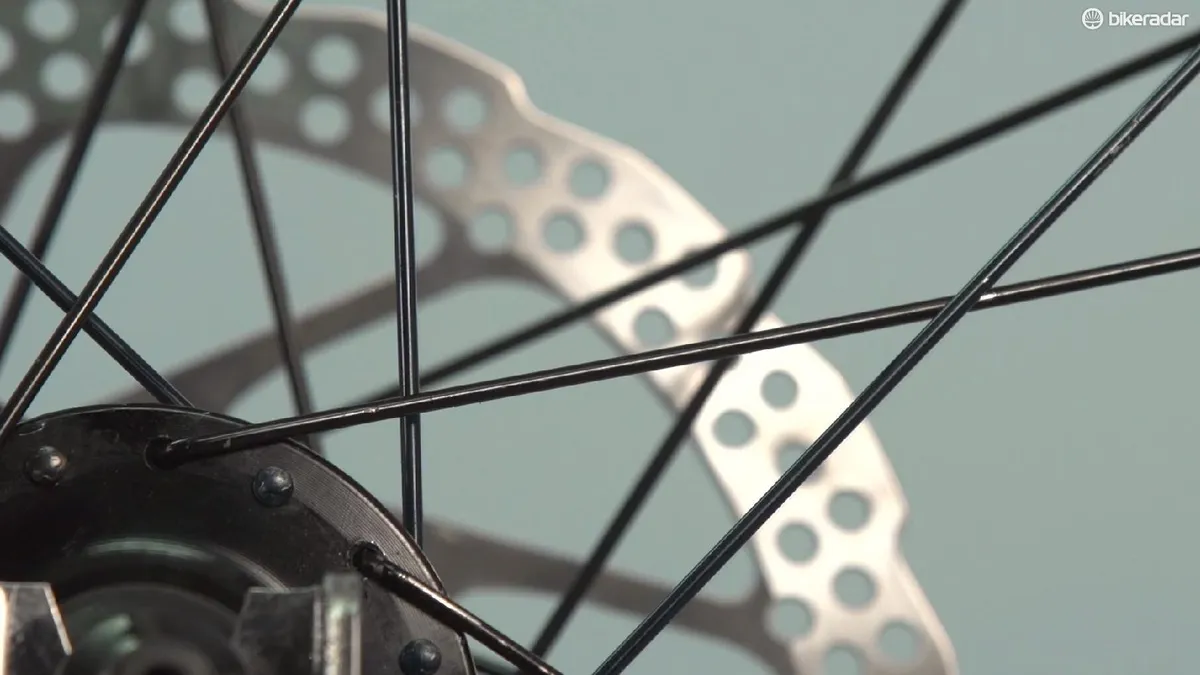
3. You now need to thread the new spoke. With a ‘three-cross’ wheel, the spoke will need need to go outside the first two spokes then inside the third spoke that it crosses. Alternatively, your wheels may use a two-cross or straight-pull configuration, so be sure to study the other spokes and thread your replacement in the same pattern.
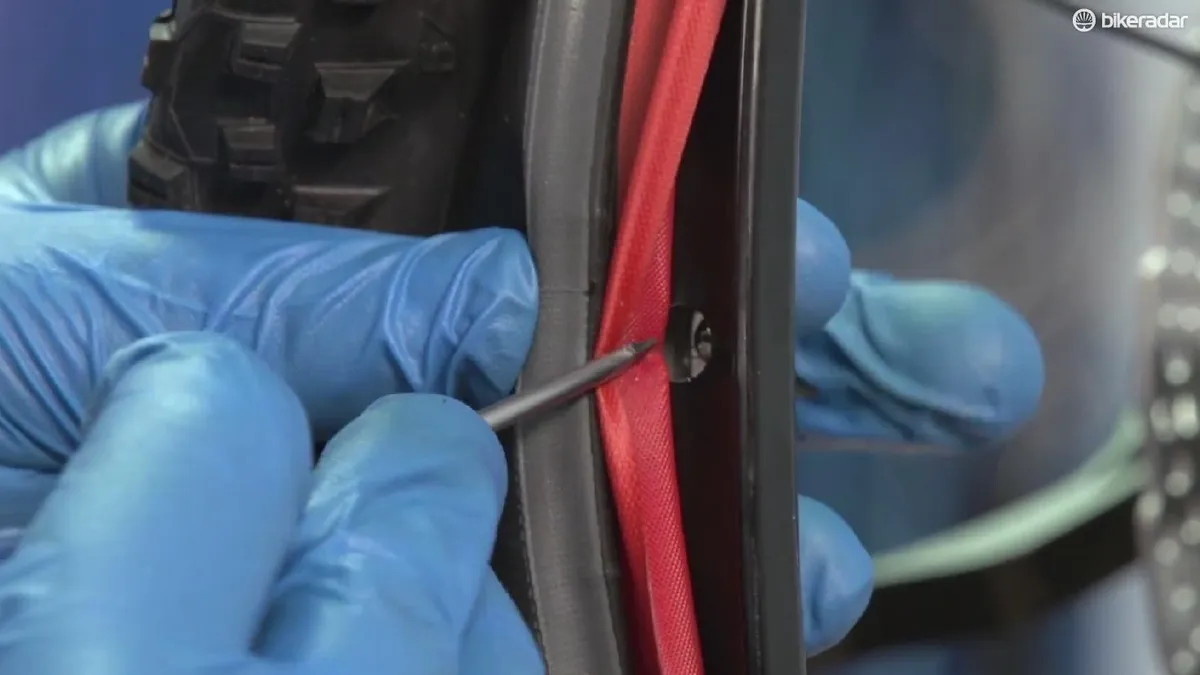
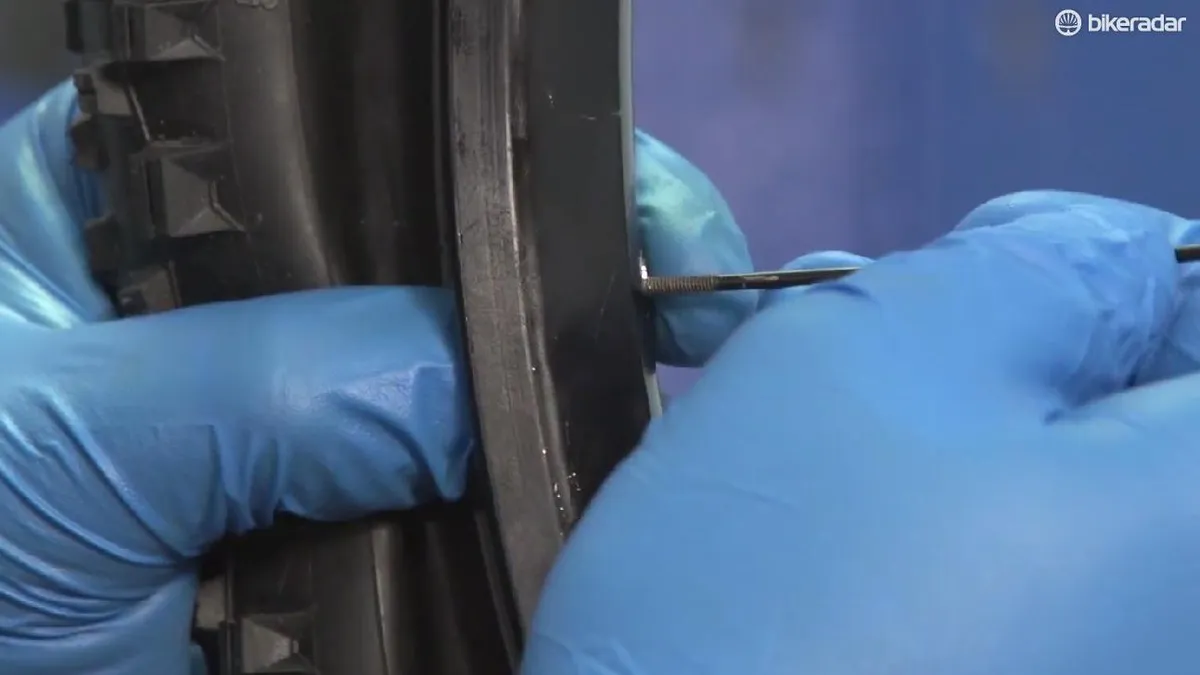
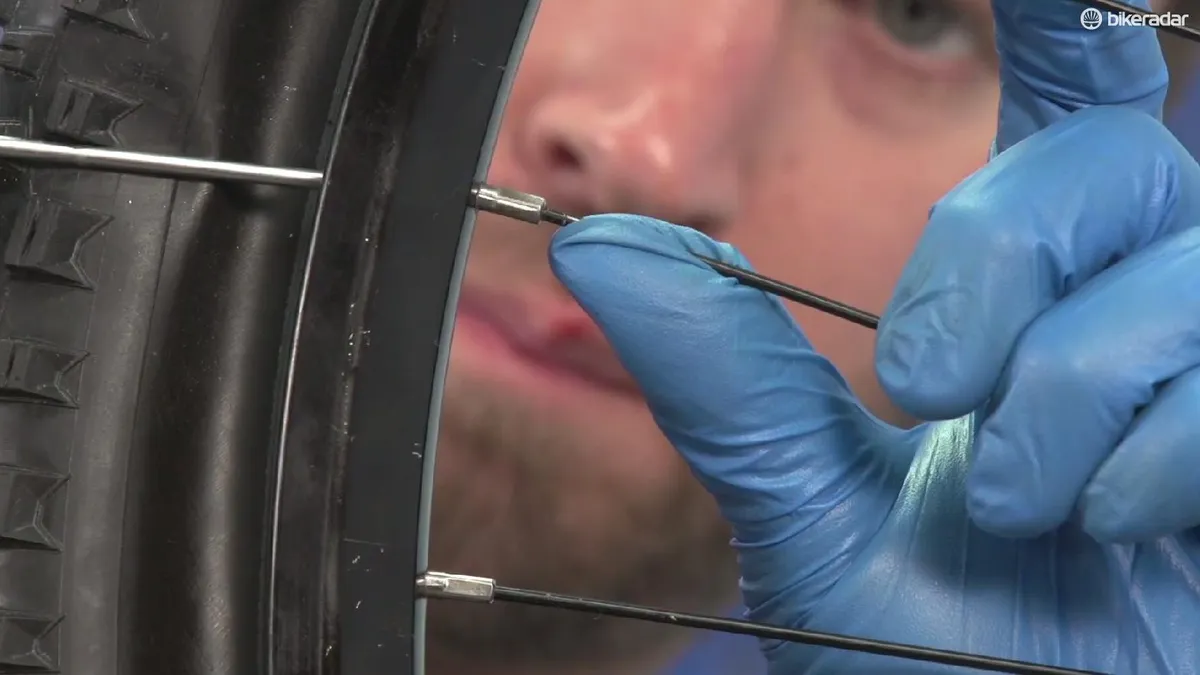
4. You now need to re-fit the spoke nipple. To make this easier, pass a spare spoke through the rim eyelet and screw on the nipple. Pull the nipple into the eyelet and use a screwdriver to hold it in place while unscrewing the spare spoke.
5. Then engage the nipple with the thread of the new spoke and bring the nipple up to tension using a spoke key. Remember that the nipple tightens anti-clockwise as you look at the inside of the rim.
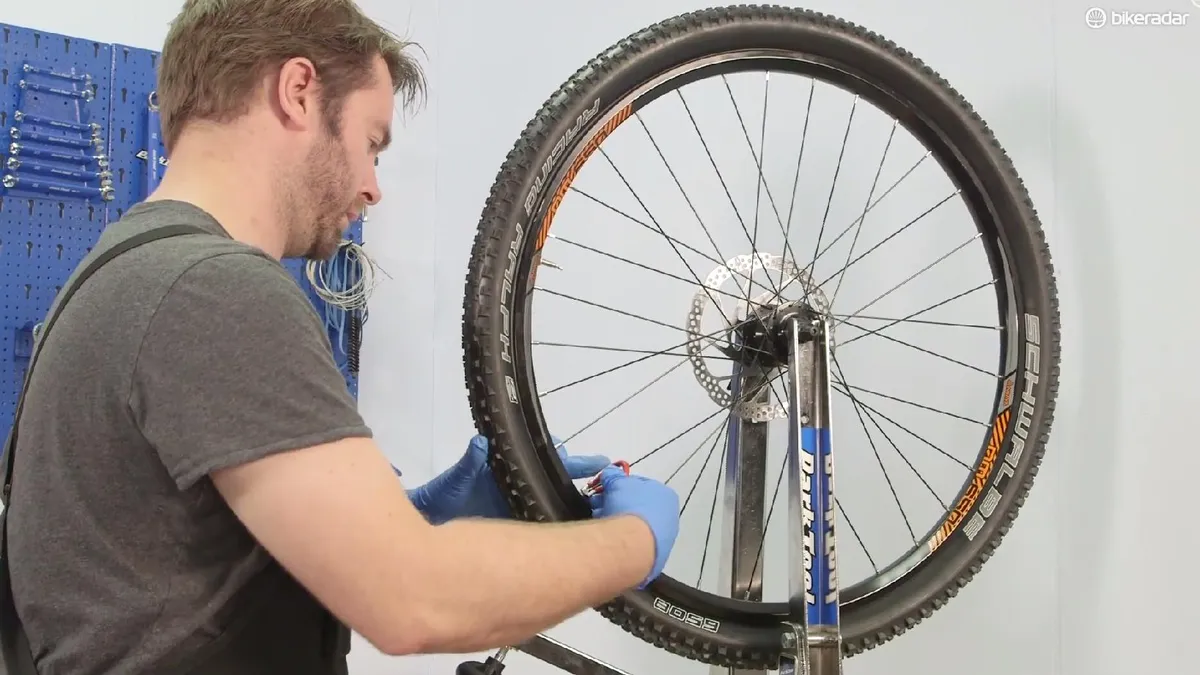
With your new spoke fitted, it's a good idea to put your wheel through the truing process, especially as broken spokes are often caused by truing issues. For full instructions on how to do this, you can follow our guide to truing a wheel. If you don’t want to go through the full truing process then you can get a rough idea of the correct spoke tension by squeezing some other adjacent pairs of spokes.
