

Over time disc brake calipers and pistons can become dirty and less effective – find out how to keep them clean and working to their maximum potential with our step-by-step video guide. You’ll also find a full text explanation below.
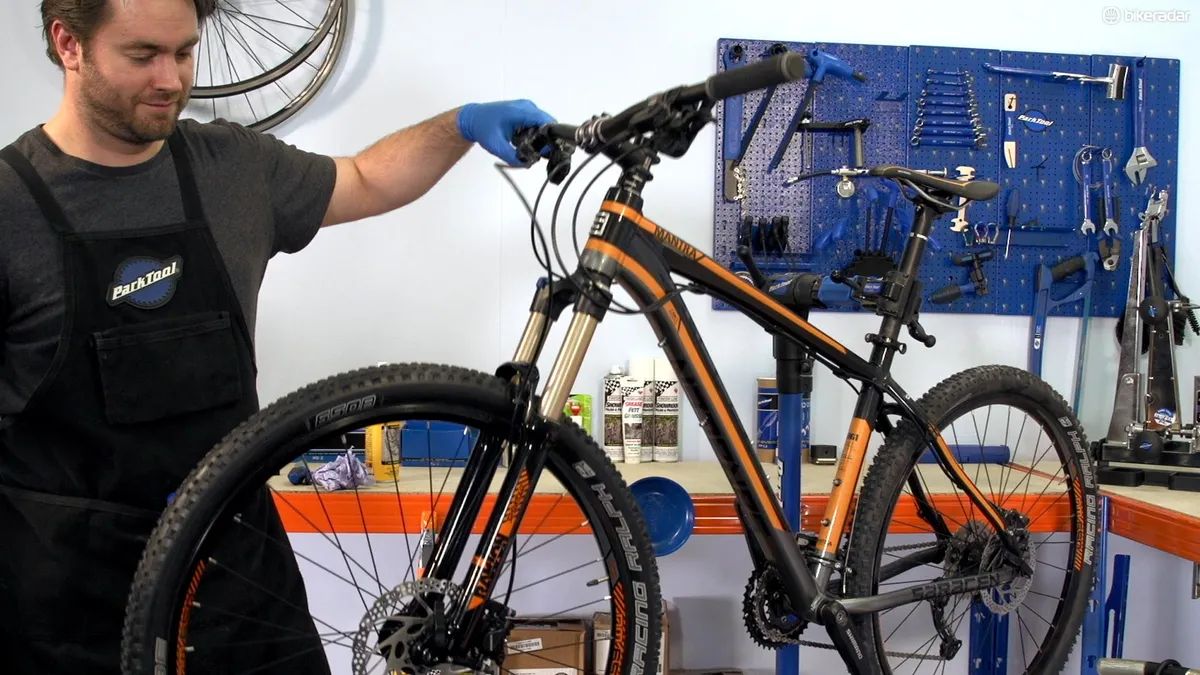
How to service hydraulic disc brake calipers
Video: How to service hydraulic disc brake calipers. This video is part of the Park Tool Maintenance Monday series. You can purchase the Park Tools used in the video at a number of dealers across the UK and internationally. For more maintenance videos, subscribe to the BikeRadar YouTube channel.
Tools needed to service a disc brake caliper
- Needle nose pliers
- Hydraulic piston tool (or large flat-head screwdriver)
- Fine brush, earbuds / Q-tips
- Silicone grease
- Hex keys
- Paper cloth
- Degreaser
Expose, clean and lube pistons
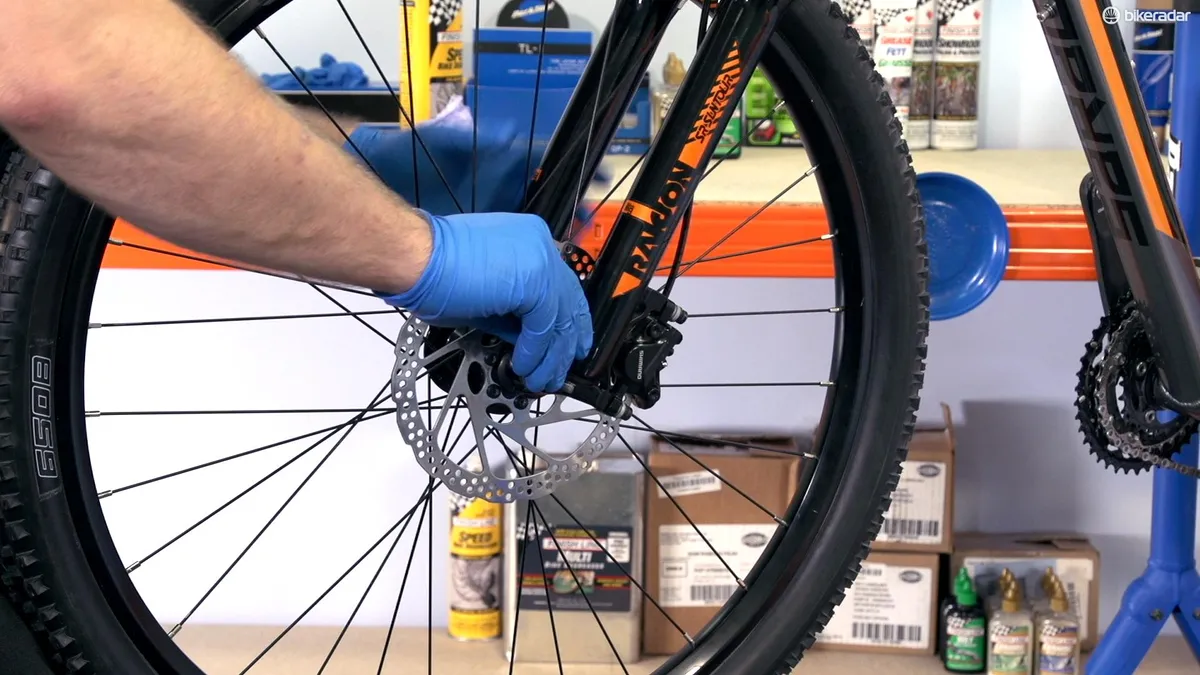
Remove the wheel from the bike and remove the pads from the caliper – the exact method for doing this varies from brand to brand, but it’s always a simple case of removing a pin or bolt. Check your brake manufacturer’s website for more details.
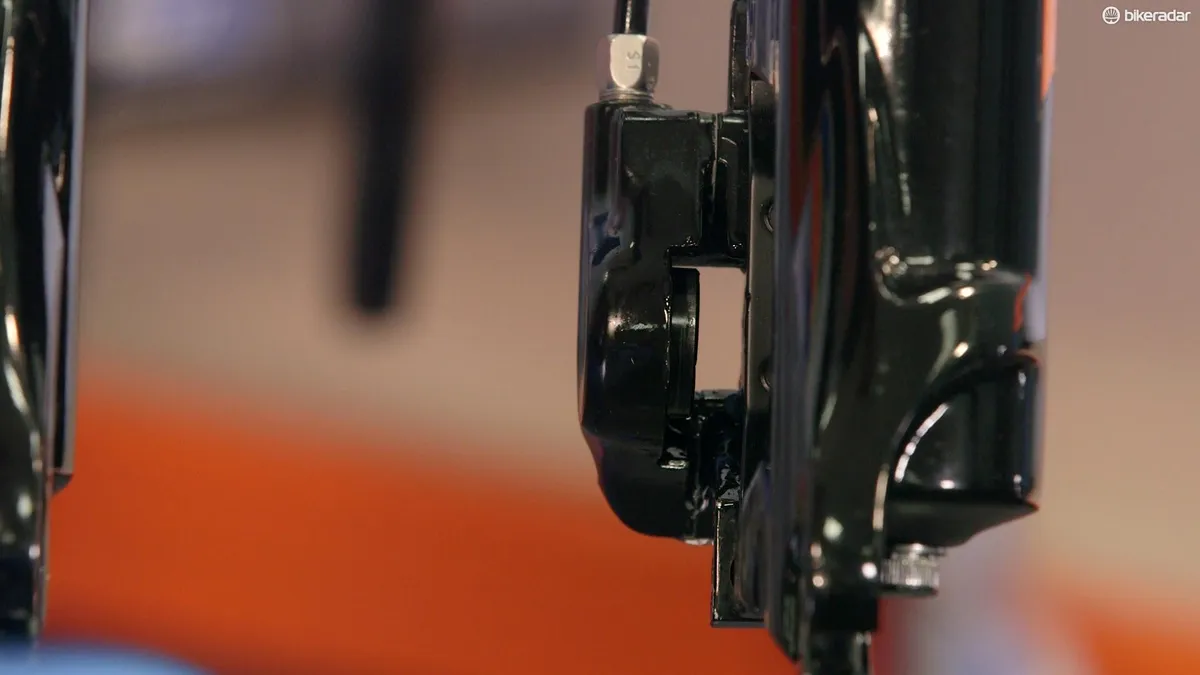
Pump the brake lever until one or both of the pistons are exposed by around 3 to 4mm. Be carefully not to push them out fully or you’ll have to bleed the braking unit.
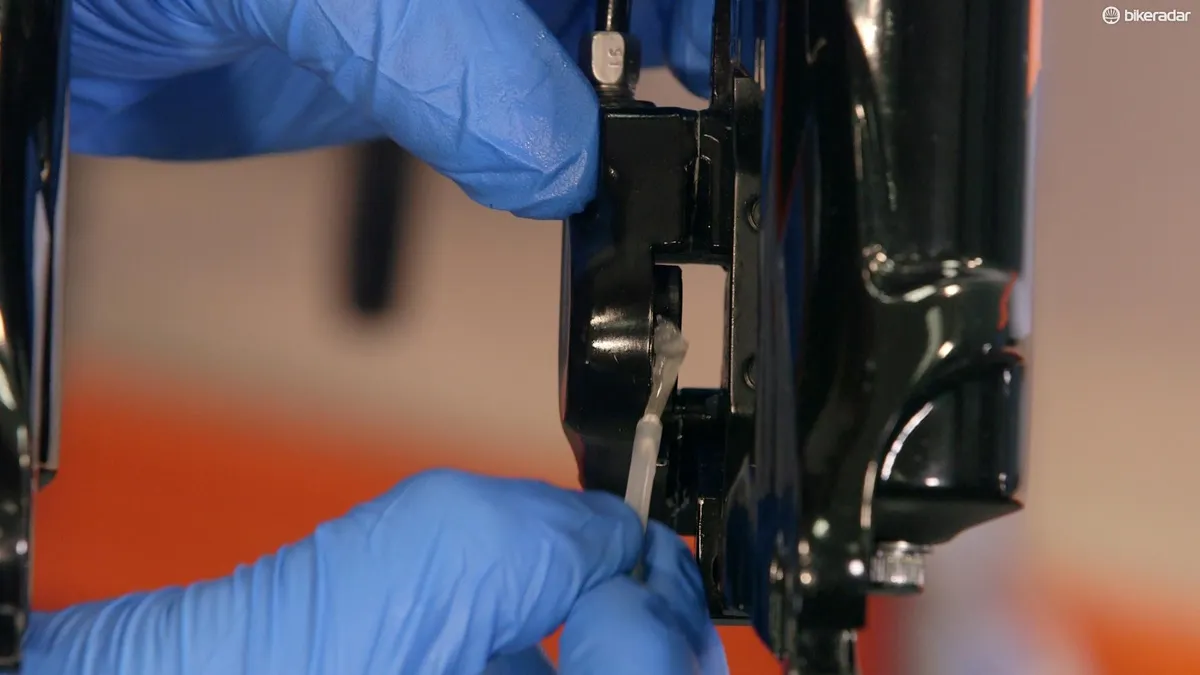
Use spray degreaser and paper cloth to clean the pistons, then apply some silicone grease to the outer edge with the brush or earbud.
If you manage to free both pistons, they can be returned to the caliper using a hydraulic piston press tool – a wide-bladed screwdriver wrapped in paper towel will work well too. Either way, be careful not to scratch the surface of the pistons.
If only one piston was freed by pumping the lever, after cleaning, lubing and pressing this piston in, hold it in the caliper using your hydraulic piston press tool or screwdriver and pump the brake lever to reveal the other piston. Follow the same cleaning process for this piston, lube and press back into the caliper.
Degrease, align and reset
Once both sides are cleaned and lubed, clean the inside of the caliper with degreaser and a paper cloth.
Once you’re sure that no grease is remaining, it’s time to return the pads. Compare your existing pads to a new set – if they’re obviously worn out, with the friction material too close to the back plate, or there’s significant uneven wear, change the pads – see the video below for how to do this.
Install pads in the caliper and check that the brake is properly aligned with the rotor running centrally relative to the caliper body, not the pads. If it’s not, align your calipers – see the video below for how to do this.
Pump the brake lever a few times to rest the pad position. If the lever feels spongy, you may need to bleed your brakes – see the video below for how to do this.
How to replace disc brake pads
Video: How to replace disc brake pads
How to align disc brakes
Video: How to align disc brakes
How to bleed shimano disc brakes
Video: How to bleed Shimano disc brakes
