
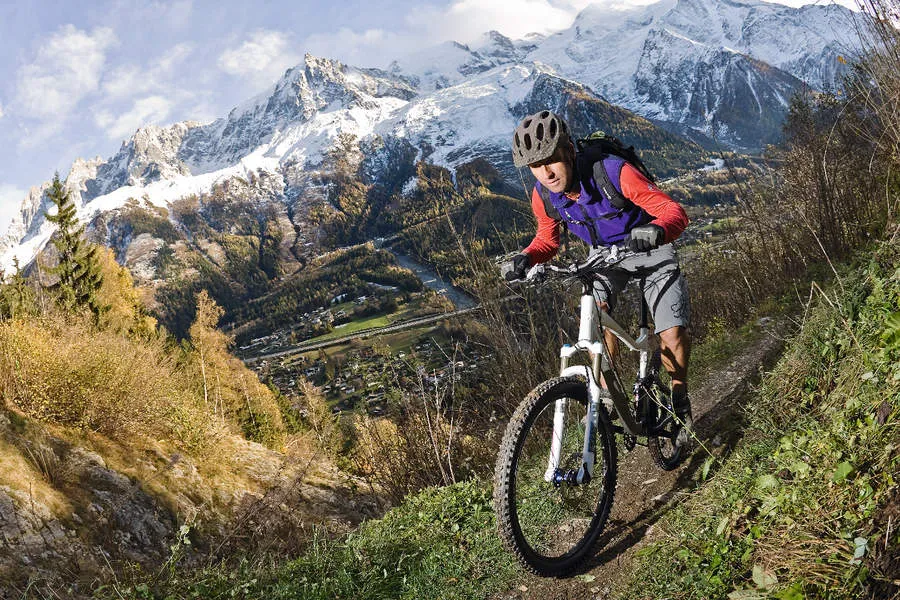


Getting the most out of a trip to the Alps – or any other big mountain range for that matter – means honing your bike skills to master the more acute challenges these trails will throw at you. Last week we dealt with perhaps the most challenging obstacles faced by Alps newbies: riding switchbacks and clearing rain bars. Here we focus on two more skills that may appear easy but require some practice and, once mastered, will keep you rolling on the steep climbs and long, technical descents.
While stalling on a steep section on your home trail might lead to a short hike, not being able to restart during a climb in the Alps could leave you a very long walk to the top. Sustained, steep technical descents require not only constant focus but also a refinement of bike handling skills and a little bike fettling to keep control at your fingertips. Master these skills and a trip to the mighty Alps, riding both its climbs and descents, will be much more rewarding.
Restarting on a steep ascent
Restarting a climb on a steep part of the trail is the bike version of the hill-start in a car. The skill involves achieving the right balance between three forces – applying enough pedal force to beat gravity, avoiding rear wheel slip and shifting body weight to keep the front wheel down.
There’s no disputing the fact that a hill-start on a seriously steep trail or one that is loose under your tyres will take some concerted effort but, when mastered, it will transform you from being an obstacle to riding the whole ascent. It also means you can stop for a much-needed breather and restart without problems.
If you’re forced to dab your foot down on a climb, look for the cause. Usually it will be a rock or root, or your rear wheel losing traction. If it’s the former, then move past the obstacle before trying to restart, as a hill-start with a wheel already pressed against an obstacle is merely adding to your pain.
If it was traction that you lost, then walk the bike to a more grippy section or ensure that you have enough weight over the rear wheel to stop it slipping when you restart. To get going again you are looking to be seated, with one foot on the ground while holding your bike with both brakes.
The hill-start comes from applying pedal force, releasing the brakes and launching yourself forward in a low body position to reclaim momentum and keep the front wheel down. Body position is key to this skill, so on your next ride get a feel for how low you can dip your upper body while remaining seated on climbs.
- Get it straight: Position the bike so you can reach the ground with one foot and keep it vertical: starting with the bike skewed will just put you off-balance from the start. Seat yourself on your bike and apply both brakes to stop yourself slipping backwards, put your outside crank forward in the horizontal position ready for the push and select a low gear. Now take a couple of deep breaths.
- Keep upper body low: Slide towards the nose of the saddle so your leg can push back as well as down on the front pedal. Bend at the waist to lower your upper body over the top tube and bend your arms to keep the front wheel from lifting. Apply pressure on the leading pedal to ‘take the strain’ before releasing your ‘handbrake’.
- Commitment and timing: In one movement, simultaneously apply extra force to the leading pedal, lift the standing foot and move it to the other pedal, and release both brakes. This is the crucial moment in your hill-start and will need commitment, timing and effort to gain initial momentum.
- Surge forwards: Push the leading pedal hard to forge the bike onwards. Hold your upper body low and forward of the bottom bracket by keeping your elbows low and flexed, and stay on the nose to stop the front wheel lifting.
- Read the trail: Stay low and flexed as long as the climb remains steep, only sitting up once the trail levels out. Then lift your eyes to look ahead and read the trail to look for a line to avoid further obstacles.
- Low rider: Keep the low upper body position on steep climbs. Perching on the nose of the saddle will shift your weight forwards to stop the front wheel lifting, while maximising rear wheel traction. If the front wheel has a tendency to lift or wander, press your chest down towards the bars to weight the front end, but stay perched on the nose of the saddle.
Riding long technical descents
The just rewards of a trip to the Alps are the long winding descents. Downhill sections can be up to 30 minutes long and may demand some sustained mental and physical effort from the rider. To get the most from such trails and have the energy to head back up for more means refining some basic bike-handling skills, especially if the descent is steep or technical as well as sustained.
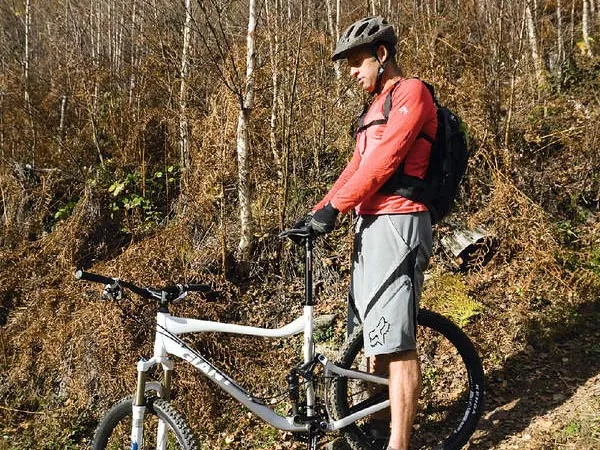
Fortunately, descents in the Alps are long enough to warrant taking a moment at the top to drop your seat. Usually you’ll not be pedalling uphill for some time, so having your seat lower will make it easier to both slide your weight back and move around on the bike without getting hooked up on the saddle.
As with all descents, you should be looking to have your weight hovering behind the saddle with your elbows flexed and knees bent to keep your centre of gravity low and rearwards. This will help stop your front wheel from hanging up on obstacles and pitching you over the bars in an undignified manner.
You’ll also be using both brakes, so don’t forget that the front is the most powerful stopper, but go easy with those levers – locking up a wheel and skidding is not an effective way of controlling your speed, and it helps water erosion to truly destroy trails. So go easy.
- Keep it loose: Stay relaxed with your elbows and knees flexed to absorb trail buzz. You should be taking your weight on your legs to allow your arms to react to changes in the trail and keep the front wheel light. Look ahead, not down at your front wheel, and read the line you want to take through technical sections.
- Keep 'em flat: Ride with your cranks horizontal to provide a stable platform. Everyone has a foot they prefer to have leading when freewheeling, but swap them about during the descent to use different muscles and give others a rest.
- Drop back: Throughout the descent, stand with your body weight slightly behind the saddle. This will help keep your centre of gravity low and rearwards, giving the bike more stability, keeping your forks from diving and stopping the angle of descent from feeling over-steep.
- Slip sliding away: Get used to subtle movements in body position, sliding your weight further back in steeper sections. Think of it as moving your bike around underneath you rather than moving your body around above the bike, and push the bars into bends and over obstacles.
- Middle ring: Brake evenly using both brakes to avoid excessive heat build-up on the rotors and pads. Keep your bike in the middle chainring and a larger rear sprocket to maintain chain tension and avoid chain slap. This is a great gear to get you out of trouble if you need to pedal over a tech section or out of a switchback, but go for the big ring if you want to apply some power.
- Eyes on the prize: Keep looking ahead and use the flow of the trail to give your descent some rhythm. Stay relaxed and keep the front wheel light.
Five top tips
Fancy footwork: Gain extra control by pushing down with your heels on long descents. With the bike already pointing downhill, this will give you a more secure platform to push against and give your calf muscles an easier time. Keep ankles flexed to absorb trail vibration.
Stepping stone: If your seat is the right height to power up a climb then you’ll probably find it hard to be seated and place a foot on the ground for a hill-start. The solution is to use a rock or even the bank on the side of a trail to put your foot on. Always try to use the foot furthest away from the edge of the trail when you need to put a foot down to avoid the risk of slipping and falling off the edge. A tumble down an Alpine hillside is no laughing matter.
Cramp-less braking: Getting finger-lock halfway down a descent is a common problem in the Alps. Set your brakes up so the lever is positioned to allow you to use one finger to brake efficiently. Move the lever inboard, angle it downwards and wind in any bite-point adjustment so that your brakes bite just when the braking finger is crooked. Having your bite point too far out will give you finger fatigue early in the descent.
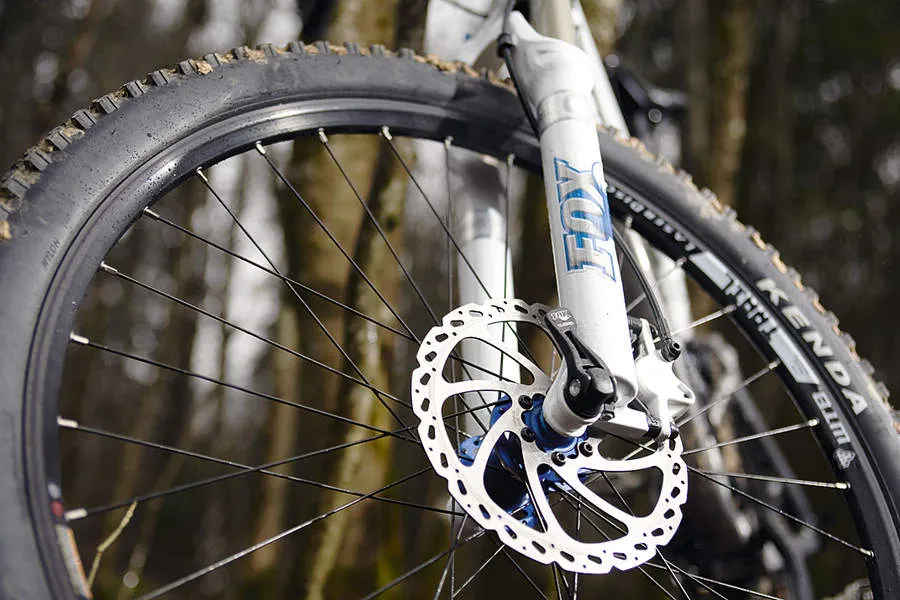
Rotor size: Take time to check your brakes before you head out on a trip to the Alps and be prepared to swap out rotors if needed. If you ride cross-country race style then a 160mm rotor might get you through a trip to the Alps, but 1,000m descents are notorious for cooking brakes due to the excessive heat build-up on rotors and brake pads.
Heat build-up like this will cause brake fade, when your brakes suddenly cease to work because the hydraulic fluid becomes too hot. Larger rotors dissipate heat better, so fit 180mm diameter rotors – at least up front where most of your braking forces are applied on descents. You’ll need to order the appropriate calliper adaptor to go with the larger-sized rotor, and carry a spare pair of pads in your backpack.
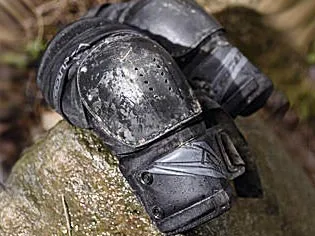
Pad up: To pad or not to pad, that is the question. With the advent of lightweight pads, there’s little reason not to wear protection: knee, elbow and shin protection won’t stop you breaking limbs but will help prevent serious skin damage in the event of a fall. Today’s pads are lightweight, relying on EVA foam or neoprene for their cushioning properties, and often come with a hard-plastic shell to ward off knocks. Be prepared to sling them on your backpack for the climbs; fortunately, climbs and descents in the Alps are so long that an extra couple of minutes spent getting padded up at the top is negligible.
Meet our coaching expert
Phil Hennem founded Chamonix-focused Mont Blanc Mountain Biking (MBMB) in 1992, after cutting his riding teeth on the technical trails of the Alps. Riding a rigid Specialized Stumpjumper, Phil first explored many of the trails around Chamonix that make up the bulk of the guided rides offered by MBMB. Then in 1994, he pioneered the Three Countries Tour and subsequently incorporated the five-day bike adventure into MBMB’s repertoire of Alpine classics. Now armed with a full-suspension bike, there’s not much Phil doesn’t know about riding Alpine trails. To join his Alpine adventures, go to www.mbmb.co.uk.
