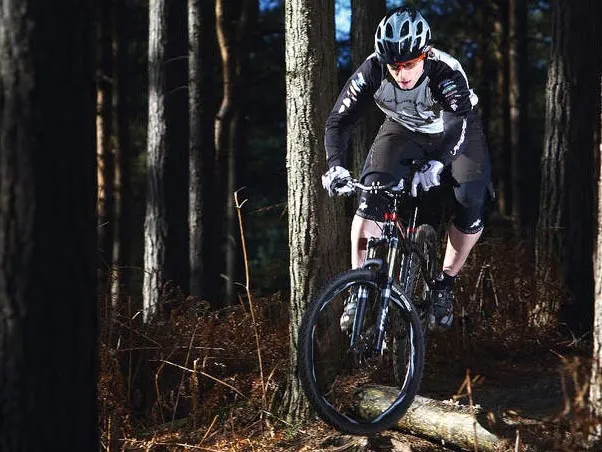
Most riders pick up the basics in no time at all, which is what makes mountain biking so much fun and so addictive for beginners. However, the next few steps on the skills ladder can take a little longer to climb – unless, of course, you have the benefit of an experienced rider to pass on their knowledge.
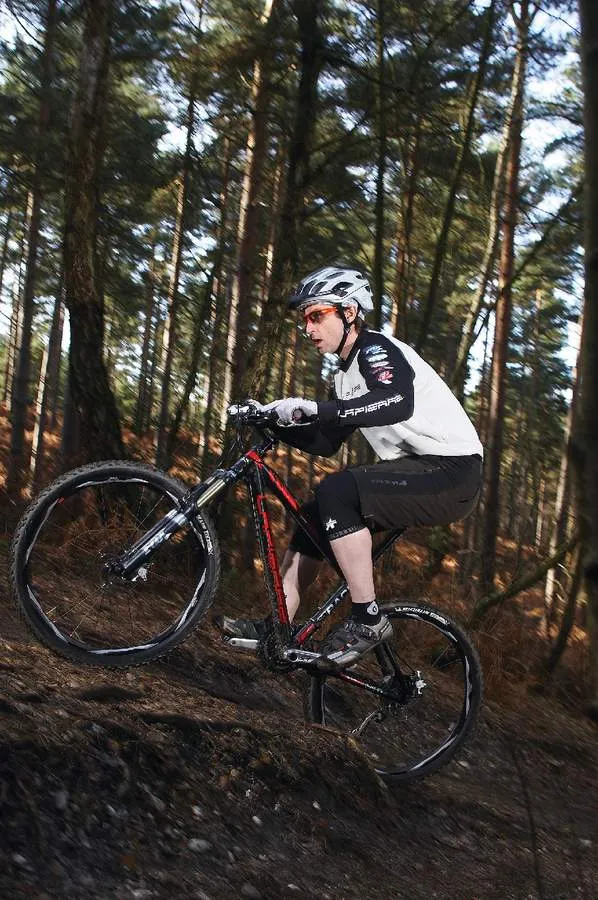
They don't get much more experienced than Will Longden, who has competed in the past 15 World Championships for Great Britain, as well as winning three British mountain bike titles and two National Point Series titles. Here he explains how you can get quicker on the trails and leave your mates for dead.
Do you head out to a trail centre at the weekend and find that guys come pedalling by you just as you’ve had to dismount, or you always seem to end up on the outside of a certain corner, struggling to stay on the track?
In this two-part series, Will is going to talk you through some techniques that you’re probably capable of doing already, but with some special ‘tricks of the trade’ he’ll give you a subtle advantage which will make even the most tricky sections effortless, and getting off to walk a thing of the past.
So read on and soak it all up, then next time you’re out on the trail you’ll look at it in a whole new way, having more fun, riding faster with less effort and best of all, beating your mates back to the cafe every time.
High cadence on steep hill climbs
Spinning a faster, smooth cadence and thinking about turning full circles with the cranks is a huge benefit when climbing, in comparison to stomping down on a higher gearing with slower cadence.
When the going gets loose, rocky or rooty, you need to maintain a constant speed with the back wheel to keep traction. The stomp, stomp motion of pushing a high gearing creates intermittent pressure through the back wheel, making it harder to maintain grip and therefore forward momentum.
You’ll see some riders start to weave around, then the back wheel spins as it hits into roots or wet rocks. Then the top half of their body will start to lean over on the side with the pedal on its downward stoke, as it gets hard to push because speed is lost. Suddenly it’s all gone wrong – their speed has gone, balance has gone, grip has gone, and they’re off and walking.
So remember, keep your weight centred over the bike, the cadence spinning nicely and try to anticipate the trail ahead, adjusting the gearing and your cadence to make sure progress is smooth and controlled.
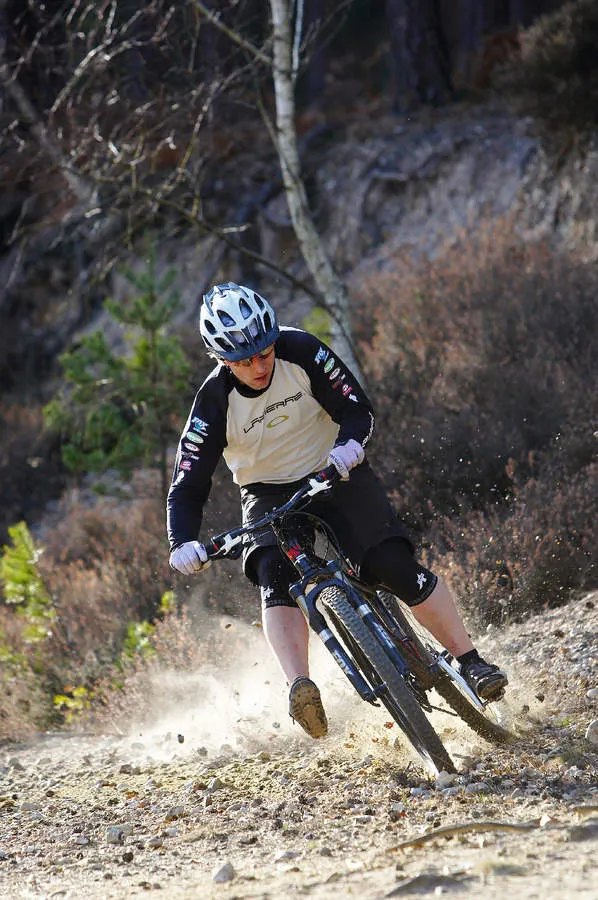
Flat turns
On first glance as you head along the trail, a flat turn doesn’t appear to hold much challenge. Maybe that’s why some riders seem to switch off.
As you enter a flat turn and begin to lean the bike over, gravity and momentum is already trying to push you wide. You need to work against this natural flow by forcing the edge of the tyre into the ground to get grip. Weight should be over the outside pedal, which should be at the bottom of the pedal stroke.
Enter the turn as wide in the trail as you can, reducing the sharpness and beginning to cut back to the inside of the turn at the apex. You should be looking ahead to the exit of the turn, focusing only on the line you want to take.
It’s all too easy at this point to begin staring at the rock or the tree you don’t want to hit. If you do this, 99 per cent of the time, that’s where you end up. That’s because the bike often ends up where you’re looking, and the faster you are going, the more this becomes true. Hence all the pictures of downhill racers with a steely glare into the distance.
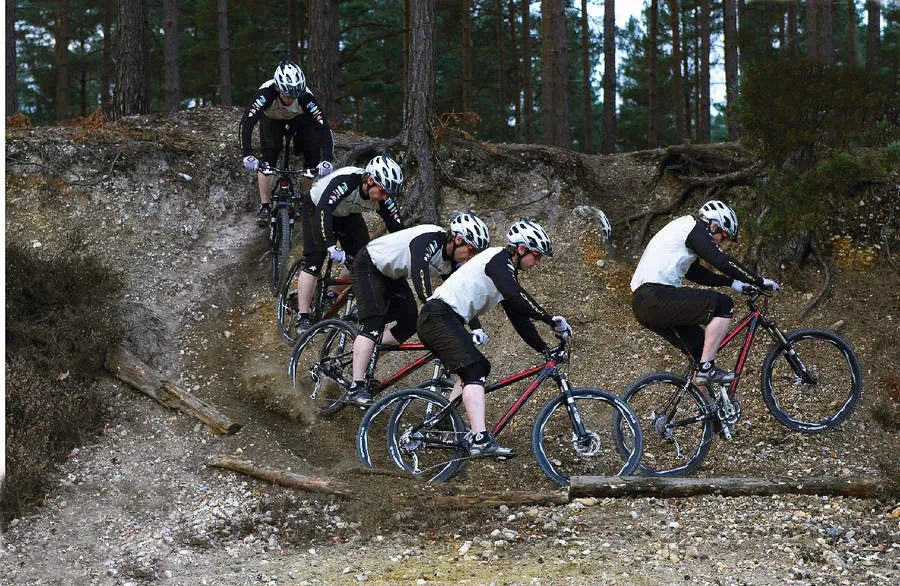
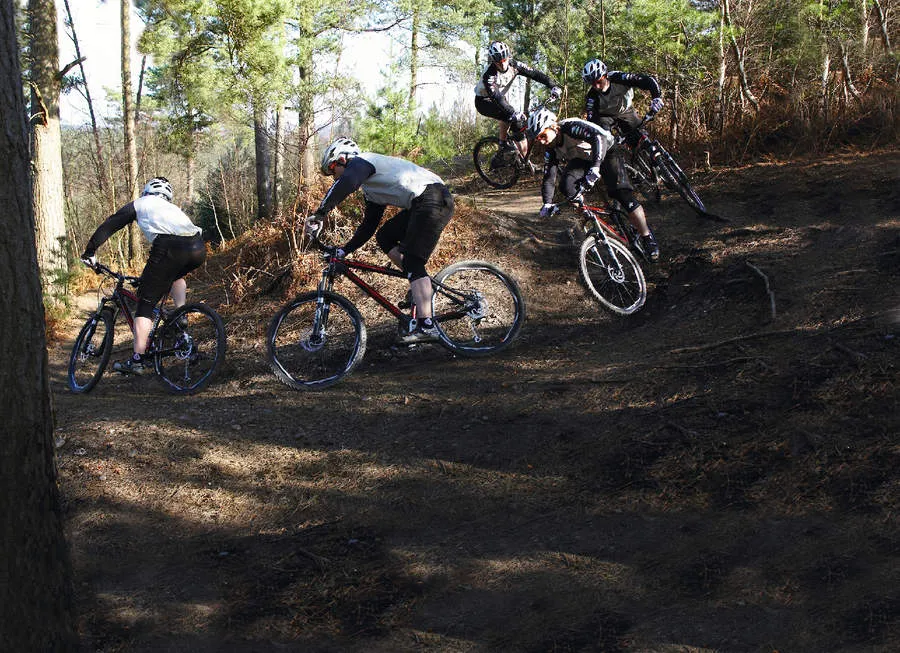
Squaring off turns
If you have a corner that’s part of a steep section of trail, it’s often difficult to keep your speed and control in check. In these situations the best method is to take the trail by the scruff of the neck – show it who’s boss! It’s not so much fun tottering round the outside of the bend and boiling up the brakes. What you need to do is ride in, square off the turn and ride out.
This is best done by riding straight into the bend, turning sharply and forcing the back end to break loose, sliding the back end into line with the exit then starting to pedal – this regains grip and you’ll boost out of the turn. Think of this technique as a handbrake turn for bikes and it should give you a mental picture of what’s going on.
This is a skill that’s best practised in the car park or on an easy section of trail to begin with. The main technique to learn is un-weighting the bike by lifting your body upwards – similar to how you would for a bunny hop, but just the motion, not the getting in the air part.
At the same time, push the back end sideways by turning the bars and twisting your upper body in the direction you want the bike to end up. As the bike slides, your weight’s coming back down and the tyres grip as you pedal away.
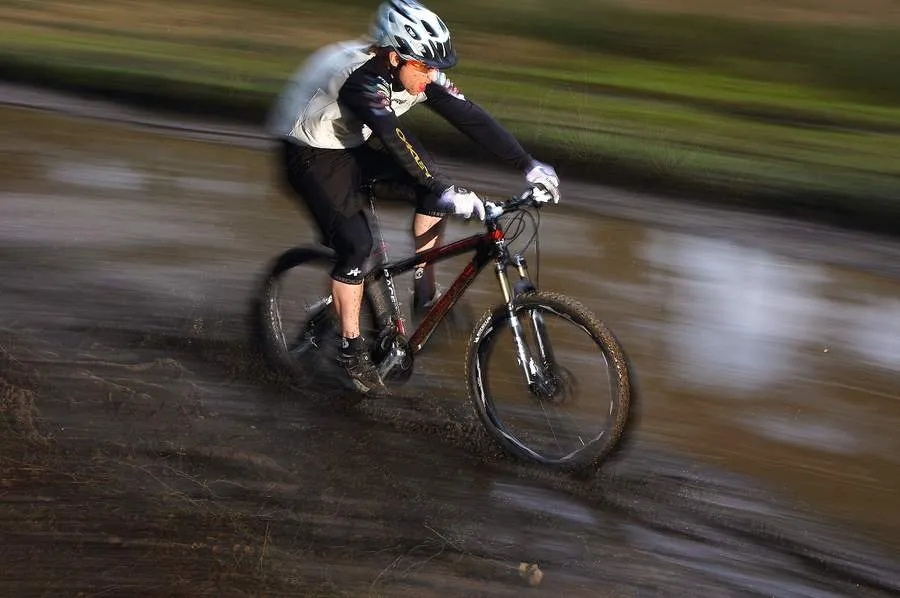
Powering through mud
Do you find yourself braking hard before muddy sections or even getting off and tip-toeing around the bog? It’s time to start attacking these sections with confidence.
Once again it’s about your body position on the bike. Keep your weight towards the back and keep the pedalling cadence high. A common mistake is to have weight over the front, usually brought about by braking hard because you slowed down in a panic! This makes the bike almost steer its own way through the slop and takes you out of control.
Also, you need to be ready for any surprises – if you hit a lump or rock in the deep mud you have room to move forward and soak it up with your arms and legs. But if you’re already forward, the only way to go is over the bars…
When choosing a route, try to ride through water, which (normally) means a hard base and has the bonus of cleaning a little mud (and therefore weight) off your down tube. If the mud is rutted, pick a line and focus on the end of it to ensure you get there. If you look elsewhere you’ll get cross-rutted, lose speed and it could go pear-shaped.
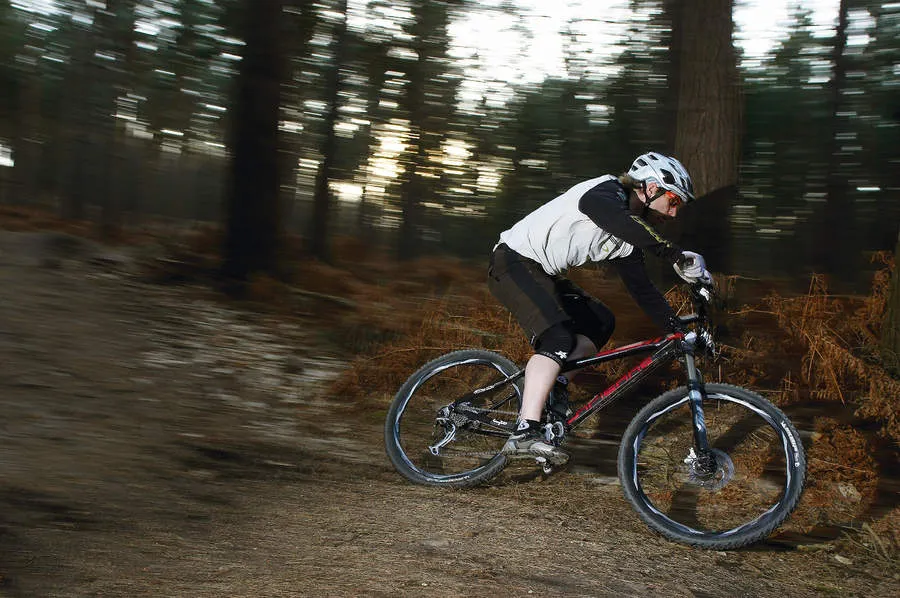
Drifts
Being aware of and in control of the bike drifting at high speed is no easy thing – neither are there any shortcuts to being able to do it.
Drifts happen at higher speeds when the surface is loose or wet. The tyres begin to lose grip and the rider needs to react by correcting the slide, maintaining control rather than seeing it as the beginning of a crash.
The number one rule is to point the front wheel in the direction of the slide – this gives you balance and returns traction to the front wheel. The back wheel will begin to slow, even if only slightly, which gives it the opportunity to regain grip. As it does you need to be making constant adjustments to the angle the front wheel is heading in until they both line up again.
As with any turn, your weight needs to be on the outside pedal but your forwards and backwards movement needs to be very flexible. The instinct at the split second you turn into the slide needs to be to shift your upper body over the bars more, followed by easing straight back to help that rear tyre regain grip.
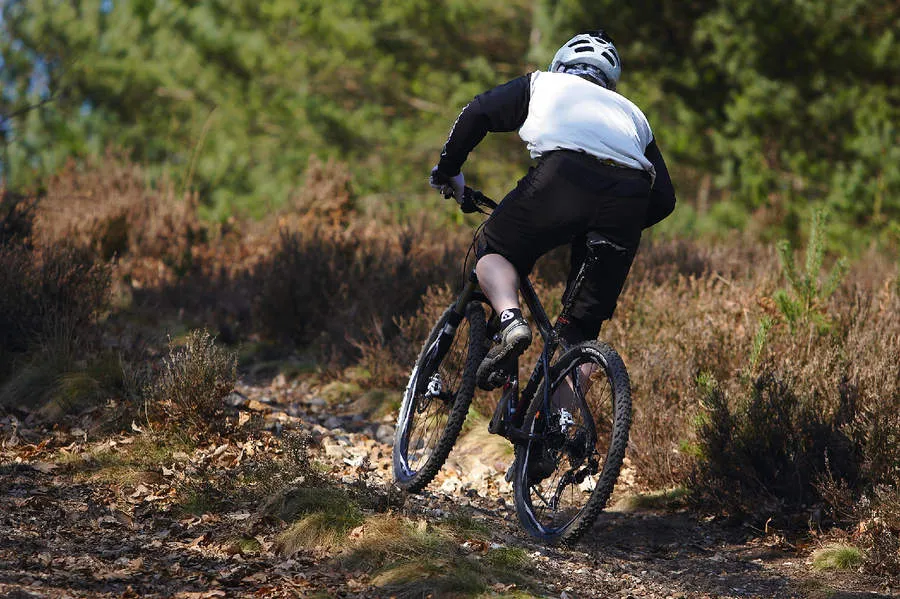
Cutting up on banks before turning
The main reason riders come unstuck on tight corners is because they expect the whole bike to follow the line of the front wheel – it doesn’t. It follows a circle just inside the back one. So on a tight switchback, if you can’t understand why you missed a rock with your front wheel, but your back wheel hit it, that’s the reason.
In these situations, think of your bike as a lorry that needs to make wide turns at the front to make sure the back doesn’t take out the old lady on the pavement!
It starts by making the turn less tight. This also means you can carry your speed through the corner rather than riding in, almost stopping, then riding out of the turn. So as you approach the entry to the tight corner, take your front wheel as wide as it can go – maybe even taking it up the banking of the trail slightly.
As you lean the bike over and focus on the exit, turn in and take your front wheel outside of where you want your rear wheel to be (the tighter the corner, the wider your front wheel wants to be to begin with).
Now as you exit the turn, the back wheel is in the middle of the trail and your front wheel is moving to the outside of the corner. Now pedal away! You’ve saved time and momentum.
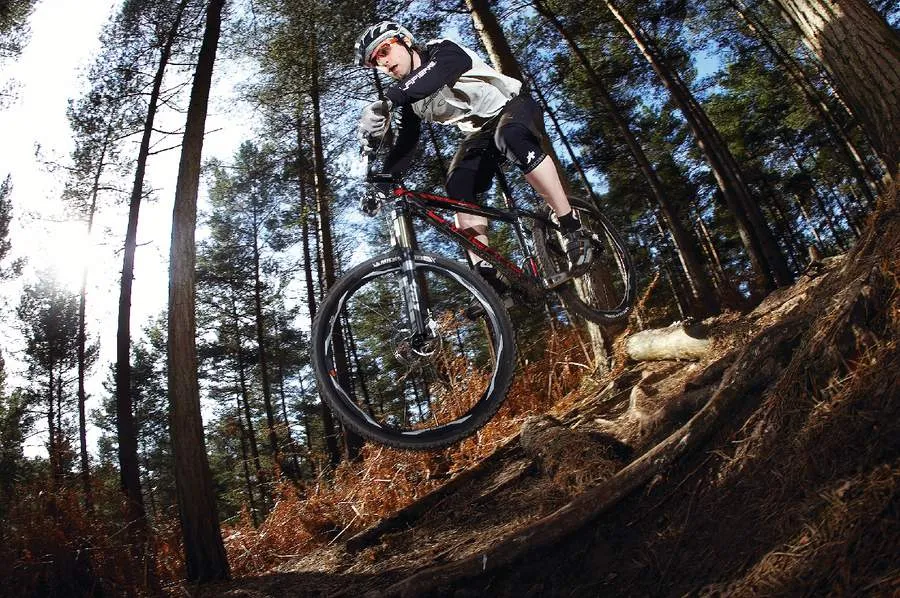
Jumping trail sections
This one is down to confidence and knowing your ability when it comes to bunnyhopping or performing small jumps. It’s the single biggest improvement you can make to help you become a better rider out on the trail and it really helps you maintain your riding speed, making everything else along the way just that little bit easier… And of course it’s great fun to do!
Short areas of roots or small rocks make some riders react by immediately grabbing for the brakes. However, once you’ve mastered hopping the bike, or using small lumps or roots on the trail to help you boost into the air, then there’s no reason not to put a few pedal cranks in and hop over these sections of trail in one big leap.
If you’re unsure of your ability in hopping, do a test in the car park. Ride along at your average riding pace and hop the bike from a set point. Get your mates to mark the distance for you and try it four or five times to get an average.
Now you know your limits, there’s no reason not to scope the trail ahead and simply hop over the tricky sections without slowing down. If you know you can clear the distance with a hop, it doesn’t matter how ugly that short section is in front of you!
The next step on is scoping just in front of these ugly looking sections for a small root, rock or lump to use as a boost to your bunny hopping skills.
Body position for seated climbing
Many riders soon learn the benefits of getting their weight back when descending. Get your bum behind the seat, keeping that imaginary vertical line through the bottom bracket and your hips. Just as when you walk from a flat to a steep gradient, you don’t stay at 90 degrees to the floor – your ankles adjust so your body stays vertical and balanced.
So with all that in mind, it’s time to advance your climbing skills, simply by adjusting your weight forward on the seat. Has the penny dropped? With your chest lower and your weight forward, you stay centred over the wheels, and balance and grip can be maintained with ease.
Have you ever climbed a steep hill and found the front end lifting or the steering light and unresponsive? This is because you haven’t adjusted your riding position to suit the terrain. Riding off-road well involves constant shifts in position and controlling where your weight is focused. As this starts to become a natural reaction, your riding improves a huge amount.
Setup tips
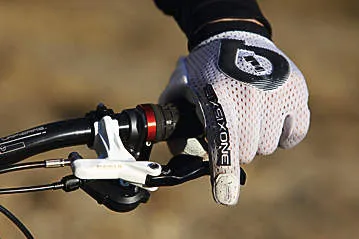
Brake levers
The more fingers you have wrapped around the bars, the better for more control and less fatigue. Try moving your brake levers so the middle to end of the lever falls beneath your first finger. This will give you more leverage, taking less effort to brake, and let the rest of your fingers hold the bars.
The lever angle should be around 45 degrees. Low levers can make you ride with your weight over the front end or make your wrists bent, both of which are bad news for trying to achieve better control. Let the shifters hang low (with levers up) so they are easy to reach.
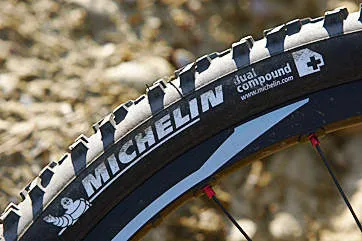
Tyre pressure
Experience of a certain trail can be a big help with tyre choice and pressure. Generally, though, in the thick mud you want a narrow tyre with good grip and wide spaces between the knobbles, and when it’s dry and dusty, a tyre with lower profile knobbles, which are closer together. Then a variable of different tyres between these two extremes, with higher pressures in the dry and lower pressures in the wet.
Here’s the rationale: in the wet you want to cut through mud easily and have grip to aid traction; in the dry you want low rolling resistance and lots of rubber on the ground to grip.
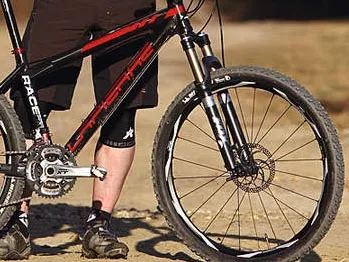
Suspension
You always want a baseline to make your adjustments from. For this you need to set the bike up as recommended by the manufacturer. Then you can make adjustments to help you and the bike perform better in different terrain and conditions.
Generally go for softer low speed compression for a smooth ride over the little trail rocks and a harder high speed compression to take the big hits but hold up over everything else. For rebound setup, anything you feel comfortable with is okay but keep the bike feeling lively rather than slowing it right down, making it feel sluggish.
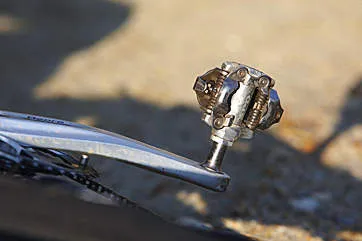
Pedals
The only time I would recommend flat pedals for trail riding would be if you are inexperienced and lack confidence, or if weather conditions are really bad and you’re not very good at clipping in and out of clip-in (also known as clipless) pedals on the move. If you’re competent using clip-ins there’s no benefit to using flat pedals out on the trail. Leave it to the dirt jumpers and the downhill racers.