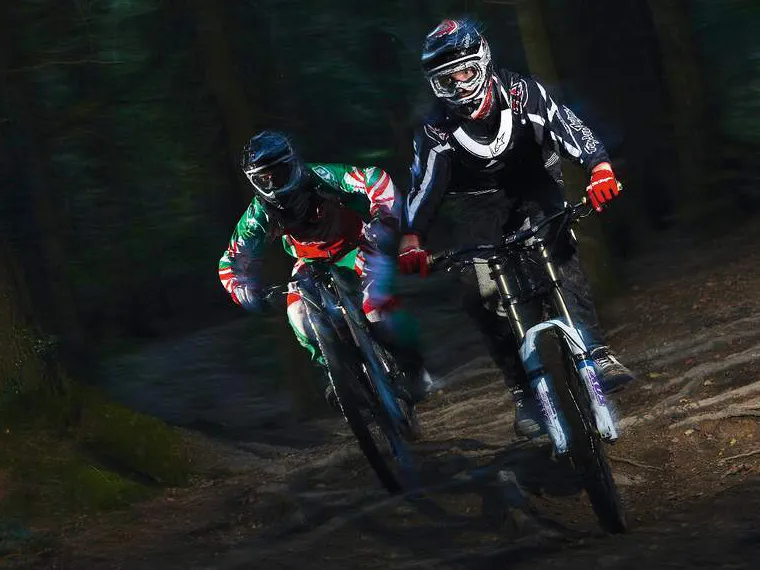
In part one of this feature, we covered three essential skills to help improve flow and speed on the trails. This time we're upping the ante and the altitude. It’s time to get out the big bikes, kick up some roost and learn a thing or two to make winter riding more fun.
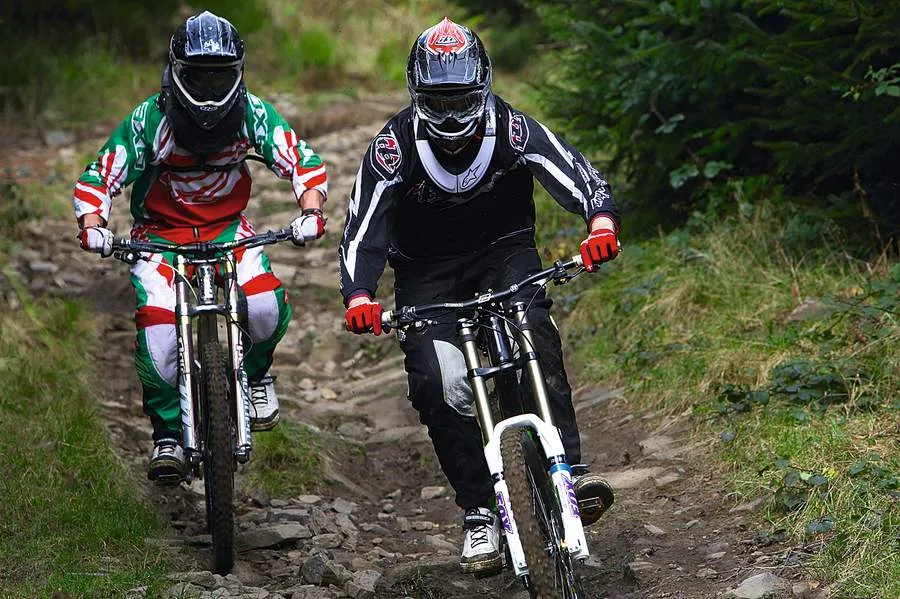
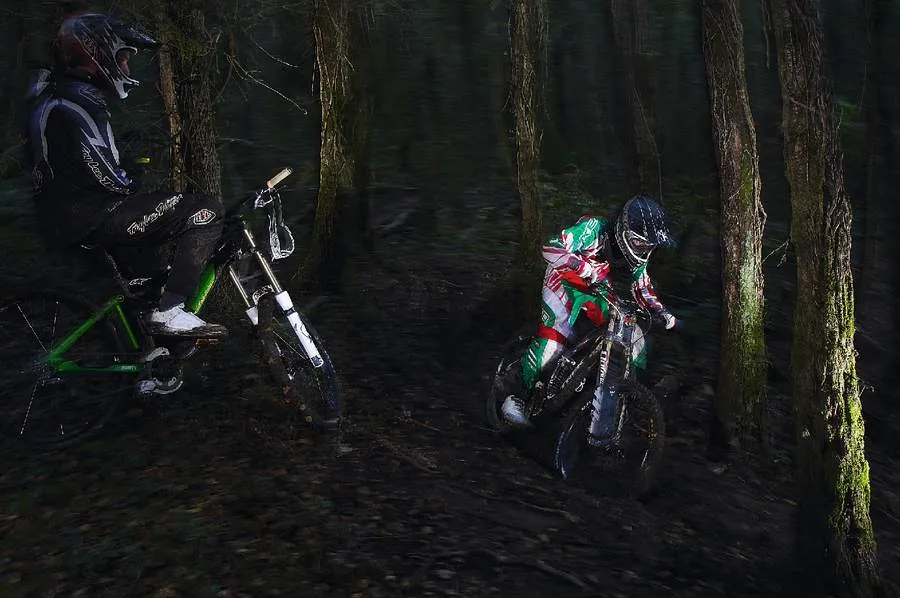
Anyone who’s ever ridden downhill will tell you how much fun a razz in the mud is. Here Rob Weaver, who has raced at World Cup level and now spends most of his time wrecking and rating kit for Mountain Biking UK magazine, helps editorial assistant, and fellow beard-wearer, Ric McLaughlin sharpen up his winter riding skills.
If you haven't got an 8in-travel bike don't worry – many of these techniques will be useful to anyone who rides off-road, whether it's on a full-on downhill rig, a lightweight cross-country race machine or an entry-level bike from your local shop.
Rock gardens
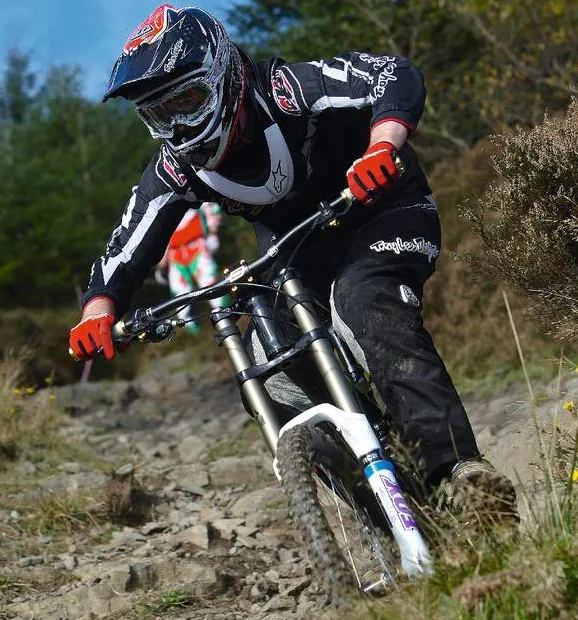
As intimidating as rock gardens may first appear, they’re rarely as scary once you’re in motion with your wheels rolling over them. Ric and I walked up the track to scope out the line and discuss where we should be putting our wheels. When it comes to riding rocks, it’s always a good idea to pick a line. This will depend a lot on your confidence and your bike, but if you know where you’re going and have a clear view of your exit, then your speed and flow will improve. With DH bikes, you can get away with clouting more rocks, making it easier to hit the most direct line, even if it’s rougher.
With that in mind, Ric knew where he had to go and what lay ahead – now it was all about the technique. No matter how much suspension your bike has, if your body is stiff and rigid, you could easily end up in the bushes. I got Ric to ride fairly central on the bike, with his elbows out and knees bent. Doing this means your elbows and knees act as suspension, and helps keep you stable on this loose terrain.
The thing you’ll soon learn about riding rocks is that your bike will get pinged about and give you a scare from time to time. The only way to stay in control is to let your bike move around under you. The best way is to gradually build your speed, maintaining the technique and slowly letting the bike move around naturally, not forcing it to stay exactly where you want it. Keep your head up and your eyes on the exit and you’ll be pinning it with the best of them.
Rock garden essentials
> Assess your entry and exit and pick a line that helps maintain flow and momentum
> Keep your elbows out and knees bent to help your body absorb the rocky ride
> Don’t fight the bike – stay loose and you’ll naturally hit your line
> Gradually build your speed to help increase your confidence
> Stay committed to the line and keep your head up
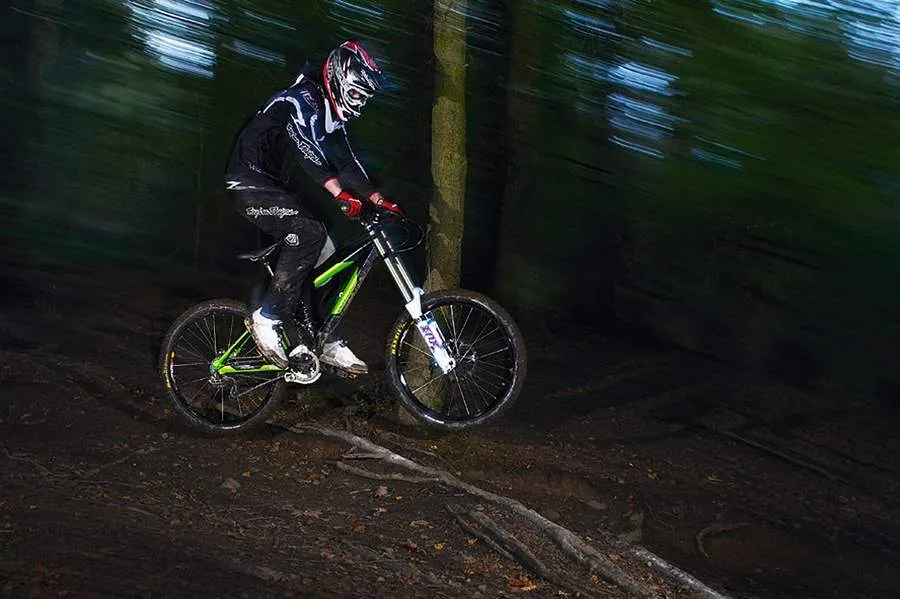
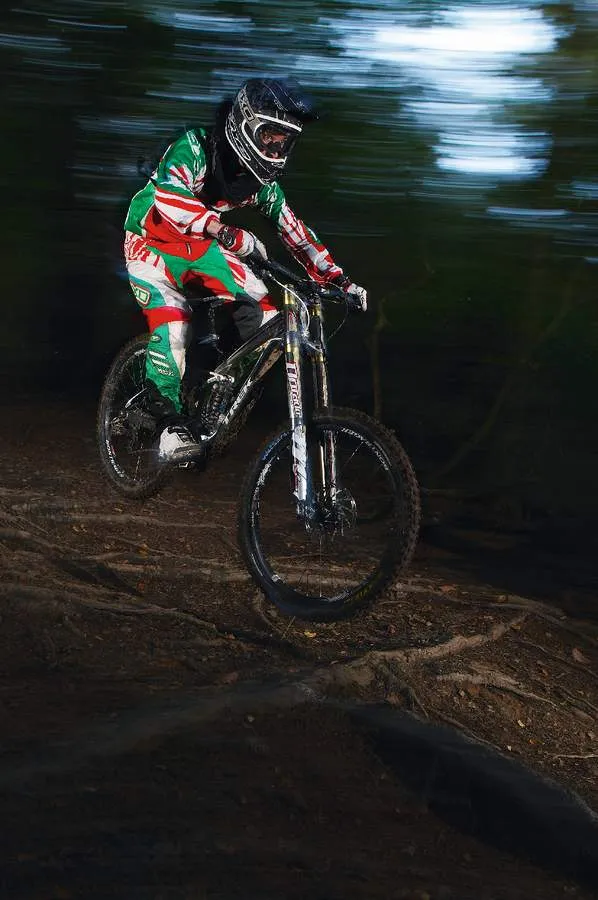
Wet roots
You can’t find a trail without them and in the winter roots are more treacherous than ever. Slippery to ride over and painful to land on, they claim more victims than most other trail obstacles put together.
The section I chose to practise on was littered with some of the most bulbous, wheel buckling roots I could find. As we scrambled back up the hill to take our first run, I could see Ric thinking about what we were about to do. He knew what he needed to do, but putting it into practice is another matter. With roots sprouting off in all directions, the key is to try to hit them as square as possible to avoid slipping sideways too much. Get your braking done before you hit them because touching the brakes when you’re on top of them is a surefire way to crash.
Stay light on the bike and absorb the bumps with your arms and legs, just like when riding rocks, and let your bike move freely underneath you. As your speed increases, you’ll find yourself skipping over them. If you’re confident, you could consider jumping the root section or part of it. The fewer roots you touch, the less chance you have of crashing. Lastly, don’t let the fact they’re wet bother you. Ride them as though they’re dry and don’t panic.
Soon enough, our man Ric was belting into the section, jumping the first few nasty roots and skipping over the rest. With commitment comes confidence in your ability.
Root riding tips
> Pick a line and try to hit the roots as square as possible
> Avoid braking on the roots
> Stay light and loose on the bike and let your body help absorb the bumps
> Don’t fight the bike. It will slip and slide around but if you stay committed then you’ll be able to ride it out
> Try not to get fazed when roots are wet – pretend that they’re dry and don’t let the roots beat you
Mud riding
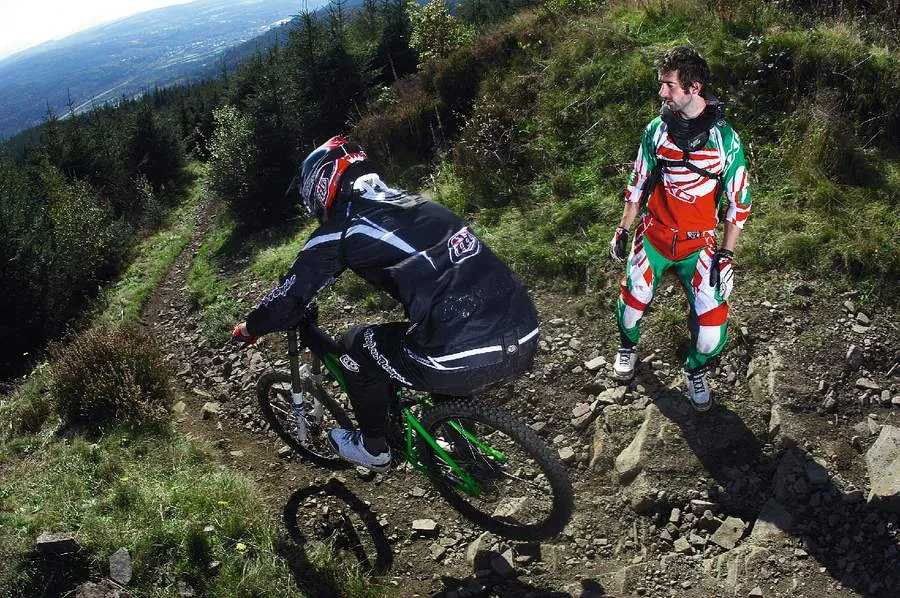
This time of year, we’re guaranteed mud. All we can do is try to enjoy the slop and make the best of it. The biggest problem with mud is that soon enough, big dirty ruts will start to form. For Ric and I, the rut in question was a real wheel-swallower and it took some time to master.
Learning to ride mud and ruts fast is something that requires practice. There will be some crashes along the way, a fact Ric was about to find out. With the mud deep enough in places to grind the bottom of your forks, it was never going to be easy trying to thread our way through, navigate between tight trees and maintain that all-important speed. In situations like this, it’s a case of being patient and persistent. Keep plugging away though, and try not to get put off if you can’t nail it first time.
When riding into muddy or rutted sections, try to get off the back of the bike and unweight the front wheel. This will stop the front wheel getting bogged down and spitting you over the bars. It’s also important to let the bike move freely under you and stay as relaxed as possible. Trying to force the front wheel to turn will result in you hitting the edge of the rut and losing balance. Again, keep braking to a minimum and try to carry maximum momentum through the gloop – the mud will slow you down naturally. As Ric discovered, the quicker you go, the easier it is.
Muddy basics
> Stay off the back of your bike and unweight the front wheel
> Keep relaxed and let your bike find its own natural path through the rut
> Keep off the brakes to maintain momentum
> Pick up the pace. Speed will aid balance and stop you getting bogged down.
> Keep your head up and look ahead.
Bike setup
Tyre pressure: If you’re riding rocks then get the pump out. Around the 25psi mark should hopefully help avoid any nasty snakebite punctures.
Suspension settings: Initially, stick to what you know and feel comfortable with. As you begin to master riding in the mud, a little less rebound will help maintain grip as rolling speed is generally decreased in the muddier conditions.
Tyres: Both Ric and I opted for spiked mud tyres. A cut-down spike will adequately see you through most situations in the winter thanks to the super-soft compound.
Pedals: Flats or clips, it’s your choice, but in the gloop flats make it a lot easier to make those last-second saves.
This article was originally published in Mountain Biking UK magazine, available on Apple Newsstand and Zinio.