
Depending on how much you ride, Fox recommend you service the air can of your RP shock every six to 18 months. Here’s our guide to doing it yourself, which will save you money on servicing costs
Tools
- Shock pump
- Teflon grease
- Allen keys
- BOA strap wrench
- Isopropyl alcohol or brake cleaner
- Fox air can seal kit, including Fox Float Fluid
- Blunt pick
- Easy-out stud extractor
- Lint-free cloths/ paper towel
- Latex gloves
- Safety glasses
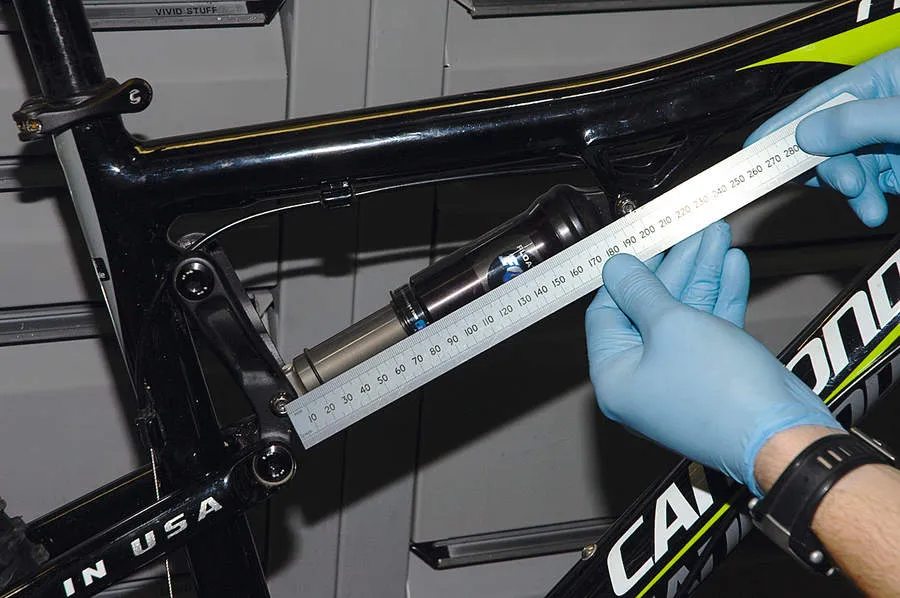
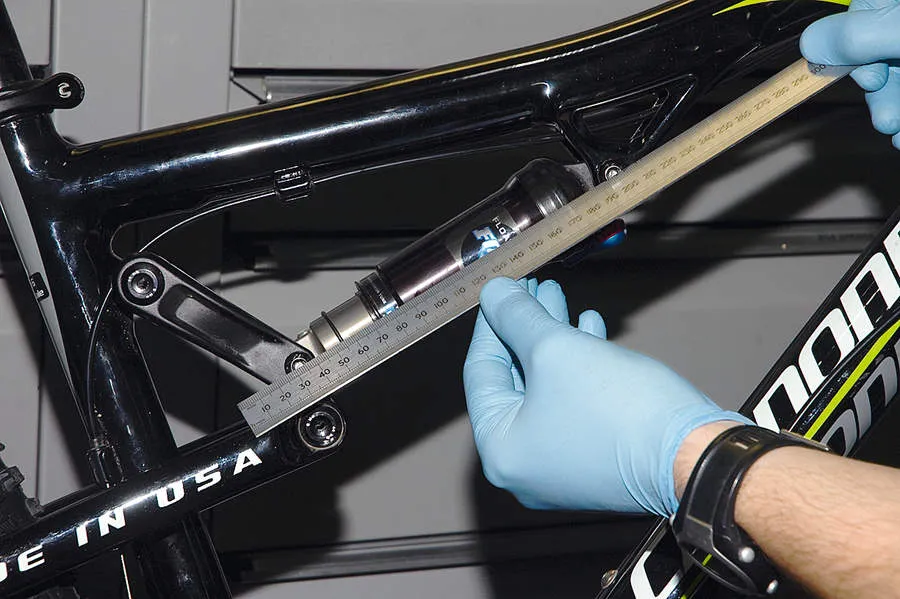
Step 1
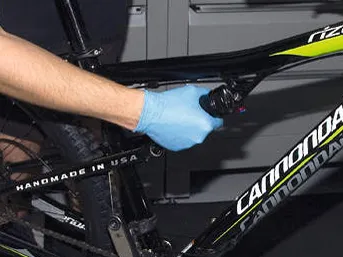
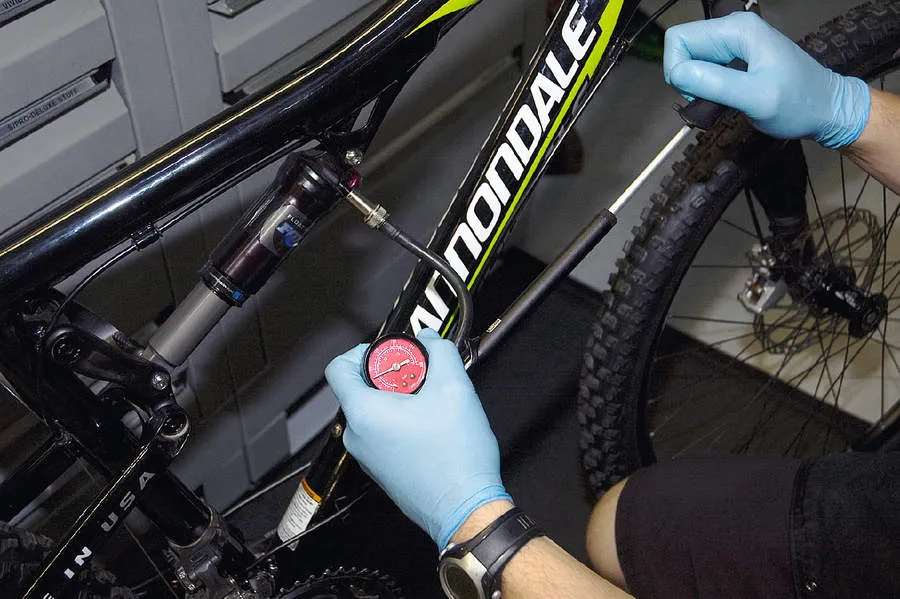
Check to see if the shock is stuck down or shorter than normal. Do this by measuring from the distance between the mounting bolts (eye-to-eye length) and check it matches the manufacturer’s specification. If all is good, remove the air valve cap and check the pressure with a shock pump. Make a note of this pressure for later, then deflate it completely.
Step 2
Warning! If the shock is ‘stuck down’, or shorter than normal, do not attempt to disassemble it. This will cause the shock to explode, firing apart like a rocket, and can cause serious injury. If this is the case, the shock will need to be sent to a dedicated service centre for repair. If in doubt, take your bike to your local shop for them to check it for you.
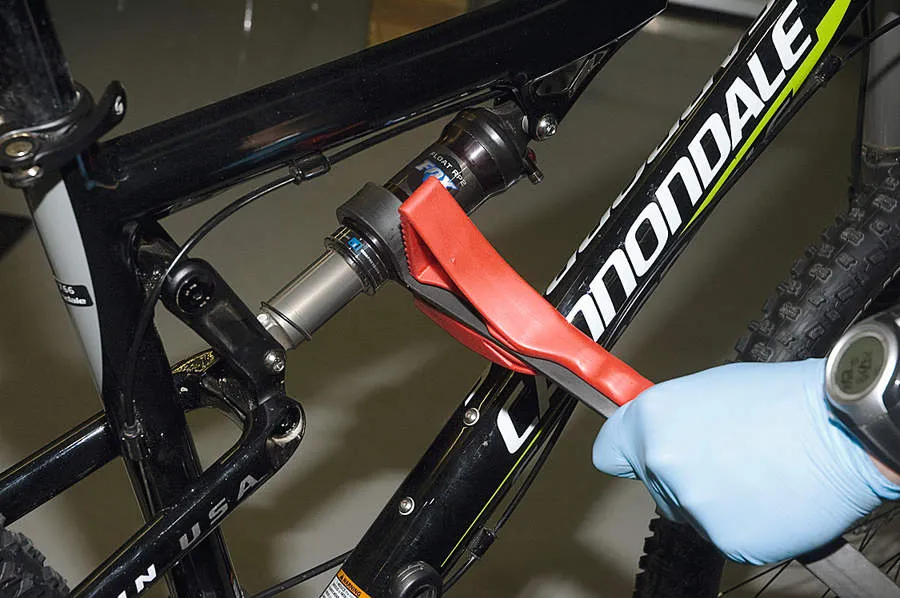
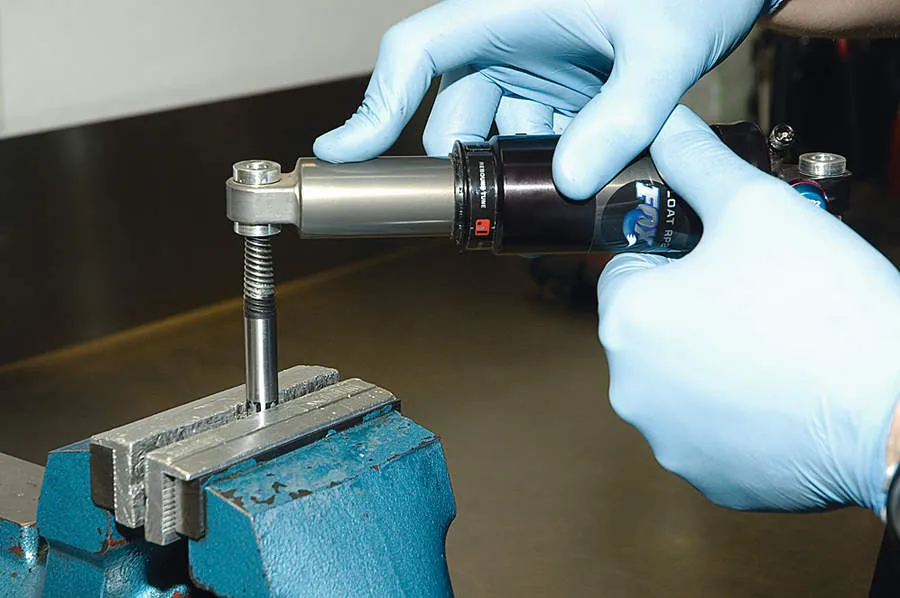
Step 3
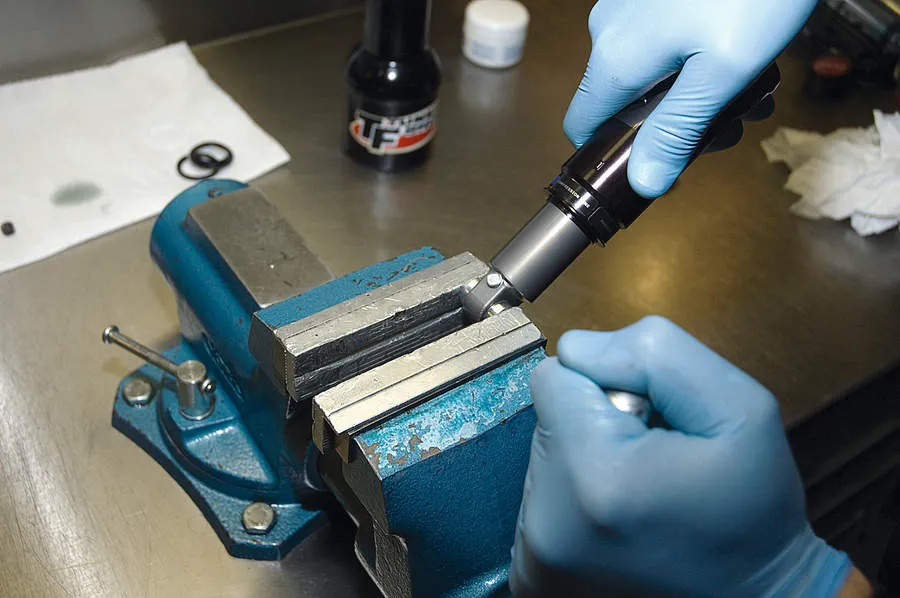
Use the frame as an anchor for the shock and unscrew the air can. Grab the larger diameter section of the shock and unscrew it a few threads by hand, not all the way. If it won’t budge you will need to use a Boa strap wrench, but please note – if it’s really hard to unscrew, double-check that it is fully deflated. It can be dangerous to disassemble the air can with air pressure still in the shock.
Step 4
Remove the shock from the bike. Measure the width of the mounting hardware on the shaft (brown or gold) end of the shock. If it is more than 20mm then you will need to remove it. Clamp an easy-out stud remover into a vice. Wind the shock anti-clockwise onto the remover until it grabs the reducer, then pull up while continuing to turn the shock anti-clockwise to pop the mount hardware out.
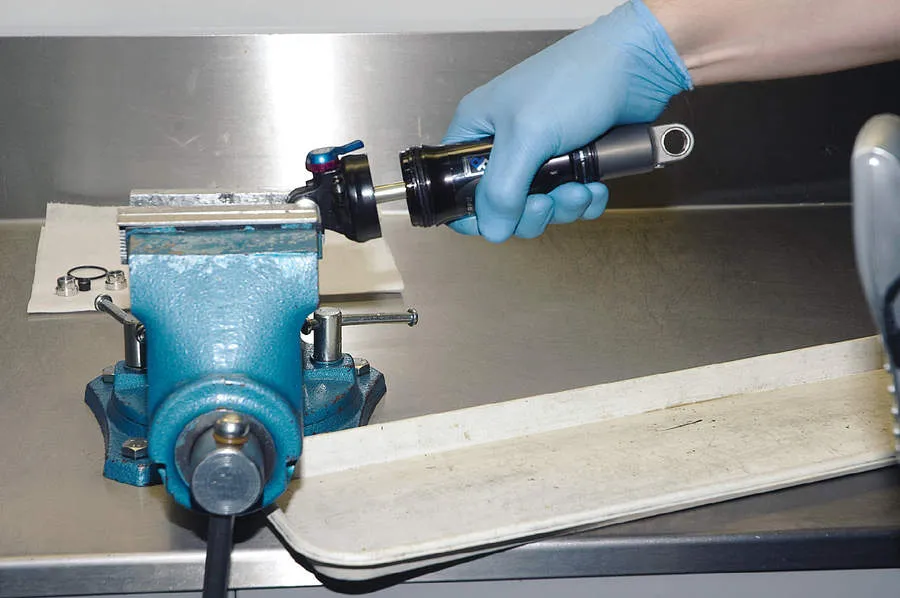
Step 5
Unscrew the air can completely and slide it all the way off the end of the shaft. Do this over a bowl or rag, because the oil inside the shock will drip out. Thoroughly clean inside the air can and the main shaft with isopropyl alcohol or brake cleaner and a lint-free cloth or workshop paper towel.
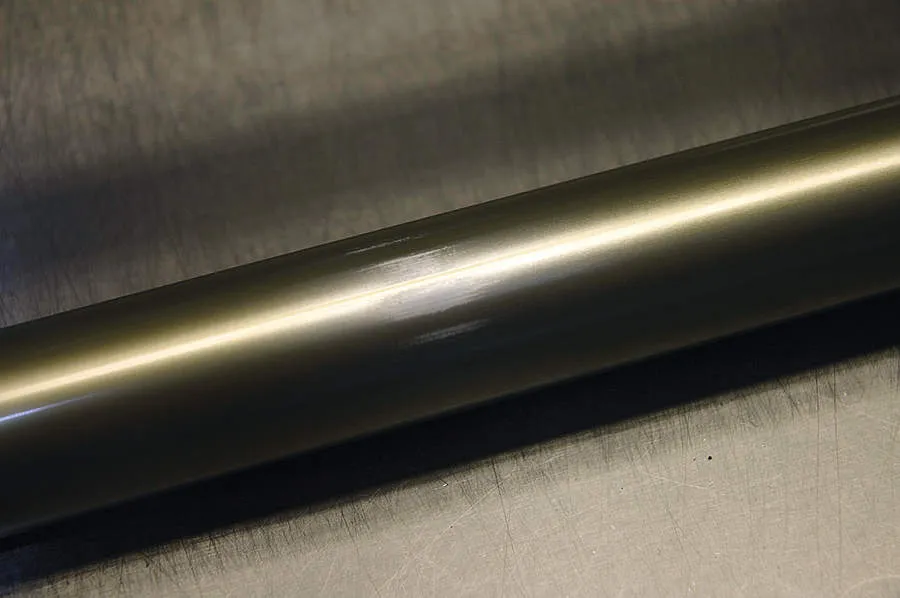
Step 6
Inspect the air can and shock body for wear or discolouring. If they’re worn, air loss will occur quickly. These parts will need to be replaced at a dedicated service centre. If you simply reassemble the shock with the worn parts, you’ll be wasting the money you spent on the service kit, because it won’t cure the problem.
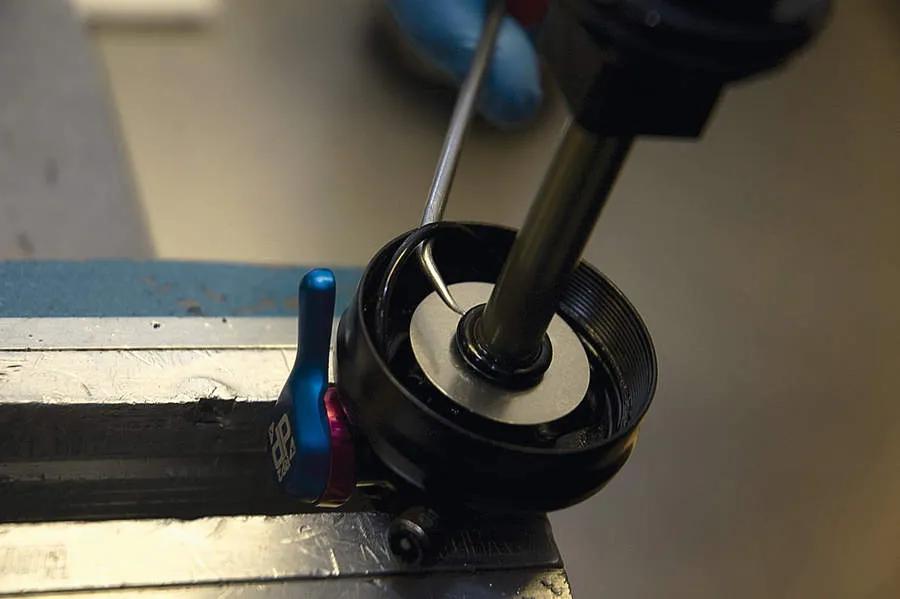
Step 7
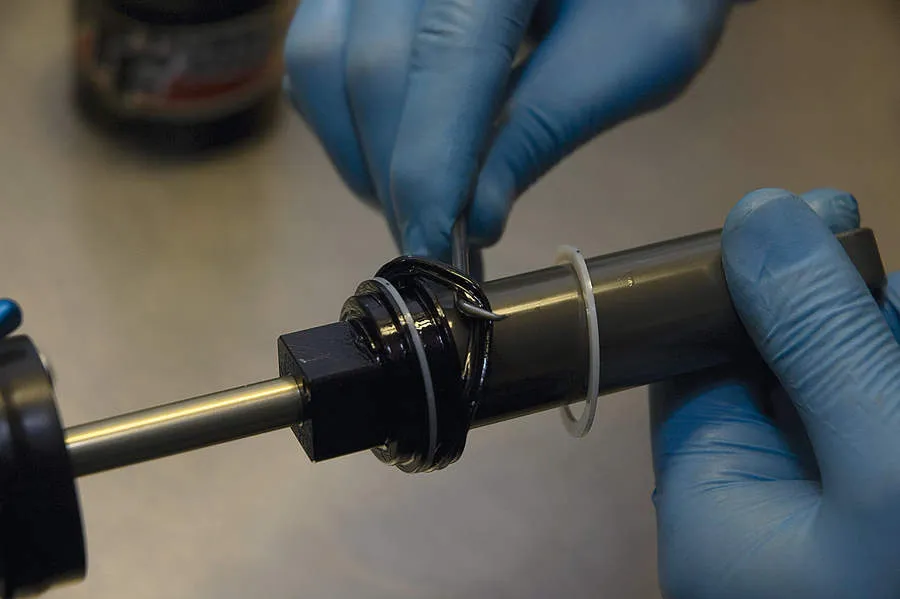
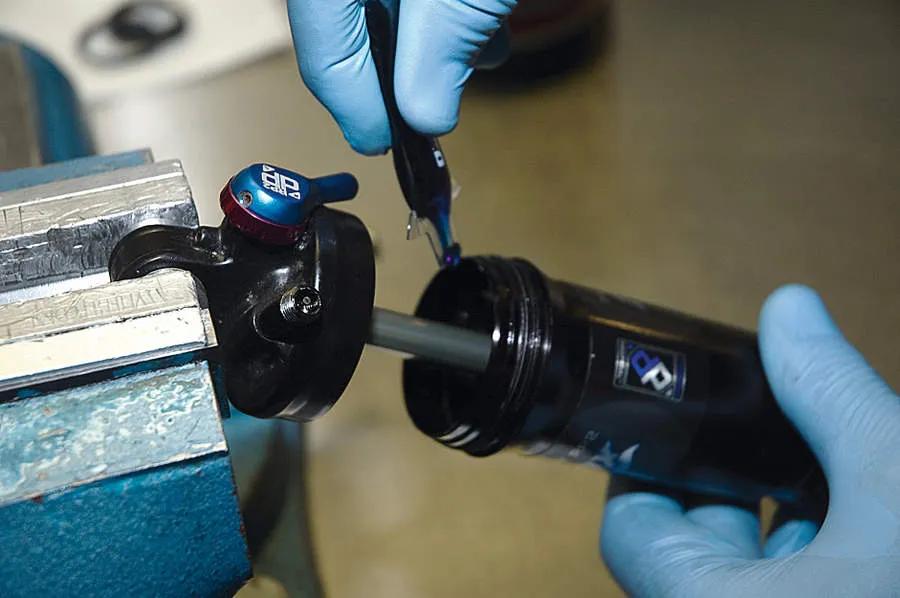
Now remove the O-ring located inside the air can eyelet. The O-ring is small and thin and you will need a blunt pick to hook it out. Be very careful not to mark the seal bed because this will affect its ability to reseal. Grab a new matching O-ring from your seal kit, coat it with Fox Float Fluid and drop it into place. Ensure that it is evenly seated all the way round.
Step 8
The quad-lip seal on the shaft head needs replacing every time the shock is dismantled. Hook the rubber seal out using your blunt pick. Remove both of the white, split plastic back-up rings too. Again, be very careful not to mark the seal bed.
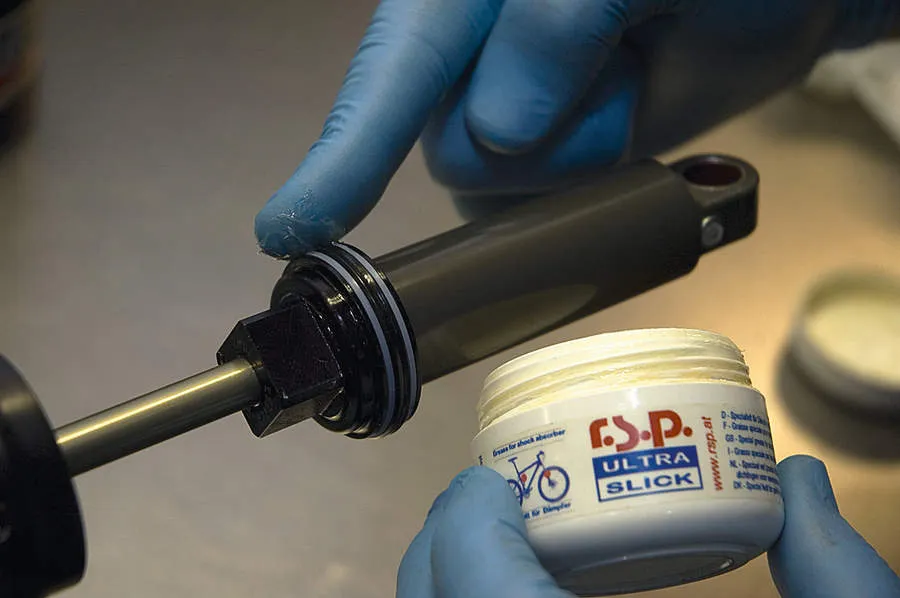
Step 9
Grab a new matching quad-lip seal and two white back-up rings from your seal kit, coat them with Fox Float Fluid. Fit a white back-up ring first, then the quad-lip seal, then the final back-up ring. Smear a very thin coating of Teflon grease onto the quad-lip seal.
Step 10
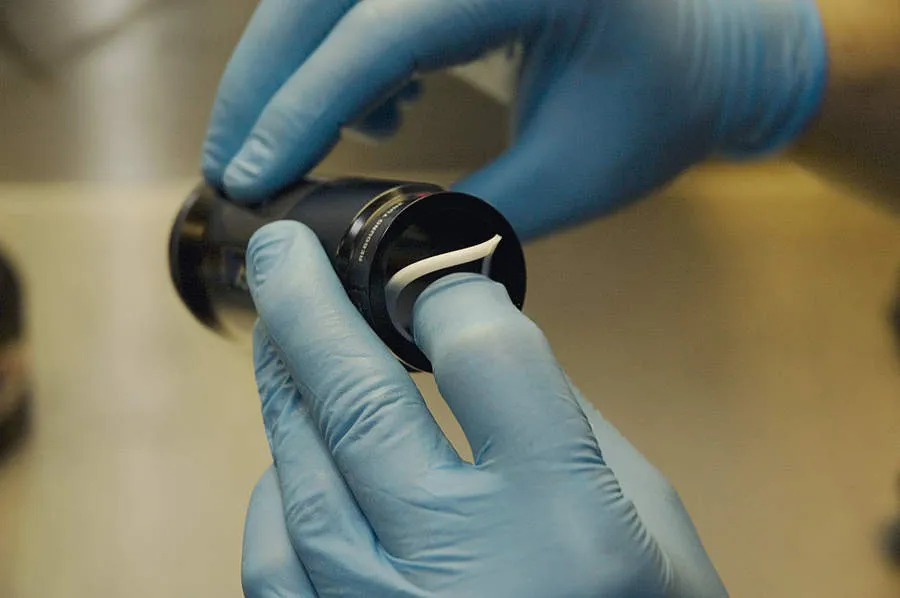
Now to replace the air cans guts! To remove the wiper seal in the end of the air can, grab the lip firmly and pull it towards the centre. This will release it from its tightly fitting seat.
Step 11
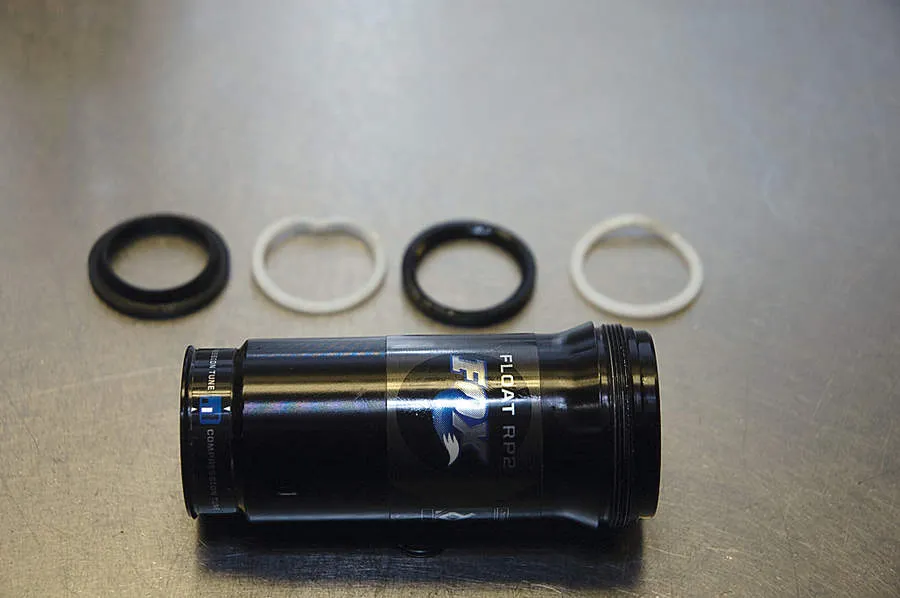
With the wiper seal removed you can now remove a white glide-ring, then the rubber, quad-lip seal then a final glide ring. As you remove them lay them out in the order and orientation in which they come out of the shock. Again, be careful not to mark inside the air can.
Step 12
Match up the new replacement parts from your seal kit and lay them out in the same order and orientation as the removed parts. Lightly coat the new parts with Fox Float Fluid. Replace the parts in reverse to removal. You’ll need to squeeze the white glide rings into taco shapes to get them in. Give the quad-lip seal, glide rings and wiper seal a thin coating of Teflon grease.
Step 13
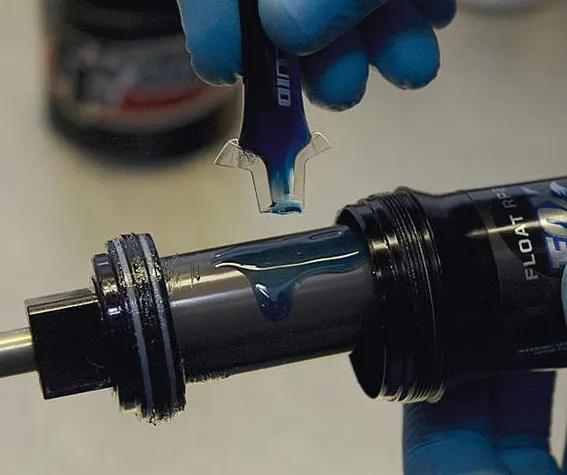
Slide the air can back over the shaft but don’t screw it onto the threads at this point. Drip a little Fox Float Fluid (about 2ml) on the shaft on both sides of the quad-lip seal. Do not put an excessive amount of this fluid on the shaft, because it will hinder the action of the shock.
Step 14
Refit the eyelet mount hardware back into the shock. Ideally you should do this by pressing them into place with a bench vice. If you don’t have a bench vice, they can be knocked into place with a plastic mallet. Now refit the shock to the bike. Torque the mounting bolts according to the bike manufacturer’s specification.
Step 15
It may be necessary to push the bike down to compress the shock to aid reassembly. If you are having trouble getting the air can to start on the threads, it helps to rotate it anti-clockwise when compressed to locate the start of the threads. You will hear a little click as it drops off the thread, then you are all clear to tighten it on.
Step 16
Using your shock pump, re-inflate to the pressure you noted down in Step 1. It is best to check you have the sag set correctly. If the shock was particularly sticky before its service you may well need more pressure in the shock.
Top tips
If you have a frame design where the rear shock is directly in the firing line of muck from the rear tyre, it is a good idea to shield it. Small mudguards are available, or you can make your own from an old bottle and zip-ties. Just make sure that your guard doesn’t foul the shock or the frame at any point in the bike’s travel.
After muddy or dusty rides, spray a little light oil or silicon spray onto the shock shaft up to the wiper seal. Compress the shock a few times and the dirt will be drawn out of the seal. Make sure you wipe the shaft and shock clean afterwards, because the oil will attract and trap more dirt.