

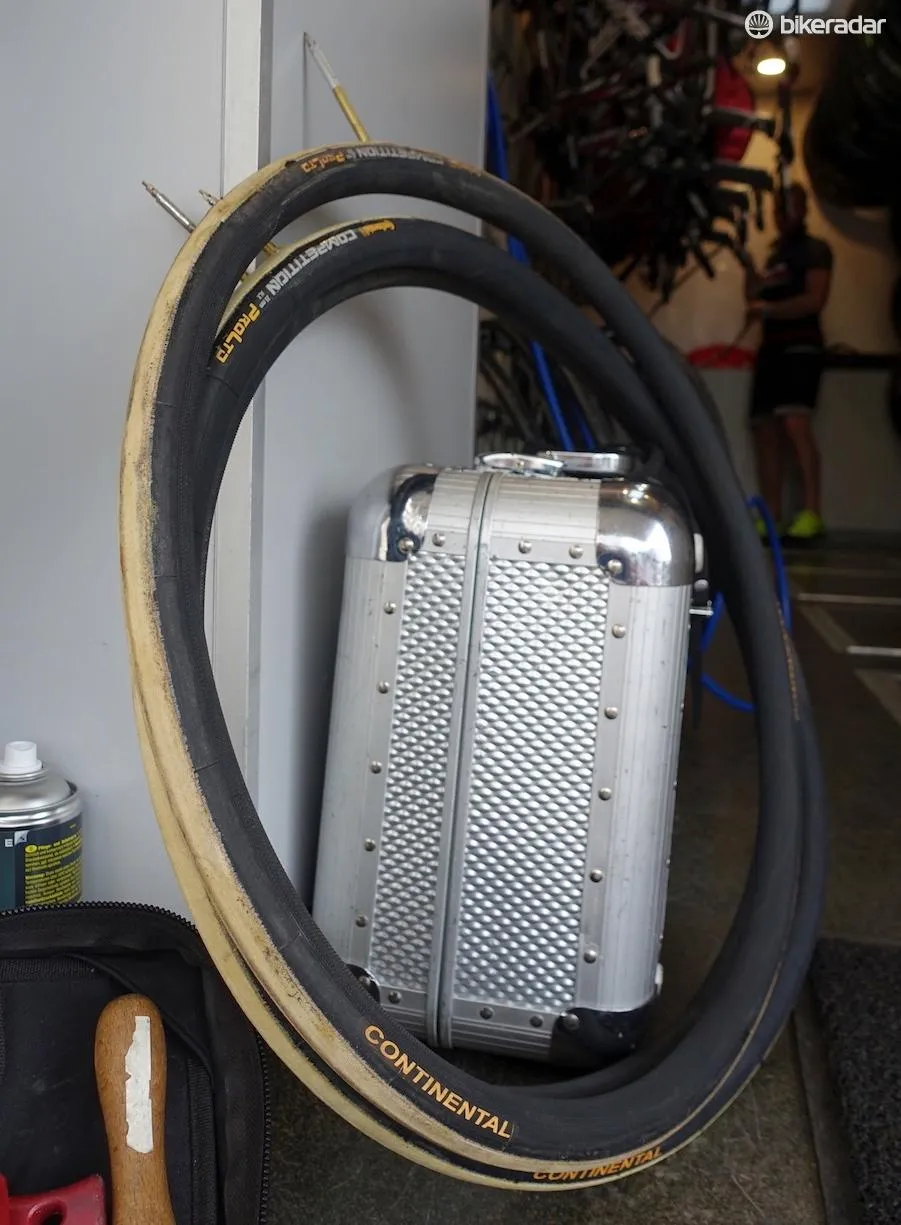


For the average racer, gluing a tubular tyre is a messy ordeal. For pro team mechanics, it’s a part of virtually every day on a Grand Tour. This isn’t just because of punctures. Tyres wear out, pick up glass, wheels break and conditions change. When you have nine riders and each of them has a minimum of four bikes (race, two spare, and TT), that’s 36 bikes. 72 wheels right there. Add to that 10 pairs or more of spare wheels and you have a pile of work on your hands.
Presented here is a visual step-by-step guide on how, in my experience, most pro mechanics guarantee a safe, clean installation of a tubular. Lampre-Merida mechanic Moreno Bacchion was very helpful. Attempts at questions and answers were difficult as Moreno doesn’t speak English and our French didn’t seem to function too well either.
Observation can be a powerful teacher though. Sometimes words only get in the way. If you’re a visual learner, look through the photos and captions. If you prefer words, read below. Best of all would be to both read the guide below, then scroll through the gallery.
Bookmark this page if you only infrequently glue up a tyre for yourself. It shows a pro doing extremely efficient work. For us mortals, gluing a tyre is absolutely doable. It is a multi-day process though. So take your time and if you’re unsure, ask a mechanic you trust.
Also note that these instructions are for a new road tubular tyre and a tubular wheel that has already seen a tyre and glue. Ideally, for a new rim, build up three or more thin layers of glue over the course of several days. Apply a thin layer of glue to the tyre’s base tape as well – more if the tyre’s base is especially absorbent. Let each layer you apply dry overnight. For cyclocross or track racing, you’ll want to take extra steps.
How to fit tubular tyres
Step 1: Prepare the tyre
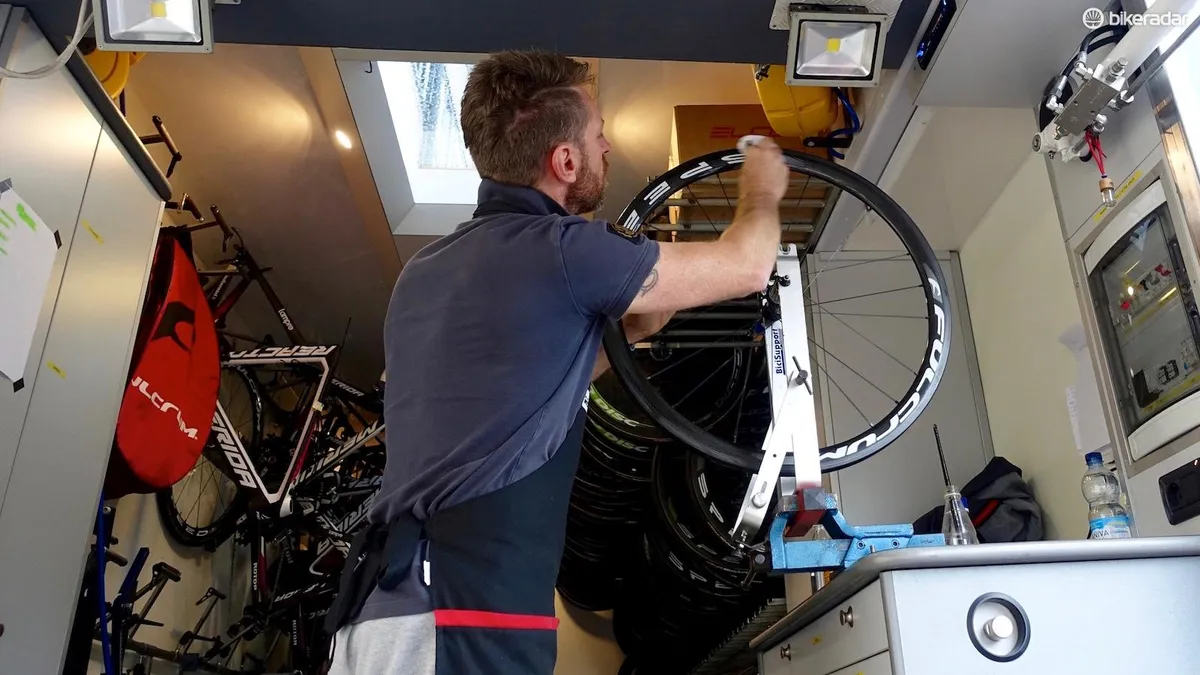
If your loving wife or husband isn’t keen on having pre-glued tyres on hand year round, be sure to pre-glue the base tape of your tyre at least two days before installing it. This gives the glue one day to dry completely and another day to stretch it on a spare Fulcrum carbon deep section rim.
You know, all those extra carbon rims you have around? Keep at least one of them to stretch tyres after you’ve put on the initial layer of glue. This makes installation quite a bit easier.
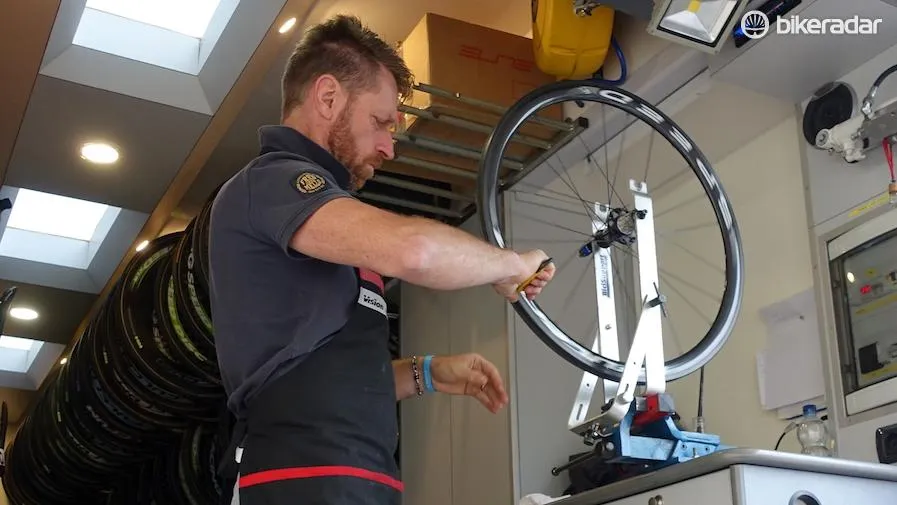
Step 2: Prepare the wheel
Install your wheel in a truing stand. Check that it is true. Without a tyre is the best time to perform adjustments as you can easily verify that the wheel is true and round.
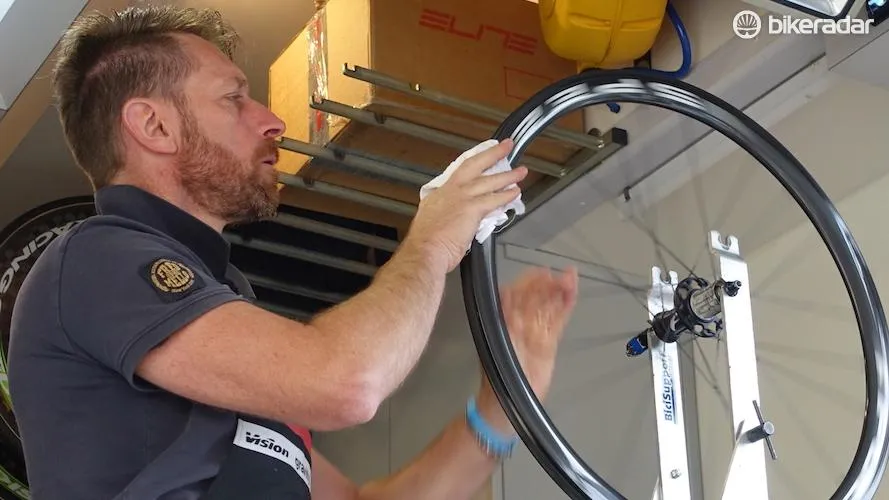
Next, clean the rim using a three-step process. First, scrape excess dried glue using an inexpensive knife/razor blade. Some glue is sure to squeeze out at the edge of the gluing surface if you’re applying sufficient glue.
Then grab a wire brush to simultaneously roughen the existing glue and knock off any chunks. Be sure to not scratch the braking surface. You’re only applying the brush to the gluing surface.
Using a clean rag, apply a bit of solvent to clean off dried pieces and to re-activate the existing glue. Acetone works well here. Be sure to go easy with the solvent though.
And anytime you’re gluing a tyre or working with solvent, do it outside or in a very well ventilated space. Also try not to touch any decals or paint with the solvent. The colors can run when using acetone.
Step 3: Coffee break
While some contend that beer helps when gluing tyres, I prefer a stimulant. In a most Italian move, Moreno’s colleague delivered him an espresso. He took five minutes to discuss the wet weather with his directeur sportif then got back to work.
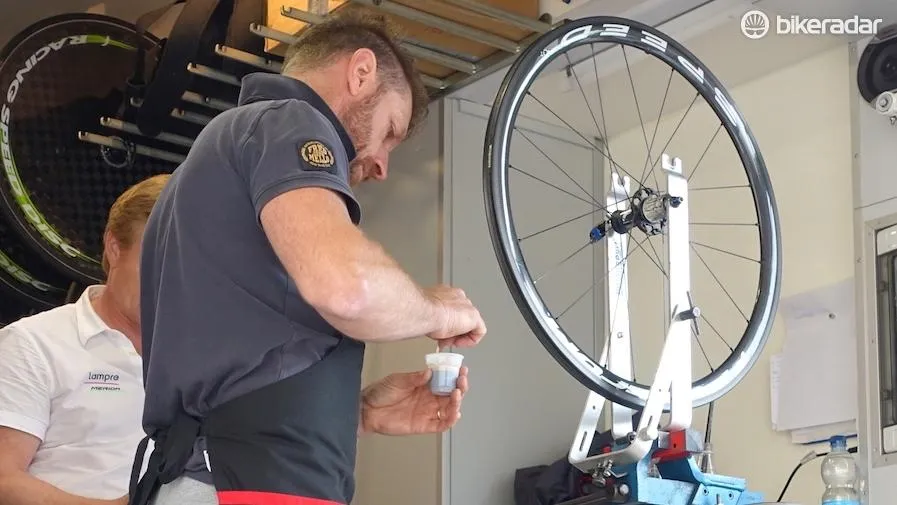
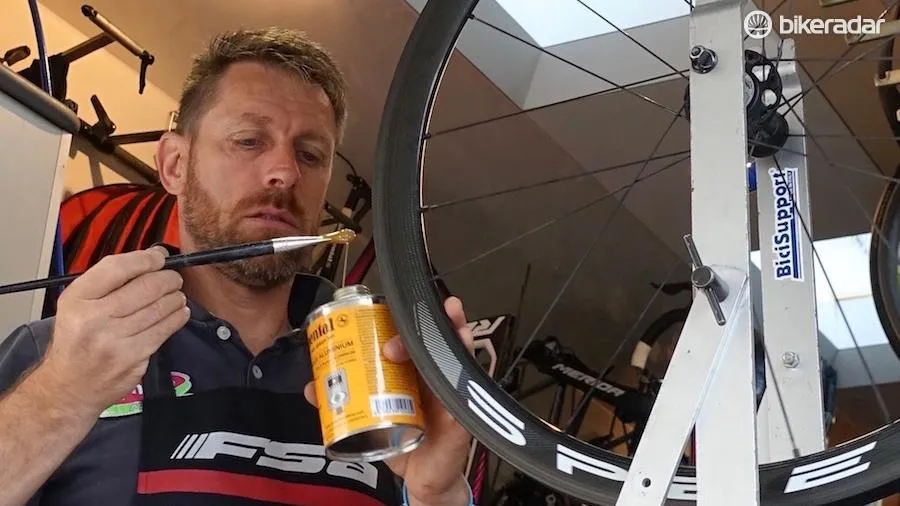
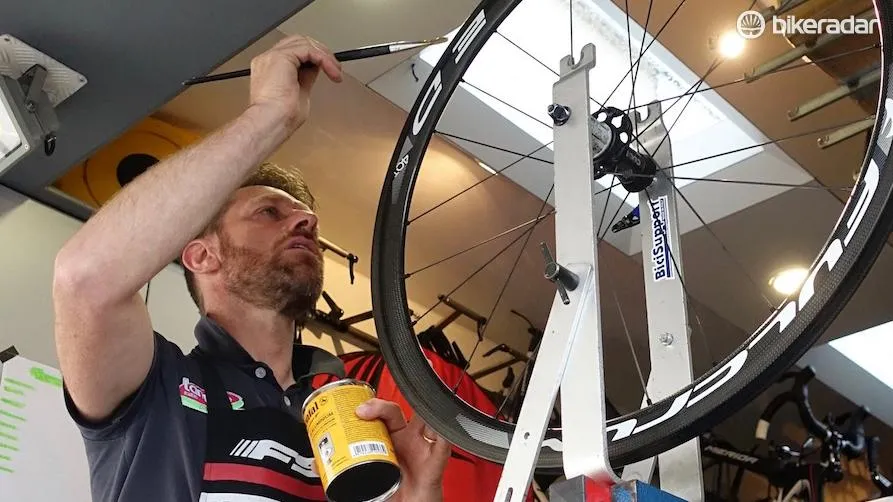
Step 4: Apply the glue
Carefully, lovingly even, apply a thin layer of tubular glue to the rim. Moreno is using Continental. I like Vittoria Mastik. While the large can of Continental glue has a brush built into it, Moreno quickly threw that away.
Instead he used a small paintbrush that is a tad narrower than the width of the rim. He keeps it in a bottle with solvent in it to keep the glue from hardening.
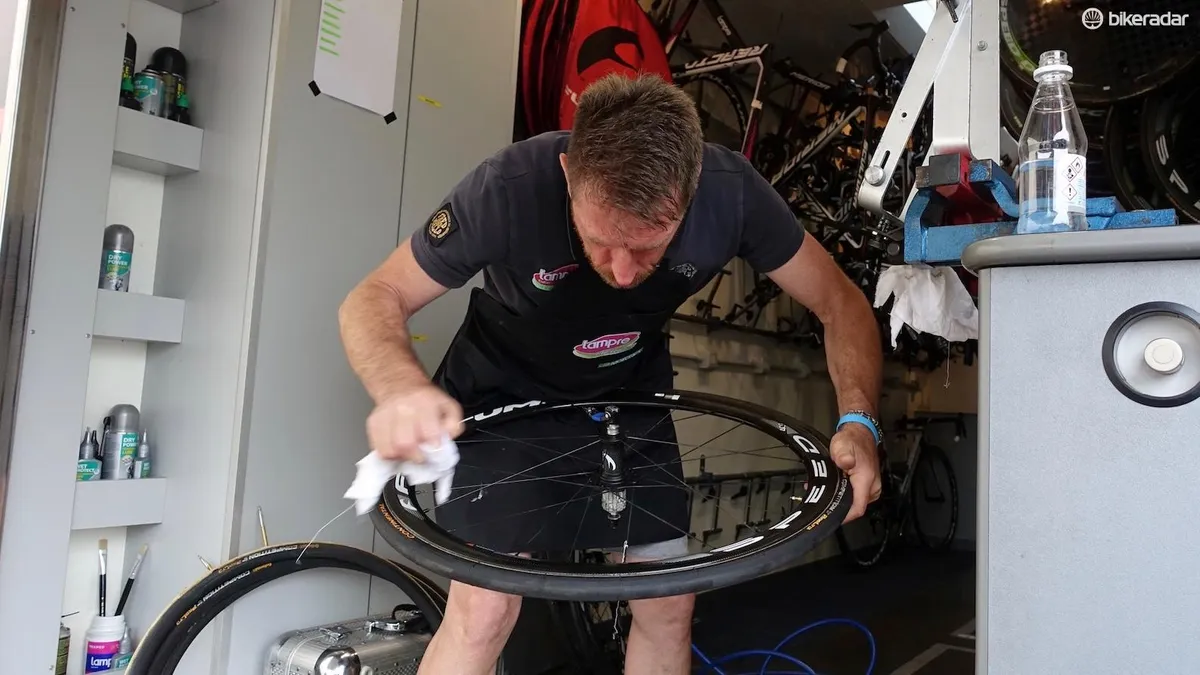
After coating the entire gluing surface, Moreno then took his solvent rag and wiped off any excess glue that he may have accidentally applied to the braking surface.
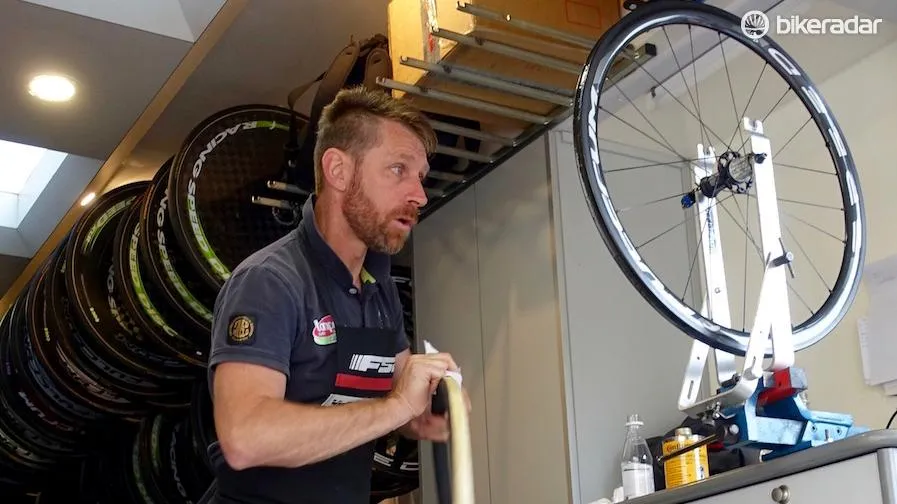
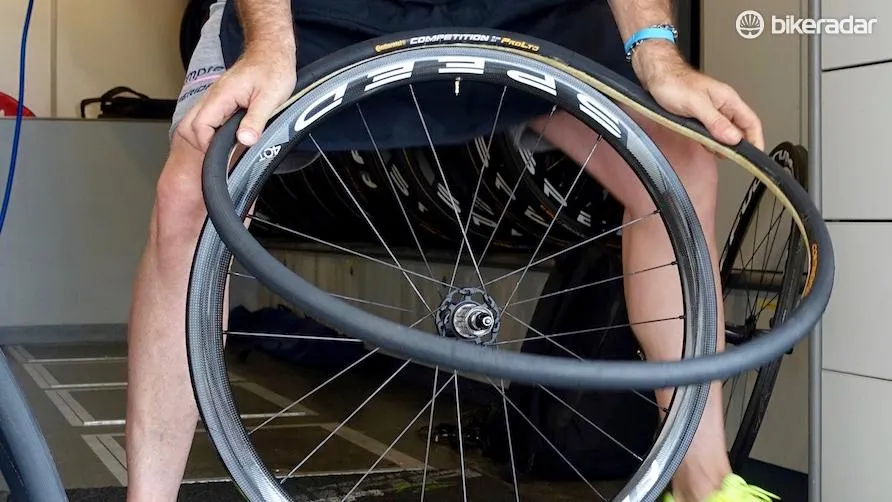
Step 5: Ready for tyre installation
Take your tyre off the stretching rim and, using the same solvent rag, wipe the base tape of the tyre. This clears debris and “wakes up” the dried glue a bit. Set it aside in a clean spot. Make sure you have your valve extender installed if you need one for your rim.
Step 6: Get your swell on
A few big deep breaths are always helpful when psyching up for the physicality of installing a tubular on a rim. I like to think strong thoughts, visualizing an Olympic clean and jerk competitor. Then I look in the mirror, come back to reality and hope that my emaciated cyclist arms can get the job done.
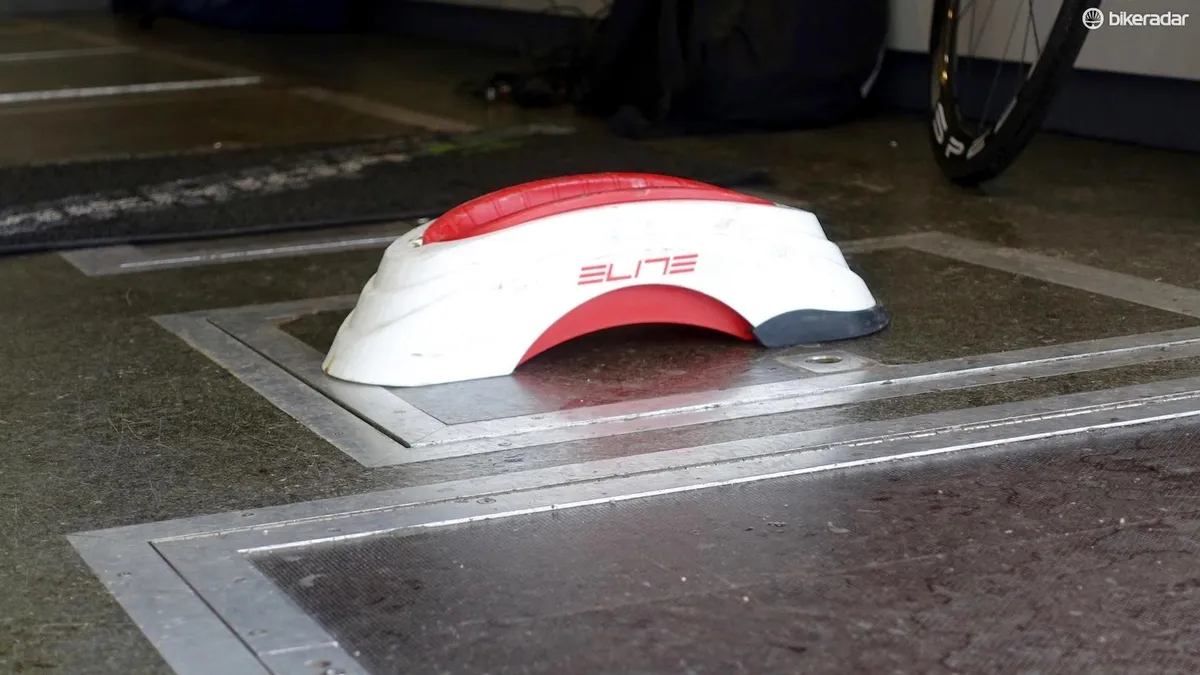
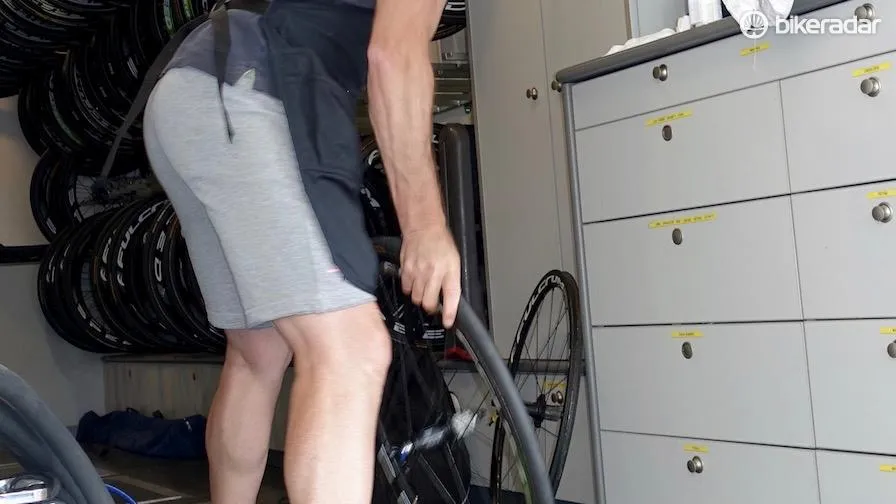
Moreno does this every day, so he took a moment and yawned instead. The savvy Italian then got out an Elite trainer front wheel tray to hold his wheel, carefully putting the valve hole at top dead center.
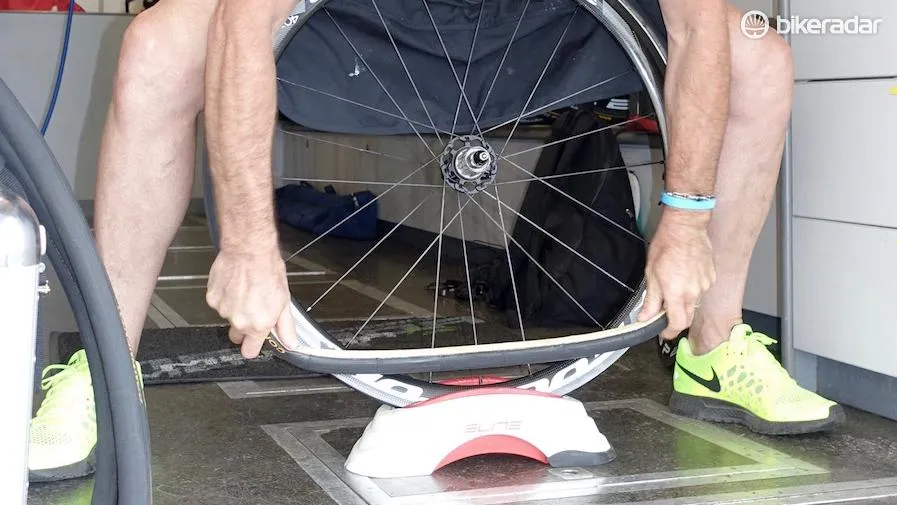
Step 7: Install the tyre
With enough air in the tyre to give it shape, put valve into the valve hole. From here the going gets tough. It’s important to put even tension on the tyre as you install it. Too much pressure on one side can make for a crooked valve stem and for spots that don’t adhere well and tick while riding.
There are no tricks here. It takes some grunt and strong wrists. Work your way around the rim, doing your best to center the tread of the tyre as you go. When you near the end, lift the wheel off the stand (or a piece of wood to keep the rim from collecting dirt) and try to pop the rest of the tyre onto the rim without smearing the glue.
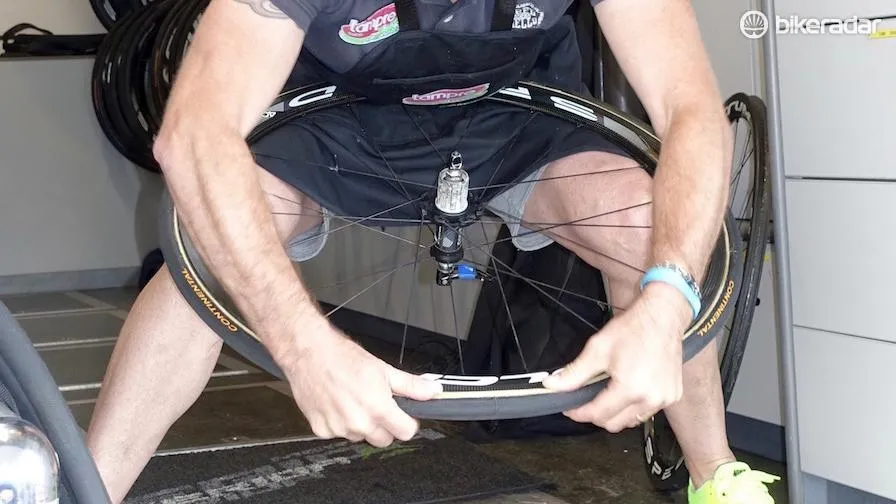
With the tyre now on the rim, give the wheel a spin. You need to act quickly to get the tyre as straight as possible. A good place to start is with equal parts of the base tape showing on both sides and consistently around the circumference of the tire. If you’re using a high quality tyre, this should be enough. Sometimes you’ll need to adjust for a slightly wobbly tread.
Once you're happy with your straight-as-an-arrow tyre placement, pump it up. Go to 100 psi or so (7 bars). Give it another quick spin to verify how awesome you are, then roll the wheel on the ground, pushing the tyreinto the gluing surface using your body weight. Start at the valve stem and roll it back and forth before making your way around the tire.
Extra notes
Continental tyres are among the tightest tubulars produced. They require a lot of strength to install in a single go. Stretching your tyre on a clean rim after you’ve allowed the base tape glue to dry is the single best thing you can do to make this process easier.
Inflate it to 100 psi and leave it overnight before you need to stick it to your rim. Vittoria and other tyres made in the same factory are quite a bit looser and don’t always need to be stretched.
Step 8: Cleanliness is next to godliness
Nothing says professional like an expertly glued tubular tyre. Nothing says amateur like globs of glue at the top of the brake track. So grab that solvent rag from before and make your way around the wheel. Again, be careful to avoid rim stickers.
Set the results of your labor aside overnight to dry before riding, at least 12 hours! Now it’s time for that beer.
