


With the winter freeze behind us, things are looking up for us cyclists. But given the current economic climate, chances are you (or perhaps your nearest and dearest) might be reluctant to lavish expensive upgrades on your beloved bicycle.
Never fear – we’ll show you how to gain a significant advantage by simply sprucing up your tired wheels with a bit of TLC and a relatively limited budget.
Whether you have handmade or factory pre-built wheels, some or all of these steps could add up to a substantial improvement in speed and acceleration, especially over longer distances.
If in doubt about your abilities on the more technical steps, get them done by a trusted professional mechanic. Expect to pay up to £15 per wheel for a thorough true, tension and dish adjustment, and about the same for a hub overhaul, not counting parts. Let the good times roll!
Tools required
- Home truing stand (around £20)
- Spoke key (£5-£10)
Weight savings
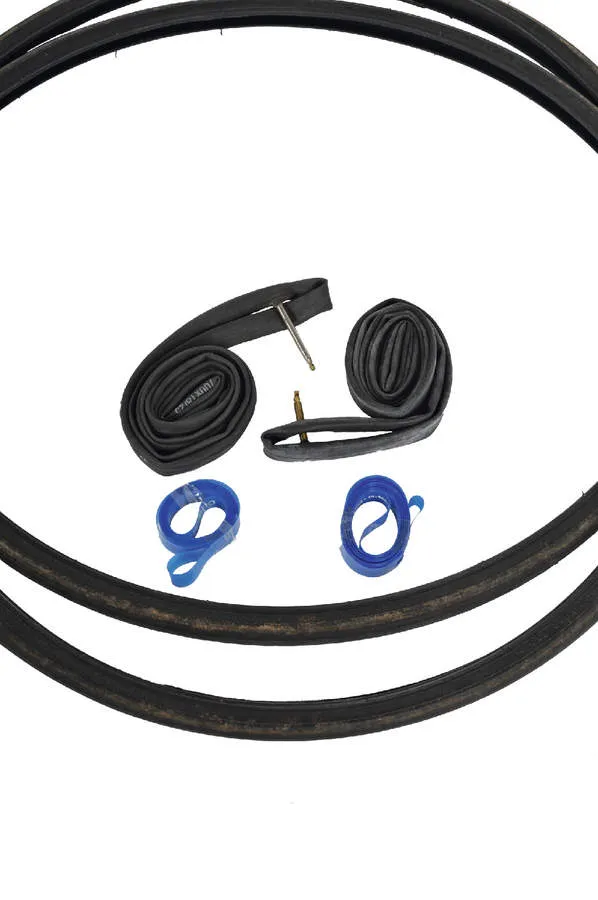
Old tyres (290g each) old tubes (130g each) old rim tape (25g each) = 890g
New tyres (185g each) new tubes (75g each) new rim tape (15g each) = 550g
Weight saved = 340g (over 0.5lb)
1. Cleaner = Faster
Seeing as the hub is going to be serviced, you don’t need to worry too much about getting water into it. After using a bit of Muc-Off, a bucket of warm soapy water and a stiff brush does the trick.
Although many new rims will have built-in wear indicators consisting of either a groove or shallow hole that is meant to disappear when wear limits have been reached (or a small hole that’s meant to appear when worn through), if the rims show signs of serious concave wear, you might need to make a more accurate measurement of the wall thickness.
Using the technique in the next step, you’ll know if the rim needs to be replaced. The rim will be clearly bent outward at high pressures, and look out for any cracks running lengthways.
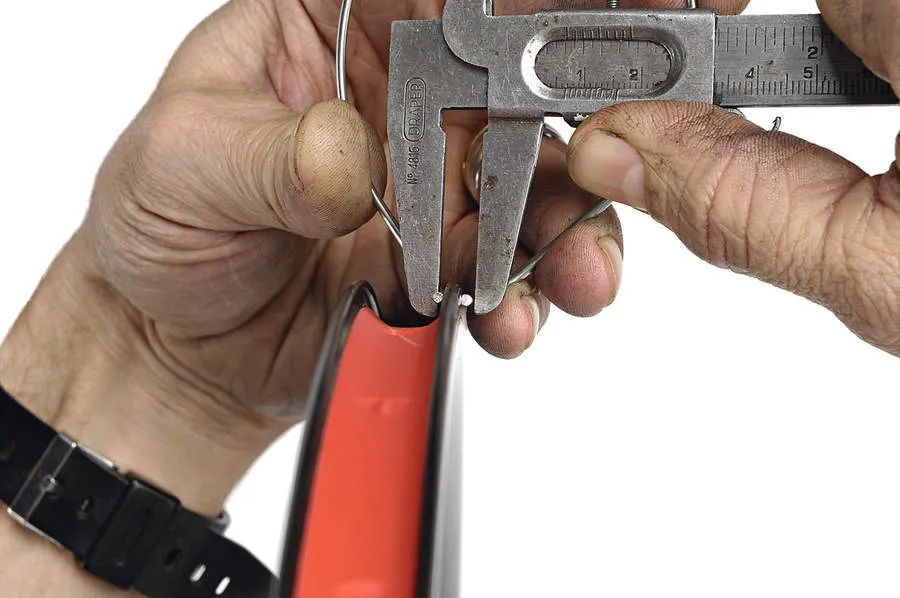
2. Inspection
Once clean, carefully inspect the wheel for any signs of wear and tear, especially braking surfaces and hub flange spoke holes; there’s really no point doing all this work only to find your rim is about to fail once the tyre is inflated.
You can make your own measuring device by bending a straight gauge 2mm spoke (14-gauge) into a horseshoe shape. Now put a 5-10mm long tab at the end of each ‘leg’ by bending said amount at a right angle from the plane of the shoe with a pair of pliers.
Position the device by pinching the rim flange between the tabs and take an overall measurement with a set of callipers. You should get a measurement of 5mm or more, telling you that the rim wall thickness is at least 1mm or more and safe to use.
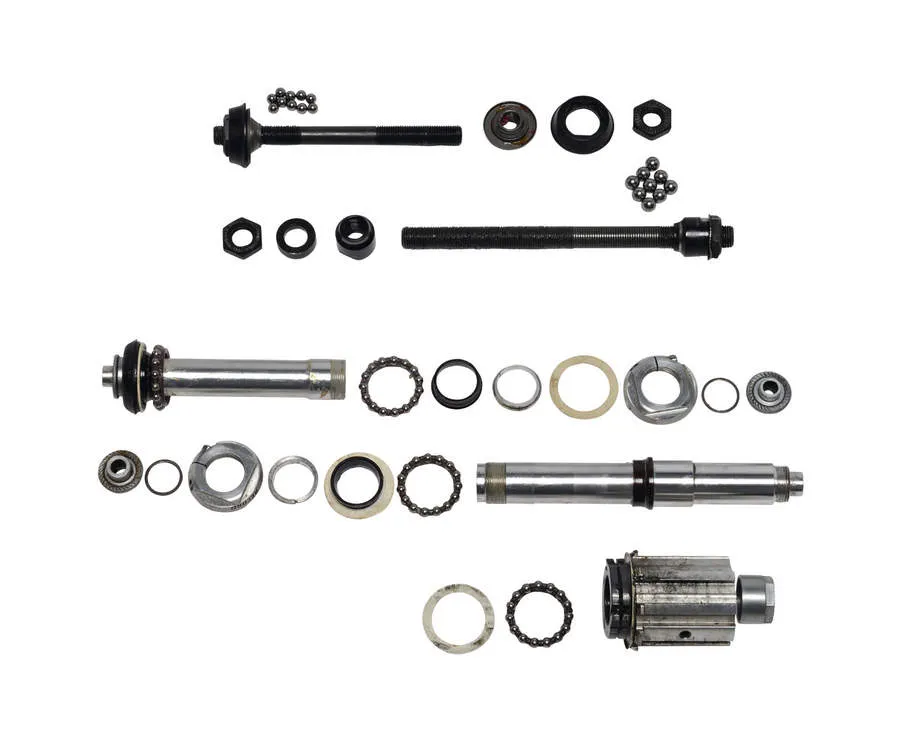
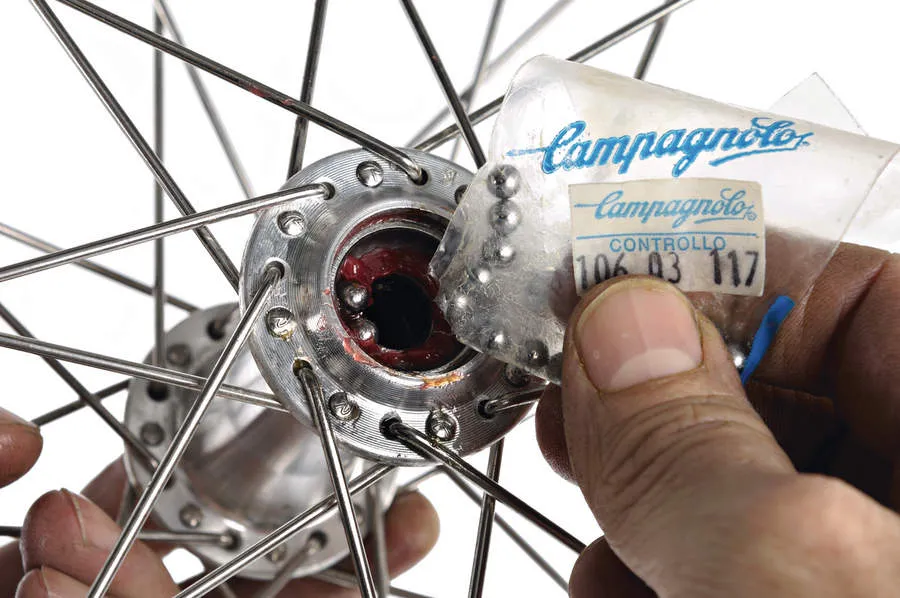
3. Hub overhaul
To help you navigate through the hub service, refer to the photo above for common hub internals. Those in the top half are used in Shimano, older freewheel type Campag and most other Taiwan clones; you’ll need two 13, 14, 15 and 17mm cone wrenches.
The bottom half shows the current Campag setup which requires two 5mm Allen keys for the end nuts, a 2.5mm for the threaded cone adjuster, and some deft fingertips to keep the pawls in place.
Keep everything in the order it was disassembled, and clean with a bit of degreaser and a cloth. Inspect the bearing surfaces for wear and pitting, and replace the cones if damaged. Better bearings and cones will set you back about a tenner per wheel, but it’s worth it in the long run.
4. Quality bearings
While you’ve got your hub opened up, you might want to take the opportunity to upgrade the ball bearings to higher quality ones. Better materials (chromoly or even ceramic) and smoother, more finely machined surfaces will add to both the real and psychological advantage.
Standard Shimano and pre-redesign Campag hubs take about 10 3/16in balls per side at the front, and nine ¼in per side at the rear. Beware: Shimano clones will often have 7/32in balls on the freehub side and ¼in on the left rear.
New Campag hubs use plastic bearing retainers with 5/32in balls front and rear, with sealed cartridges in the freehub that usually last a while. If in doubt about numbers, add bearings until they touch, then remove one.
5. Lighter grease
The point of this exercise being more speed through lighter weight and less resistance, a good place to gain yet another small but helpful advantage is in the choice of grease used to lube the bearings. Middleburn used to manufacture a wonderful hub that used an oil bath system, but would often leave small puddles.
After placing your bearings, you can now dribble a few drops of oil onto the grease; just four or five drops on either side. This will act as a solvent with the grease, making it less sticky, especially in the cold.
You may lose a bit of water resistance and grease durability in foul weather, so you’ll need to stay on top of your hub maintenance. Give them a frequent check with your fingertips for signs of dryness or roughness.
6. Lighter rim tape
Saving about 10g per wheel, this is another great way to increase your results; you’ll find that the old rim tape is probably badly worn, split, or possibly doesn’t adequately cover the spoke holes and ferrules.
This is actually a frequent issue on many new bikes that presents a constant annoyance to cyclists (mystery flats) and diligent shop mechanics (having to replace rim tape with wider stuff on probably as many as a quarter of all new bikes), with potentially serious consequences.
Run a screwdriver or plastic tyre lever underneath the rim tape and get it going in the right direction to fine tune the valve hole alignment. Failure to do so may result in a crooked and damaged valve stem. Make sure it covers the spoke holes adequately, while not interfering with tyre bead seating.
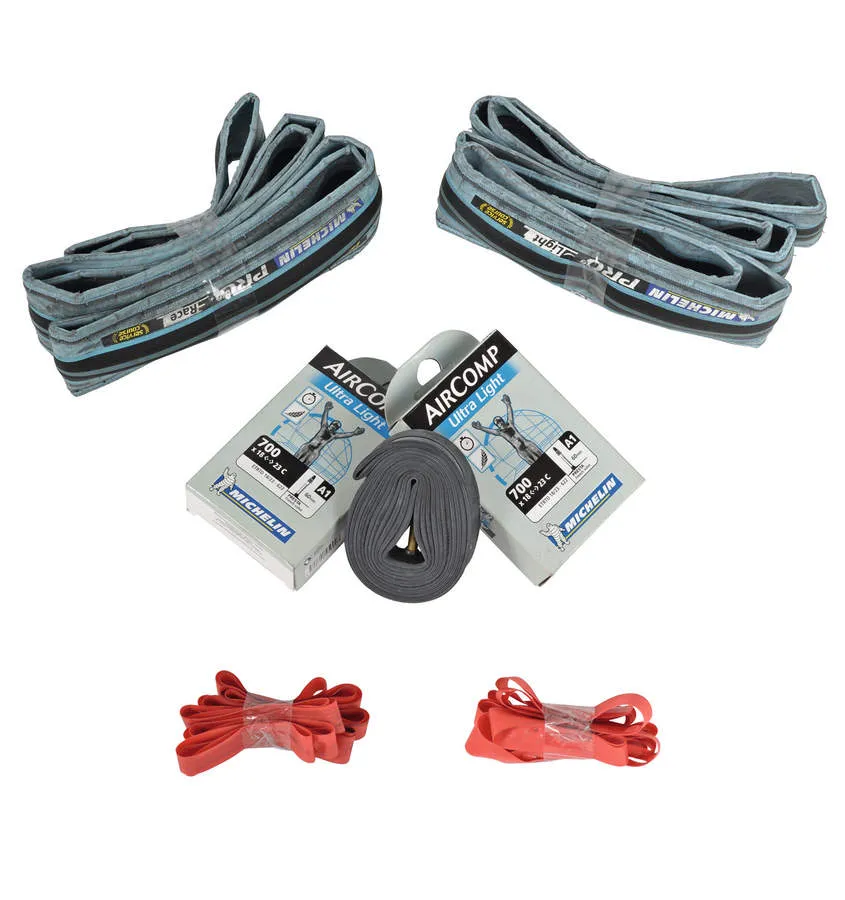
7. Lighter tyres
Just as colour and shape can affect physical performance through their effect on emotion (just imagine walking up to a bright red Ferrari with the keys in your hands, and see if your heart rate doesn’t shoot right up), so can sound.
These Michelin Pro Race² tyres, and others similar to them, can really cut down on rotating mass, with pretty healthy savings of up to 100g over wire bead tyres.
Combined with lighter tubes, the reduced wall thickness and higher pressures will also produce an interesting new sound, that of speed: a hollow, whooshing hum guaranteed to make you want to go as fast as you possibly can!
Make sure the tyre bead is evenly positioned around the rim, and check that the tube isn’t pinched at the valve stem before inflating to about 110-120psi.
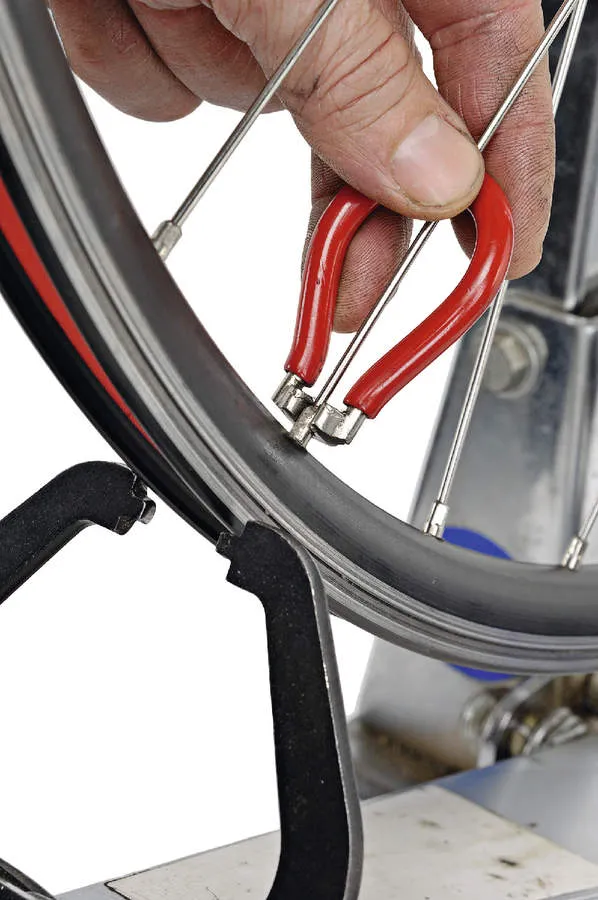
8. Tension
Check the spoke tension in order to assess the general condition of the wheel, and as a guide when truing: will you want to mainly tighten spokes, loosen, or a combination of both?
Go around the wheel, squeezing crossing pairs of spokes on the same side, both left and right. They should feel quite firm, and deflect no more than about 5mm in the middle section of the spoke, and a bit less than that for the drive side rear on 700C wheels with conventional 1.8/2mm spokes.
Pluck with a fingernail or tap the spokes with a metal object to listen for an even, high-ish tone all the way around. Or better, use a tension gauge (such as Park Tools’ TM1 tension meter), in this case a reading of between 17 and 25 on a Park tool should assure good integrity.
9. Wheel truing
Over a period of time, a wheel can get to the point where it no longer stays put and goes out of true easily.
Having assessed the overall tension in the previous step, proceed with a drop of light lubricant on each spoke nipple, and after allowing them to soak for a while, start truing.
Spoke nipples are basically nuts with a standard thread direction (right = tight, left = loose; simple). With the wheel upright, work from the top of the rim and proceed no more than a quarter of a turn at a time; tightening a spoke pulls the rim in the direction of the hub flange from which it exits and draws the rim towards the hub.
If there are any high or low spots affecting the roundness of the rim when you turn the wheel after tightening a spoke, adjust adjacent spokes to pull it into shape.
10. Balancing
This next step is the icing on the cake – a well balanced wheel will help give you that little extra something to sweeten your ride to the max.
Once you’re satisfied that your tyres are correctly installed, the wheels trued and the hubs running freely, assess the wheel balance by simply allowing it to settle from a previous position: the heaviest section will be at the bottom, and will most likely correspond to the valve stem.
You can counter-balance this by attaching a short length of lead wire at the opposite end, with two or three zip ties pulled tight (small split fishing-line weights might work too).
A tyre valve weighs about 7-10g, so get your scales out to check. The wheel should now settle at random positions without moving.