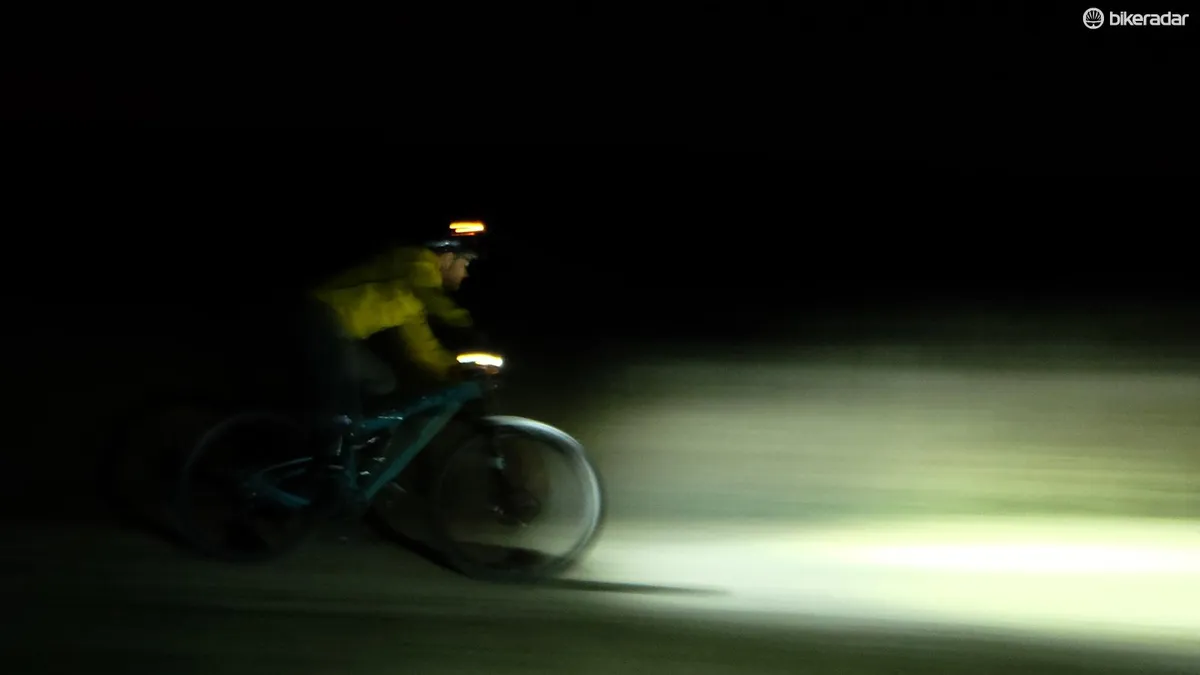
Mountain biking at night is a great way to stay sane – and fit – during the gloomy winter months and to enjoy trails that are usually crowded during the daylight hours.
But the prospect of hurling yourself down a mountain after dark might also seem a little daunting. So what do you need to know before you head out for your first nocturnal trail ride?
Related: Buyer’s guide to mountain bike lights
The good news is that there's never been a better time to get into night riding. LED technology is progressing at such a rapid pace that light systems are very affordable and have blindingly bright outputs. Lighting systems with 600 lumens or more will provide enough illumination for general trail riding. Setups with lumen outputs of 2,000 or more are common and are brighter than some automotive high beams.
Cordless systems are quickly becoming the norm, simplifying installation on the handlebar or helmet.
Related: Best mountain bike lights of 2015
Handlebar or helmet mount?
The answer is, of course, both.
There are tradeoffs to each system. Together, they balance each other out.
Helmet mounts follow your line of sight, allowing you see around bends in the trail. However, because the light source is mounted above your eyes, it’s difficult to see shadows cast by the light. As a result, helmet-mounted lights tend to flatten out trail obstacles, which can affect your depth perception.
A handlebar-mounted light does a better job of accurately illuminating trail obstacles. On the flipside, it only provides illumination where your handlebar is pointed, leaving you in the dark when trying to navigate night turns and switchbacks.
Not only do you cut a brighter swath through the inky darkness with two lights, but you also have a backup in case one fails. Additionally, each light casts a different pattern. When used together they provide a more natural ride experience.
If you’re not willing to invest in both, opt for a helmet-mounted light.
Proper light setup

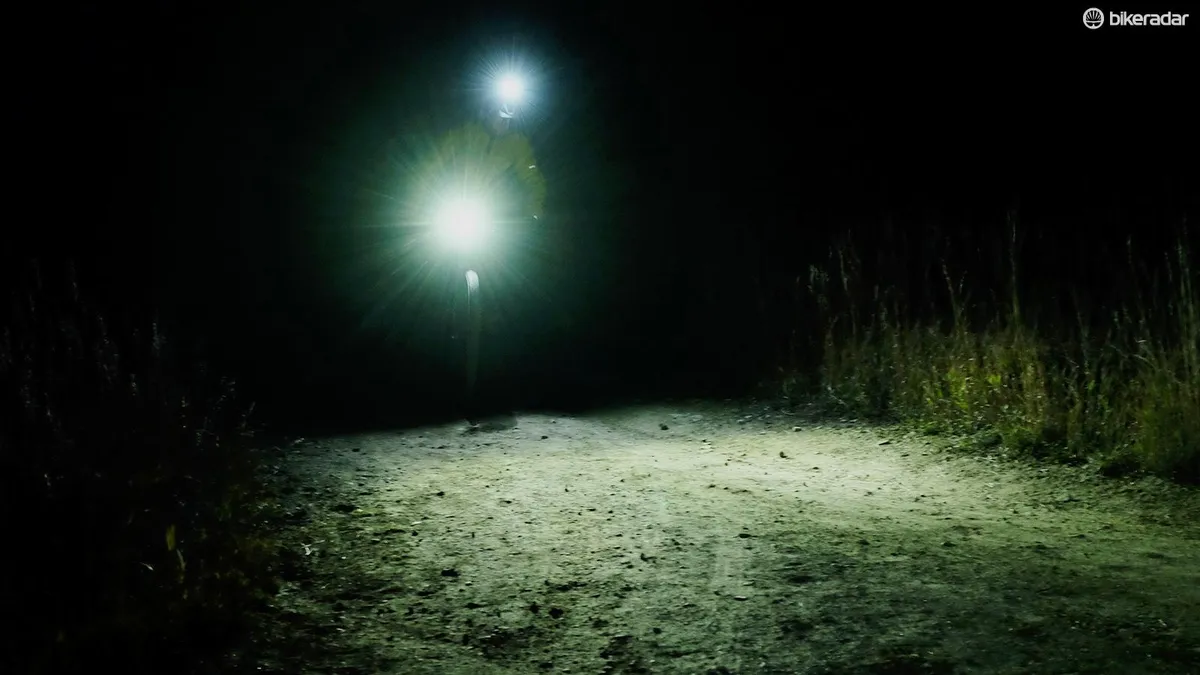
When used together, modern handlebar- and helmet-mounted lights are a potent combination that turns darkness into relative daylight. Position of the beams is critical to getting the widest, most usable field of view.
Starting with your headlight, make sure the light is mounted as close to the middle of your helmet as possible. Ideally, it should be directly above the crown of your head. This is the most stable position and will keep neck fatigue to a minimum.
Angle the beam so that it follows your line of sight. If the beam is positioned too high it will fade off into the darkness, barely illuminating the trail in front of you. If the beam is angled too low, your timing and ability to choose a line will suffer.
Moving on to the light mounted to your handlebar, angle the beam so that it is positioned from several feet in ahead of the front wheel – this creates a usable field of view directly in front of you and provides a bit of peripheral lighting.
Other considerations
Getting your lighting sorted isn’t the only thing to take into account when preparing to ride at night. Here are five more things to consider before taking to the trails.
- Pre-ride check: Make sure your lights are fully charged before each ride. Have a predetermined route in mind. Know the mileage and how long it will take you to complete it. Make sure you know how long your light will run on high, medium and low and give yourself at least a 15 minute buffer in case you have a mechanical.
- Eyewear: Eye protection is even more important at night. Clear lenses are your best bet. Safety glasses will do the trick if you don’t have interchangeable lenses, or don’t want to spend a lot of money on dedicated eyewear for night riding.
- Dress for darkness: It shouldn’t be news to anyone that temperatures drop at night. Dress accordingly and pack an extra layer in case you need to bundle up. Reflective clothing is also a good idea, particularly if your rides include a bit of paved road.
- Plan B (as in backup). It’s always a good idea to have a backup light. It doesn’t have to be exceptionally powerful, but it should be bright enough to light your way back to civilization. If you ride to and from the trails, be sure you have a tail light as well.
- Slow your roll: Riding at night can play tricks on your eyes and alter your depth perception. Keep your speed in check and stick to trails you already know.