Mechanical disc brakes are one of the most common types of bike brakes, favoured for their reliability, affordability and simplicity.
Mechanical disc brakes are used on all types of bikes. They offer some advantages over rim brakes but, generally speaking, have some disadvantages versus hydraulic disc brakes.
In this article, we'll examine how cable-actuated disc brakes work, their pros and cons and how they compare to hydraulic braking systems.
What are mechanical disc brakes and how do they work?
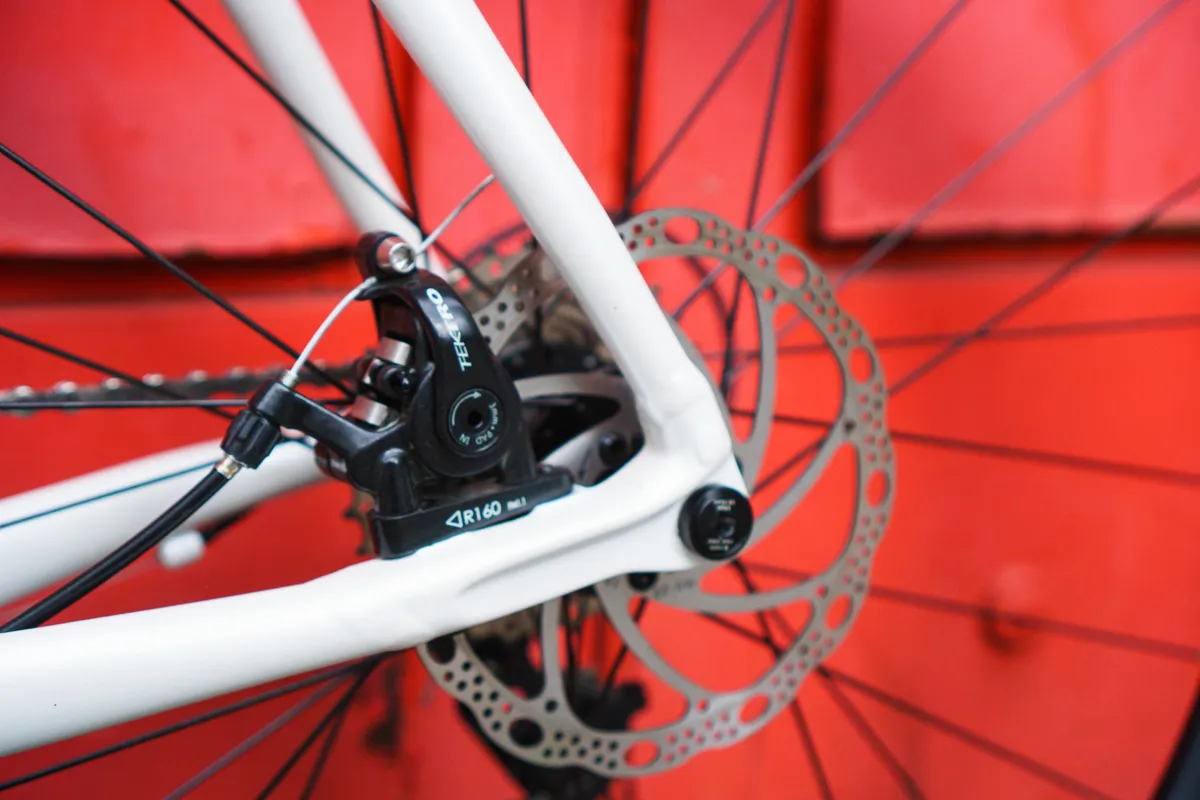
Mechanical disc brakes are a type of disc braking system that are actuated by a cable.
When the brake lever is pulled, a cable pulls an actuator arm in the brake caliper. This pushes either one or both brake pads together until they clamp down on the disc brake rotor, slowing the bike down.
The exact function of mechanical disc brakes differs depending on their design, but they can be split into two broad camps:
- Single-piston brakes: Most mechanical disc brakes are single-piston brakes. With these brakes, only a single pad moves, with the pad pushing the rotor until it strikes the opposing pad
- Two-piston brakes: Some mechanical disc brakes are two-piston brakes, with both pads moving together and striking either side of the rotor
Compared to rim brakes, disc brakes (both mechanical and hydraulic) generally benefit from increased power in all weather conditions.
Due to their relatively simple design, there’s very little that can go wrong with mechanical disc brakes. The list of potential issues is short, and most can be easily solved by replacing the brake cable and brake pads or adjusting the cable tension.
Which bikes have mechanical disc brakes?
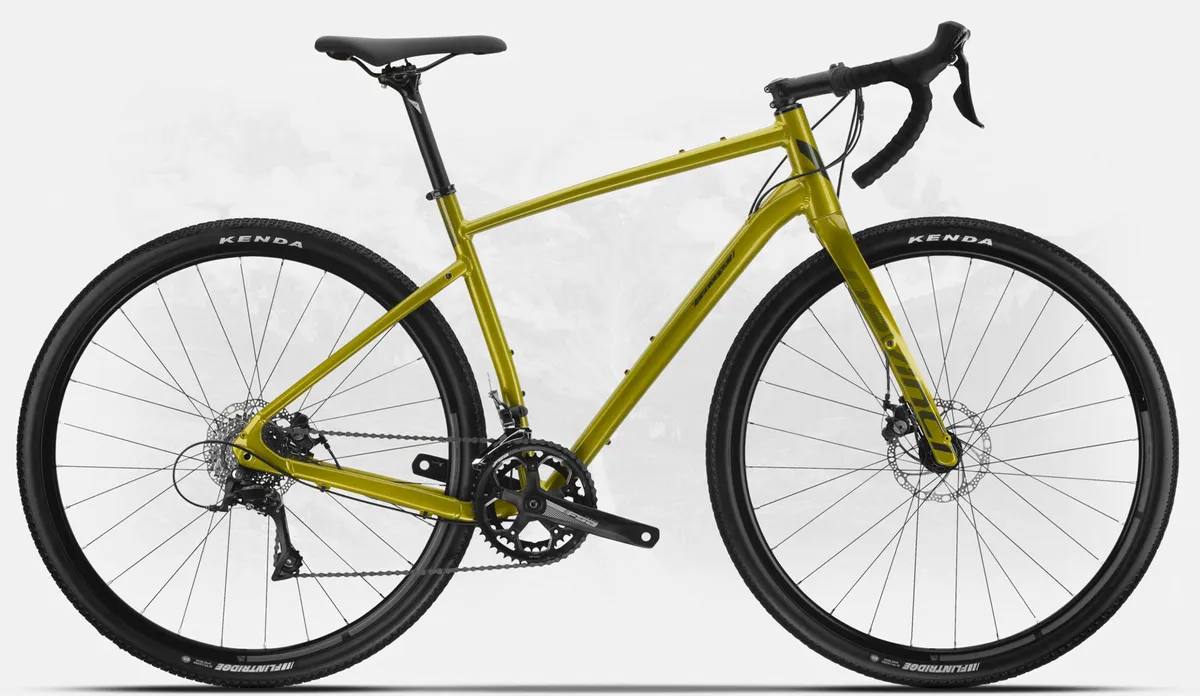
Mechanical disc brakes are found on entry-level road, commuter and gravel bikes, as well as touring bikes.
This is because they are cheaper than their hydraulic counterparts while still offering improved performance over rim brakes, which are (generally speaking) cheaper still.
Some affordable mountain bikes still come with mechanical disc brakes, however, for reasons we’ll explain shortly, they are an uncommon sight on the trails.
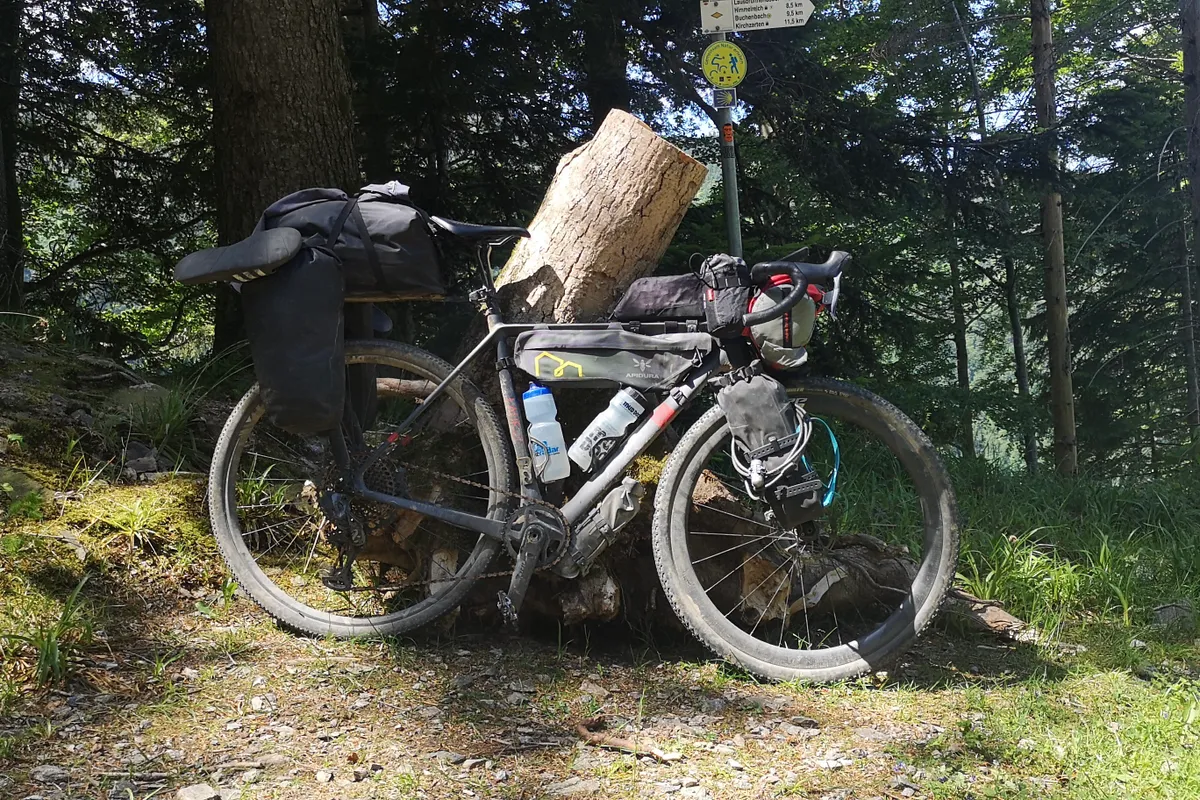
Long-distance adventure cyclists generally prefer mechanical disc brakes over hydraulic systems. They are easier to service, fixes are simple and quick, and spare parts are readily available.
Advantages and disadvantages of mechanical disc brakes
Advantages
Compared to rim brakes, mechanical disc brakes provide reliable stopping power in a wide range of weather conditions, including rain and mud.
They are also generally easier to maintain than hydraulic disc brakes, as they don't require bleeding. This can be a fiddly task, requires specialist tools, and can be off-putting for home mechanics.
Mechanical disc brakes are also more affordable than hydraulic disc brakes, both to buy and to maintain.
If you frequently undertake multi-day bikepacking adventures in remote locations, the bombproof nature of cable-actuated discs may also appeal to you.
Disadvantages
While the advantages of affordability and simplicity are enticing, mechanical disc brakes also have a few disadvantages, which shouldn’t be overlooked.
They aren’t as powerful as hydraulic disc brakes, which can affect their stopping ability in certain situations. This is why they are seldom seen on modern mountain bikes.
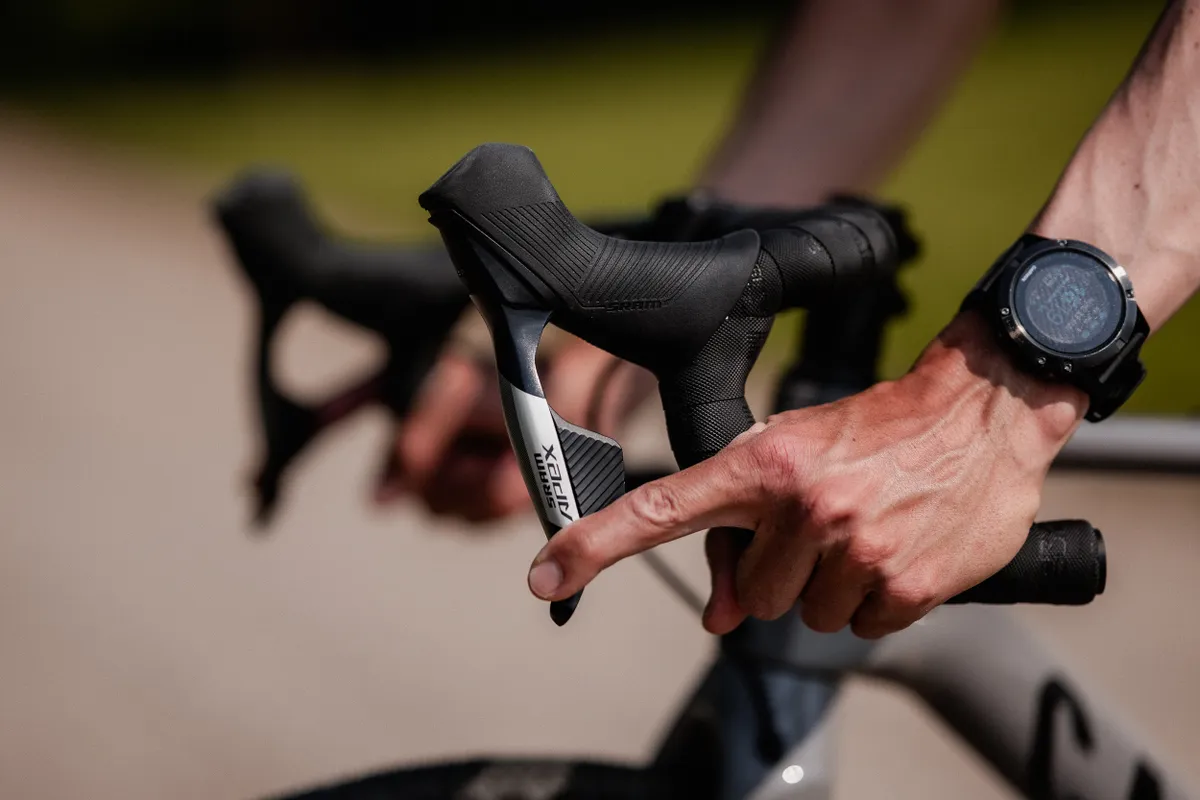
Cable-actuated disc brakes also require more hand force to operate than hydraulic options, which can be tiring on longer rides or for riders with weaker hands.
Mechanical disc brakes generally have poor modulation compared to hydraulic disc brakes, either feeling on or off.
Hydraulic disc brakes are self-centring. As the brake pads wear down, hydraulic disc brakes will retain the same – or a similar – gap between the pad and the rotor, ensuring consistent braking performance through use.
Mechanical disc brakes are not self-centring, which means pad wear needs to be accounted for by adjusting cable tension and recentering the pads, much like adjusting rim brakes.
Mechanical disc brakes can also be more noisy than hydraulic options and may require regular attention to keep them running quietly.
Mechanical vs hydraulic disc brakes
Performance
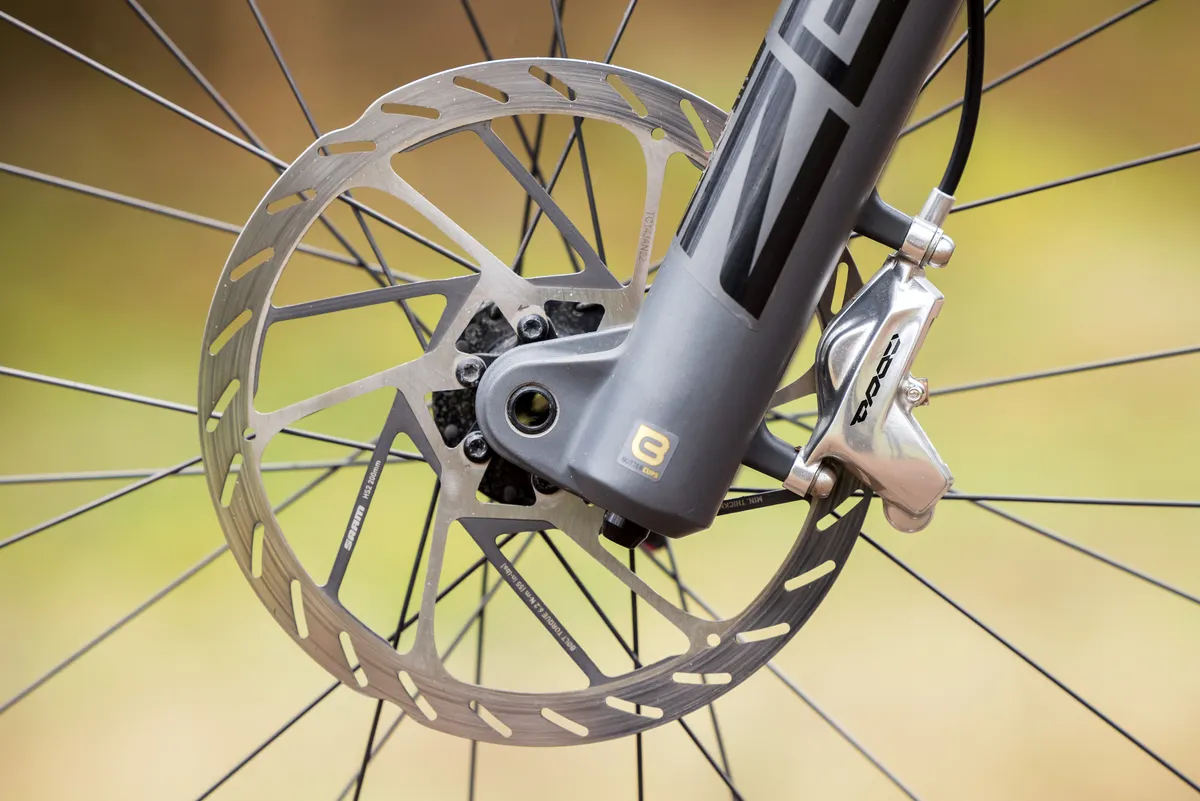
If stopping power and performance are your priorities, hydraulic disc brakes are your answer. Cable-actuated brakes simply can’t compete with the power, consistency and lever-feel of hydraulic braking systems.
Hydraulic disc brakes provide a much easier lever action, making braking hard much less tiring, while also boosting brake modulation and control.
The best hydraulic disc brakes also offer vastly improved adjustability, enabling riders to fine-tune their brake lever position and pad-to-rotor contact point.
Maintenance
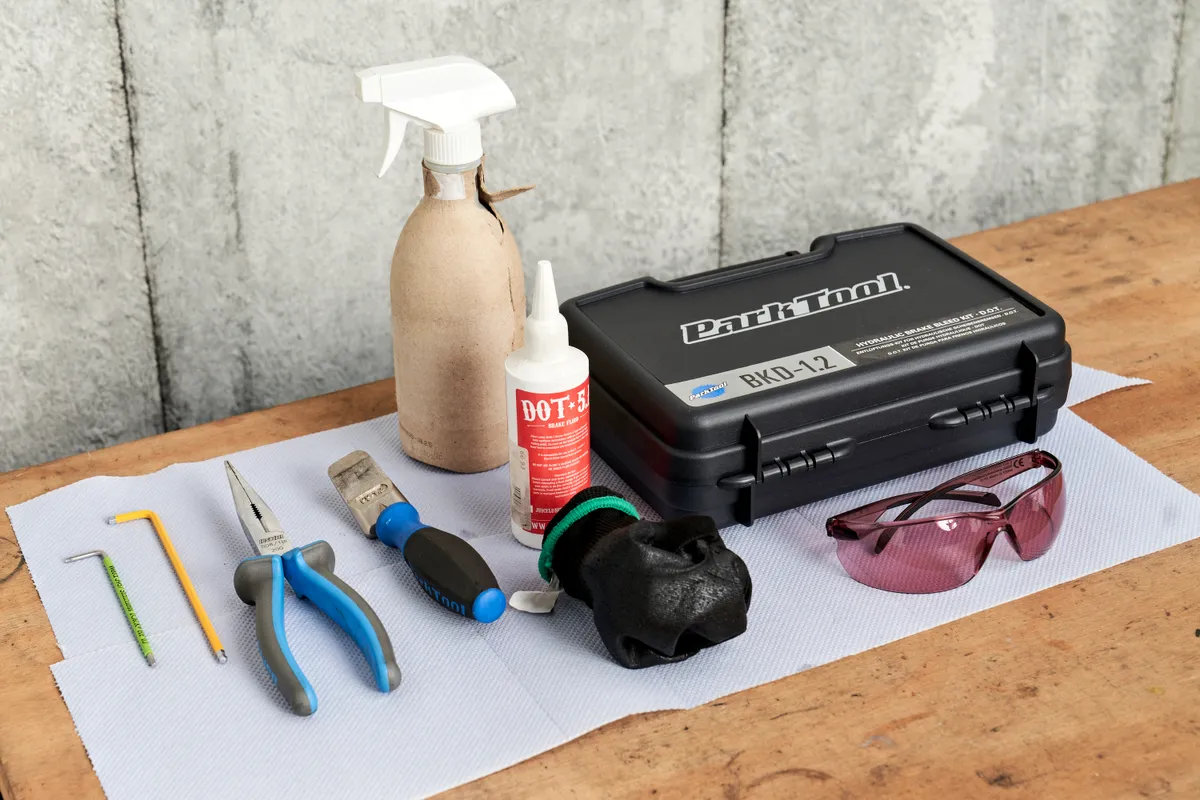
Mechanical brakes are generally a lot easier to maintain. The process of replacing a brake cable is relatively straightforward and achievable by most home mechanics.
While the process of replacing brake pads is the same for both mechanical and hydraulic disc brakes, the latter require semi-regular bleeding to perform optimally.
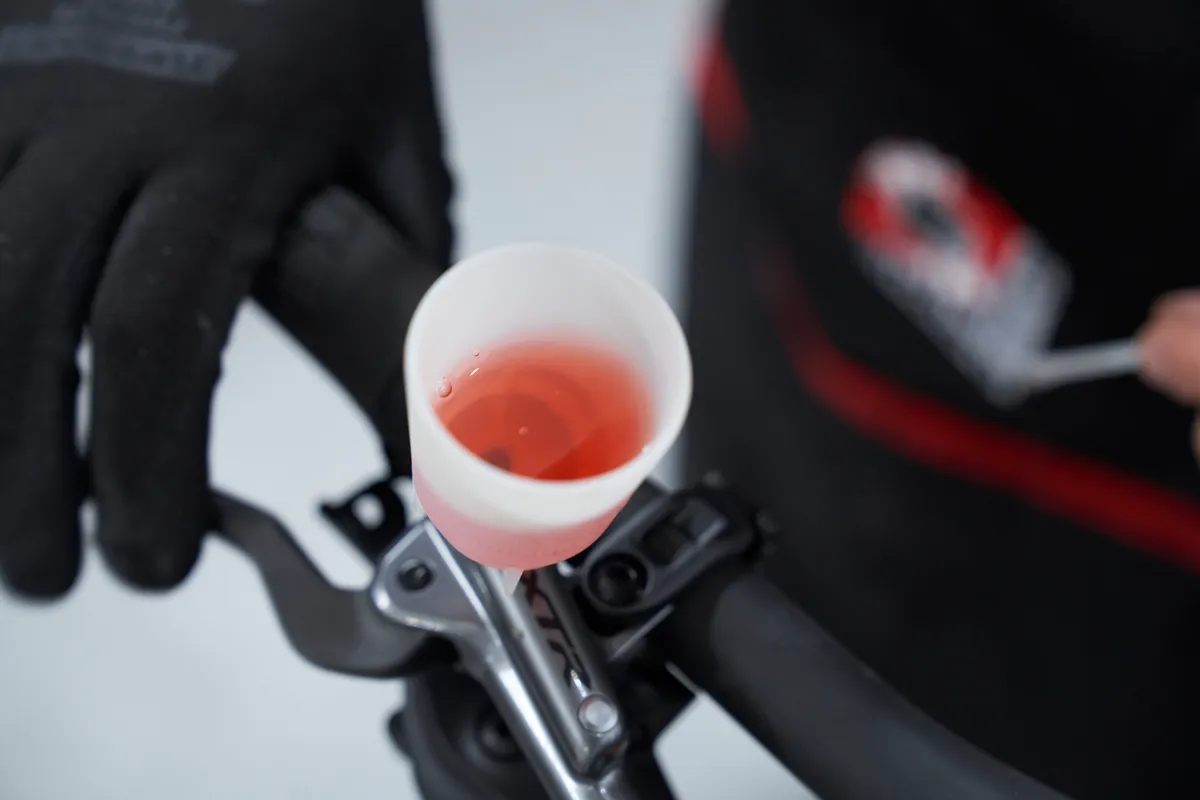
Bleeding involves purging the hydraulic system of any air that may have accumulated and renewing the brake fluid. While this job can be done at home with the right tools (such as specific bleeding syringes and brake fluids), it can be daunting for some home mechanics.
Pad wear needs to be taken into account with a mechanical disc brake system, however.
Cost
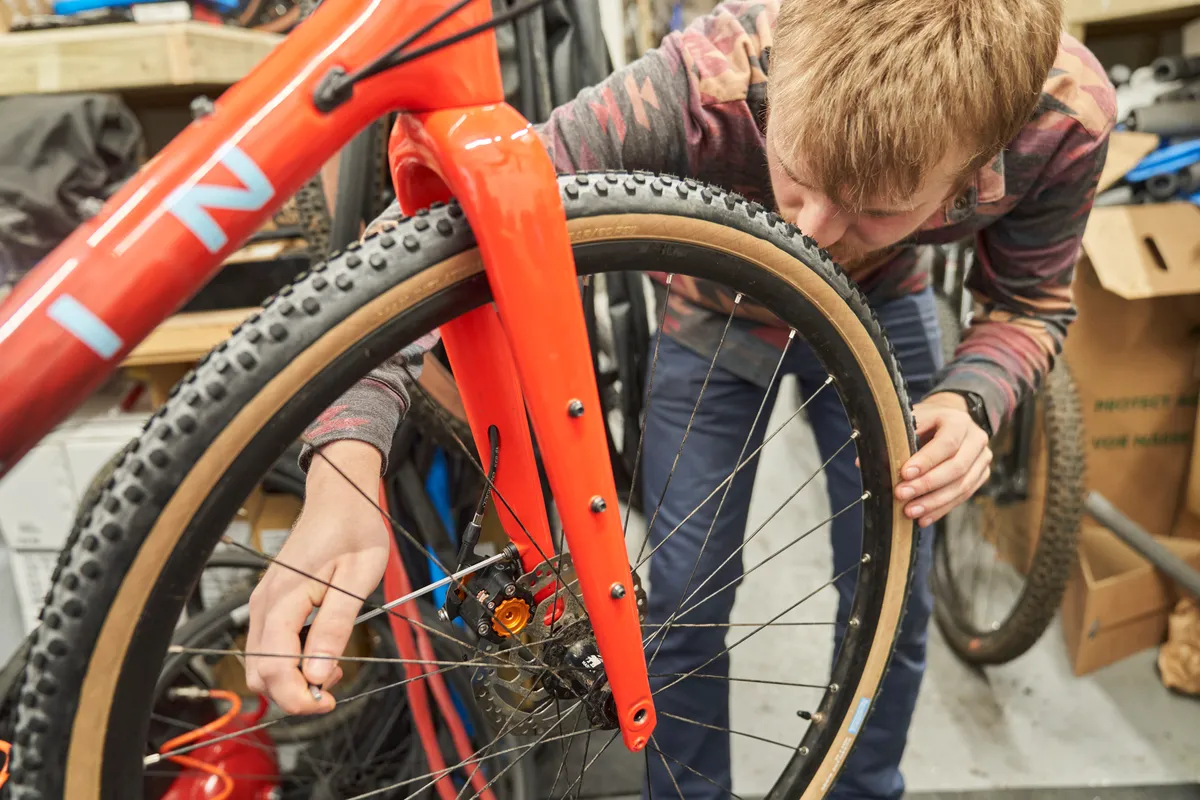
Mechanical disc brakes are, generally speaking, cheaper than hydraulic brakes. The lower entry cost is accompanied by cheaper maintenance.
So, if budget is your primary concern and you don’t plan on taking your ride too far off-road, cable-actuated discs may be for you.
The best hydraulic mountain bike disc brakes range in price from around £70 to well over £200 per brake, and that doesn’t factor in the cost of a rotor.
Mechanical stoppers, on the other hand, can be found for as little as £25 per end. High-end options can easily set you back as much as a hydraulic disc brake.
How to adjust mechanical disc brakes
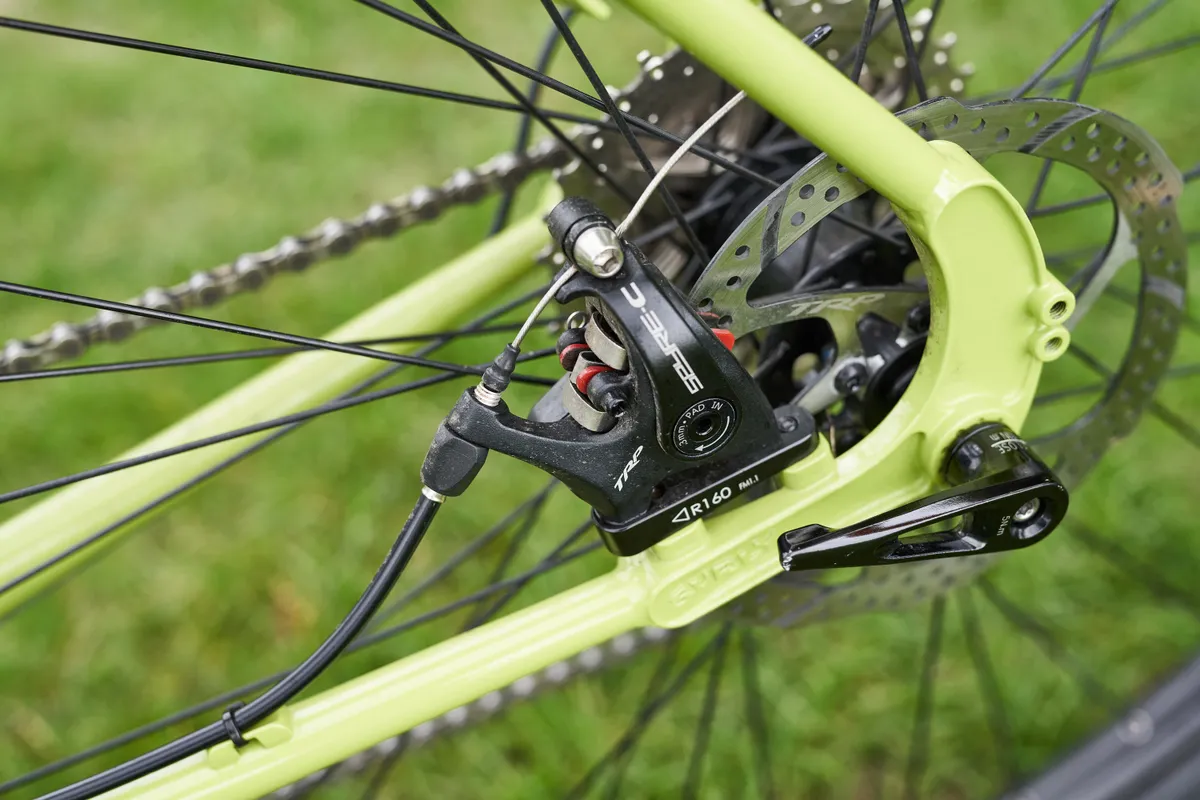
Unlike hydraulic disc brakes, mechanical disc brakes must be adjusted as the brake pads wear to maintain optimal performance.
Before you adjust the caliper itself, it’s important to check the health of your brake pads. It’s crucial to catch worn pads before they wear down to the metal backing plate. This can cause serious damage to your rotor if left unchecked.
If your pads still have plenty of life, re-install the wheel. Then, make sure your disc is running true, and re-align if necessary.
If you notice your lever pulling further and further to the bar, you will need to adjust your brake cable tension.
Below are general instructions on how to adjust mechanical disc brakes to maintain performance. Exact instructions will vary depending on your brake system, but these are a good starting point.
How to adjust mechanical disc brakes for pad wear
- First, unwind the static side of the caliper and loosen the caliper bolts that attach it to the frame or fork.
- Centre the caliper so the disc runs perfectly through the middle of the caliper body and lock off the bolts – be careful not to over-tighten.
- Wind the static caliper back in until it sits just off the rotor. You can place a business card or similar between the pad and the rotor to help ensure you have sufficient clearance.
- Now, it’s time to adjust the moving caliper. Locate the brake’s barrel adjuster. This is often part of the caliper, but can also be found as part of the cable, near the lever.
- Wind the barrel adjuster in fully, then wind it back out by one full turn.
- Undo the cable locking bolt on the caliper to release the cable.
- Manually tension the cable until the brake pad sits just off the rotor (you can use the card again here if you like).
- While maintaining cable tension, re-tighten the cable locking bolt.
- Test the brake and make any fine adjustments using the barrel adjuster. If the pads are rubbing, wind it in slightly and re-test. If the lever pulls too close to the bar, wind the barrel adjuster out.
- Once you are happy, make sure to fully check the brakes before heading out on your next ride.


