Integrated seat clamps can be frustratingly complicated. They're designed to replace traditional seat collar clamps and used to hold your seatpost at a fixed height in the frame. Integrated seat clamps are often found on bikes with seatposts that stray from the traditional round tube shape.
They can offer aero gains for road and gravel bikes, save weight and simplify the look of your bike. However, between bits falling inside the frame, their confusing covers and specific tightening procedures that need following to the letter, they can add extra hassle to life with your bike.
Here are some top tips to get on top of integrated seat clamps and save yourself some stress.
Check what type of seat clamp you have
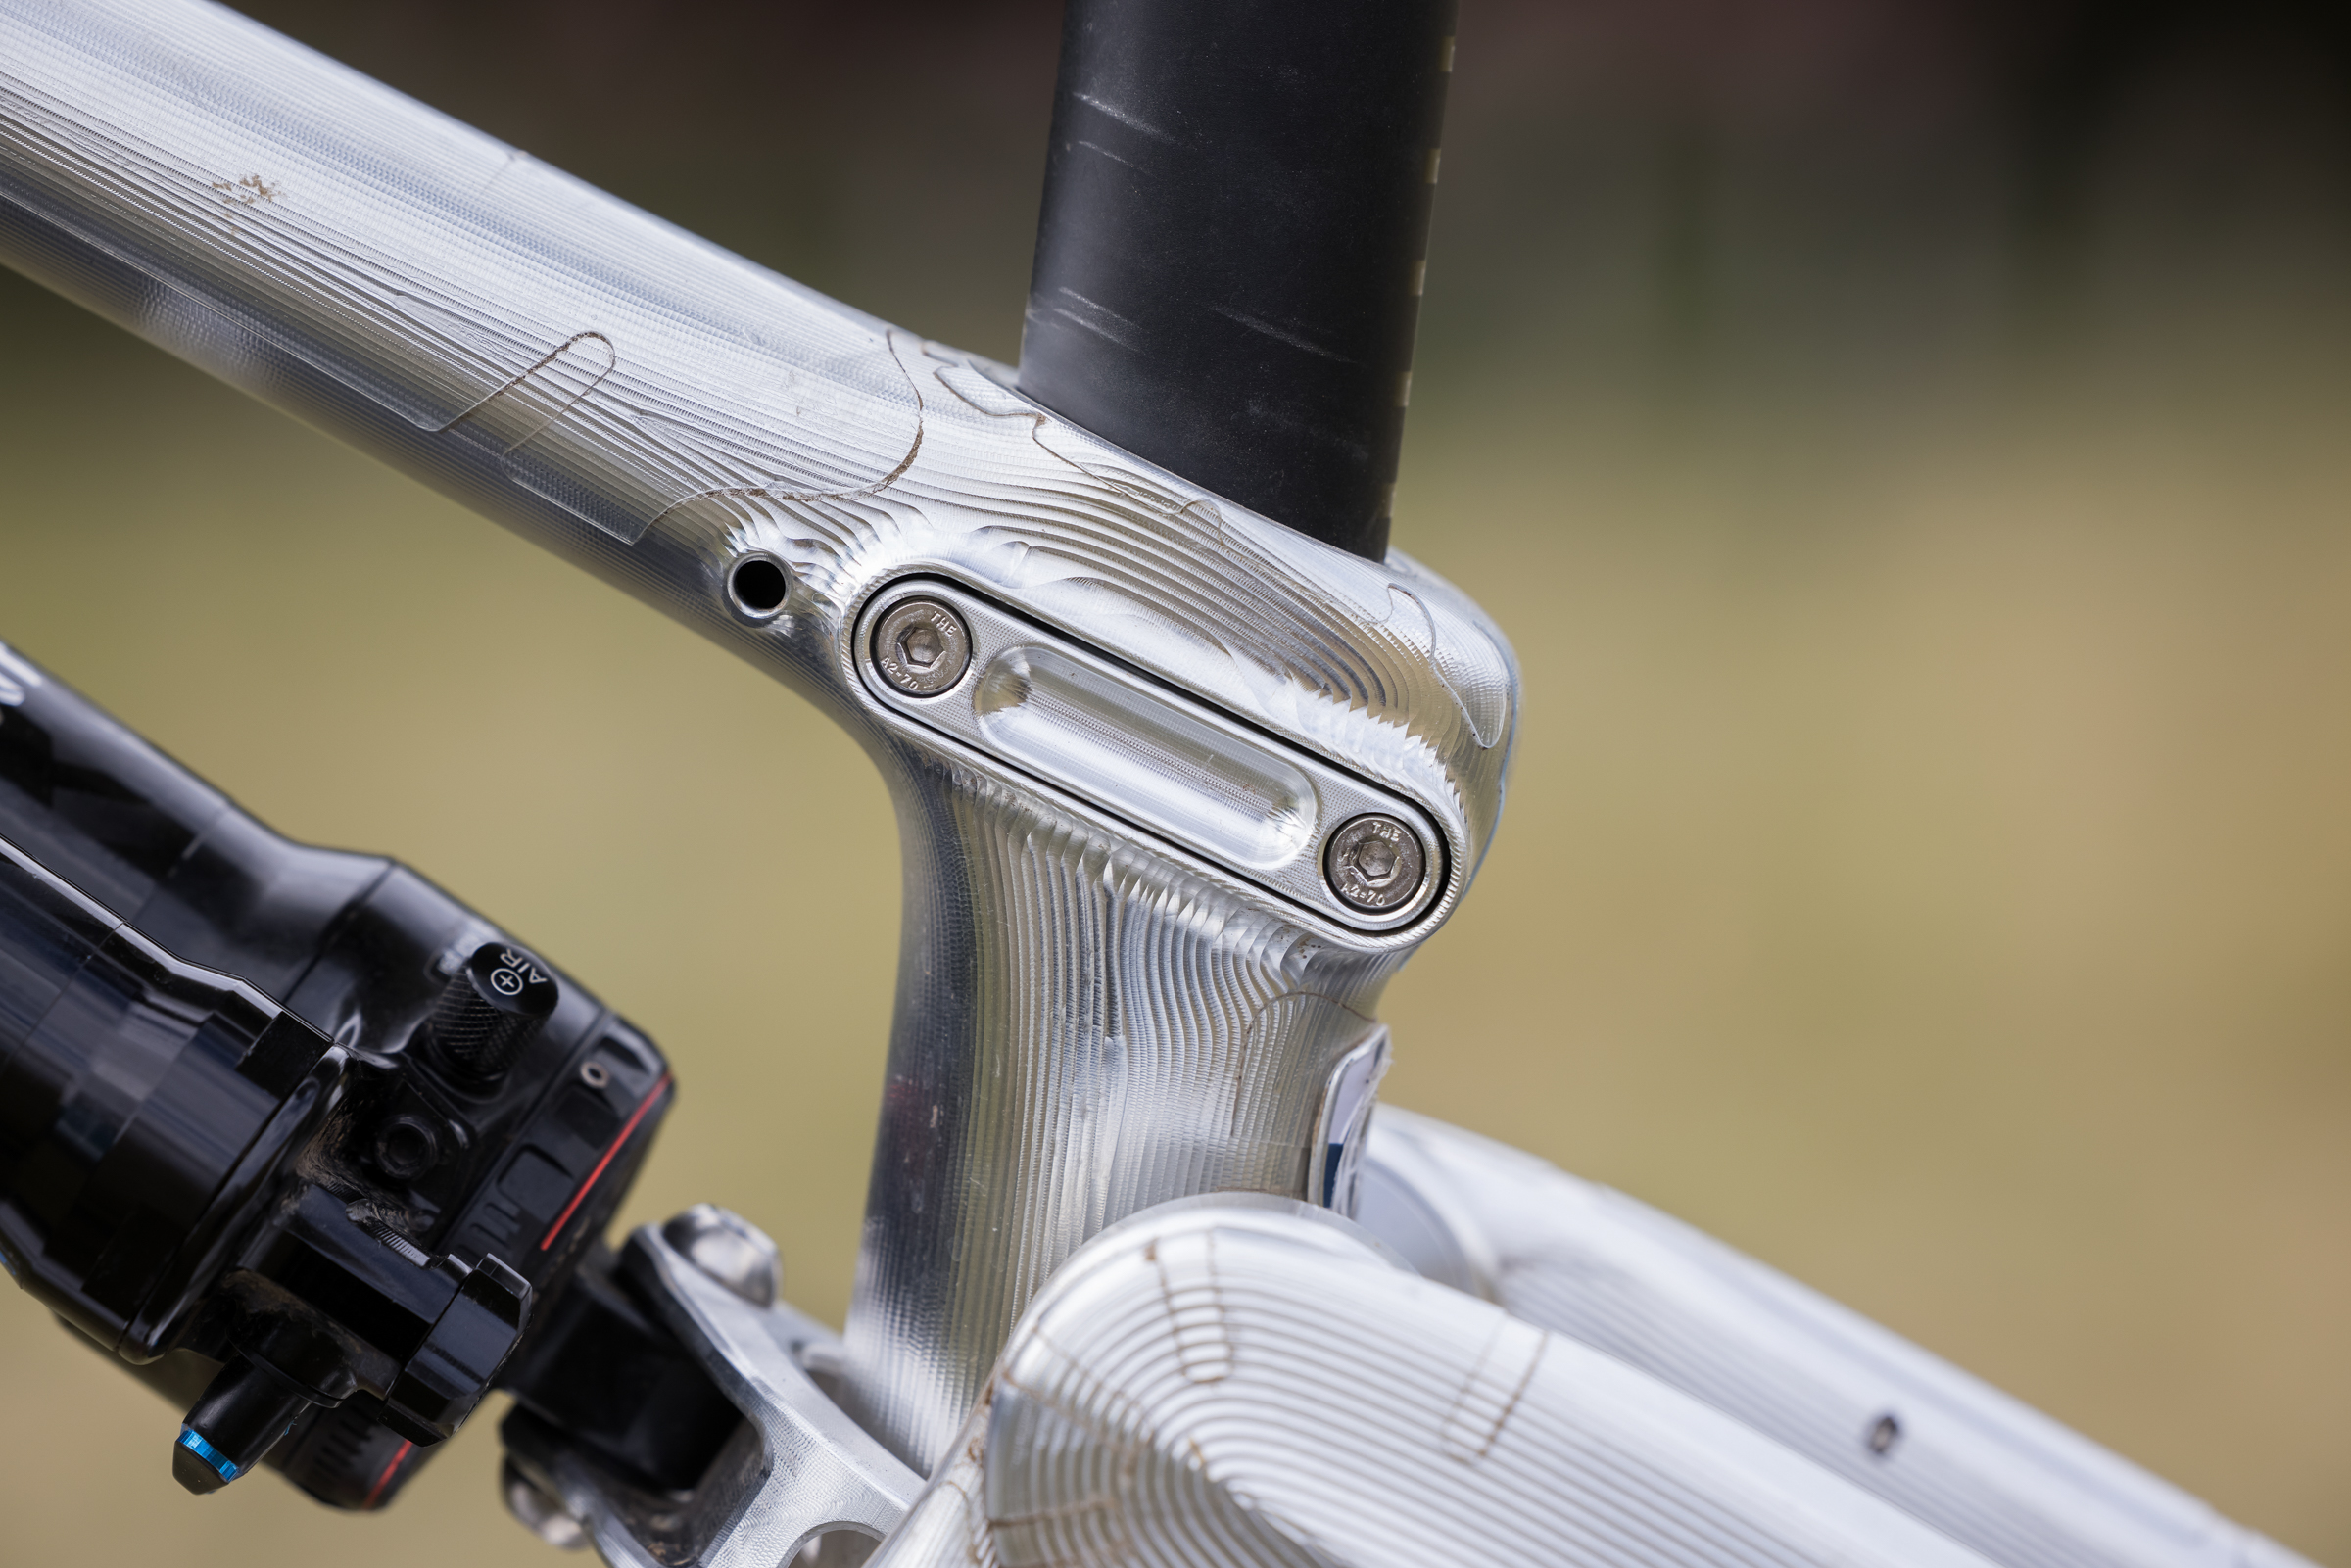
Before you start trying to secure the seatpost on your new bike, it’s worth examining what kind of seat clamp you’re working on.
A traditional seat clamp is a band-type, collar arrangement that tightens to pinch the top of the seat tube over a round seatpost. For more intricate frame designs, particularly those using a carbon fibre construction, some designers believe there are better solutions and employ various integrated seat clamp designs.
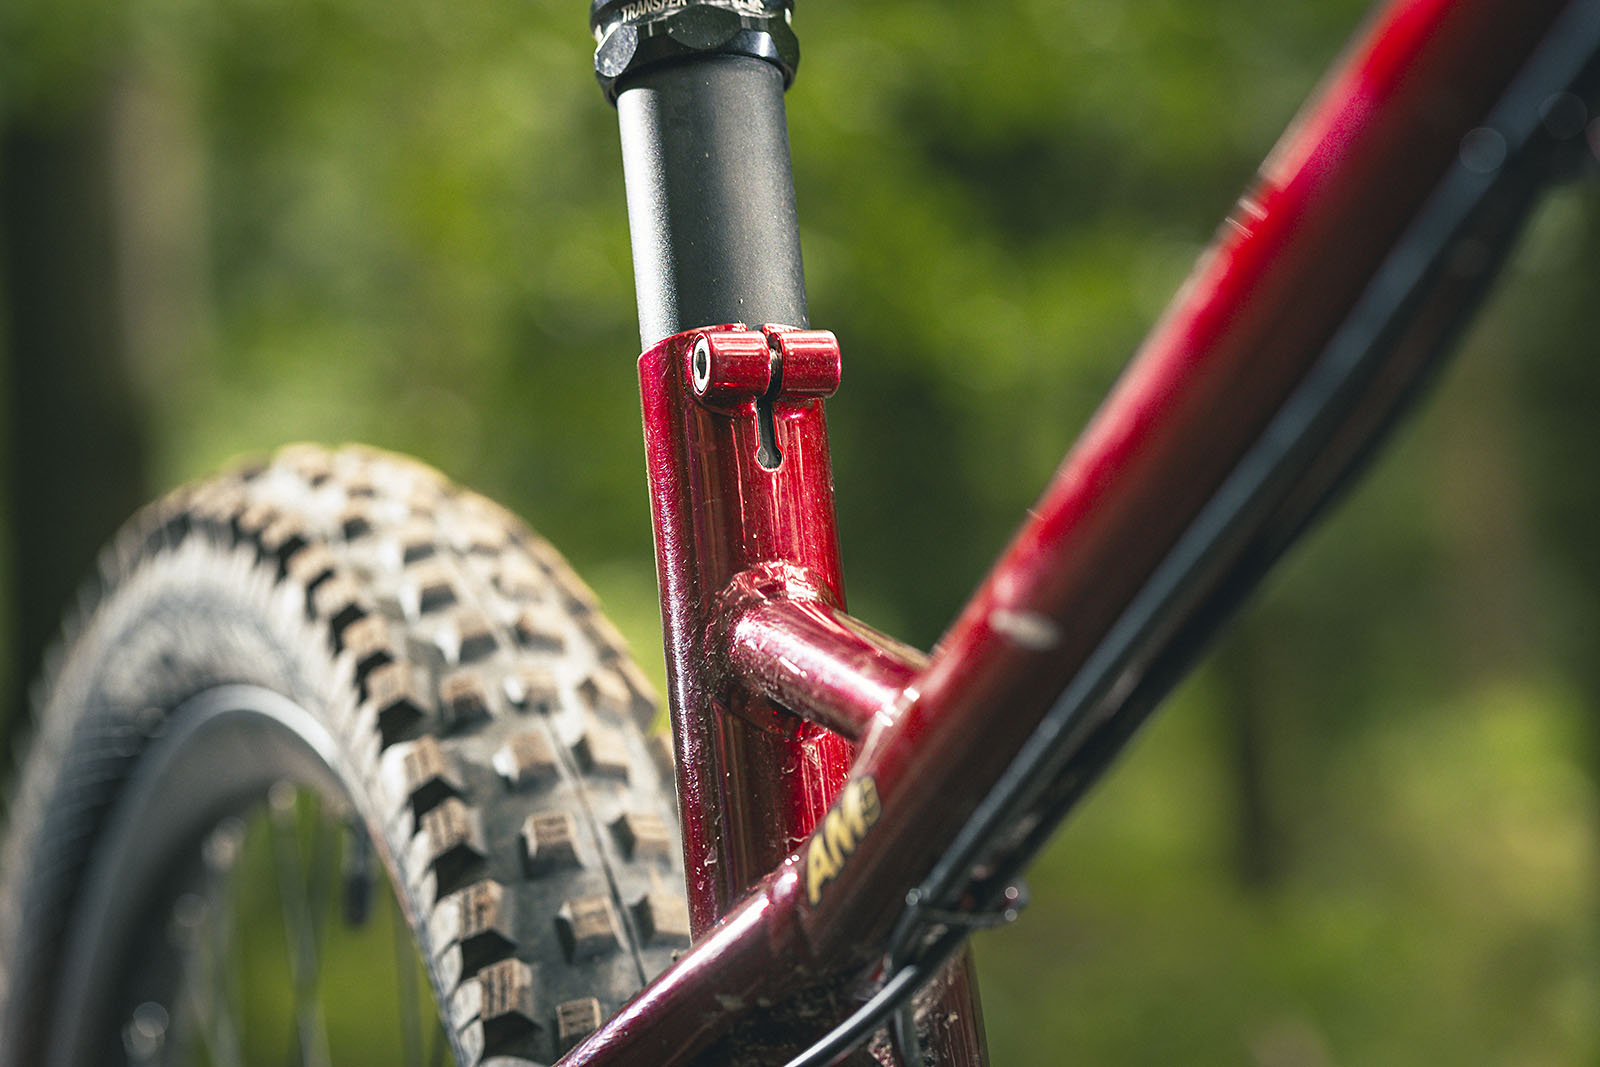
The most basic (and easy to use) kind of integrated seat tube is the pinch-bolt style integrated clamp. This is common on steel and titanium frames and usually comprises a slit in the frame with a hole formed in either side for a bolt that pinches the seat tube closed onto the seat clamp.
These do not require special techniques to use – beyond lubricating the bolt with grease and sticking to the manufacturer’s recommended torque settings, it’s just like a regular seat clamp but with fewer parts.
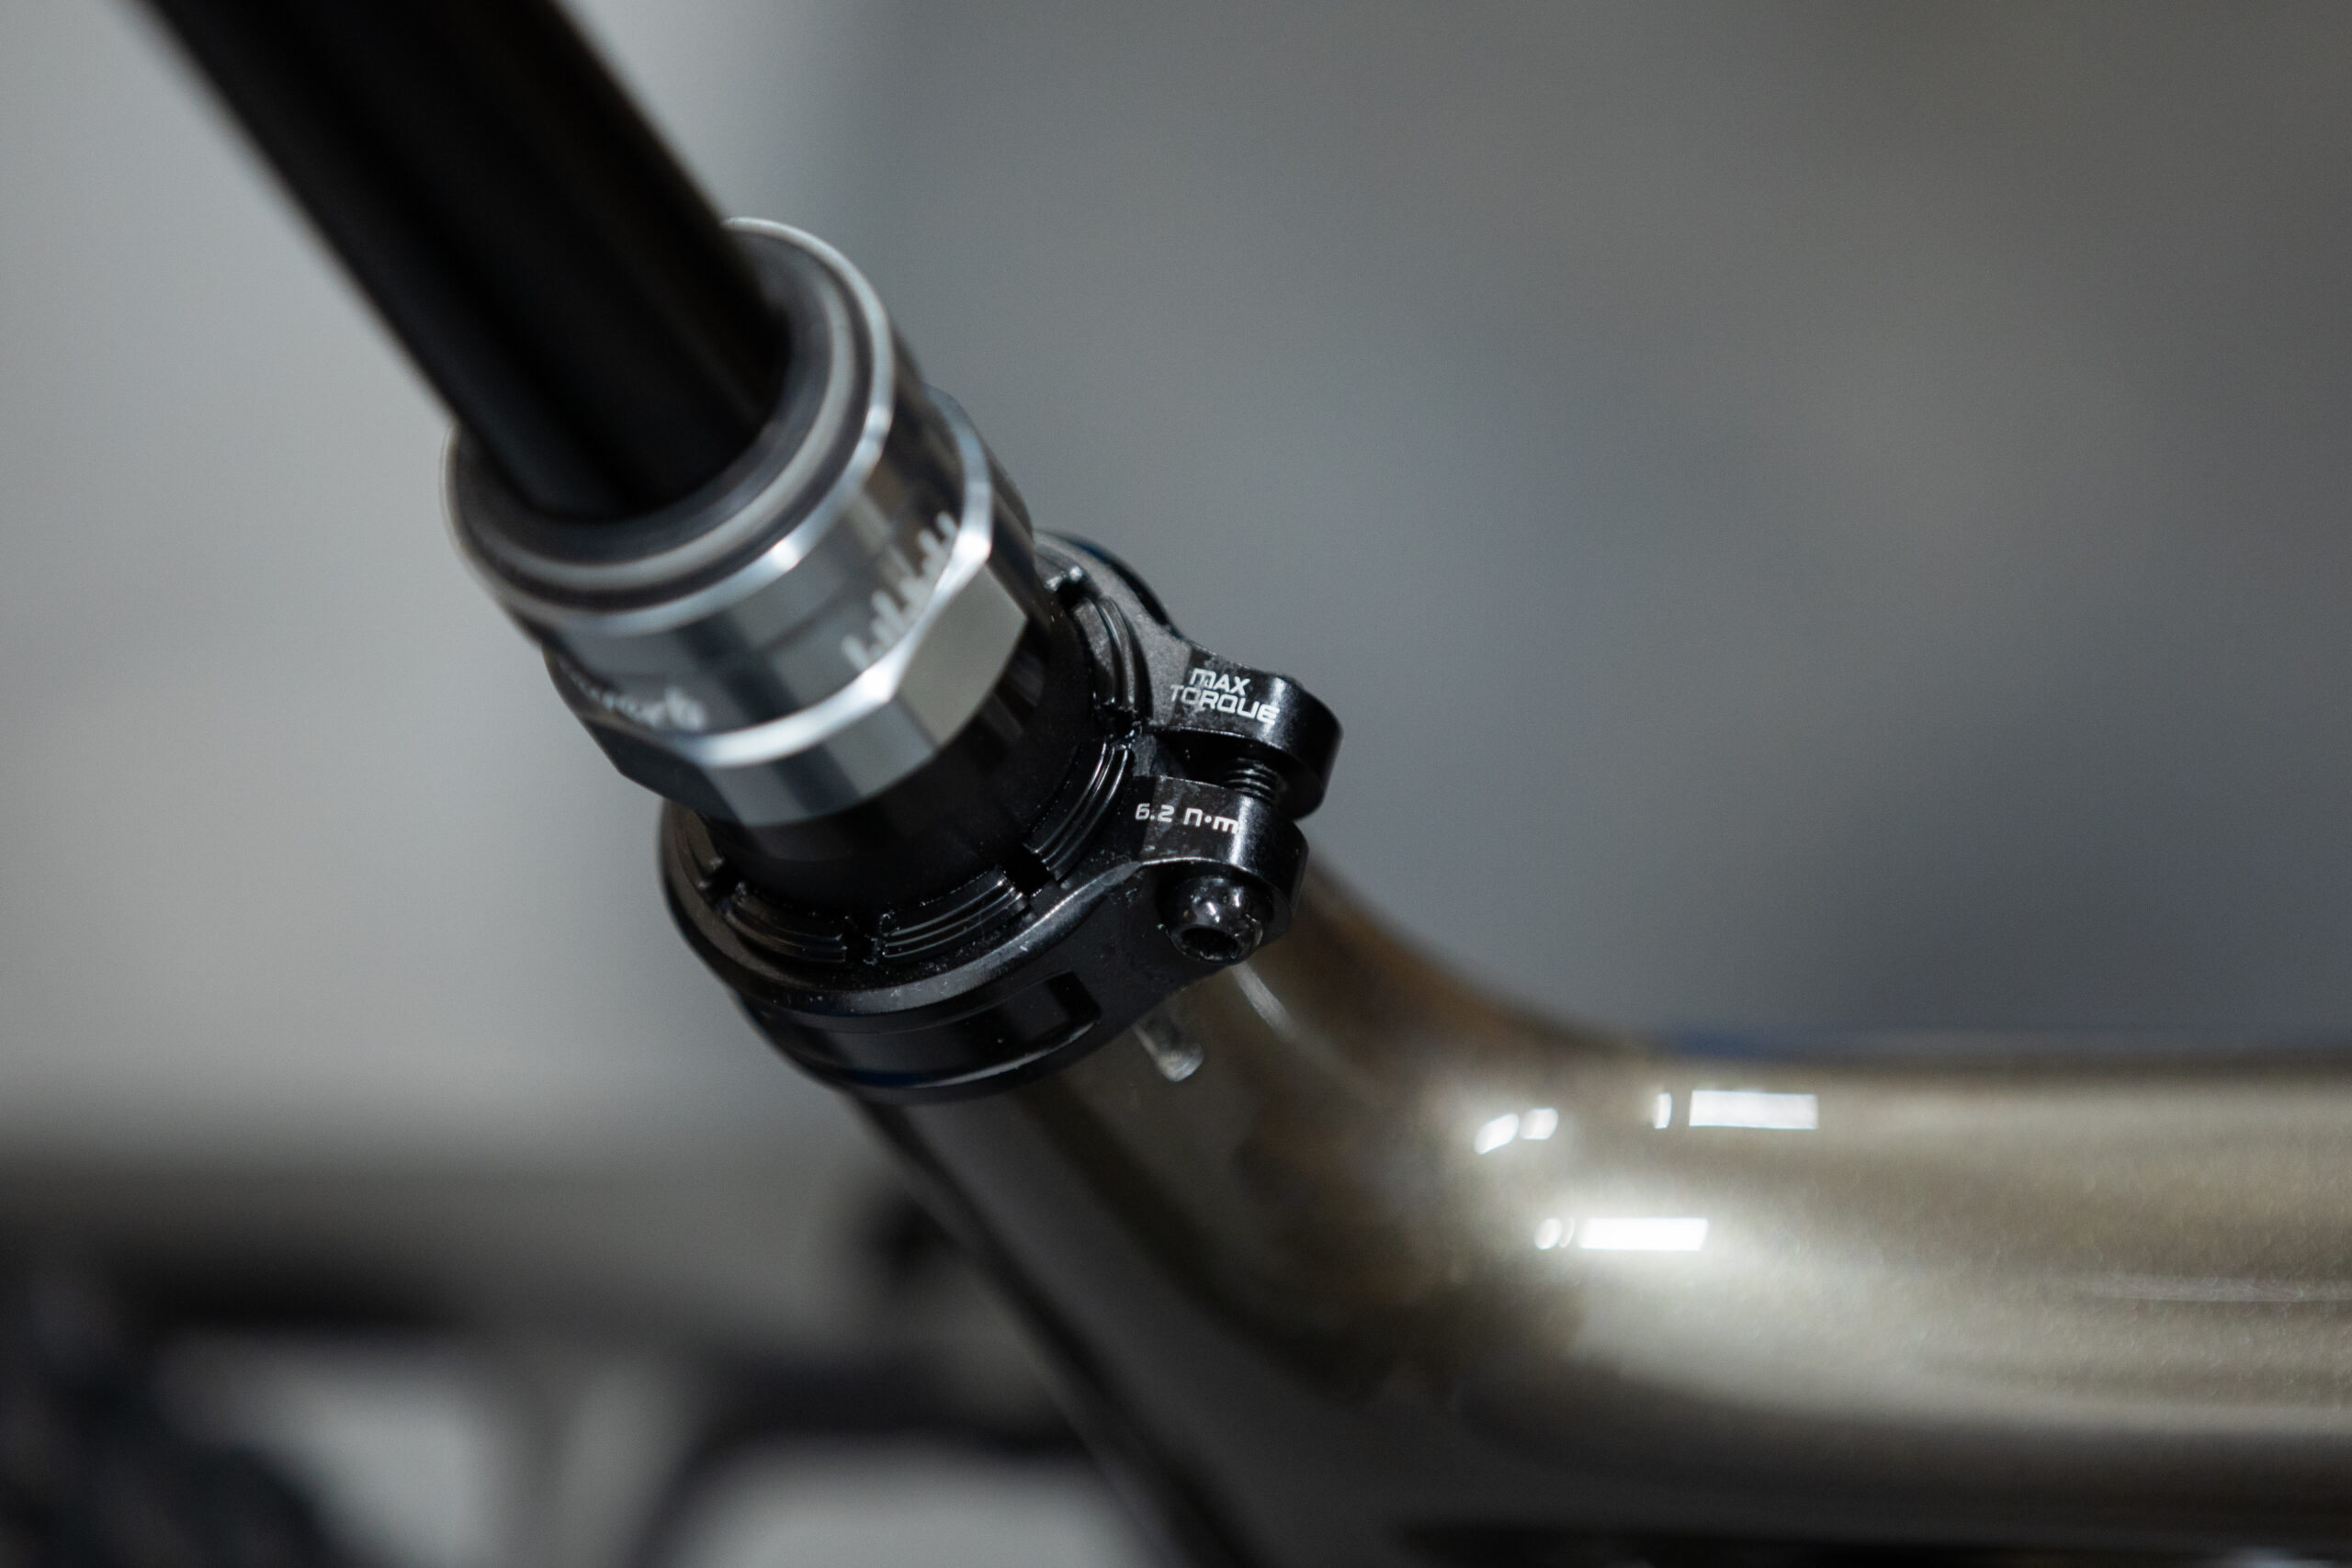
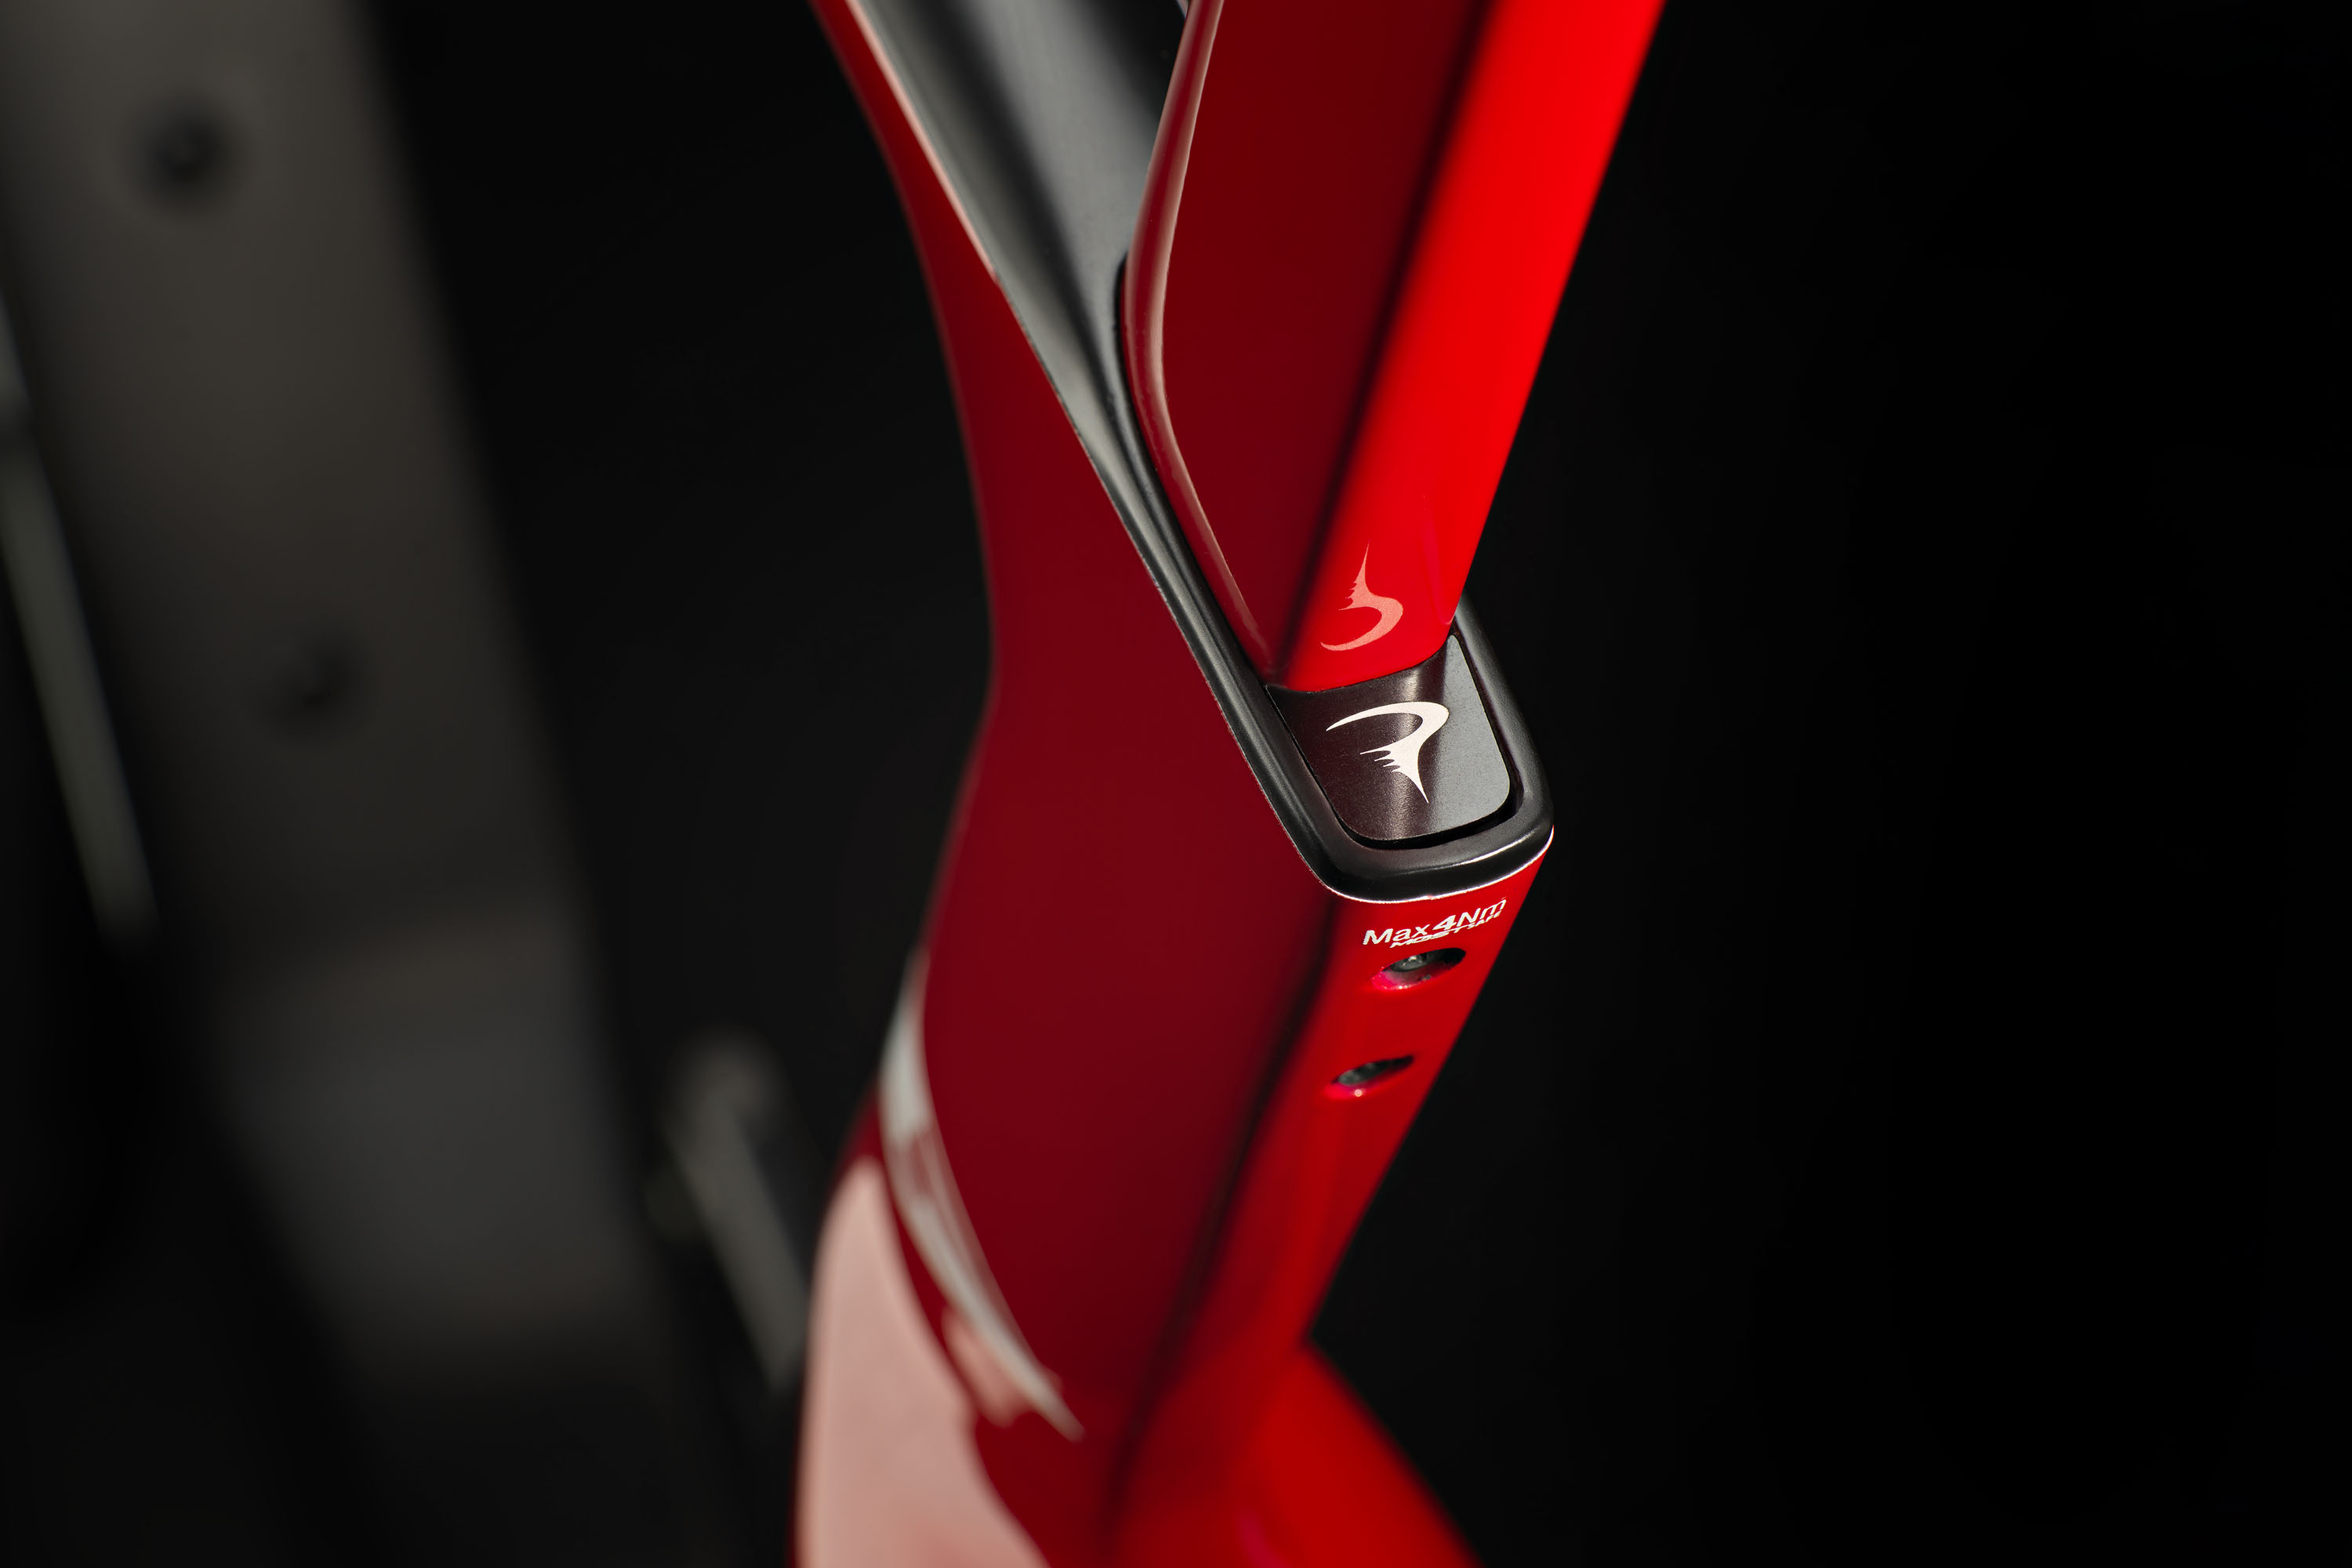
The second type of seat clamp is the expanding wedge, which is common on road bikes, aero gravel bikes and some mountain bikes with carbon frames.
This type typically uses a single bolt and sits in front of the seat tube, inside the top tube. There is usually a single bolt hole underneath a rubber or plasticised cover, which tightens the wedge between the frame and seatpost. These can be tricky to use depending on how well they are designed.
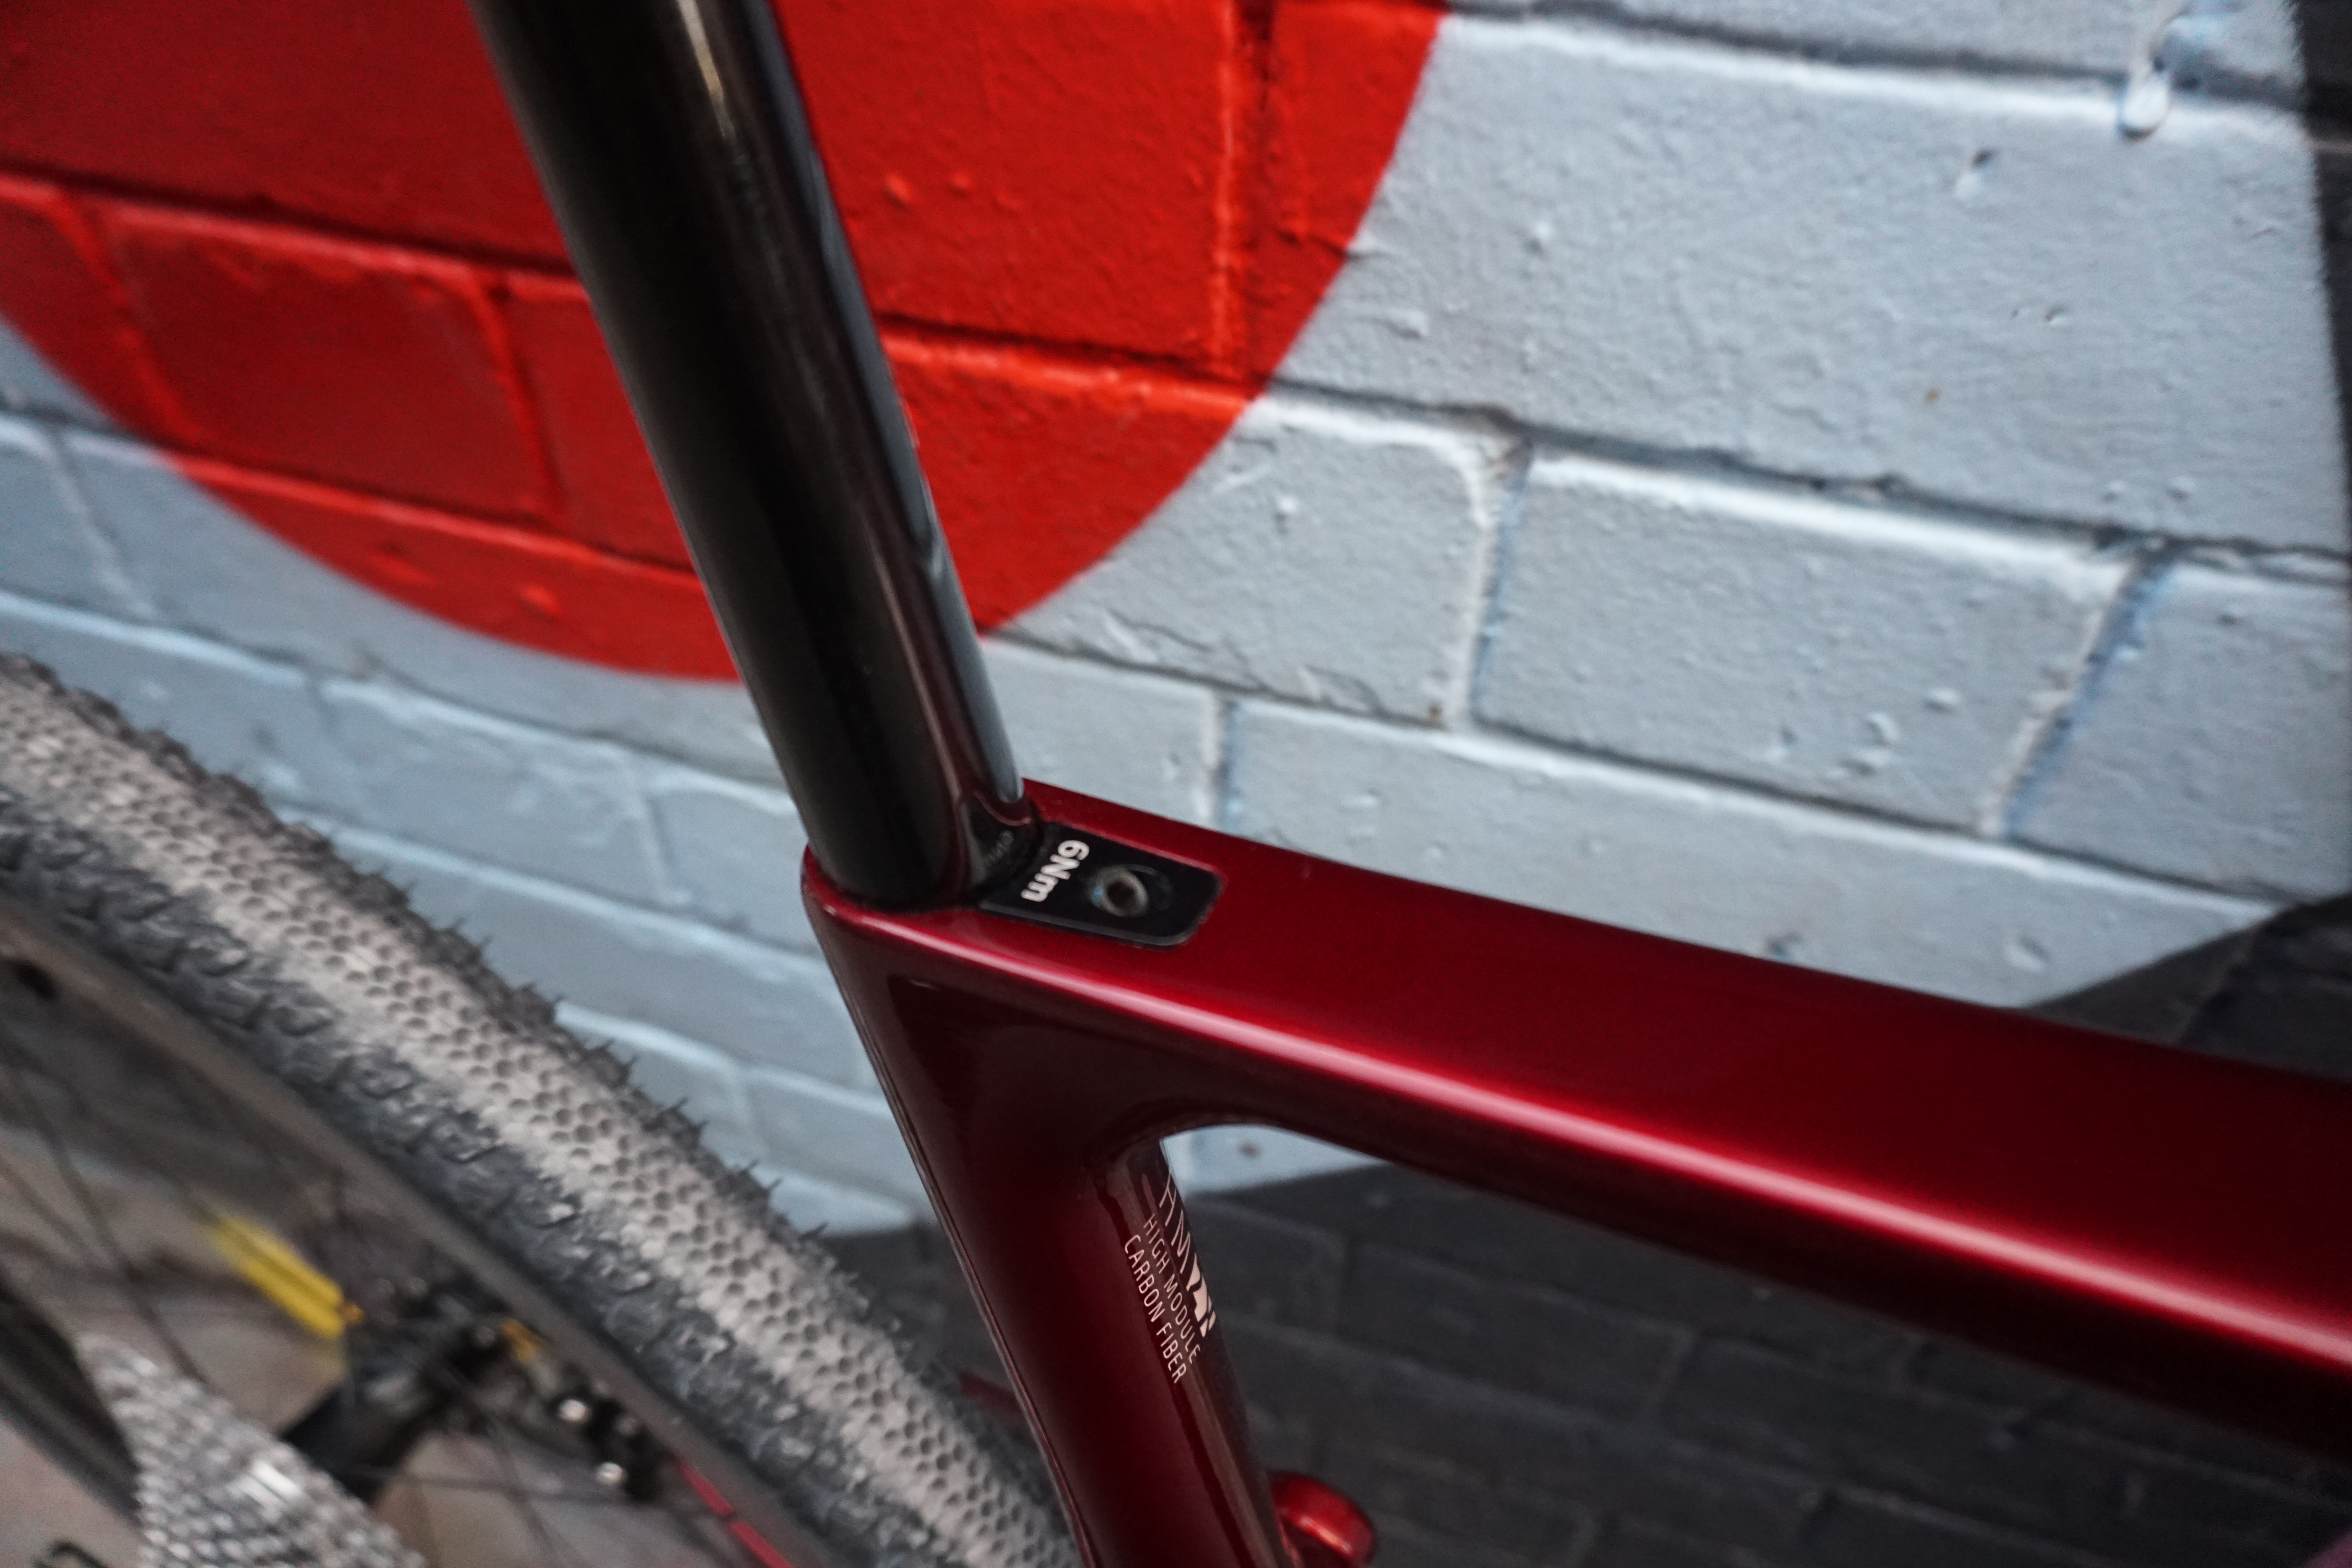
The third category is the twin-bolt type. These are more minimal than the wedge design and are most commonly seen on lightweight carbon road bikes. They usually sit behind the seat tube and are evidenced by two visible bolt heads, one on top of the other.
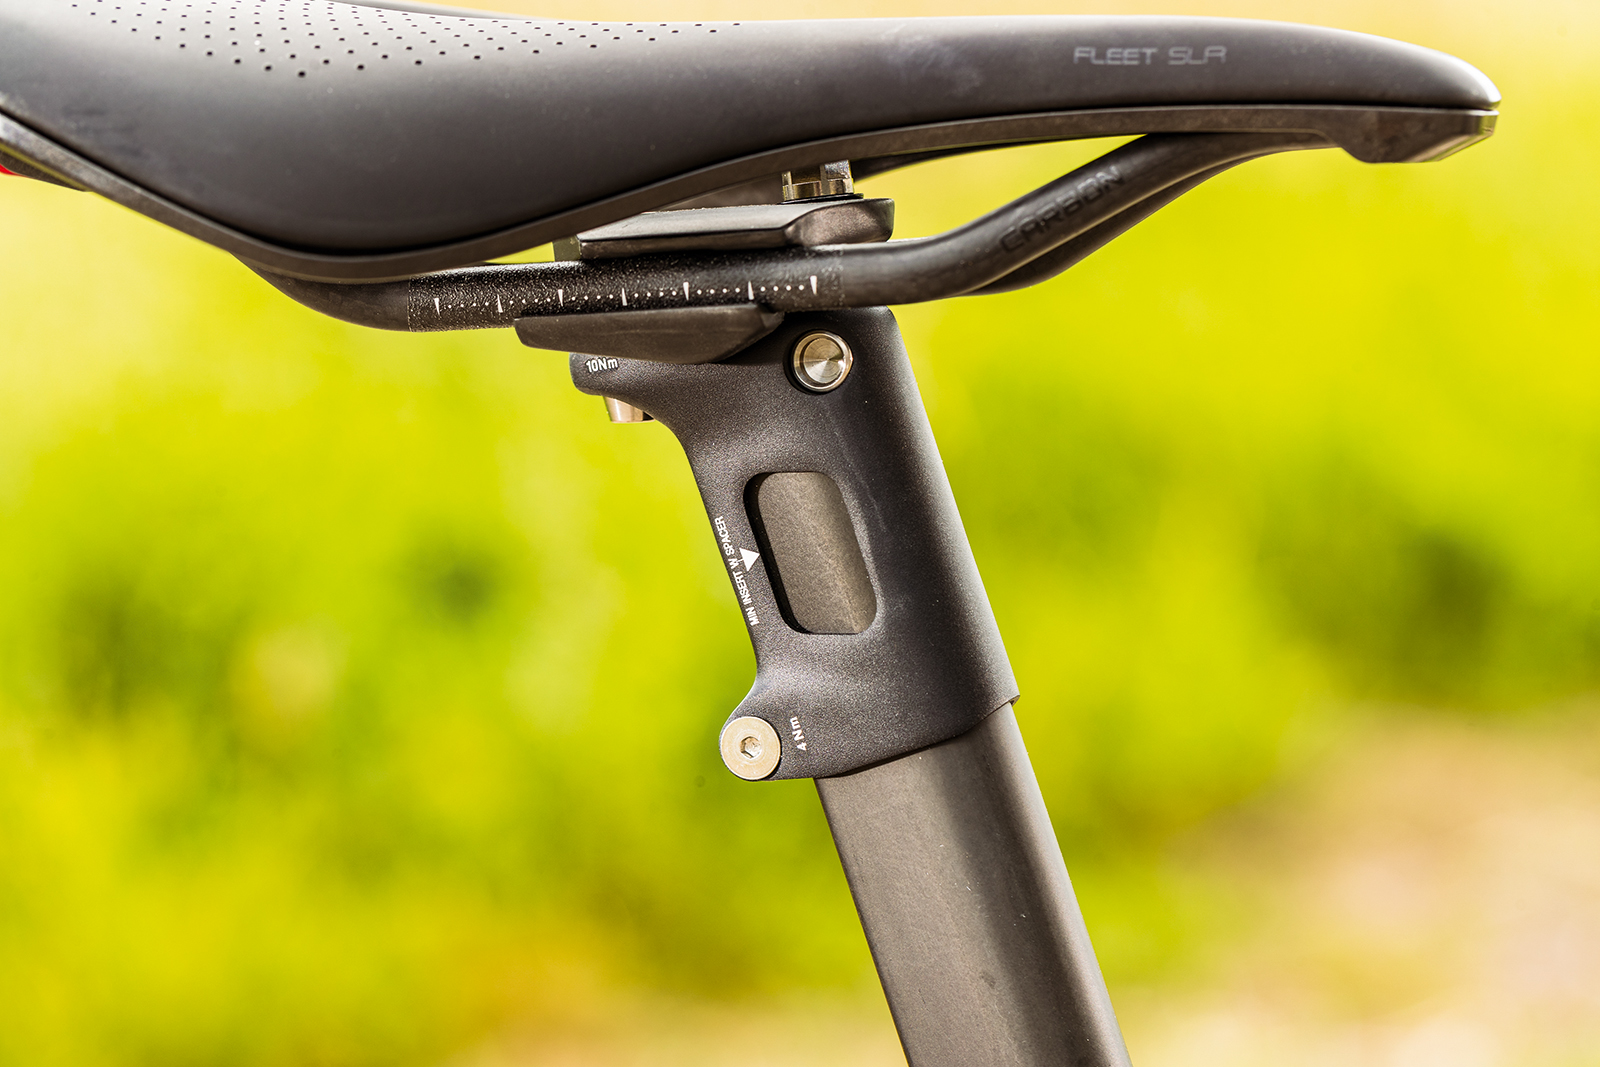
The final type of integrated seat clamp we're going to cover is different – it uses a seat mast, which is integrated into the frame and a seatpost, which slips over the top of it. It is most often seen on top-end carbon road bike frames.
These clamps pinch the seatpost together over the top of the frame mast. Anti-slip paste should be applied to the carbon surfaces and the correct torque settings must be applied to the bolt.
Read the instructions
It can be tempting to think you can common-sense your way through using your new integrated seat clamp when you buy a new bike.
While this is sometimes true, to prevent a slipping post, or even damage to your bike, read the instructions on how to use your integrated seat clamp first.
More complex, multi-bolt seat clamps will require a specific order in which to tighten the bolts down, while others will require more preparation (applying anti-slip paste, for example).
Taking your time to fully understand the process is important. While that might mean things take longer the first time, you’ll soon know the process inside out and things will speed up. Be patient and take your time.
Use a torque wrench
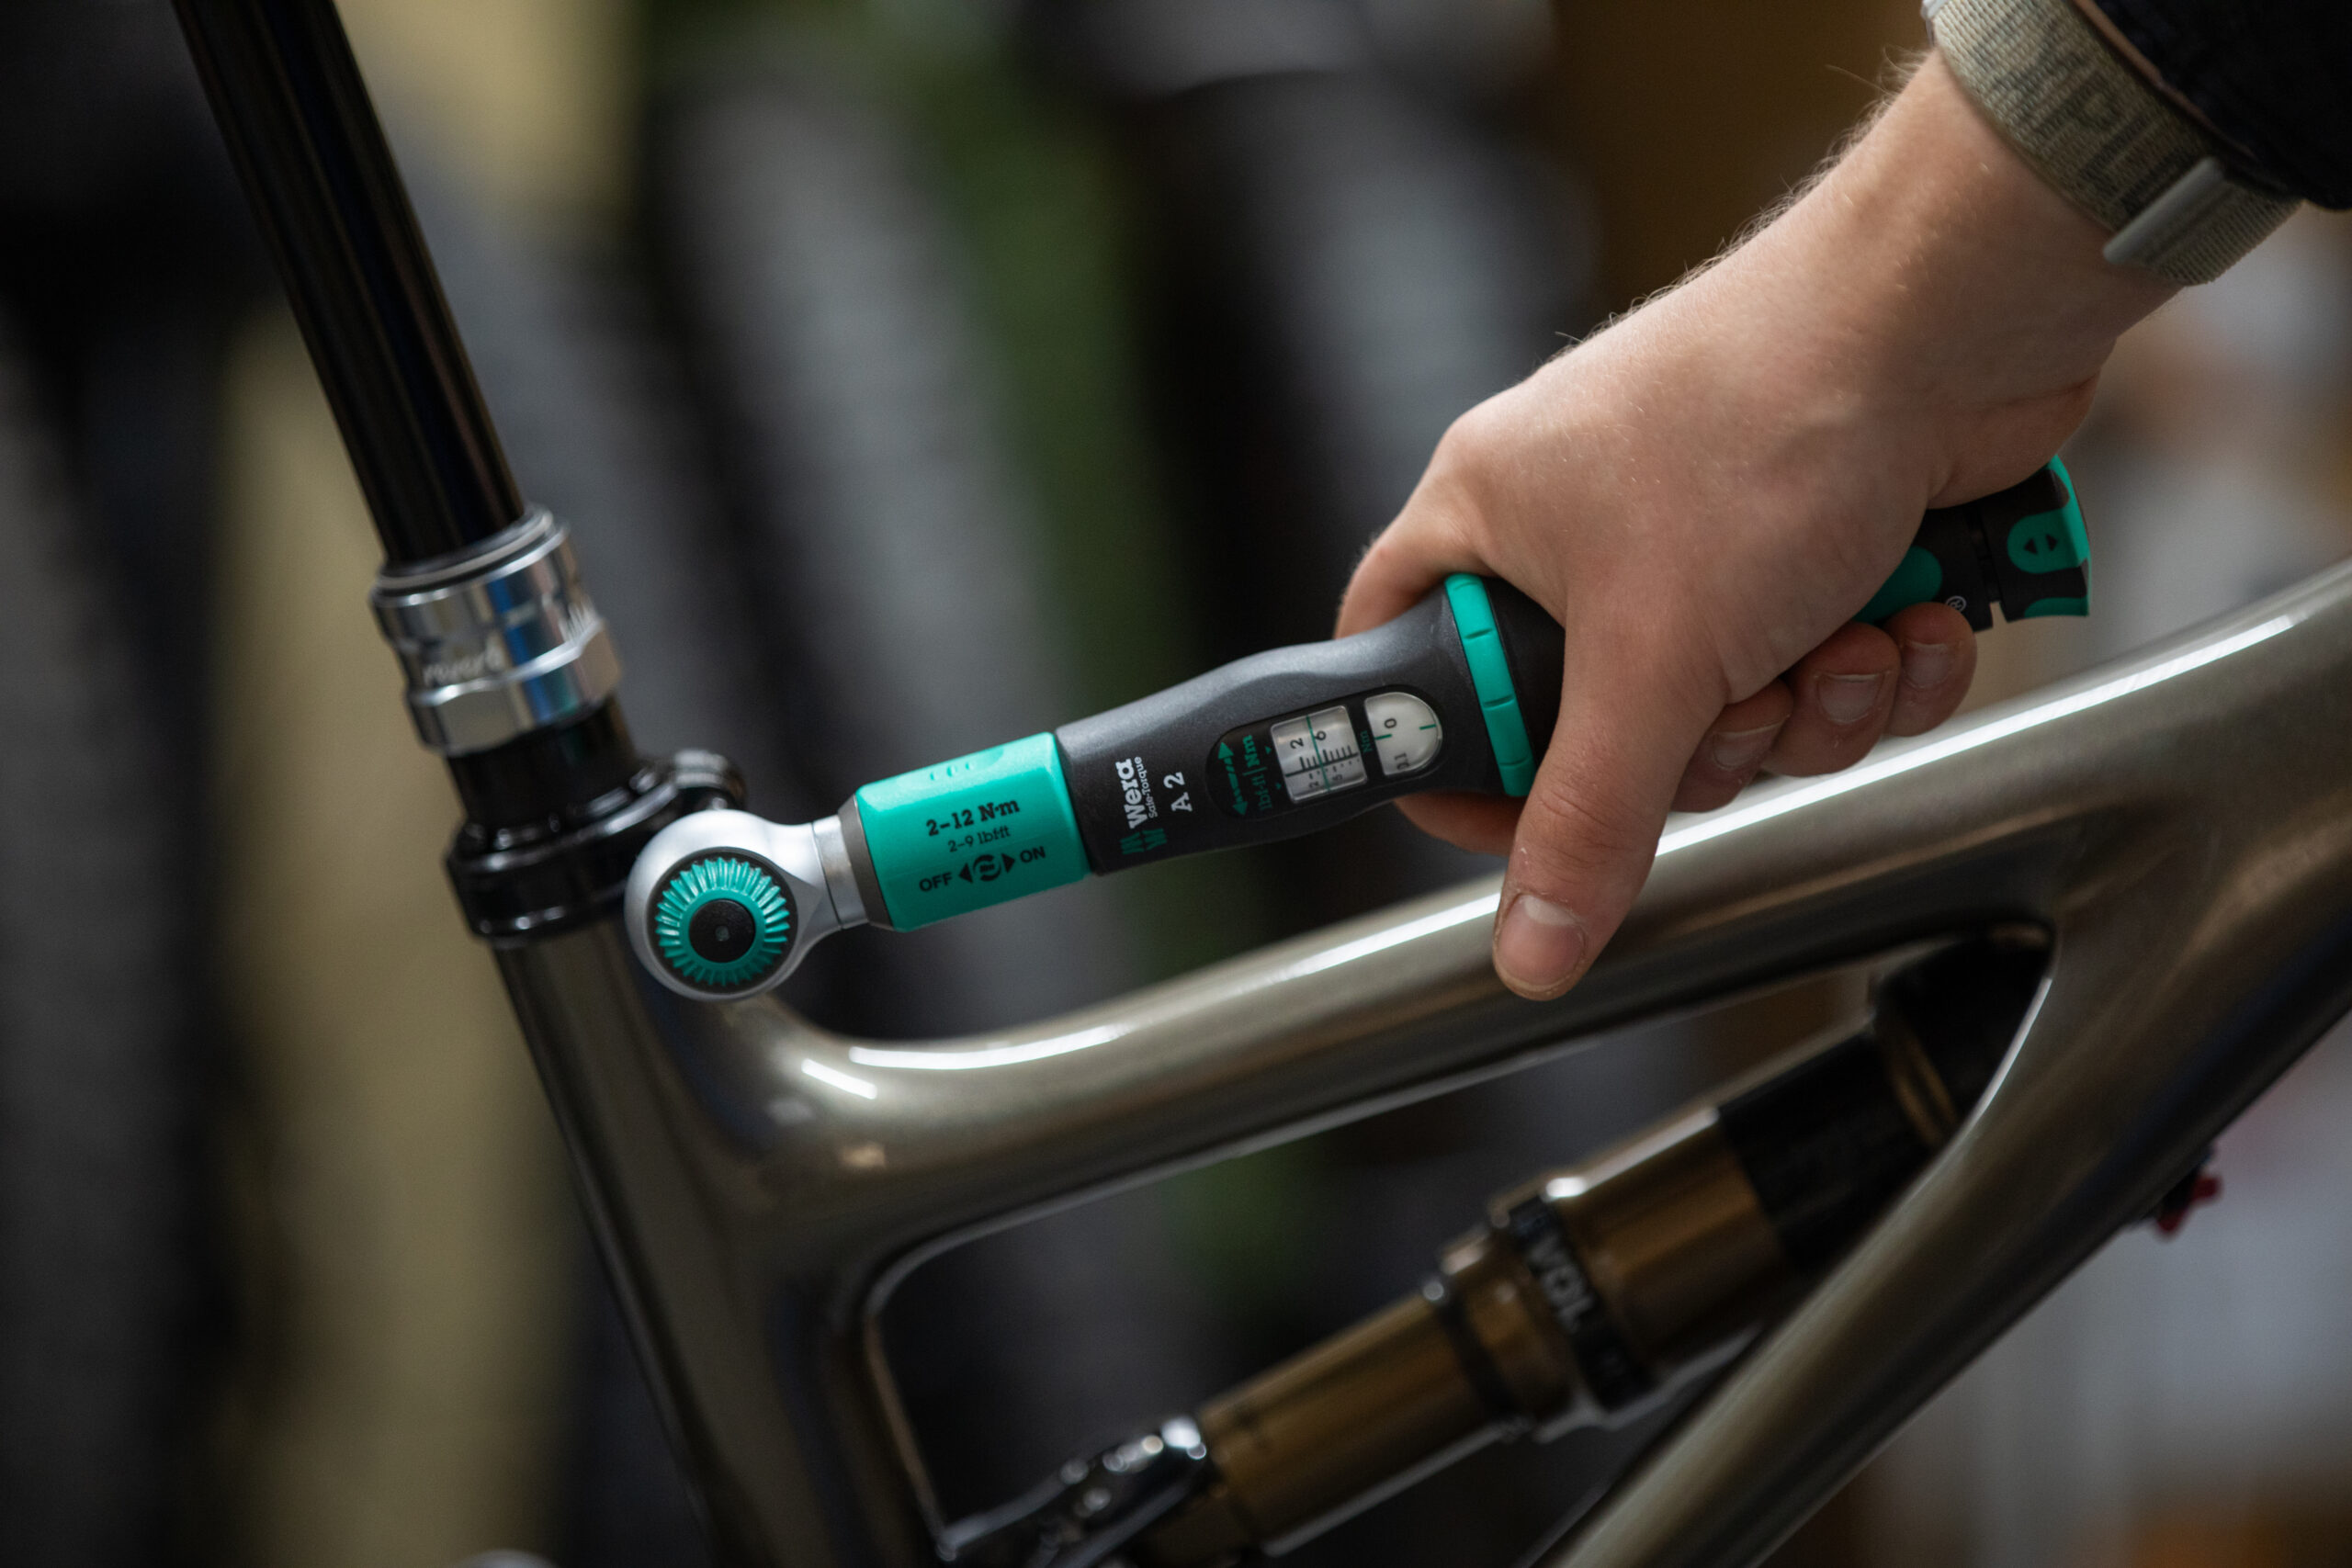
Integrated seat clamps almost always have maximum torque figures that must be adhered to – too little torque and the post can slip, too much and you can cause damage to the frame or seatpost.
Many new bikes, including Canyons, have a torque wrench included with the supplied equipment. While these will work in a pinch, the best option is to add to your home workshop by buying your own adjustable torque wrench – you’ll need one to work on other areas of your bike.
This might sound silly, but get to know your torque wrench so you understand exactly how it works and what signals the correct torque being reached. Just like the seat clamp, read the instructions and practise using it.
Tip your bike
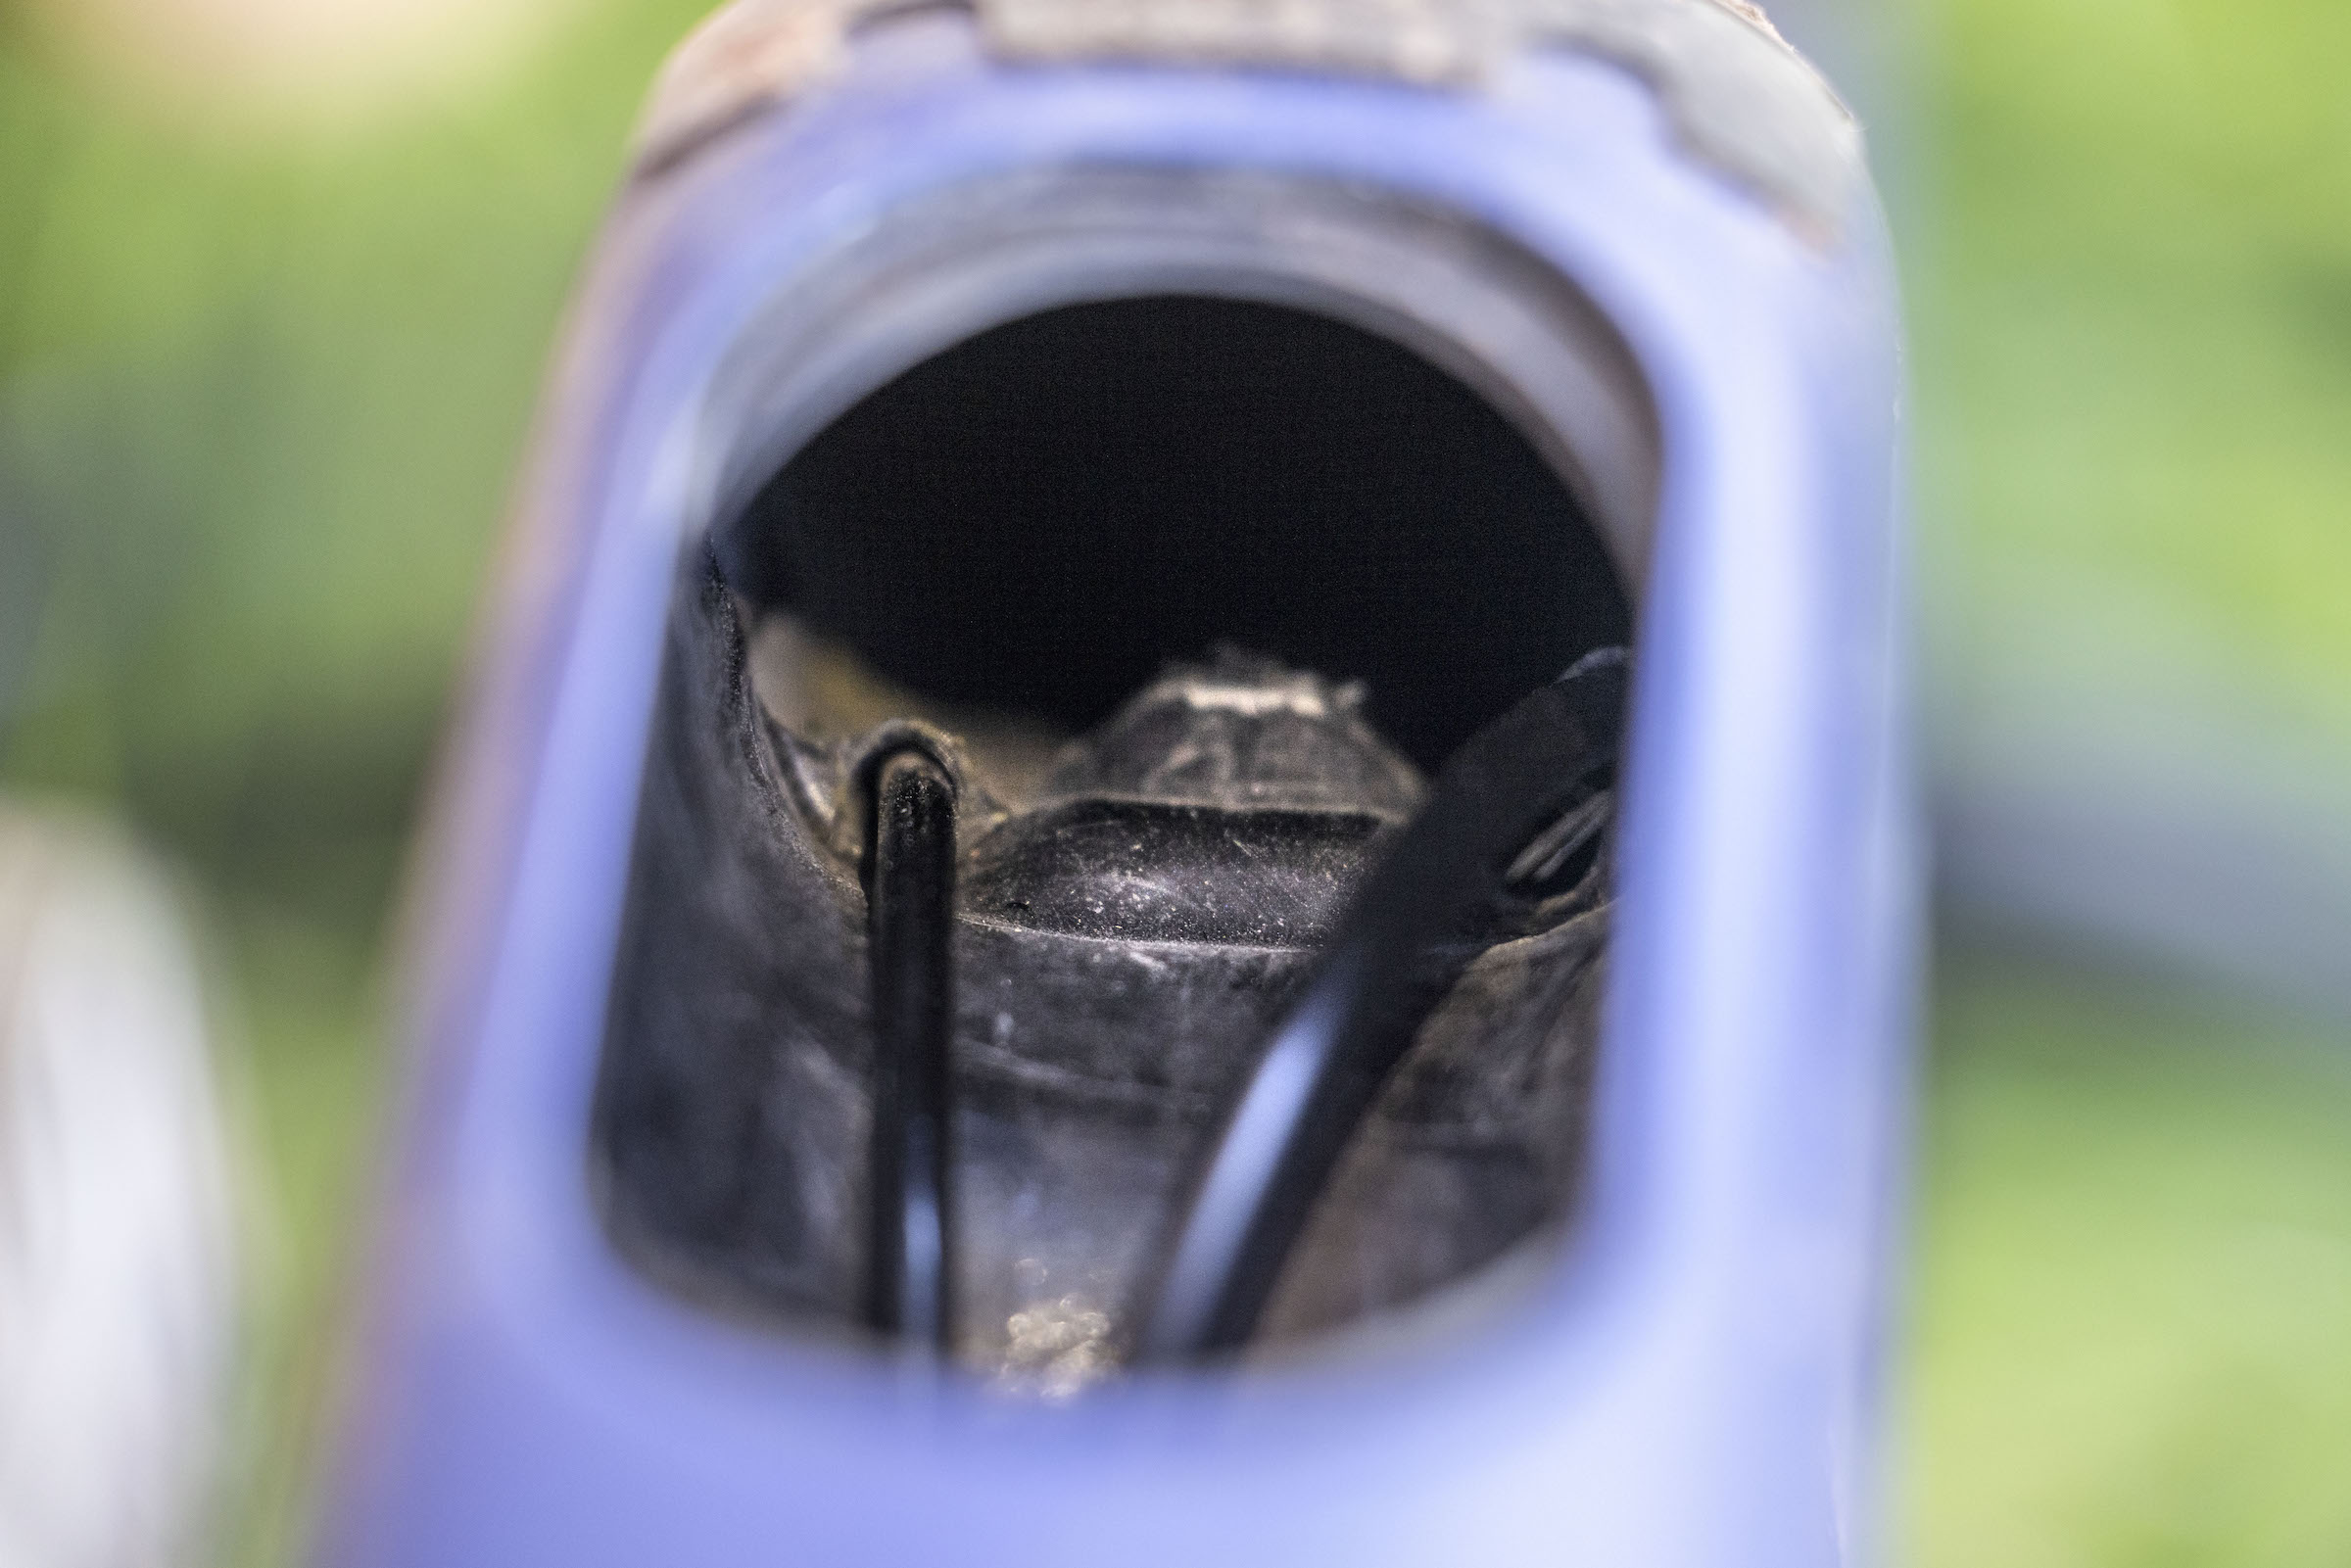
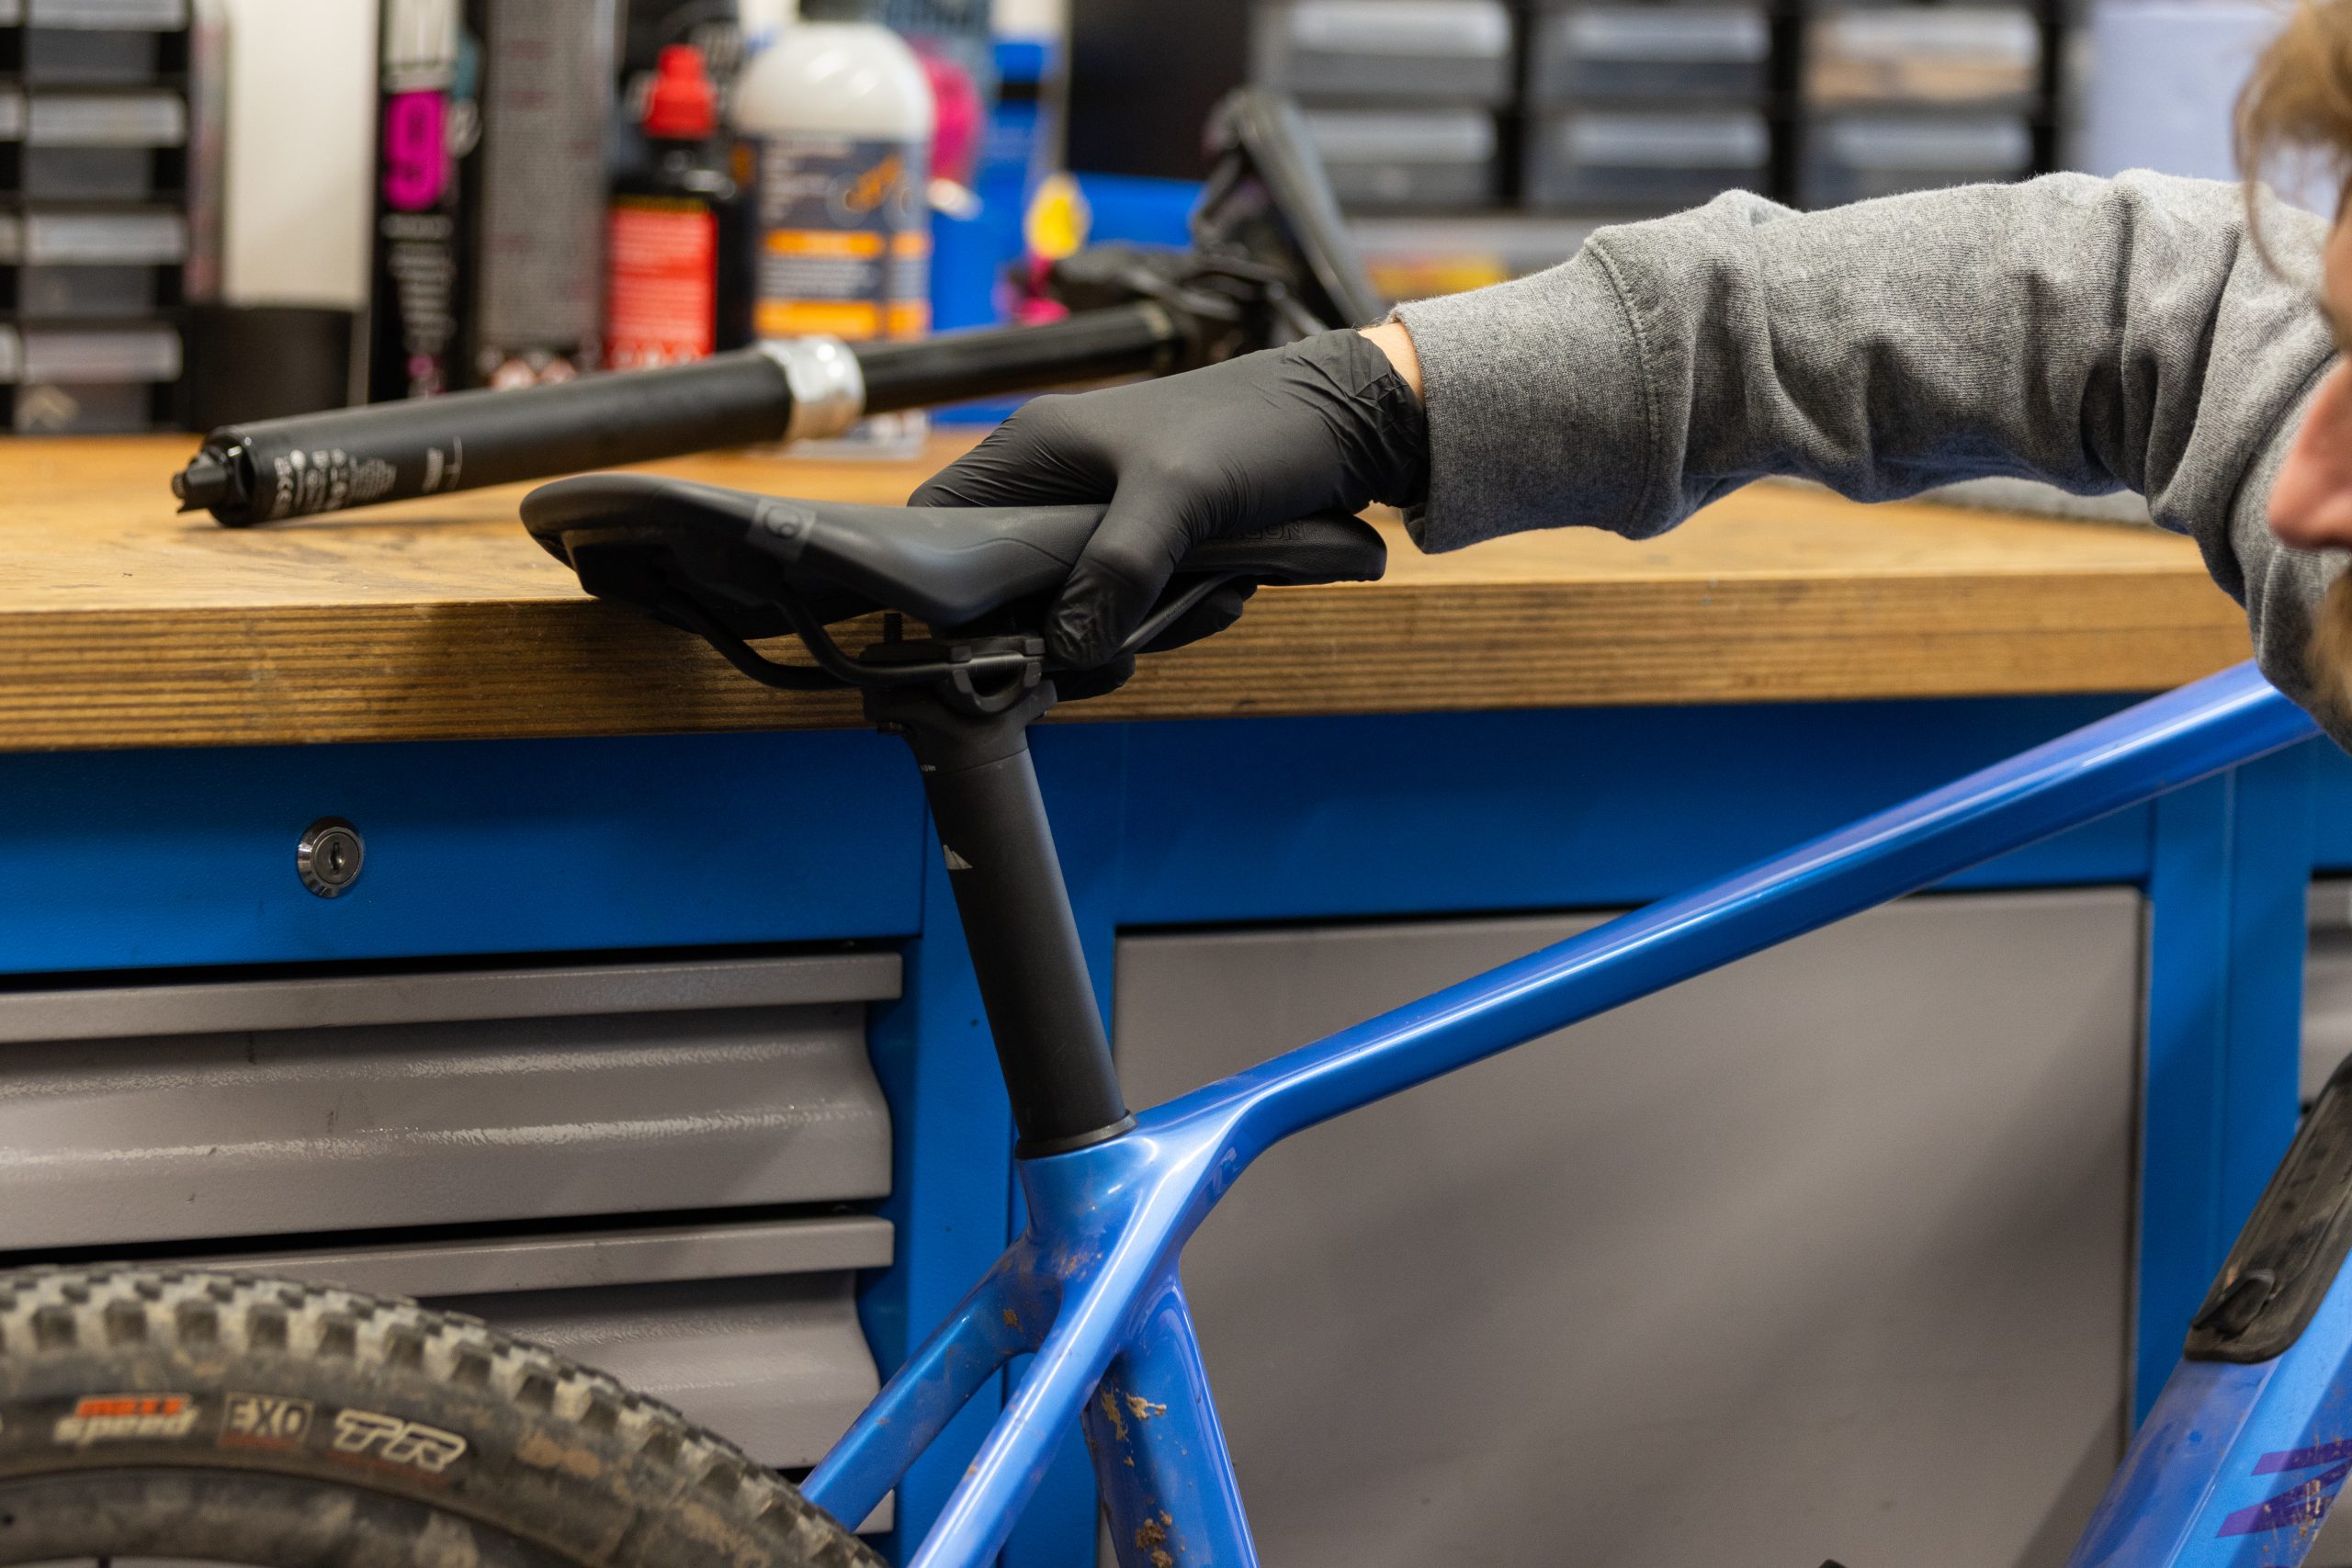
One of the most difficult aspects of integrated seat clamps is installing the seatpost without the clamp falling inside the frame. This can be particularly true if your bike has a battery for Shimano Di2 gearing, which needs to be situated inside the bottom of the seatpost.
This might seem obvious, but gravity can be your friend.
If you have an integrated seatclamp with an expanding wedge design and if the seat clamp guts are situated in front of the seat tube, you can raise the rear of the bike into the air as you insert the clamp inners and the seatpost. The force of gravity will help keep the seat clamp in place and prevent it falling into the seat tube.
If you have a twin-bolt style clamp, you can raise the front wheel, tipping the bike rearwards as you insert the seatpost.
If the clamp falls inside the seat tube (we’ve all been there), before you go fishing inside with a magnet or hook, carefully turn the bike upside-down as the first option.
You may find your seat clamp guts fall straight out. If they don’t, even after a few jiggles, it’s time to go fishing inside with a small, strong magnet, and if that doesn’t work you can create a hook out of an old spoke and give that a try.
Tighten the bolts sequentially
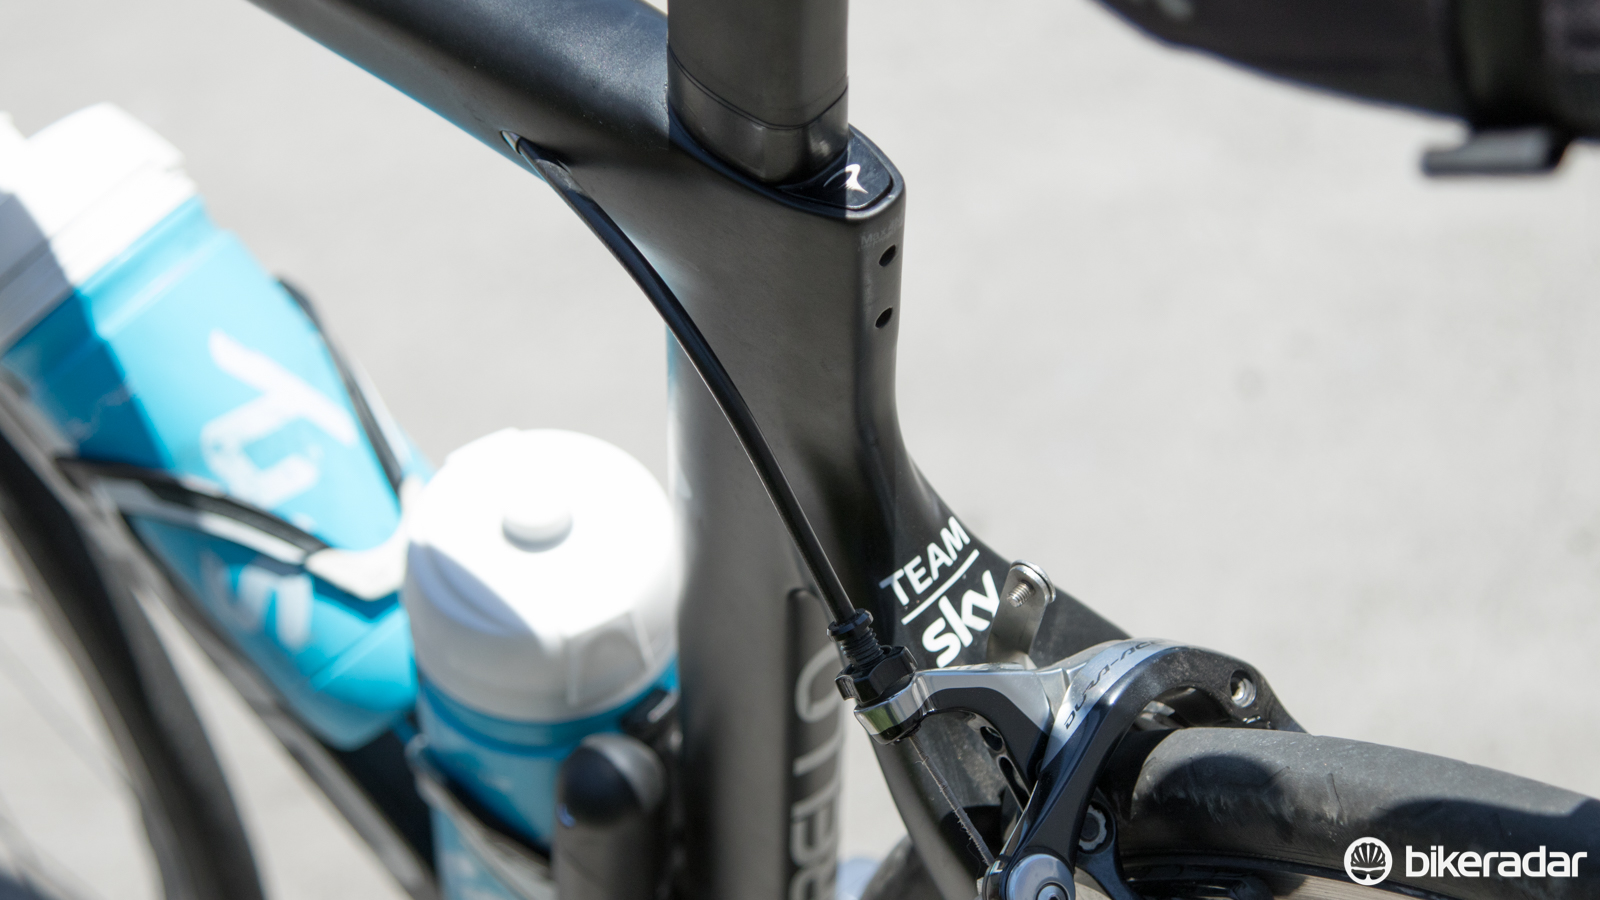
This only applies to the twin-bolt style of clamp. Where there are two bolts, they should be tightened progressively, alternating between the two – not one bolt tightened all the way and then the other.
Begin by snugging each bolt finger-tight. Then apply low torque to each bolt in turn – half the recommended torque figure is a good place to start. When you’ve done this to both bolts, ratchet up your torque wrench to the recommended figure and apply the figure to both bolts.
Then go back and forth between the two bolts repeatedly, applying the recommended torque figure with your torque wrench – you might be surprised how much further the bolts tighten.
Check it out
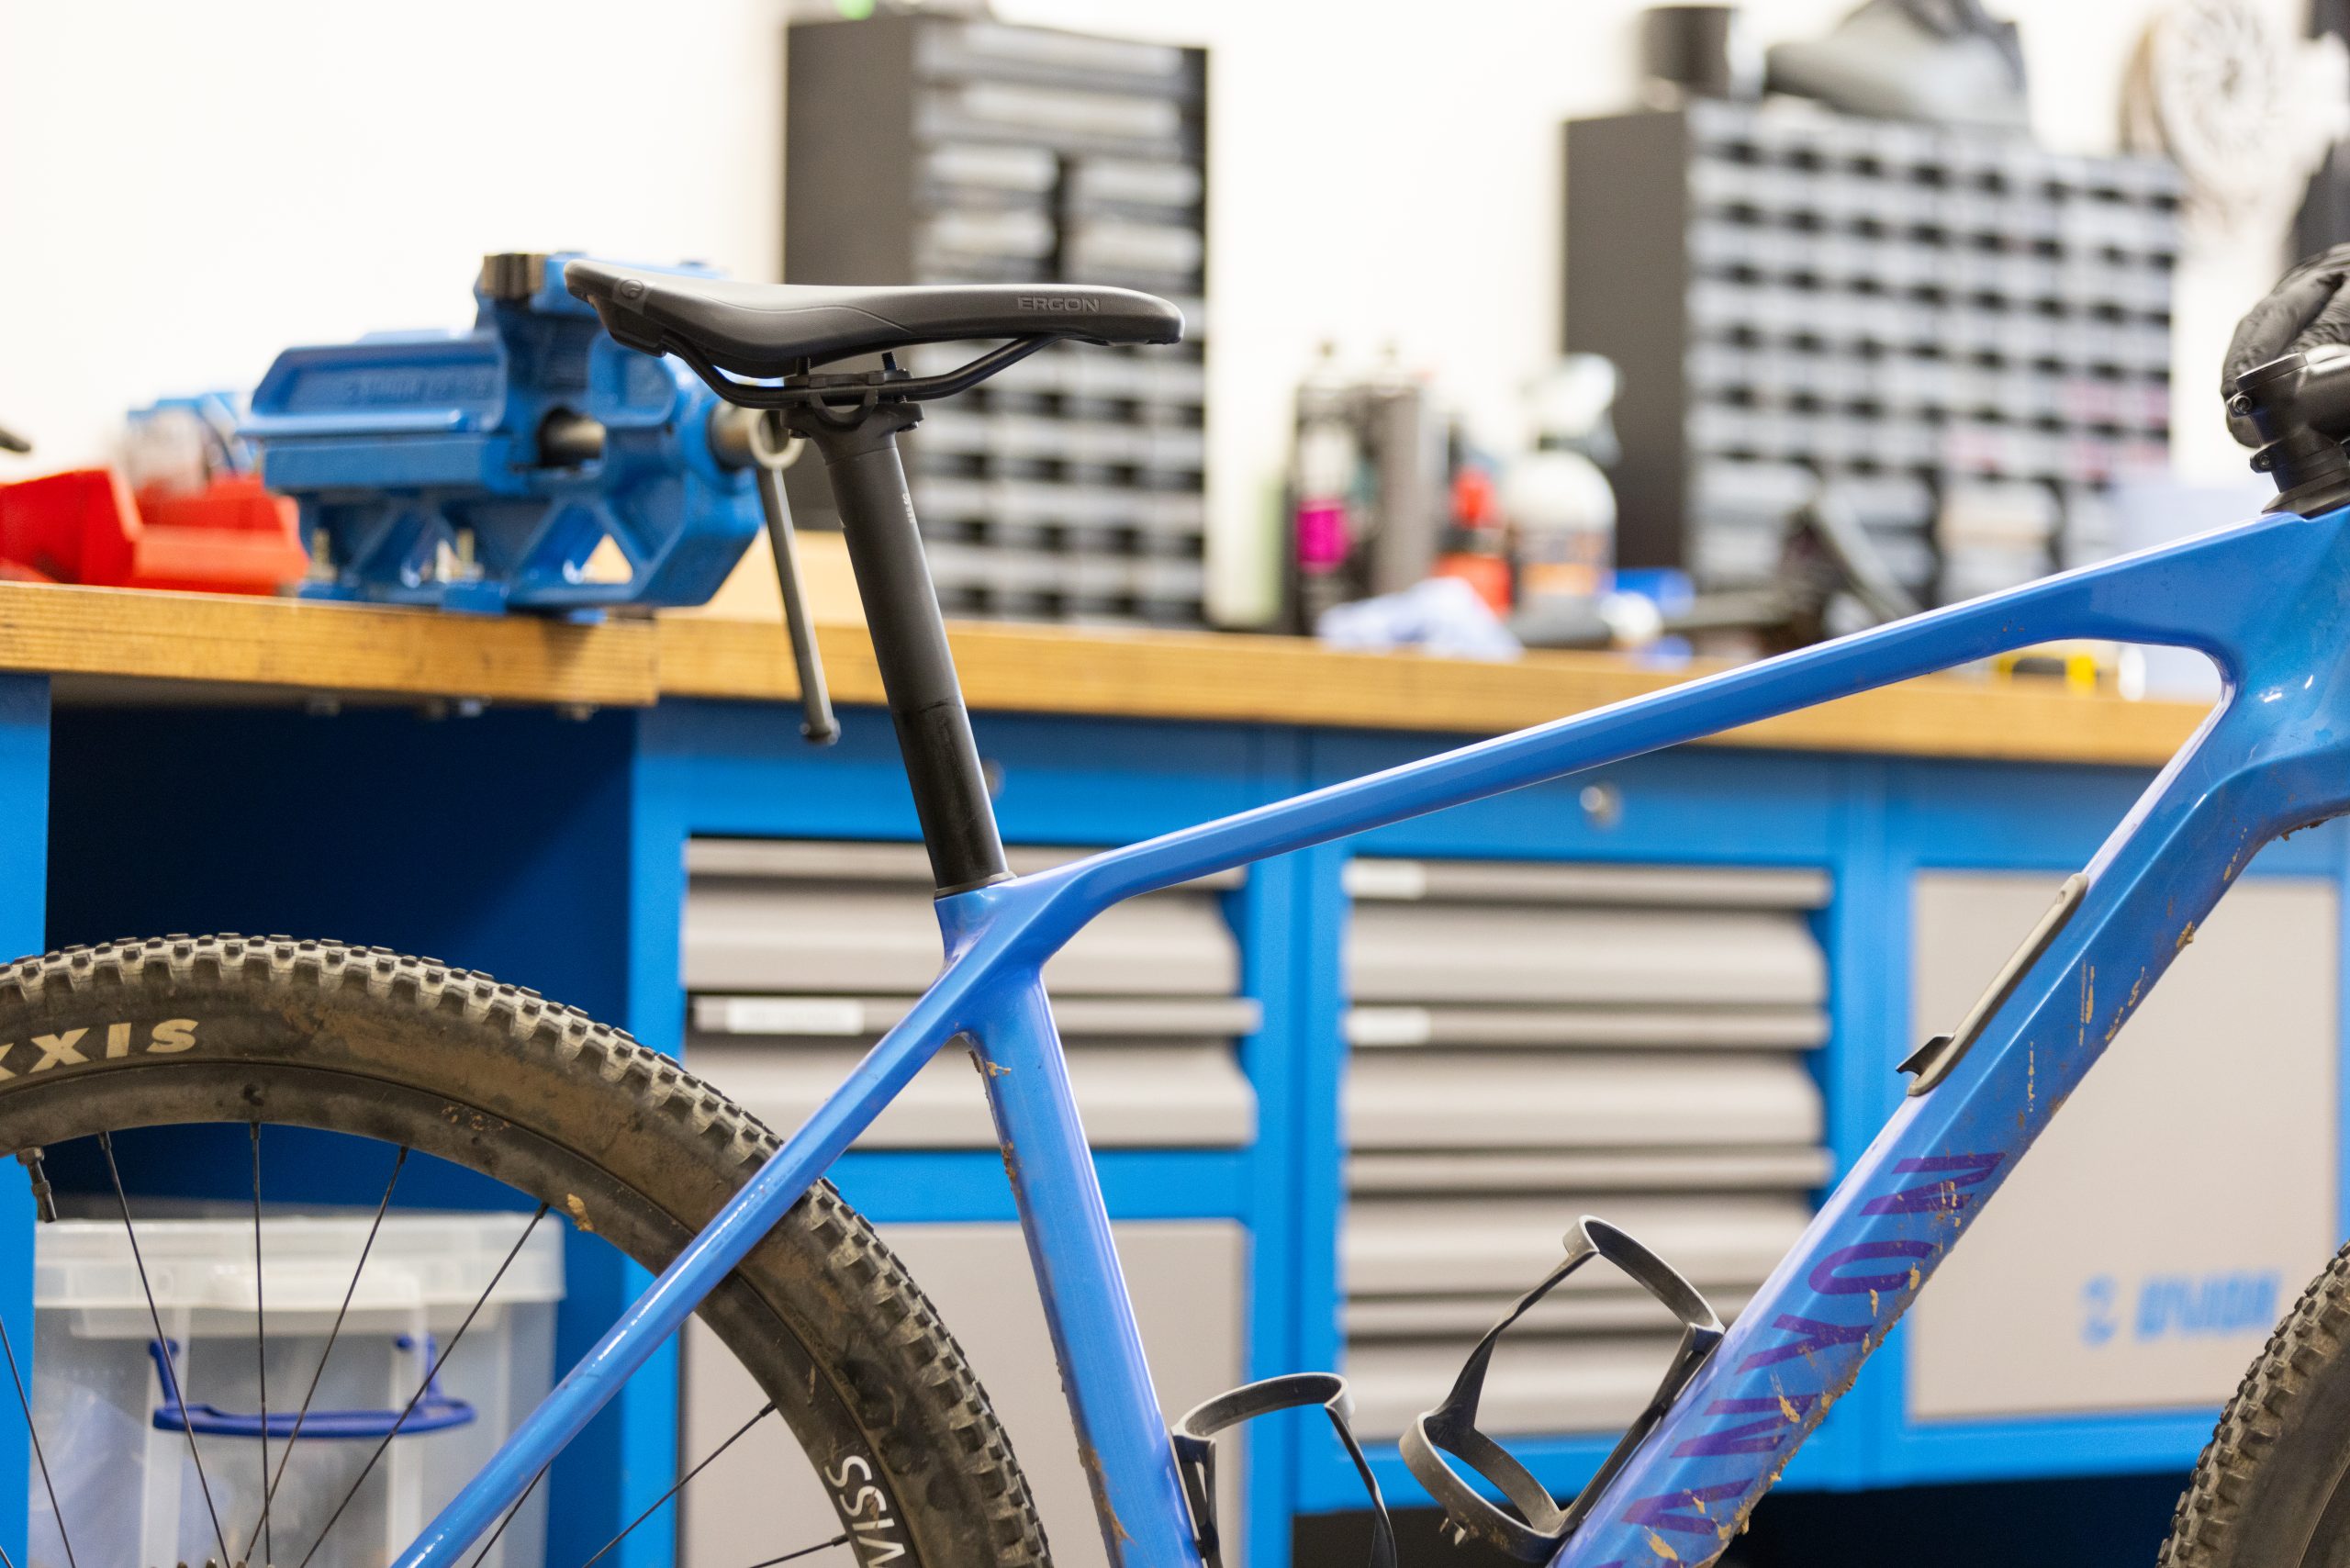
Check the bolts on your seat clamp periodically to make sure they’re still tight.
Seat clamps are often exposed to a lot of road grime and mud from the rear tyre, and sweat from the rider. Because of this, it’s a good idea (after noting your preferred seat height on the seatpost with a marker pen) to remove the seat clamp and seatpost periodically.
Clean off any dirt or corrosion from the clamp and post, regrease the bolt, apply anti-slip compound to the seatpost and reapply (or go back through the instructions supplied with the bike following the brand’s procedure to the letter).