Breaking a derailleur or hanger when out on a ride can leave you stranded and in need of rescue, but an emergency singlespeed conversion can get you back home or to the trailhead.
While you will be stuck in a single gear for the rest of your ride, you will be avoiding the walk of shame that inevitably wears down cleats and bruises egos.
Riders experienced in trailside repairs may bring along a spare derailleur hanger, but this doesn't solve the issue of broken derailleurs, which stop your pedals from spinning.
In this guide, we will show you how to covert your bike into an emergency singlespeed.
Tools needed for emergency singlespeed conversion
For this bike hack you will need the following:
- Chain tool extractor
- Spare joining pin or quick-link
- Multi-tool
How to convert your bike to a singlespeed in order to get yourself home
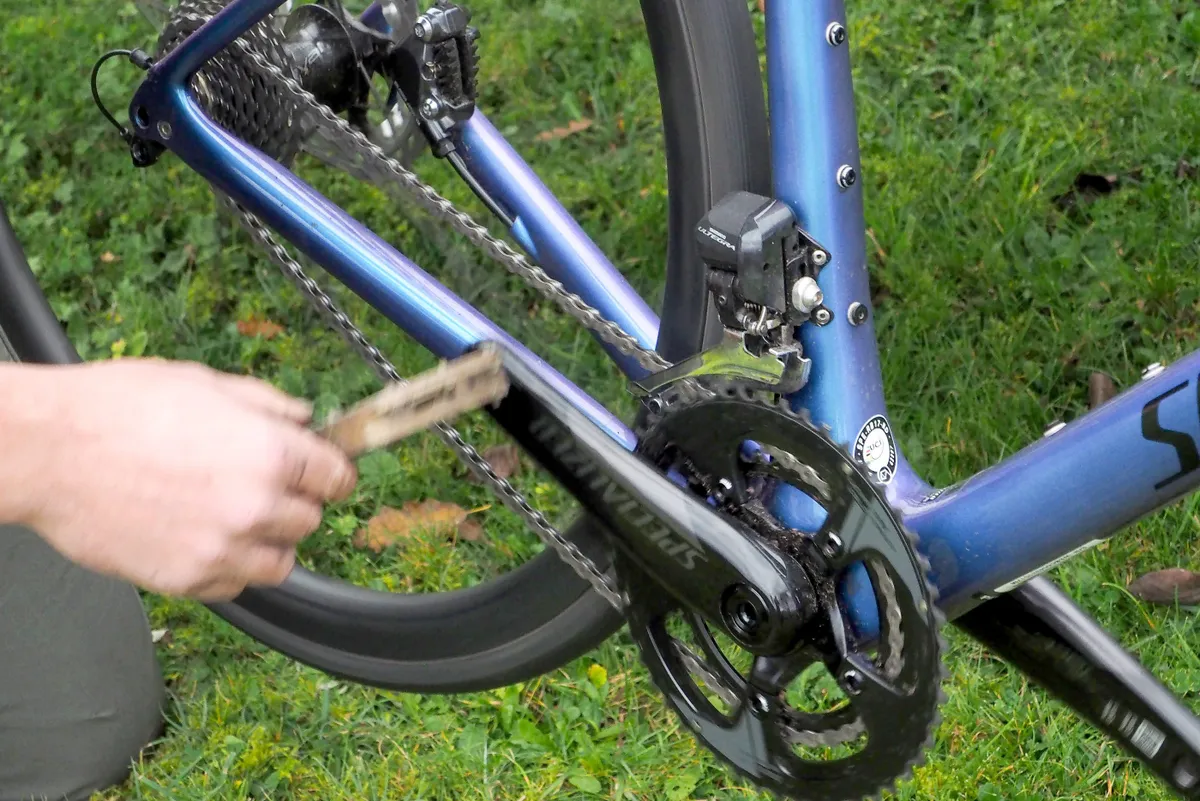
1. Split the chain
If your chain isn’t already broken, you will need to separate it using a chain rivet extractor. If your chain is connected with a quick-link and you don't have the correct tool, flexing the chain back and forth can help loosen this.
2. Remove the rear derailleur

Once the chain has been split, remove the chain from the rear derailleur.
Now remove your rear derailleur using either a 5mm hex key or a Torx key, depending on the make and model of your derailleur.
Undo the cable clamp bolt and remove the rear derailleur cable as well. If you can’t remove it completely try to ensure this cable is fixed somewhere out of the way, where it can’t get tangled in your wheel or bike.
3. Select your gear

With the rear derailleur removed and the cable out of the way, you need to select which gear you want to use.
The key thing here is chainline – you want your chain to be in the most direct (straight) path from the front chainring to the cog you select on the rear cassette.
As a rule of thumb, whether you are in the small or large chainring, the cogs in the centre of the cassette cluster will usually give you the best chainline. The cogs toward the wheel are better for the small chainring, and the cogs toward the bottom of the cassette are better for the larger chainring.
Eye this from the back of the bike and focus on getting the best chainline rather than an optimum gear.
4. Measure the chain

With your cog and chainring selected, pass the chain over the chainring and around the cassette cog. Now bring the chain together so that one loose end is pulled tight and indicating the link nearest to it that it can be joined to. Make doubly sure the chain is wrapped fully around the cassette cog and chainring.
You need this to be a link that can be joined to the loose end of the chain without stretching the chain any further. A chain that is pulled too tight can make it impossible to pedal and be potentially damaging for the rest of the drivetrain components on your bike.
5. Fit the chain

Remove the chain from the chainring so there is no tension running through the chain as you try to join it.
Join the chain using a quick-link or a joining pin. When you have joined the chain, re-mount it on the chainring by gently rotating the cranks and working the chain on. Be very careful with your fingers!
Singlespeed bikes without horizontal/rotating dropouts use some sort of a chain-tensioning device to keep the chain tensioned. The derailleur does this job on a regular geared setup. Because you will have no such device in this setup, take it steady when you’re pedalling.
If you cannot join the chain and run it through the optimal sprocket for chainline without it being too loose, you may need to shift the chain into the next largest cog on the rear cassette, so the chain doesn’t jump when pedalling.
6. Test the setup
Try pedalling forward by hand before you ride it, just to make sure everything is working well.
Remember with this fix: the speed at which you ride afterwards isn’t an issue, it’s the tension running through the chain that’s problematic. Pedal steadily and smoothly, avoiding any excessive pressure.
A note on full-suspension bikes
This repair works best on road bikes or hardtail mountain bikes. On a full-suspension bike, the movement of the suspension effectively changes the chainstay length, meaning a simple wrap around the chainring and sprocket approach is not possible – your chain will almost certainly fall off or snap.
If possible, straighten the hanger to the best of your ability and set the derailleur to run in one gear as smoothly as possible.
If a jockey wheel or cage has disintegrated, it's often possible to get the chain running around a single jockey wheel, and using the derailleur's limit screws to get it set up as a singlespeed.
Try to make sure you keep some tension in the chain via the derailleur to account for chain growth through the suspension's stroke.